原料
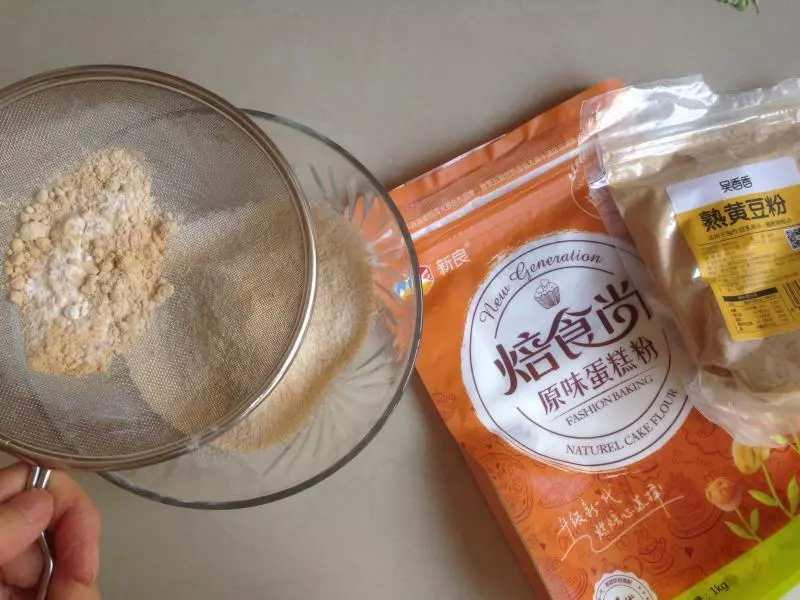
熟黃豆粉: 10克, 低筋麵粉: 45克, 雞蛋: 3個, 細砂糖: 30克, 玉米油: 30克, 牛奶: 40克
步驟
1蛋清和蛋黃分別放在兩個無水無油的盆里,黃豆粉和麵粉混合後過篩
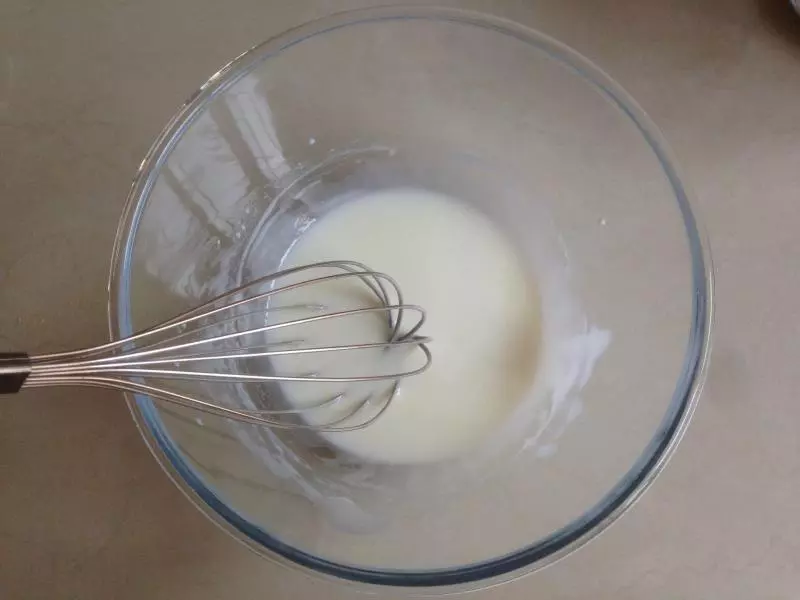
2牛奶和玉米油混合攪拌乳化好
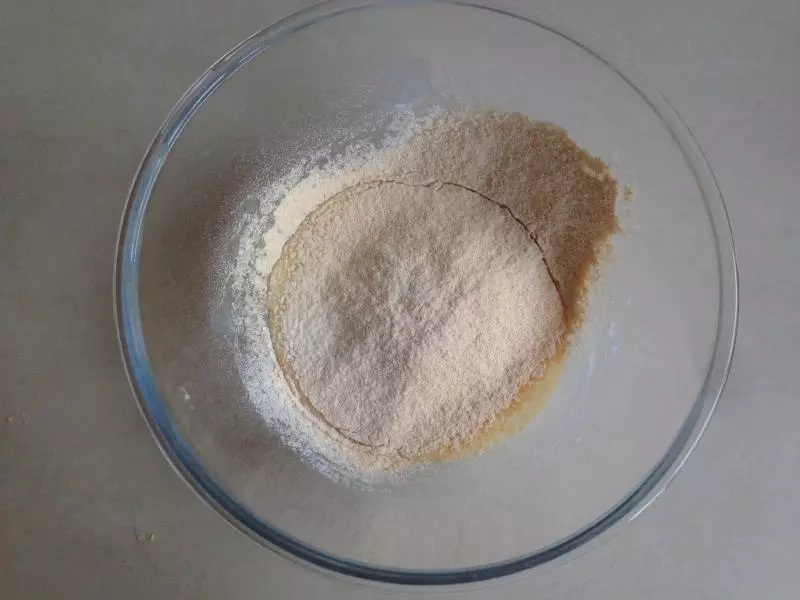
3將粉類過篩進去
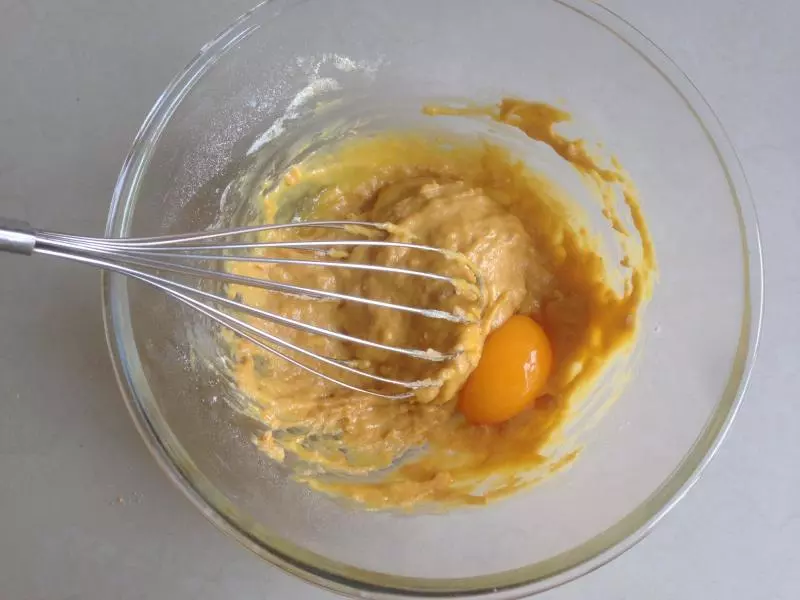
4拌到不見乾粉即可,分三次加入蛋黃,每加入一個蛋黃,待拌勻後再加入下一個蛋黃
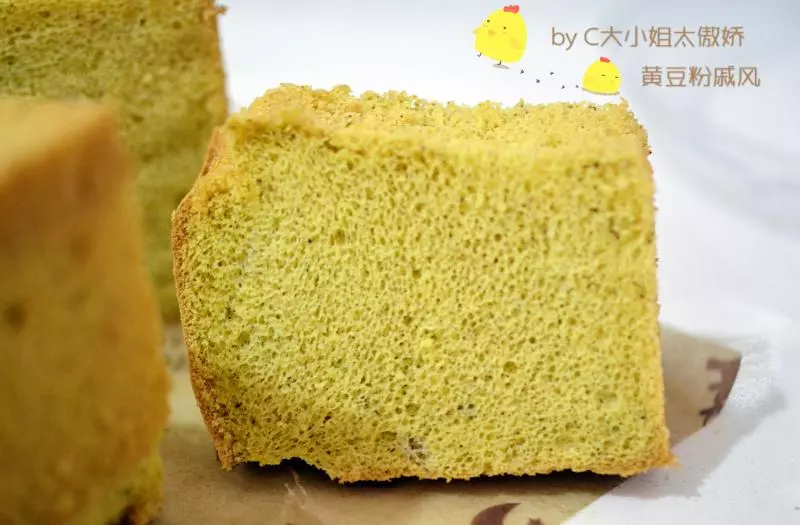
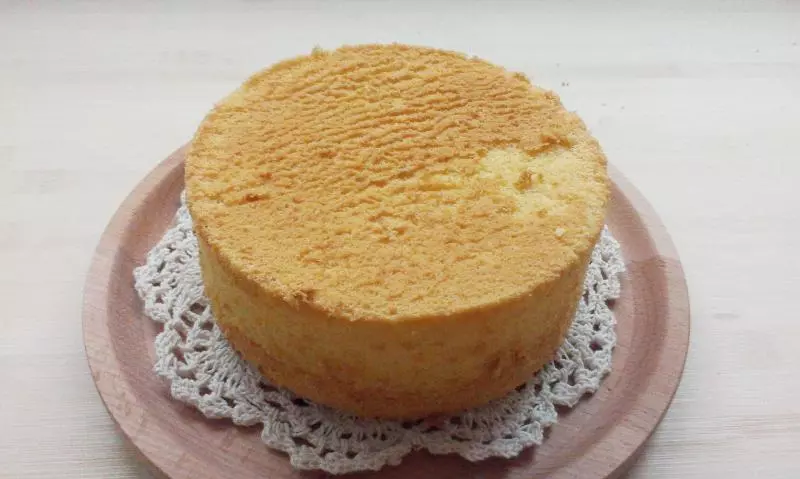
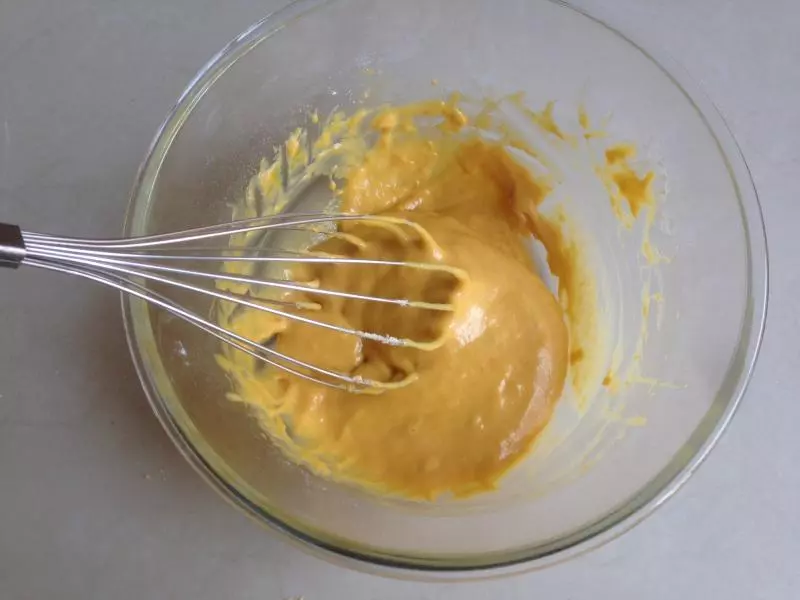
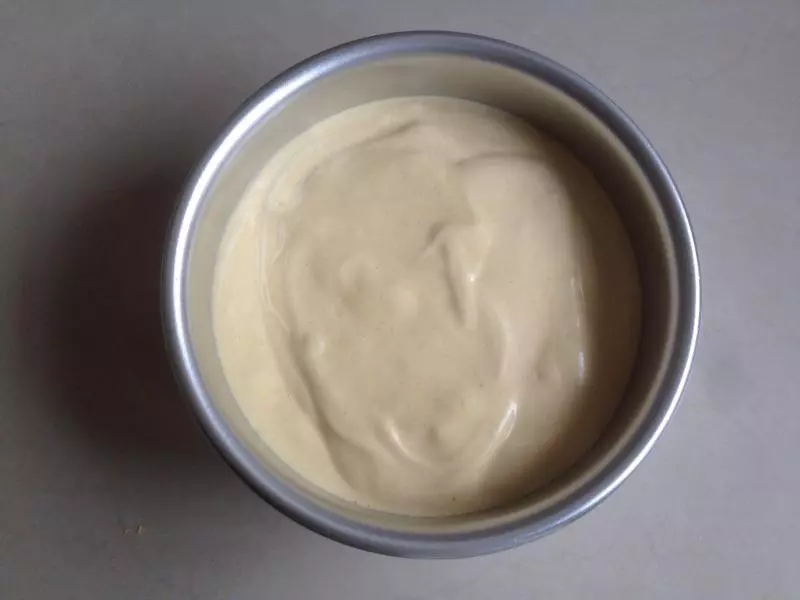
5攪拌好的麵糊,加了黃豆粉的蛋糕糊比平常做的蛋糕糊顏色偏黃
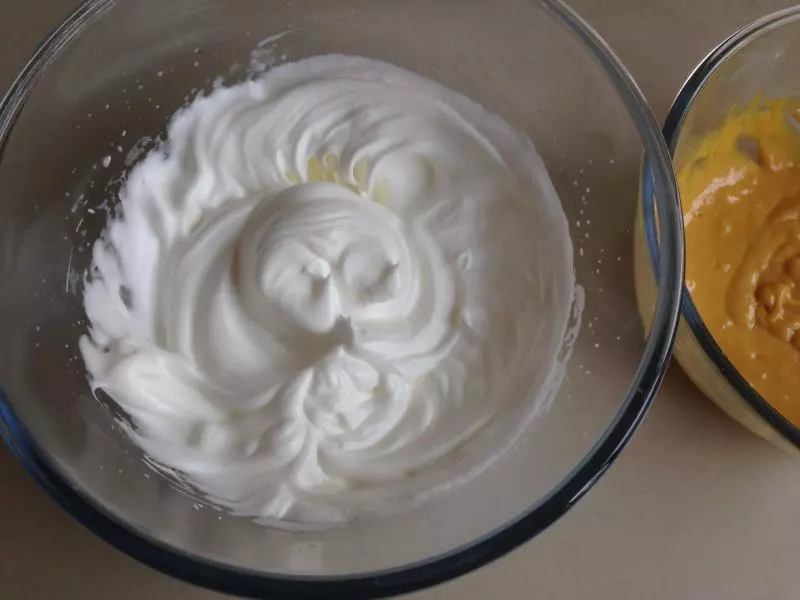
6雞蛋清分三次加入糖,用電動打蛋器打至偏乾性發泡
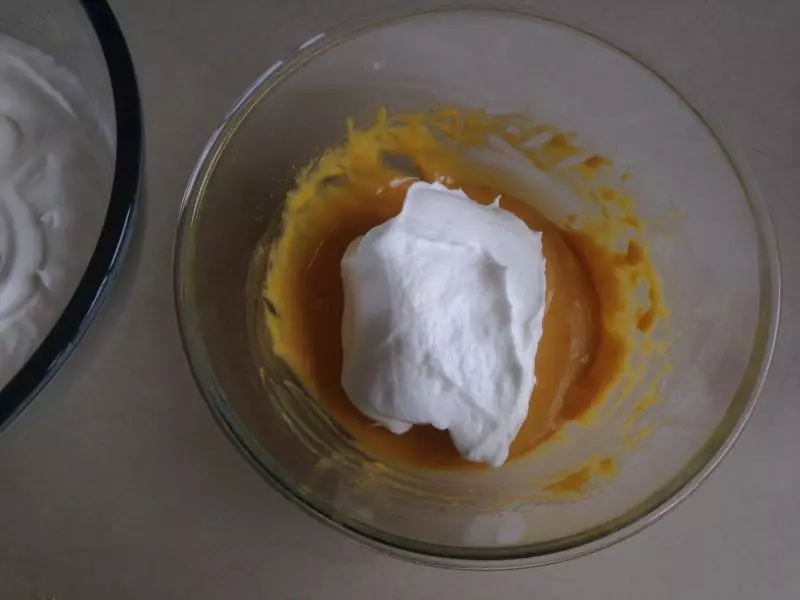
7取三分之一的打發好蛋白霜到蛋黃糊里,用刮刀從底部向上翻拌均勻(不會翻拌手法的可以上網看戚風蛋糕視頻製作)
8再倒回剩餘的蛋白霜里
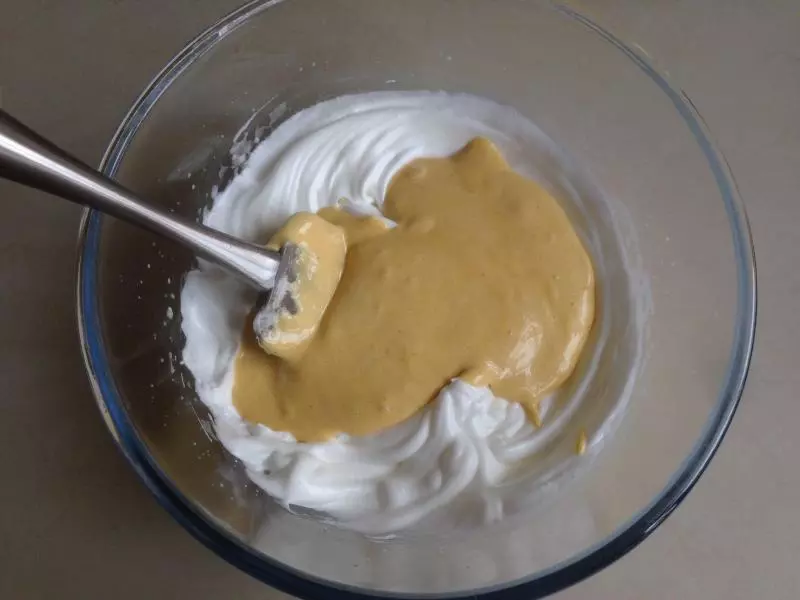
9用同樣的手法拌均勻
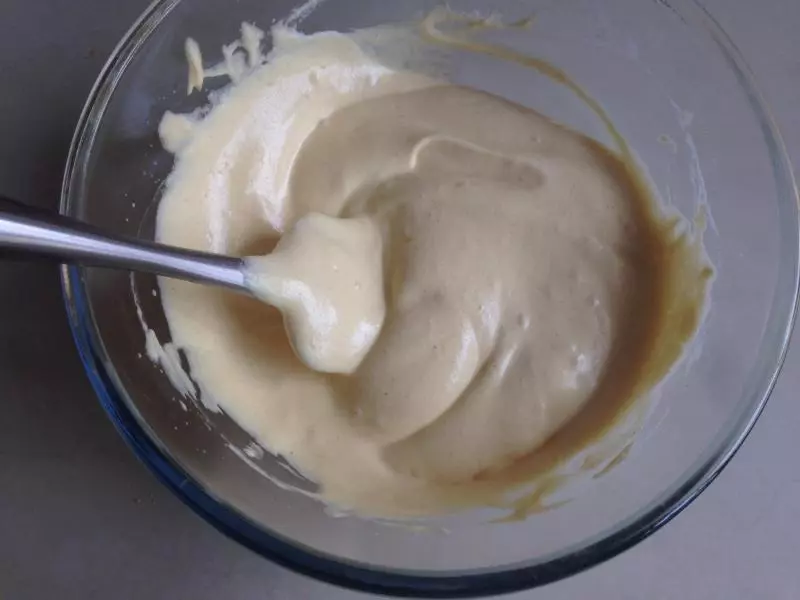
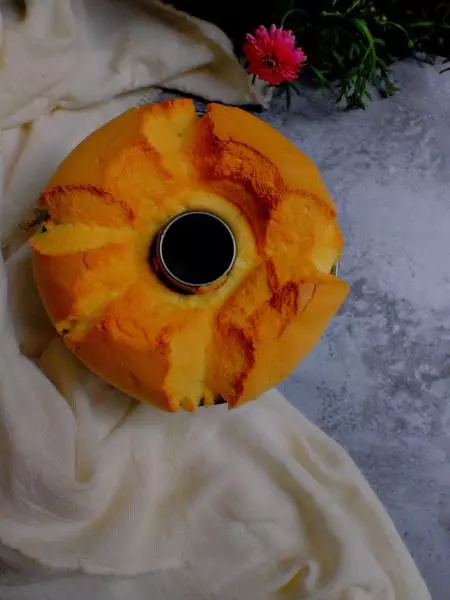
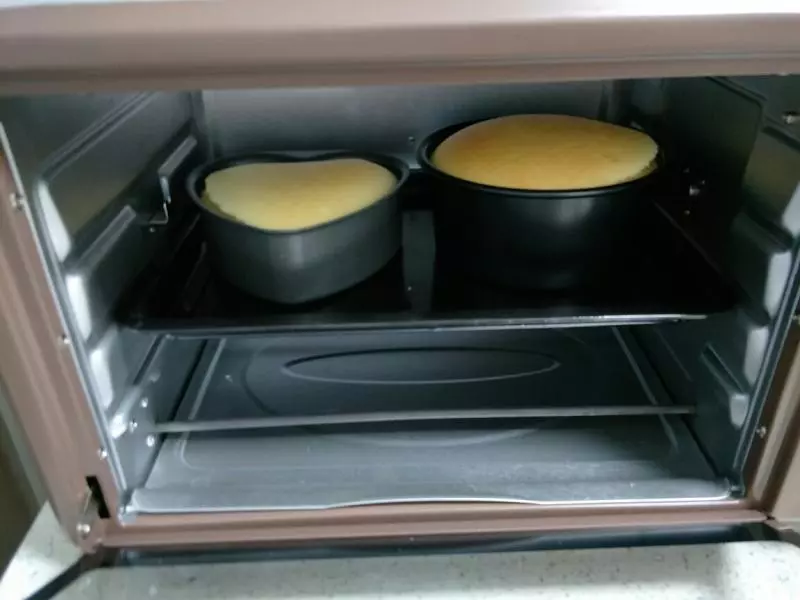
10將蛋糕糊從6寸活底蛋糕模上方倒入,並在桌面上震出氣泡
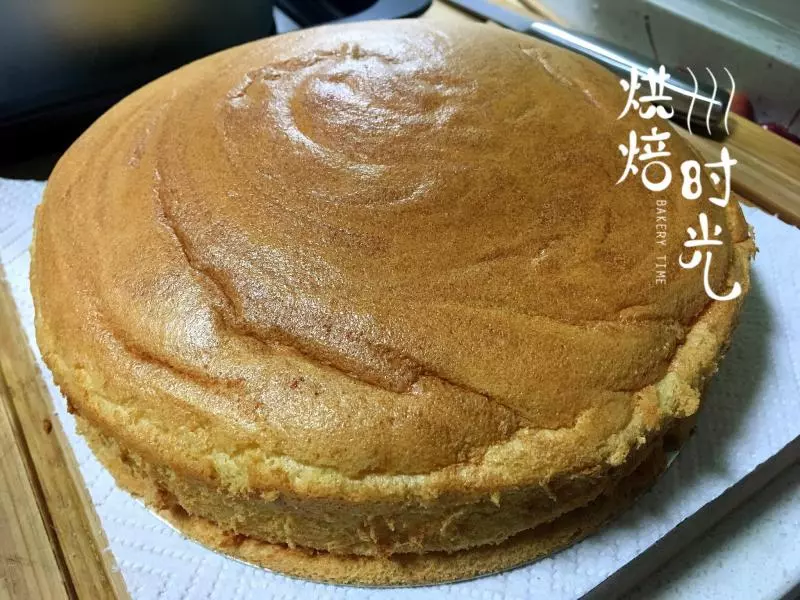
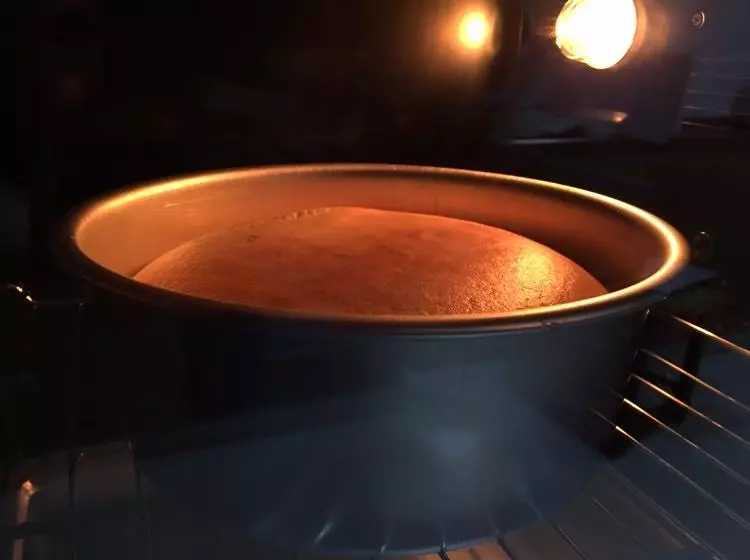
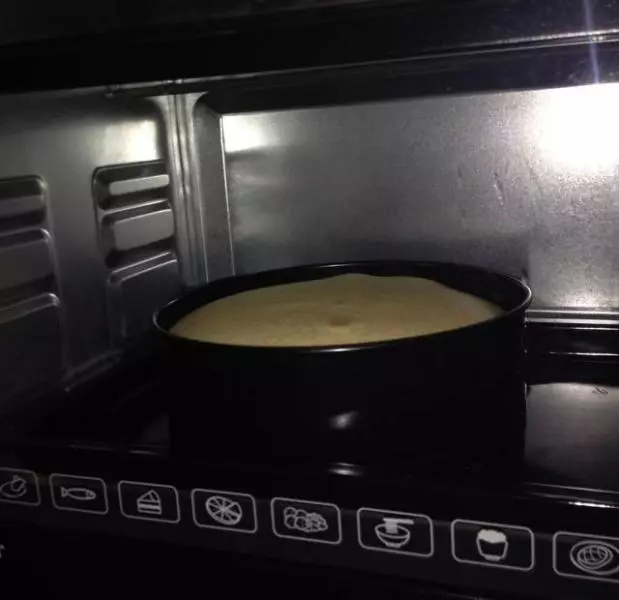
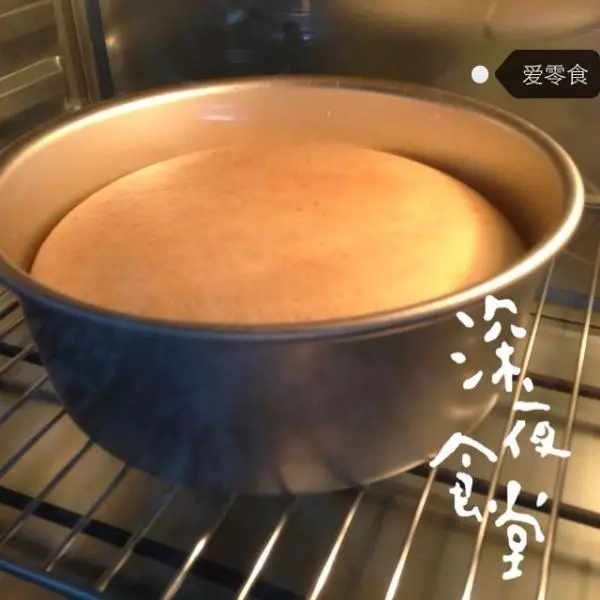
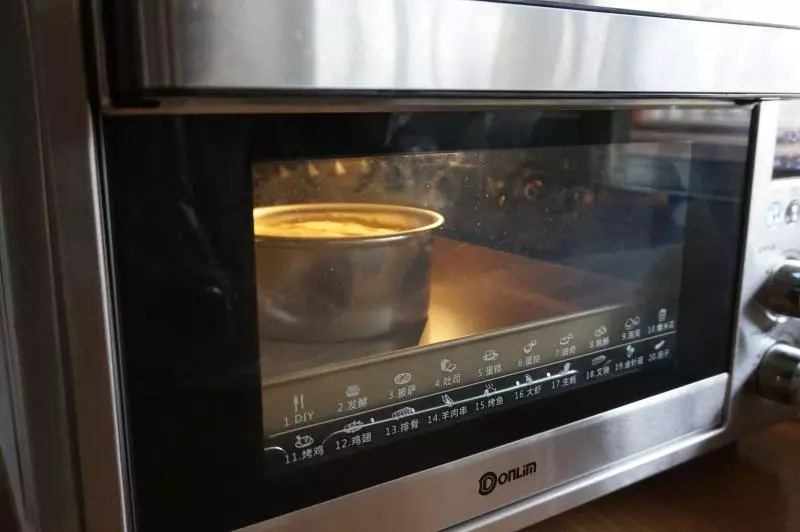
11放入已經提前預熱好上火120度,下火140度的東菱K40C烤箱下層,烘烤45分鐘左右
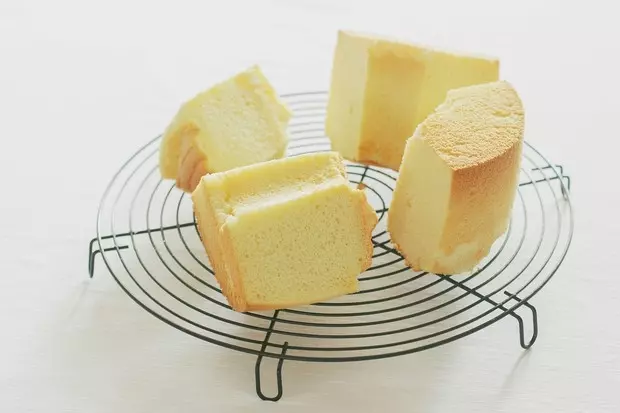
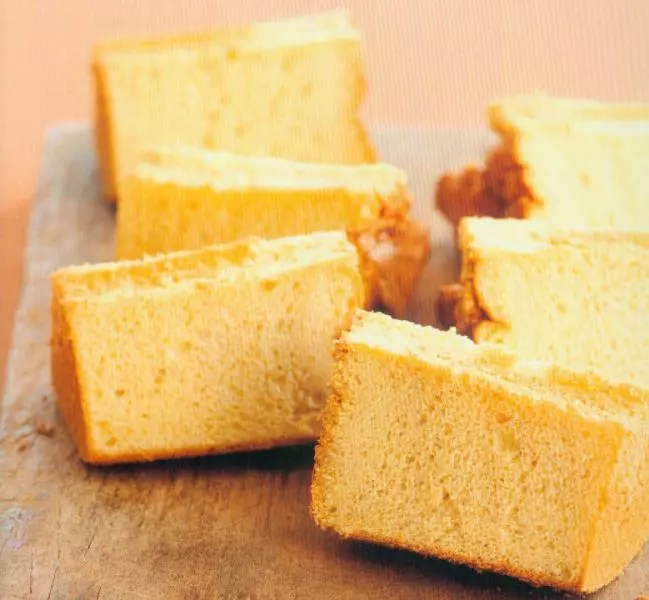
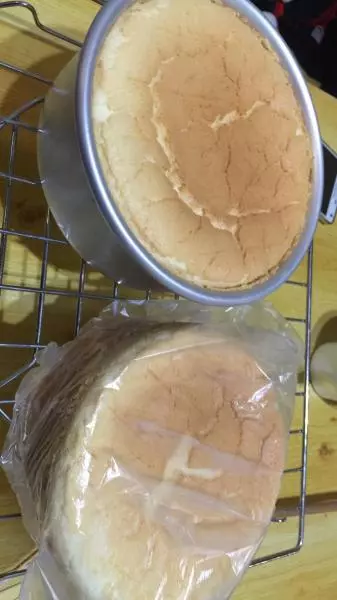
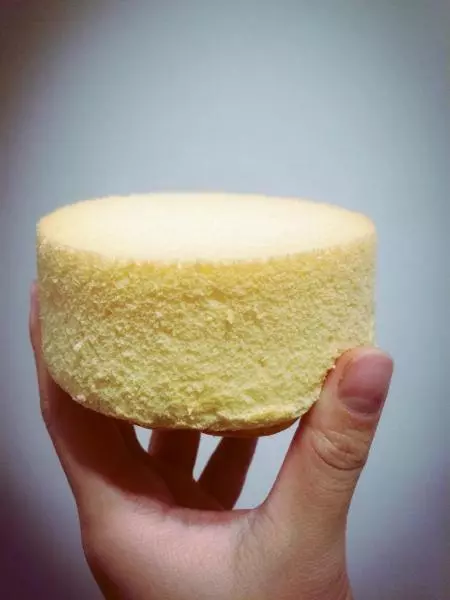
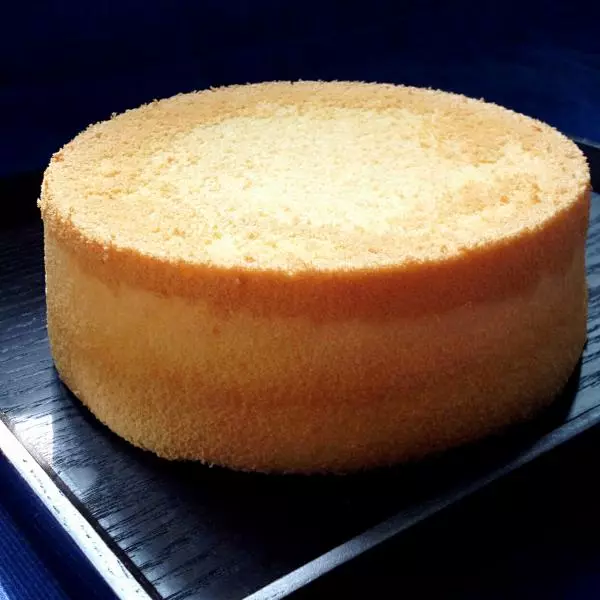
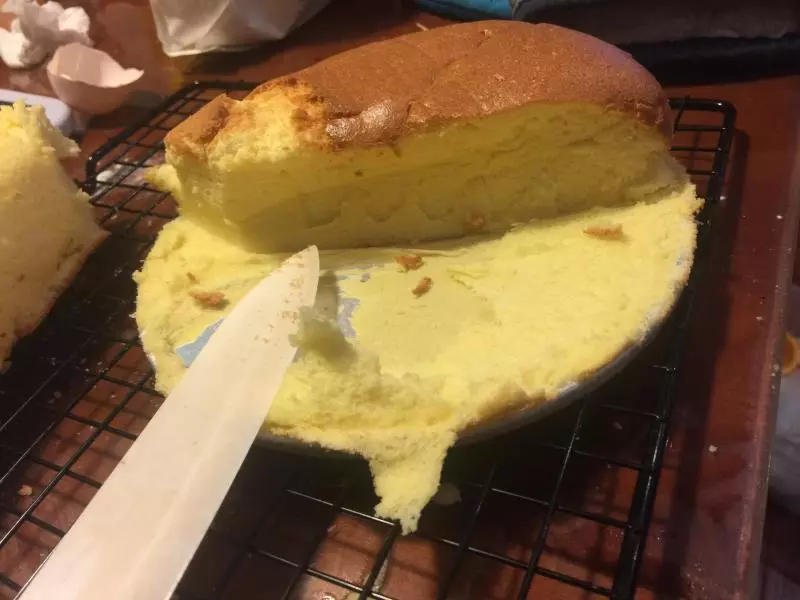
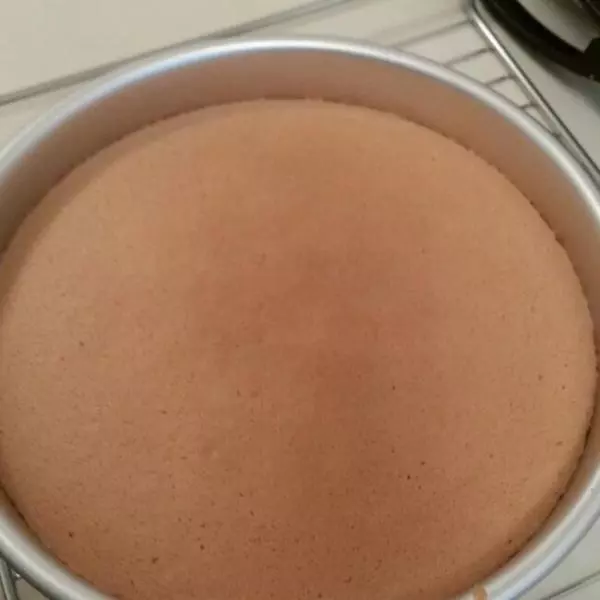
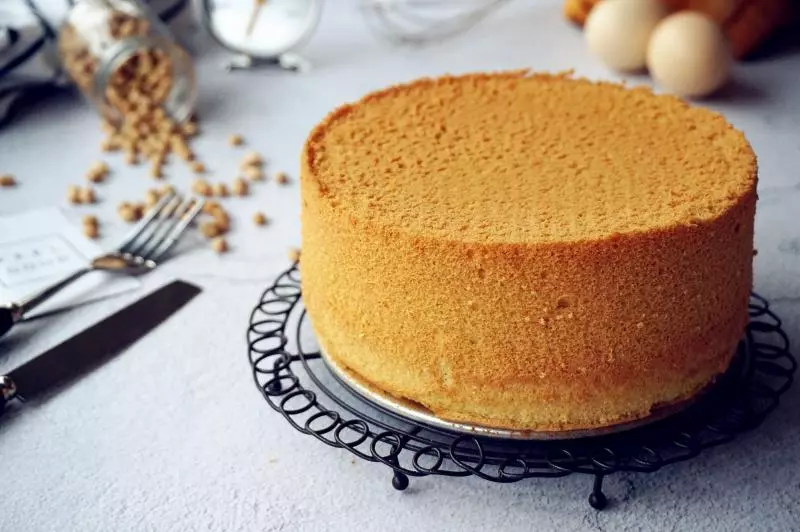
12烘烤結束,蛋糕取出,在離桌面20厘米高度摔下震出熱氣,倒扣晾涼後才脫模
小技巧
各家烤箱脾氣不同,溫度僅供參考 歡迎同時關注我的一點資訊和新浪微博:廣東海之韻