原料
酥皮材料: , 黃油: 30g, 細砂糖: 12g, 低粉: 37g, 泡芙材料: , 黃油: 40g, 糖: 少許, 鹽: 少許, 水: 100g, 低粉: 60g, 雞蛋: 2個, 淡奶油: 200g, 糖粉: 20g(淡奶油用)
步驟
1先把酥皮材料混合在一起,黃油提前室溫軟化,用手塑型,保鮮膜包好放冷凍室,不能凍時間太長,也不能太短,要正好切了不碎。

2黃油,糖,鹽,水放入鍋中中大火?加熱至沸騰,轉小火,一次性倒入低粉並且持續不停地攪拌差不多一分鐘,視鍋底有層印子,關火。

3冷卻到不燙手,開始分次少量加雞蛋,每加一次就要攪勻,最後加到麵糰掛在刮刀上成倒三角,要滴落不滴落,就不要加雞蛋了。
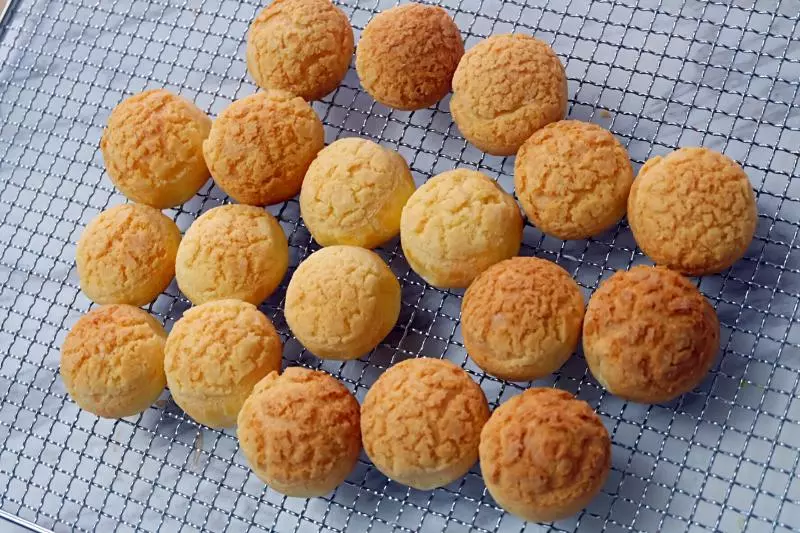
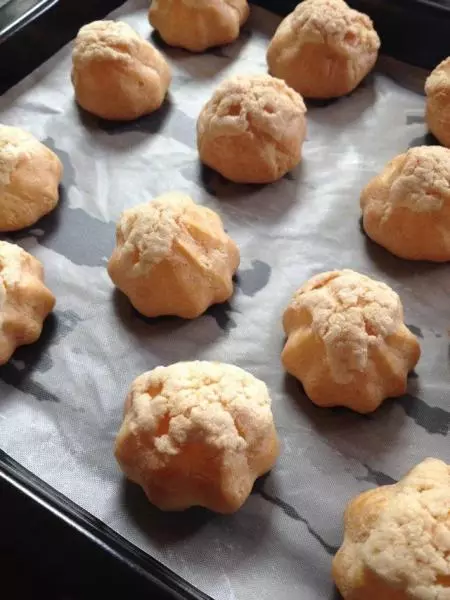
4把麵糰裝進裱花袋裡,均勻地擠出麵糊,留有間隙

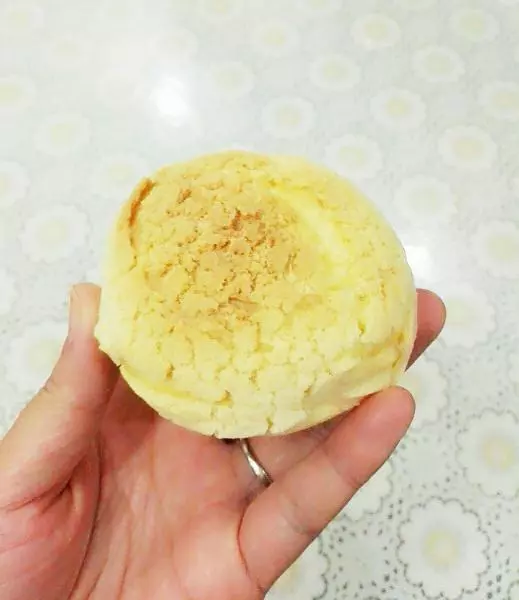
5酥皮均勻切好,蓋在泡芙上,入烤箱,上下火180度中層,烤30分鐘左右。也試過分段烤,好像都行,細微的差別還在摸索中。

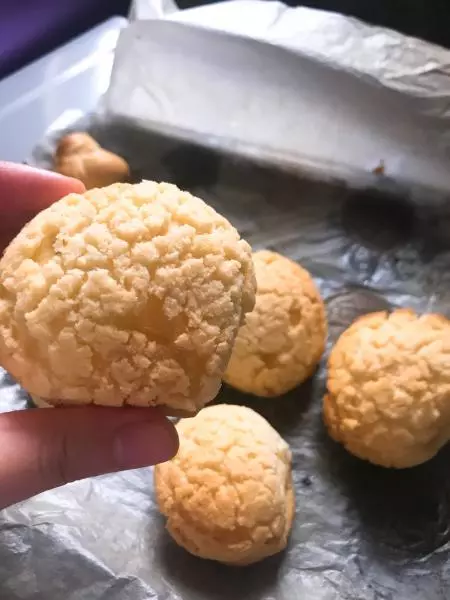
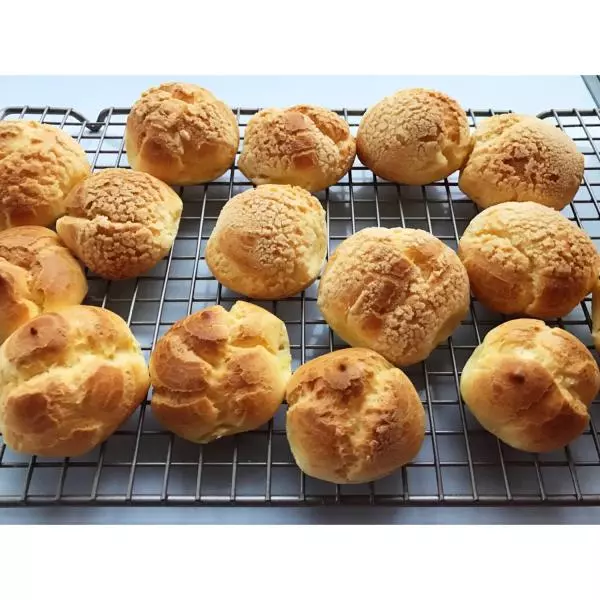
6剛開始膨脹

7又大了一點,胖胖的可愛的泡芙。

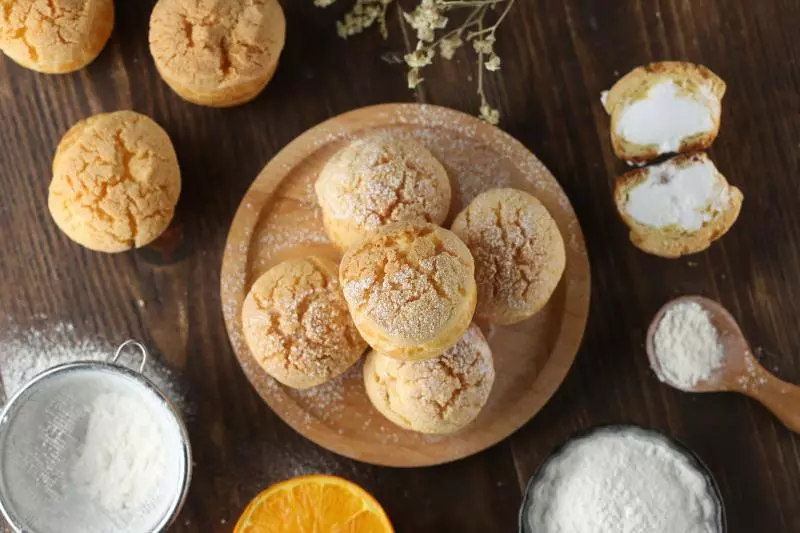
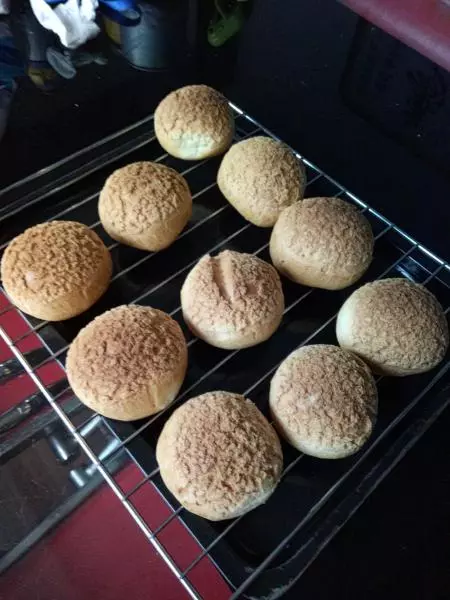
8快出爐啦

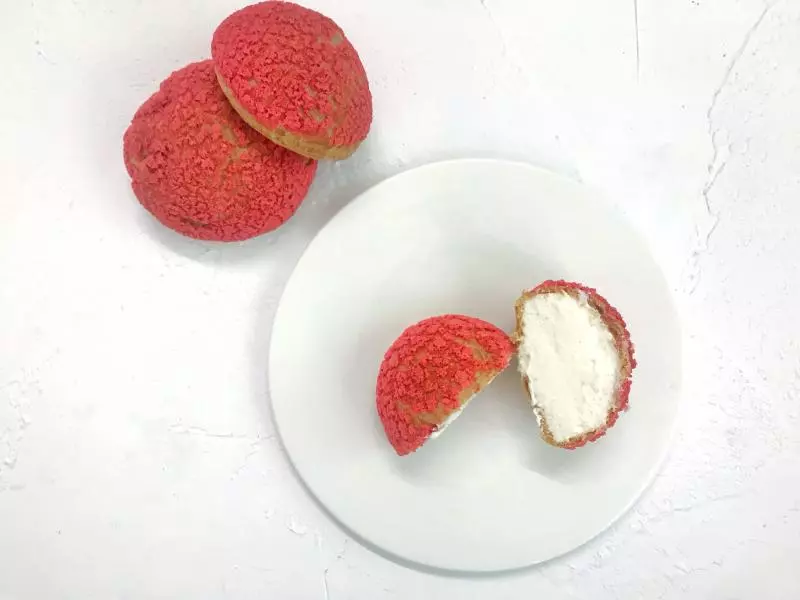
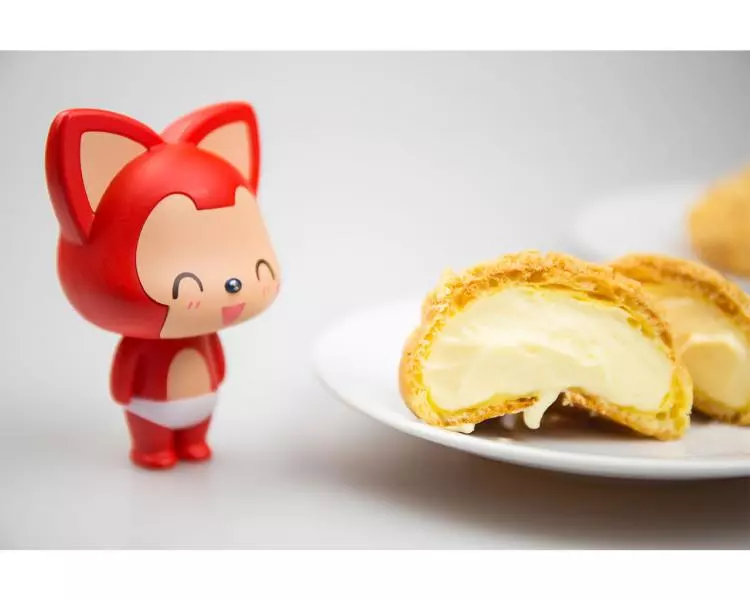
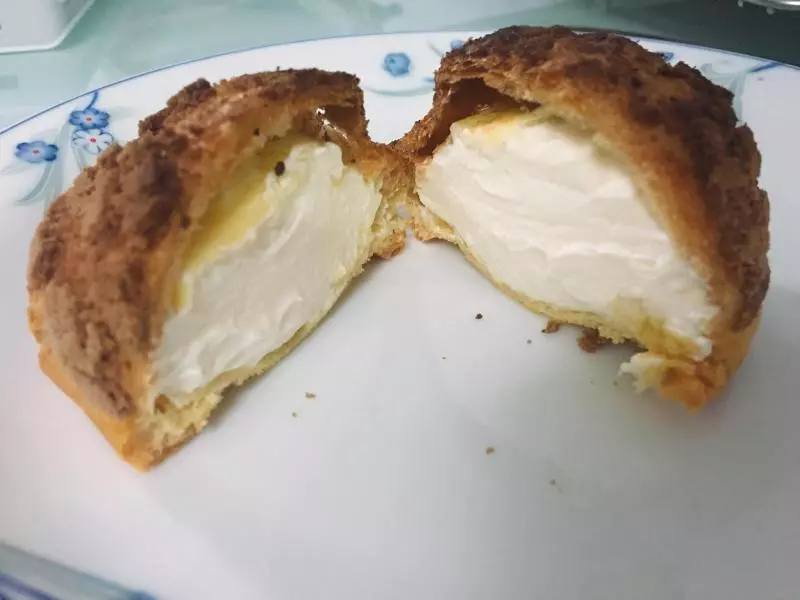
9晾涼準備注餡

10奶油加糖打發,最後包裝了下。

小技巧
烤泡芙不要開烤箱門