原料
牛奶: 250克, 低粉: 50克, 玉米粉: 30克, 白砂糖(饼皮): 18克, 鸡蛋: 3个, 黄油: 10克, 奶油: 300克, 白砂糖(奶油): 10克
步骤
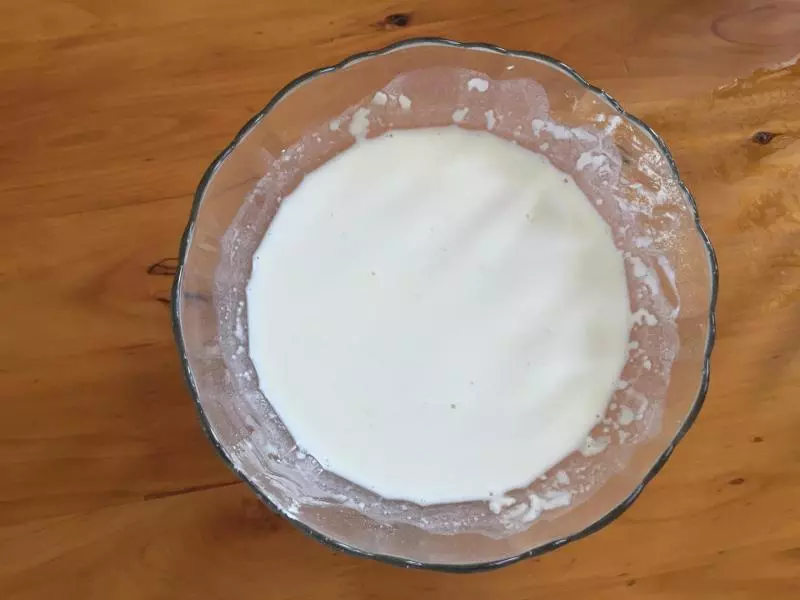
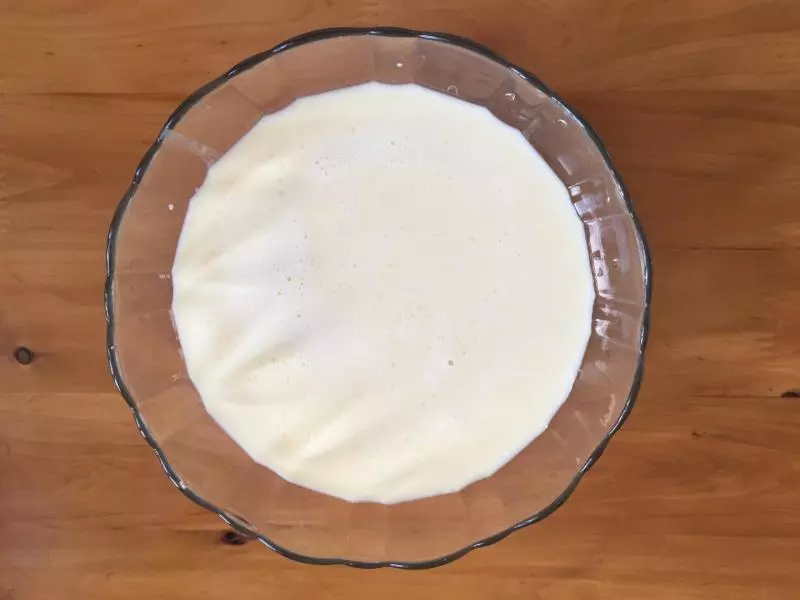
1牛奶、低粉、玉米粉、白砂糖混合均匀
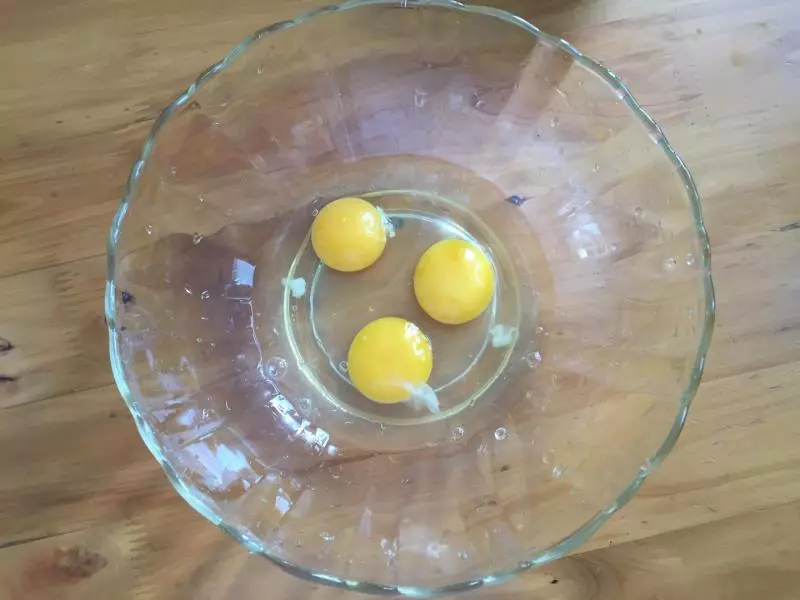
2鸡蛋打散
3面糊和鸡蛋混合均匀
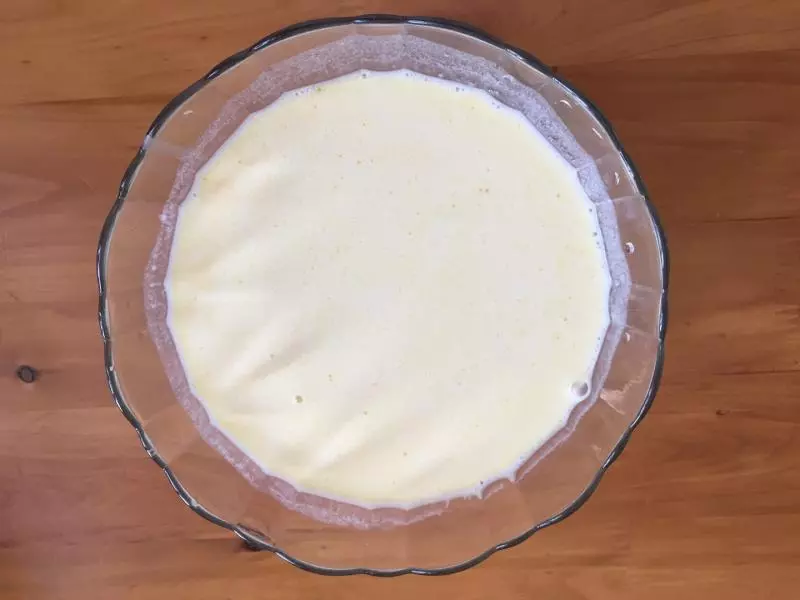
4黄油隔水加热融化,加入面糊混合均匀
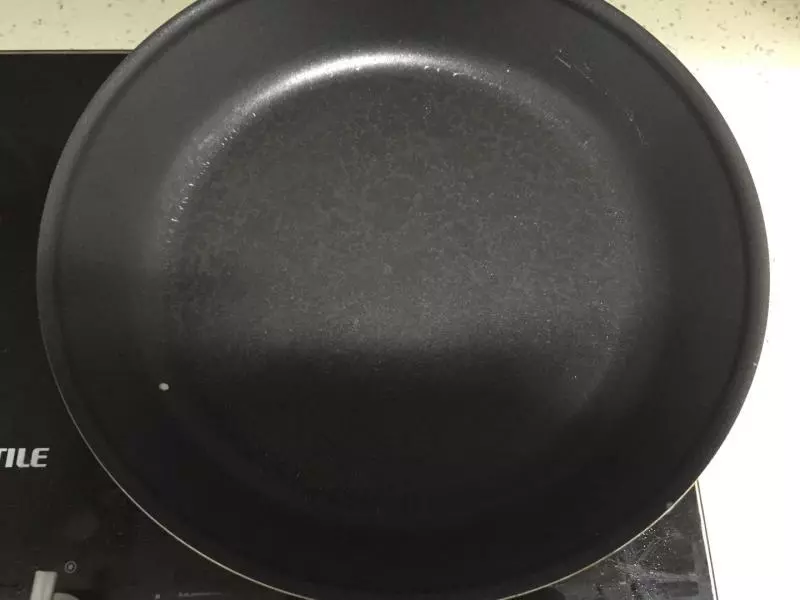
5不粘煎锅小火预热,不能太凉也不要太热,太凉面糊到处流形状不圆,太热还没等面糊转成圆形就凝固了。根据锅的大小放入面糊,面糊薄薄一层盖住锅底就好了,太厚不好吃,忘记拍照了,就拍个锅吧:)
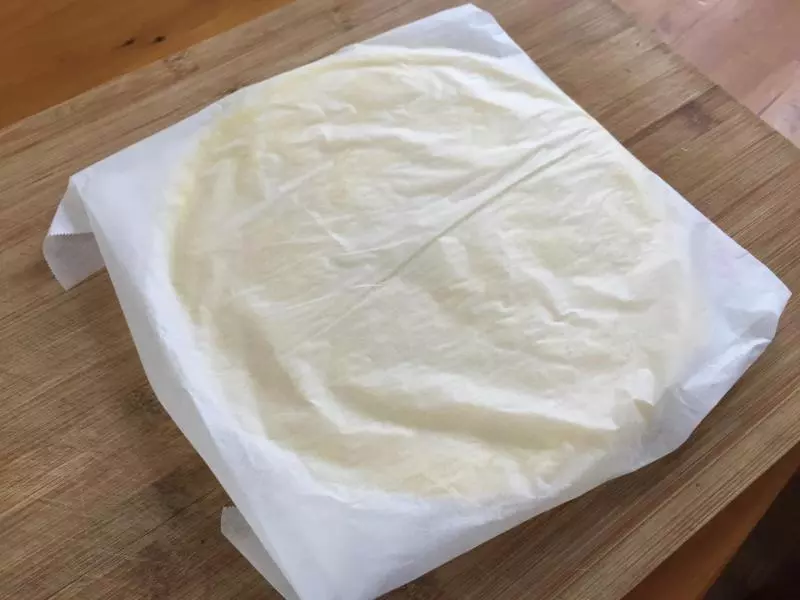
6煎饼皮时不用放油,面糊里有油,煎好一片片摞起来,不会粘在一起,放在油纸里包好放冰箱冷却
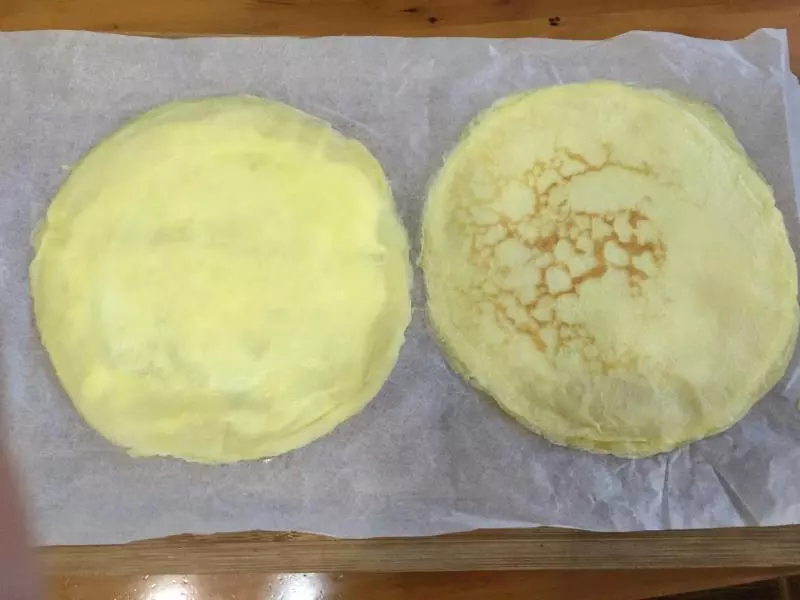
7饼皮单面煎,没煎过的一面向上铺在盘子上或纸托上,左面是没煎过的一面,右面是煎过的一面
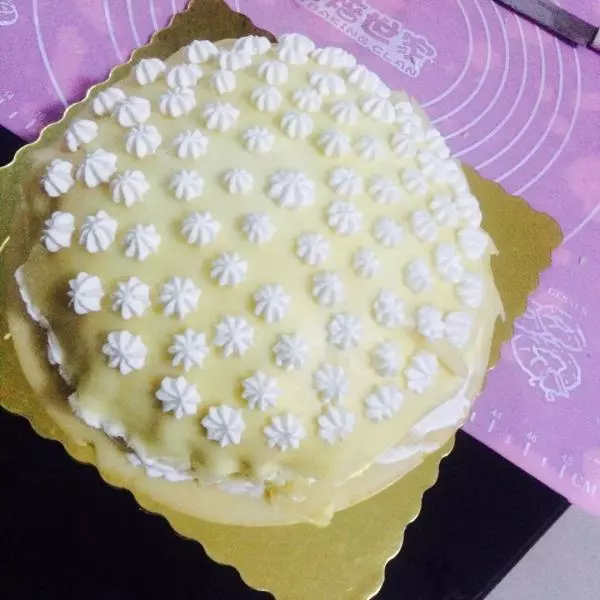
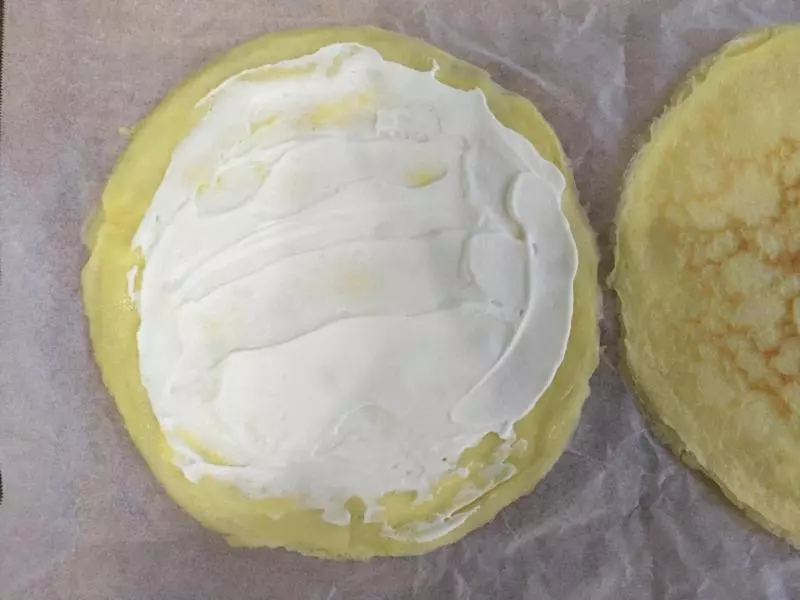
8奶油加糖打发到裱花程度,均匀抹在饼皮上
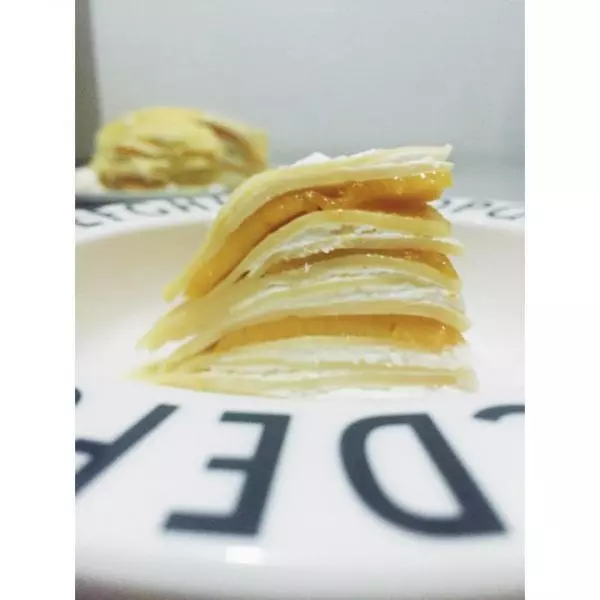
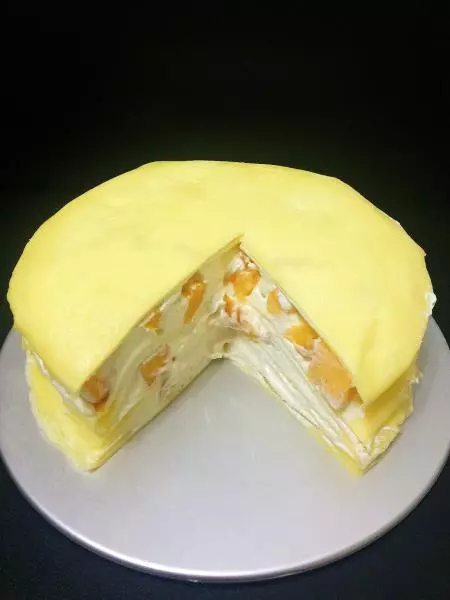
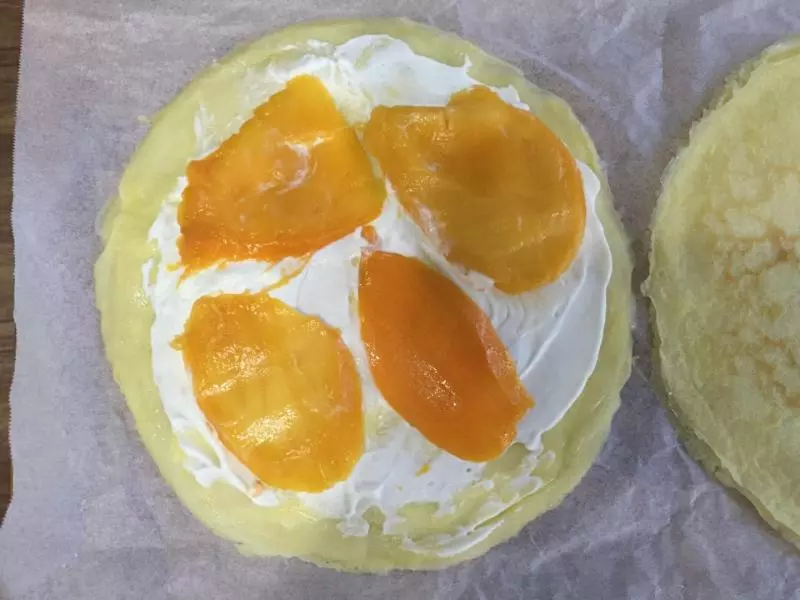
9芒果切大薄片,铺在奶油上
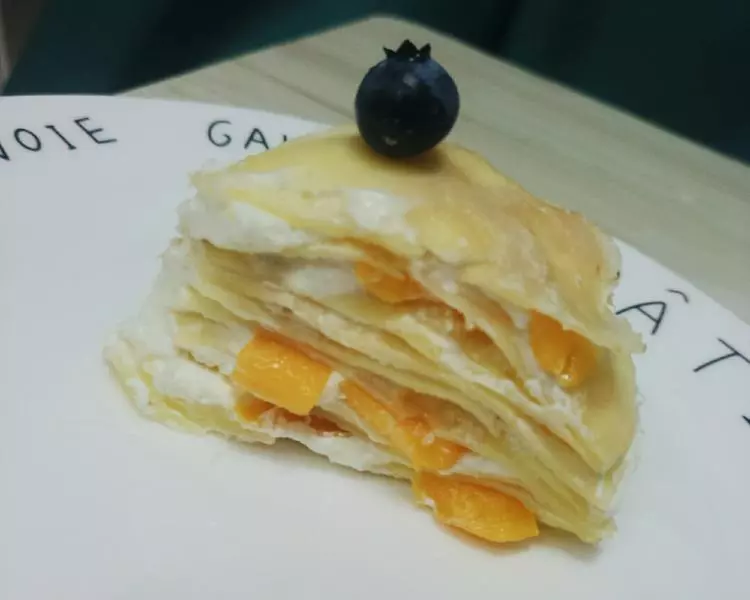
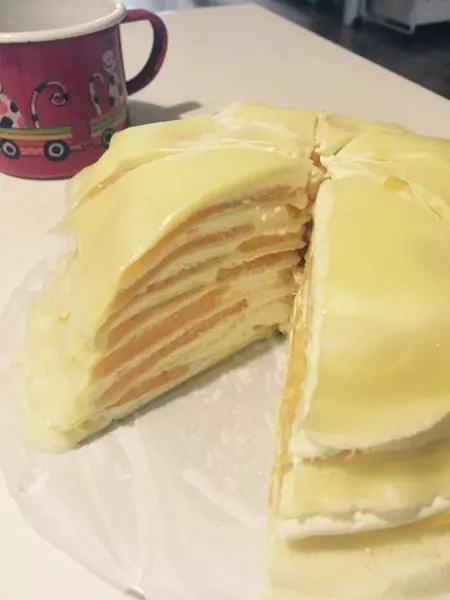
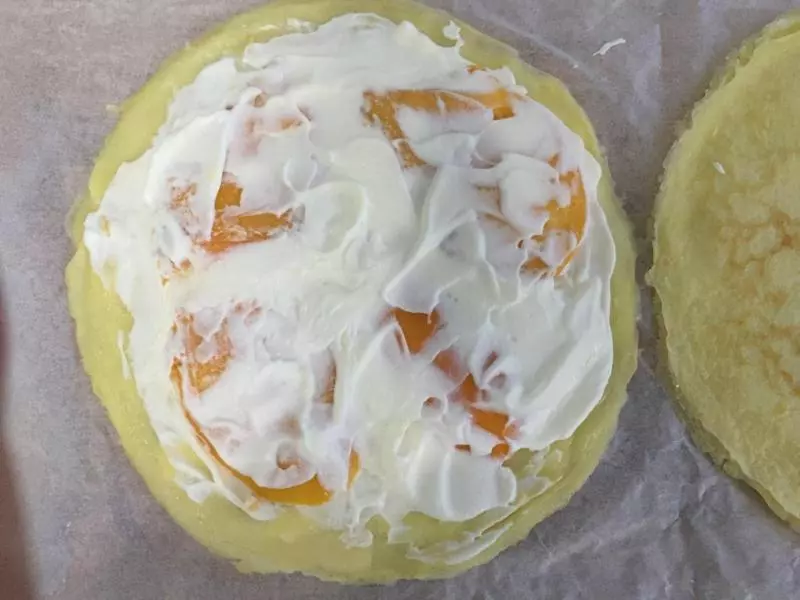
10在芒果上再铺一层奶油,再铺一层饼皮,涂奶油,再铺一层饼皮,放芒果,就是两层饼皮放一层芒果,饼皮之间都要涂奶油
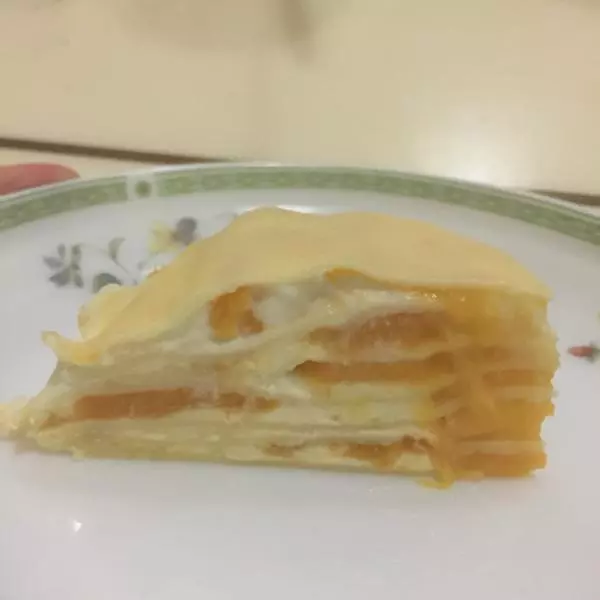
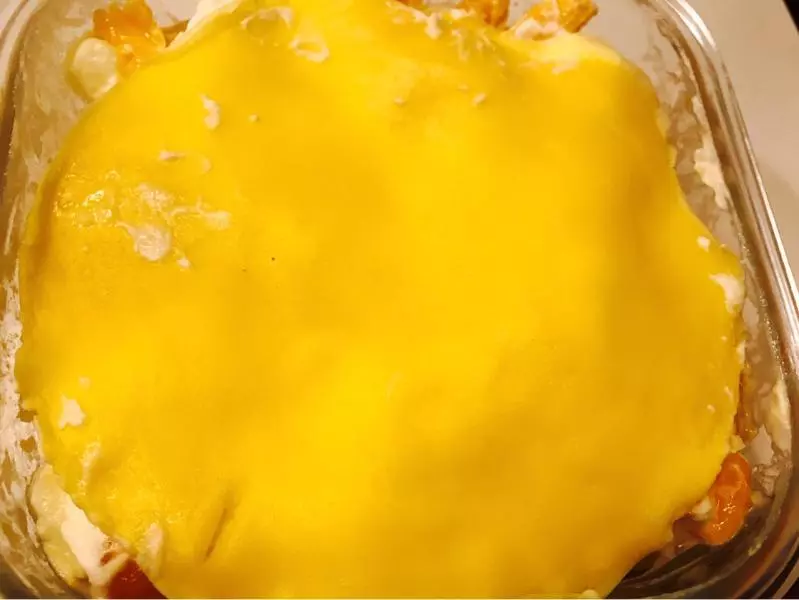
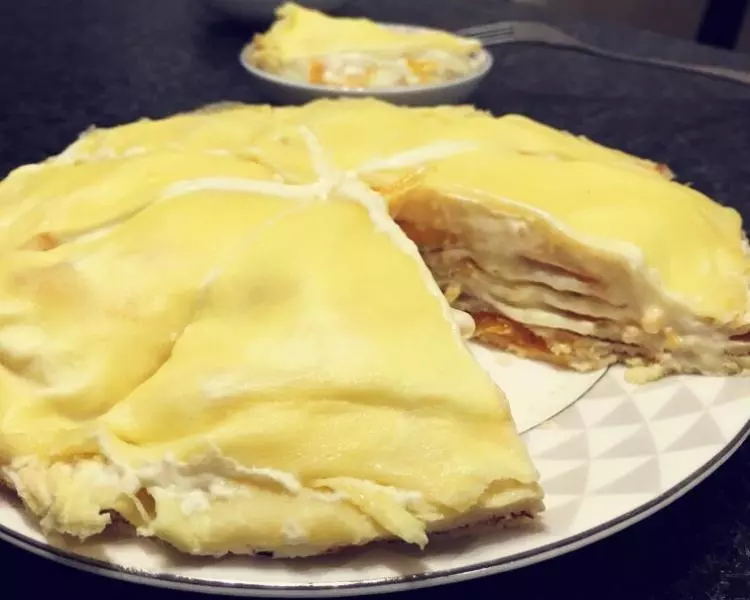
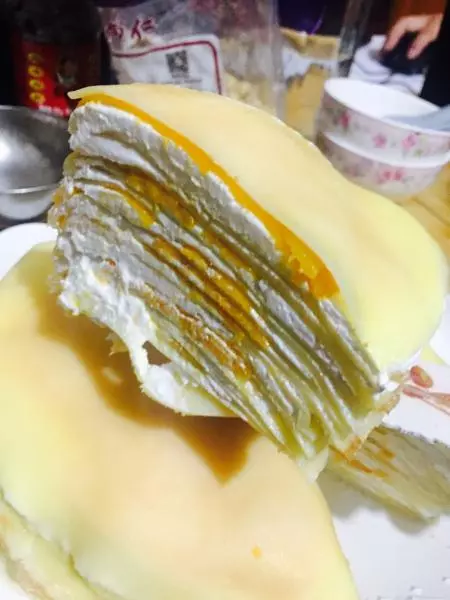
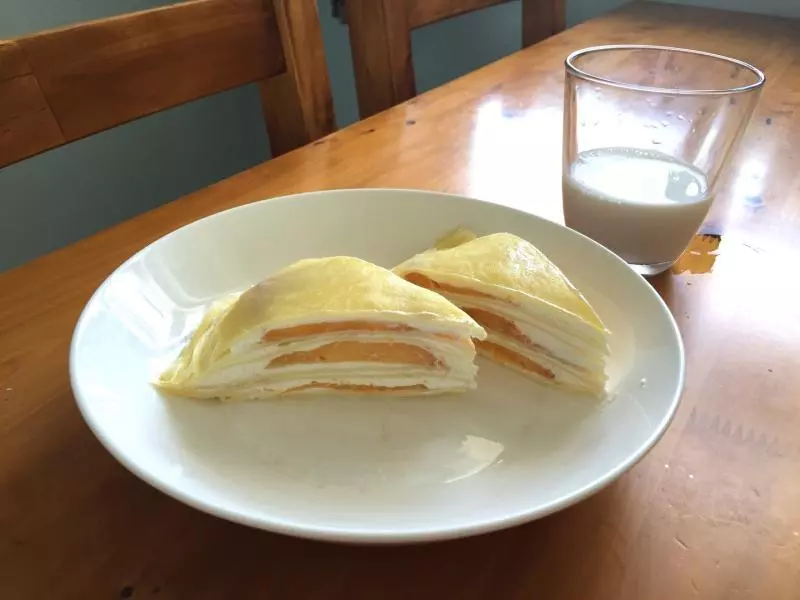
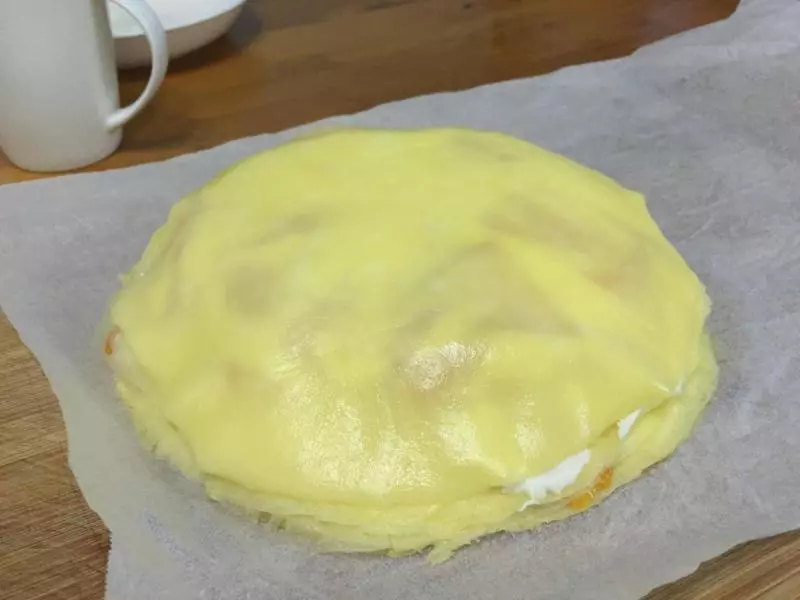
11顶上最后盖一层饼皮,放冰箱冷藏,一定要冷藏,不然一切就塌了,冷藏定型,切完会很整齐,吃起来也方便
12开动吧