简介
越是临近假期越是感觉愈发的忙碌,仿佛很多做不完的事情需要在节前收尾,忙乱中写了这篇博客,算是节前的最后一次更新了。上它一个面食类的家常千层肉饼,筒子们假期正好儿在家操练一番。更多菜品咱们节后再见了,顺祝筒子们双节快乐,万事如意。
原料
猪肉馅 500g, 洋葱 200g, 鸡蛋 1个, 姜末 一大勺, 黄酒 15ml, 盐 4g, 稀黄酱 一小勺, 糖 一小勺, 蚝油 一大勺, 白胡椒粉 1/4小勺, 酱油 20ml, 香油 20ml, 面粉 500g, 温水 300ml, 盐 2g
步骤
1将肉馅材料中除香油和洋葱外所有的材料混合,顺同一方向搅打上劲儿

2肉馅中加入香油继续按照原来搅打方向混合均匀后盖上保鲜膜放入冰箱冷藏一小时

3面团材料混合揉至光滑,用湿布盖住醒发半小时

4洋葱切碎,加入之前调好的肉馅搅拌均匀

5醒好的面团均分成4份,取其中的一份儿擀成3mm厚,边长为30*30cm的方形薄片

6在擀好的面皮左右两边各1/3处用锋利的刀片划长约10cm的刀口

7取1/4的肉馅均匀涂在面片上,注意面片左上角1/9大小的部分和整个面片四周要留空

8将左上角空白的面皮沿之前切好的刀口向右,叠在中间1/3的肉馅上面

9右上角的面皮连着肉馅一起也向中间1/3的位置折叠

10叠好的三层面皮一起向下翻在整张面皮的中间

11再将中间左边1/3的面皮也沿刀口向中间叠起

12依次中间右边1/3同样叠向中间的肉饼上

13再将叠好的一摞肉饼同样向下翻

14最后将最下面左右两边剩下的面皮都叠在中间的肉饼上

15将叠好的肉饼边缘接缝的地方收口捏紧后,放置在一旁静置松弛半个小时左右

16将松弛好的肉饼轻轻拍扁,用擀面杖稍微擀开,成约2cm左右厚的肉饼

17平底锅内涂植物油,将擀好的肉饼正面朝下放入锅中中小火加热

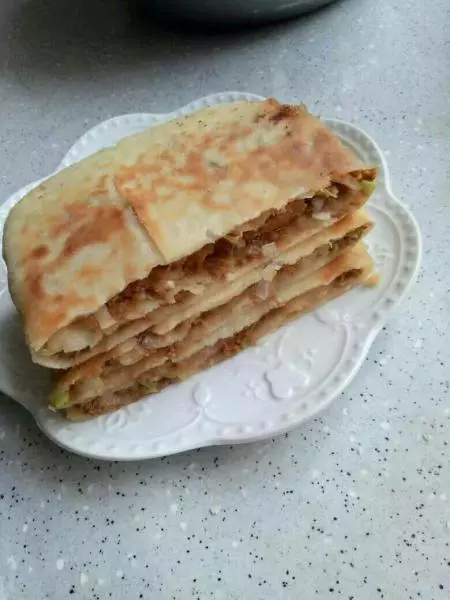
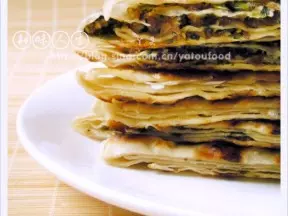
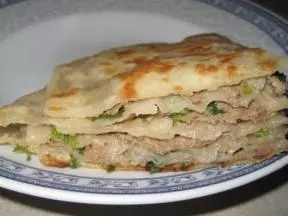
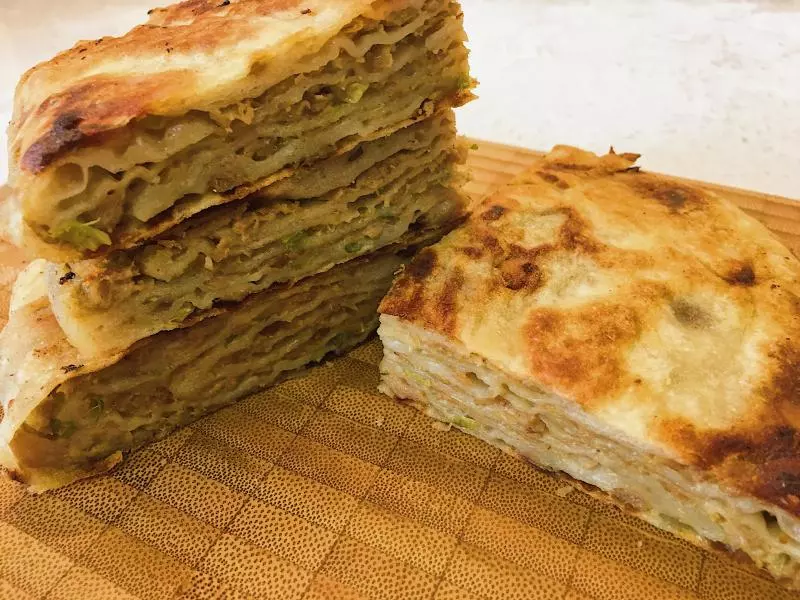
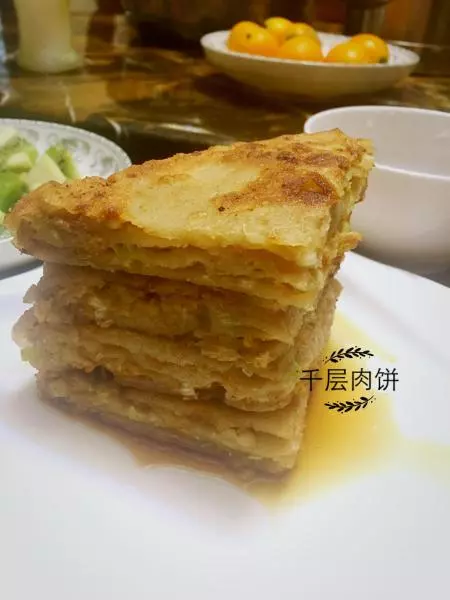
18烙到肉饼一面色泽金黄后翻面盖上锅盖再烙10-15分钟,待肉饼完全熟透后制作完成

小技巧
面团在擀开的时候如果出现回缩的现象是因为醒发的时间不足,可以盖上湿布或者保鲜膜再醒一会儿,以便于操作。 肉饼包裹的手法多练习几次就能熟悉,最后收口时尽量捏紧,以免最后擀开时肉馅漏出 判断肉饼是否熟透,可以用铲子在肉饼上按一下,熟透的肉饼内部蓬松感觉有弹性,不会出现凹陷。