原料
芝麻蛋黄酥: , 油皮:: , 中筋面粉: 55克, 奶粉: 2克, 猪油: 18克, 水: 25克, 油酥:: , 中筋面粉: 42克, 猪油: 21克, 内馅:: , 芝麻馅: 180克, 咸蛋黄: 6个
步骤
1把油皮材料揉光滑,可以拉出膜。

2盖上保鲜膜饧1小时。

3油酥材料混合,盖上也饧发1小时。

4油皮和油酥均6等份。

5取油皮1份,擀开。包入油酥。

6盖保鲜膜饧10分钟。

7取出1份,擀成长舌状。

8卷起,盖保鲜膜饧10分钟。

9取出1份,压扁,再次擀成长舌状。

10再卷起,饧发10分钟。

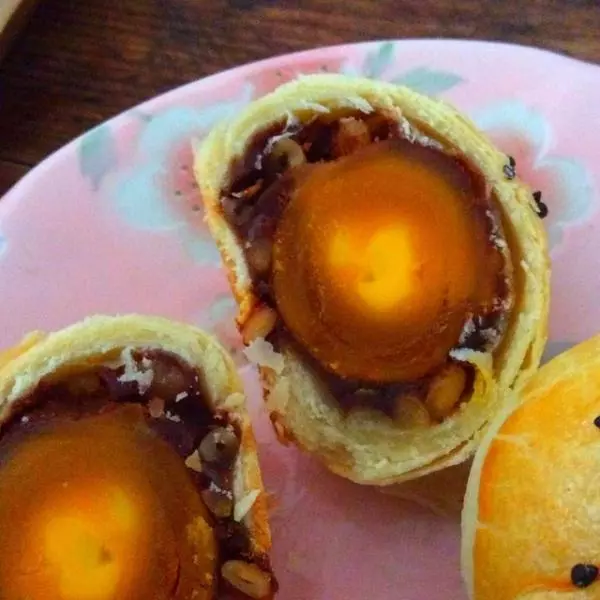
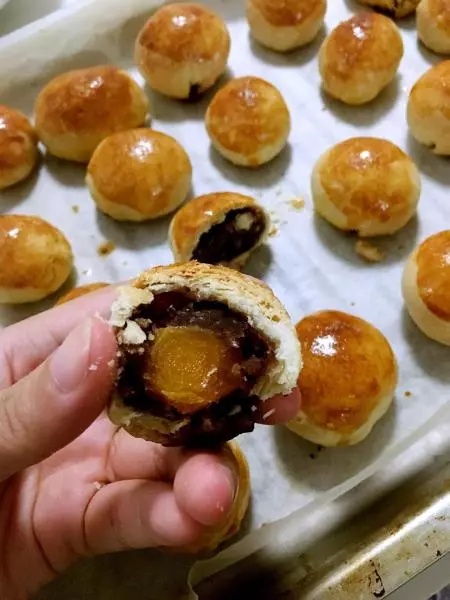
11芝麻馅均分成6份。取1份包入咸蛋黄。

12滚圆待用。

13取酥皮1份,两端往中间捏。

14擀成中间厚四周薄的皮。

15包入内馅。底部捏紧滚圆。

16稍稍压扁,压上自己喜欢的花纹,饧10分钟。

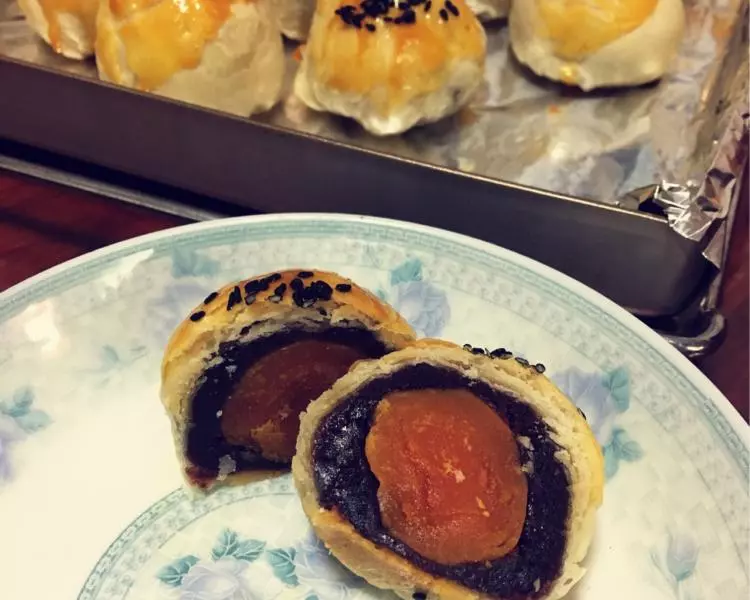
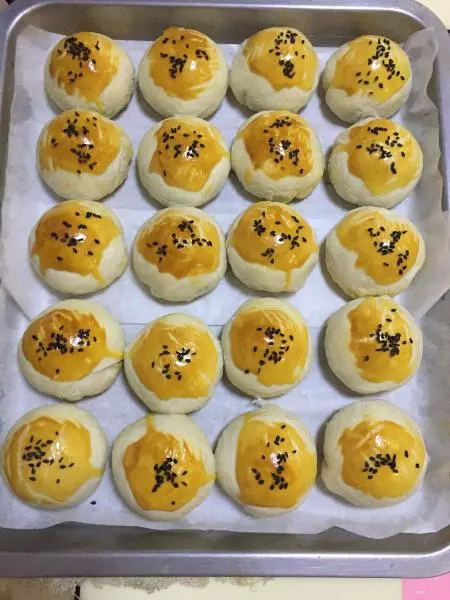
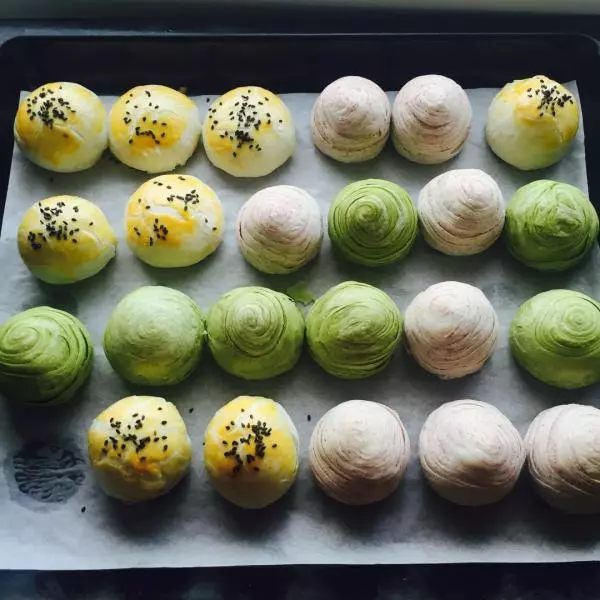
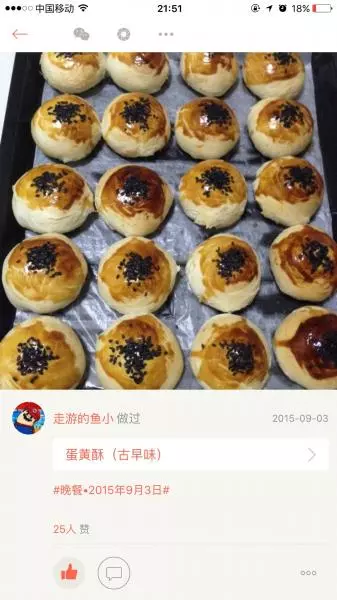
17烤箱预热。180度25分钟左右出炉。

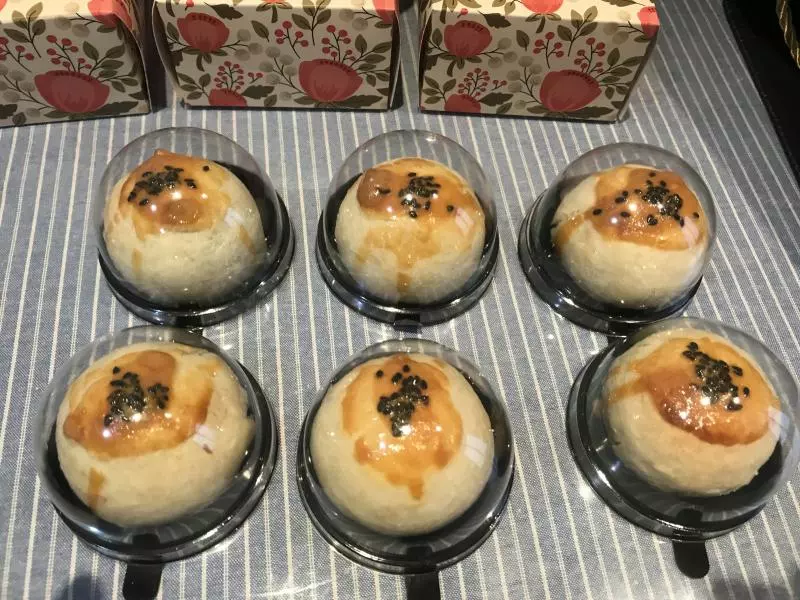
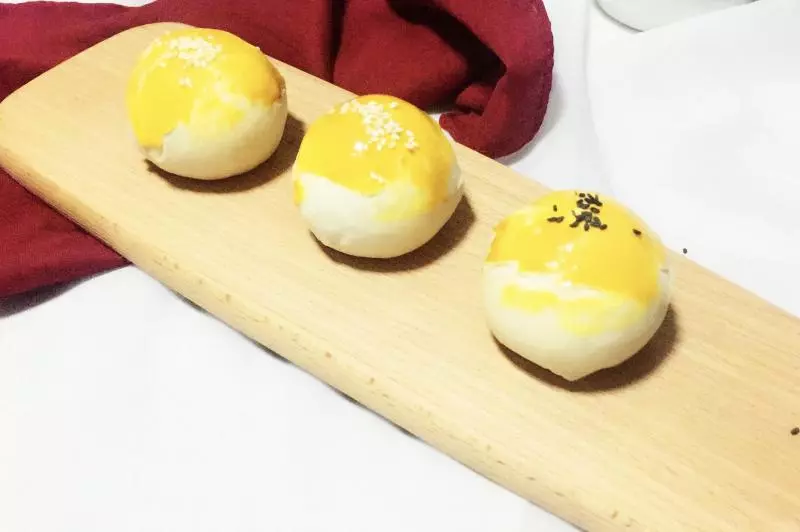
18晾凉。

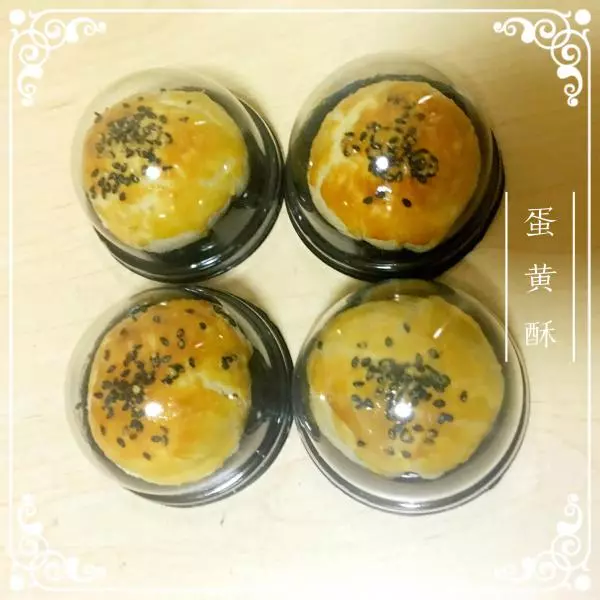
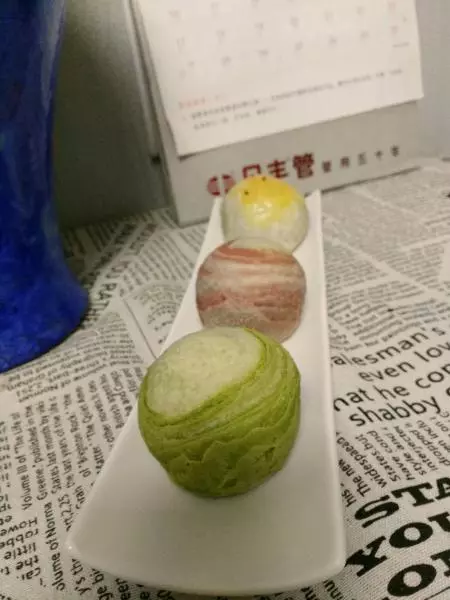
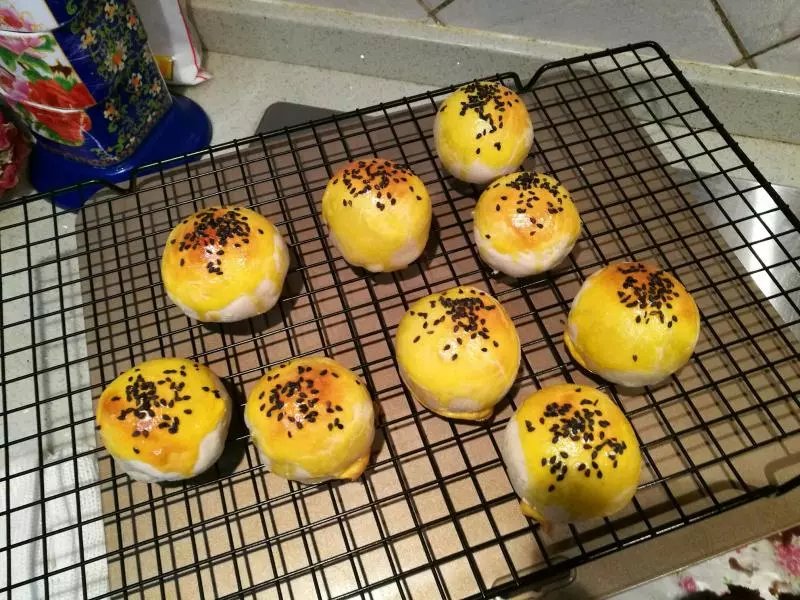
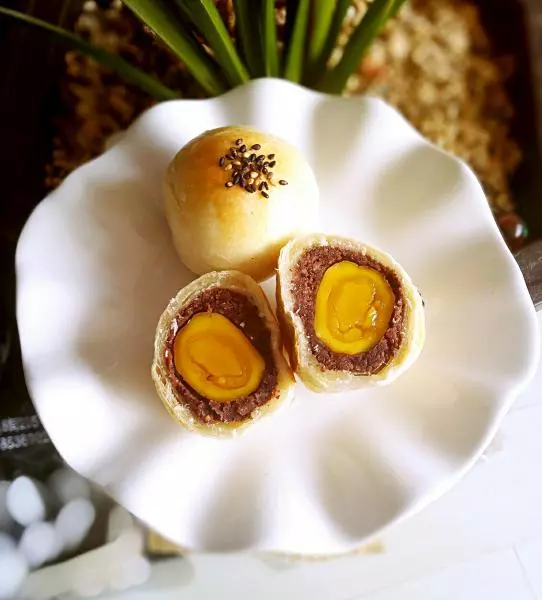
19开动啦~~

小技巧
- 每个步骤注意饧发才不容易破皮。 2. 自己腌制的蛋黄可以提前喷白酒180度烤5-6分钟。