原料
油皮:中筋面粉: 180克, 猪油: 40克, 糖: 35克, 水: 85克, 油酥:低筋面粉: 120克, 猪油: 60克, 咸鸭蛋黄: 16个, 豆沙: 480克
步骤
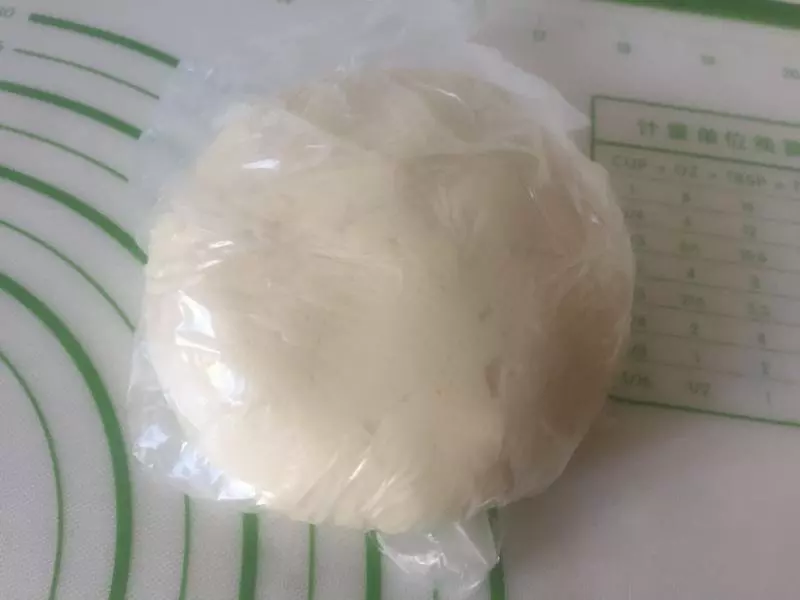
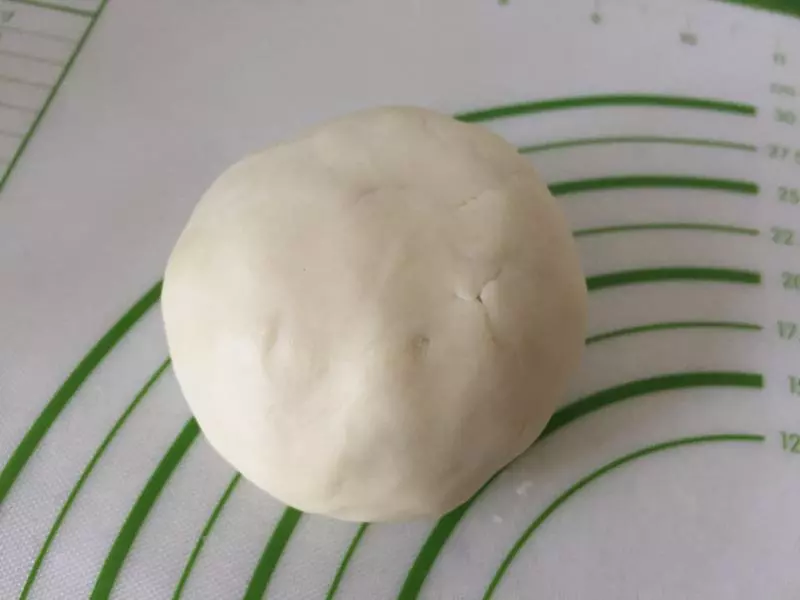
1油皮的所有材料放在面包桶内启动揉面程序揉25分钟左右,装保鲜袋密封静置40分钟。
2油酥的材料同样揉成面团装保鲜袋放一边静置备用。
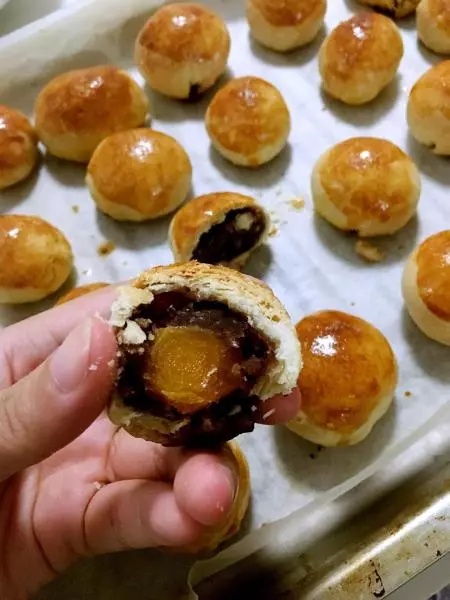
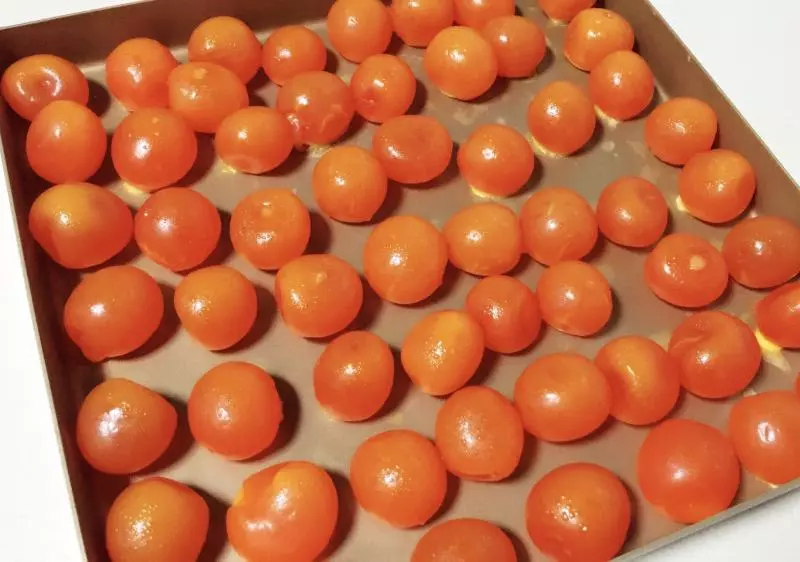
3咸蛋黄去掉蛋清,在蛋黄上喷上白酒烤箱200度烤五分钟。 蛋黄上有一层薄薄的膜一定要剥掉,否则会腥气,喷白酒也是为了去腥。
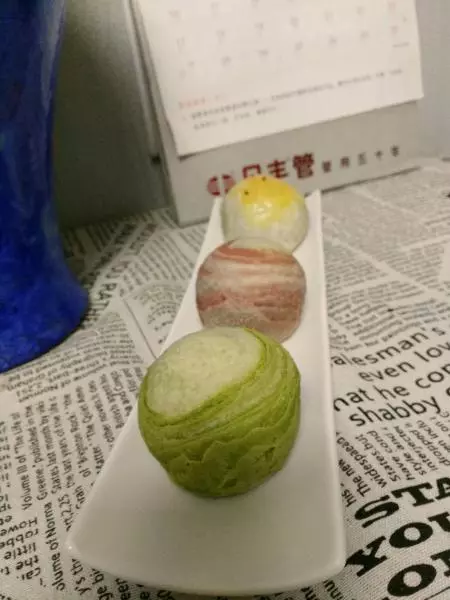
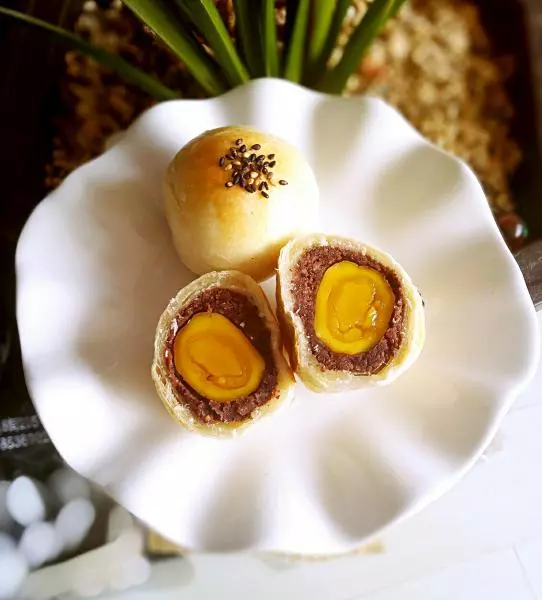
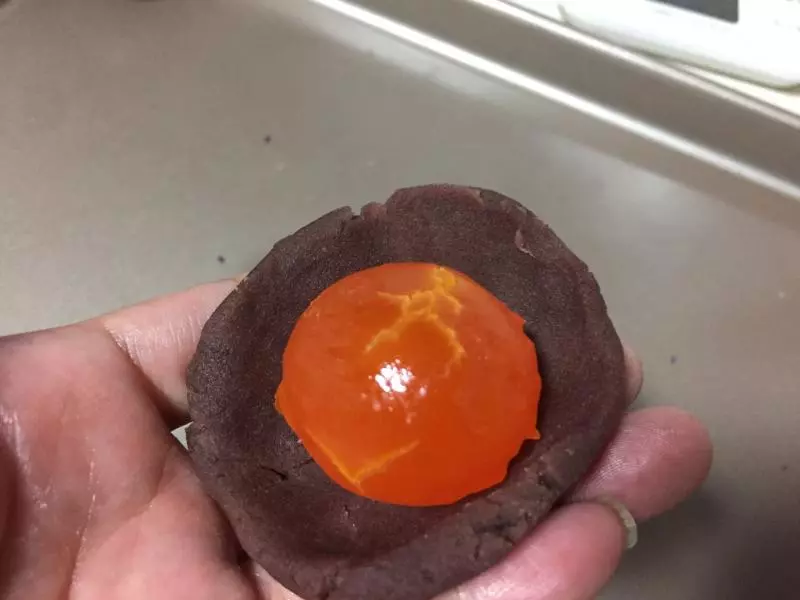
4豆沙馅和蛋黄称重一共43克左右,紫薯捏成薄的圆片中间放一个蛋黄,把蛋黄包起来。
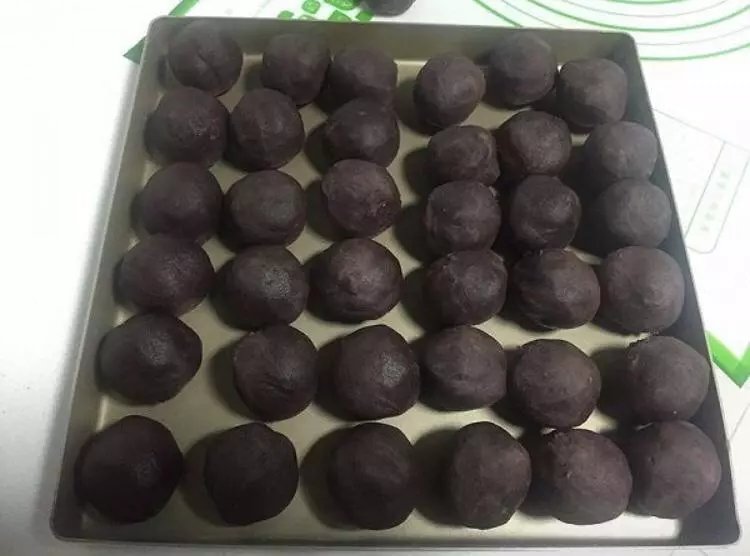
5全部包好放置一边备用,记得盖保鲜膜,天热可以放冰箱,猪油遇冷凝固,凝固了比较好包。
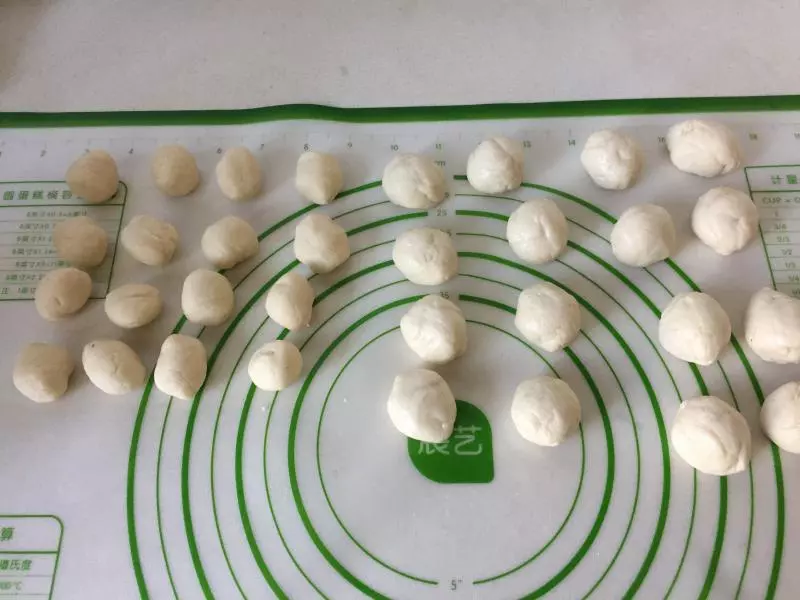
6油皮和油酥各分成12个等份。
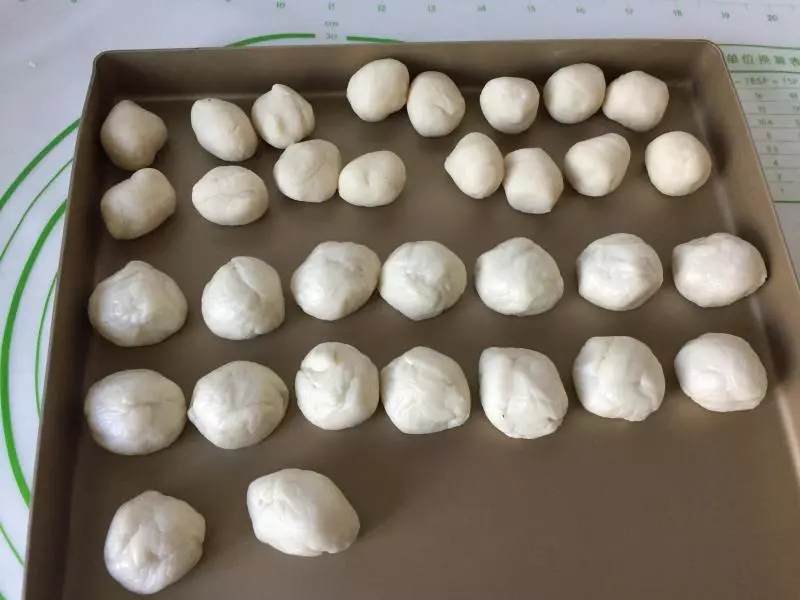
7取一个油皮捏成圆片放进一个油酥。 把油酥包进去,收口的地方朝下放在一边,全部包好。
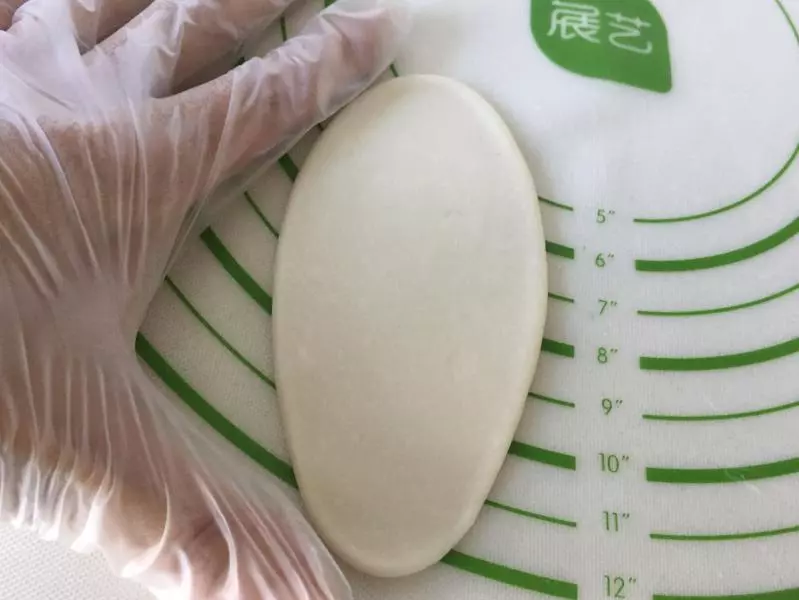
8取一个面团用擀面杖擀成牛舌状。
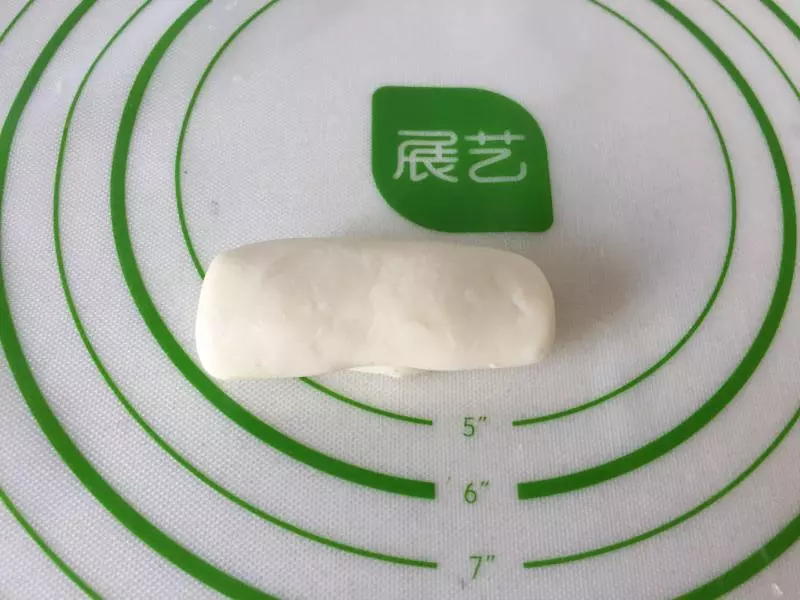
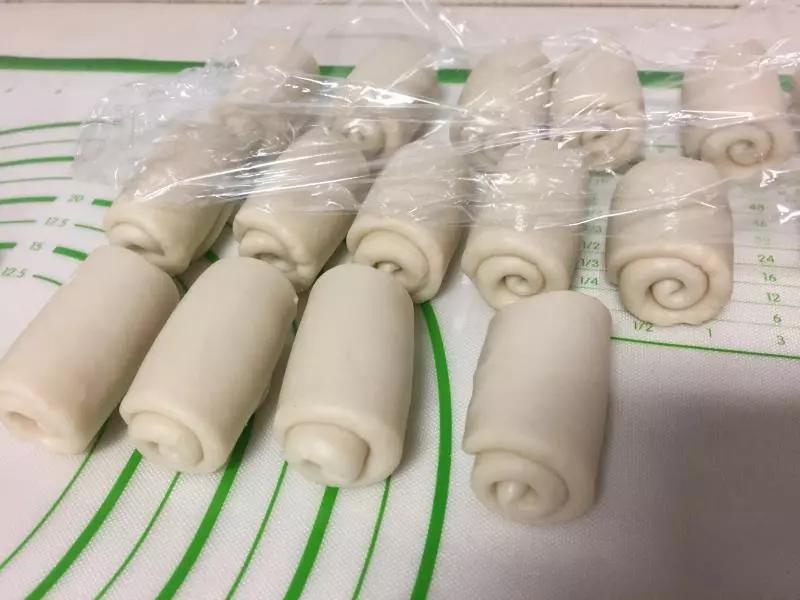
9推卷起来,收口的地方朝下放好,全部擀好盖保鲜膜静置20分钟。
10重复刚才的动作再次擀成牛舌状,推卷成筒状。 全部擀好盖保鲜膜静置15分钟。
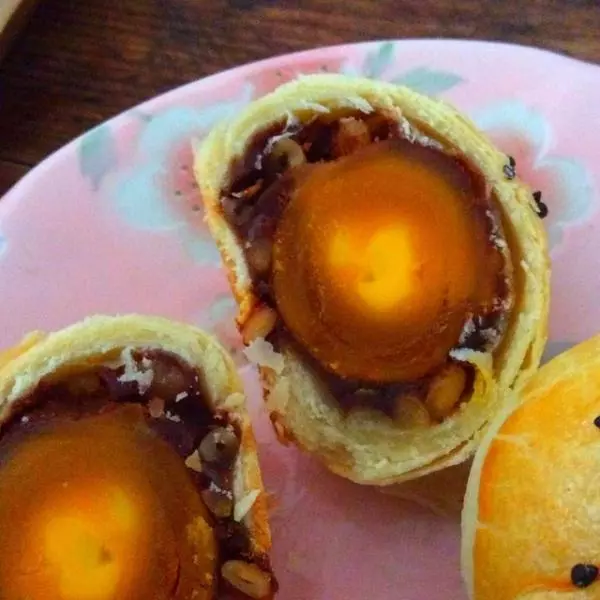
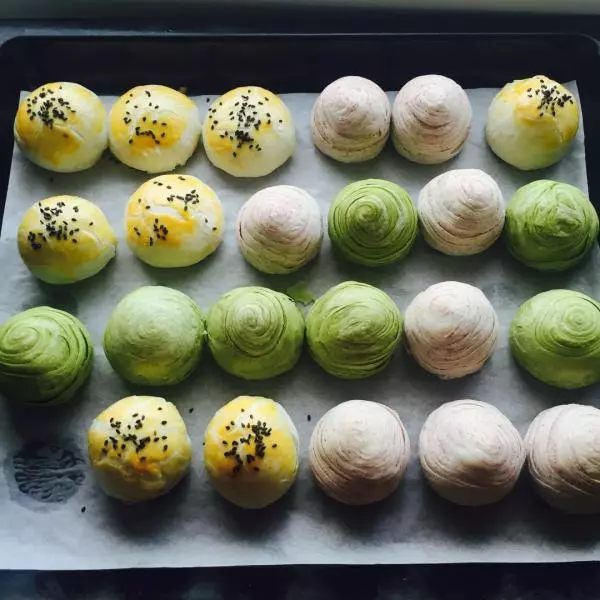
11取一个面团中间按一下,两头往中间折一下,擀成圆片,放上一个豆沙蛋黄馅。
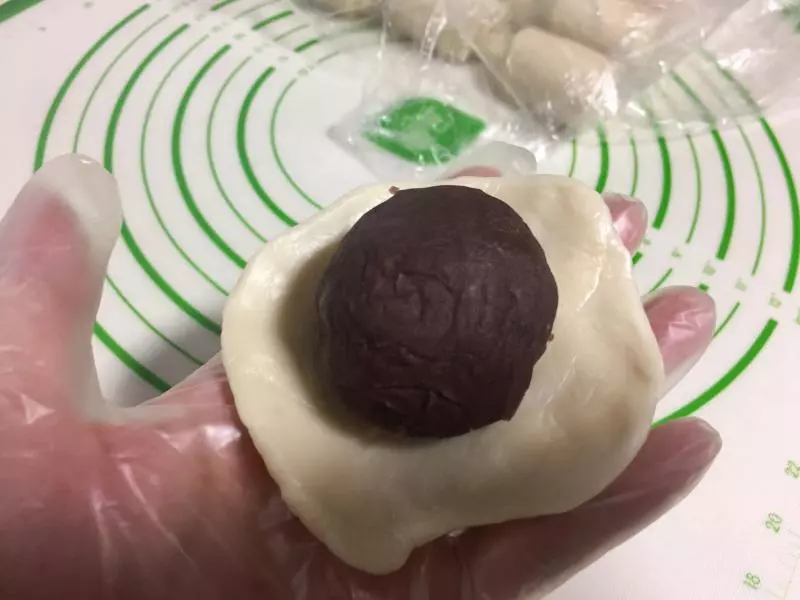
12用右手虎口的位置慢慢往上推,包住紫薯蛋黄,最后收口的地方多旋转几圈,不要有缝隙。
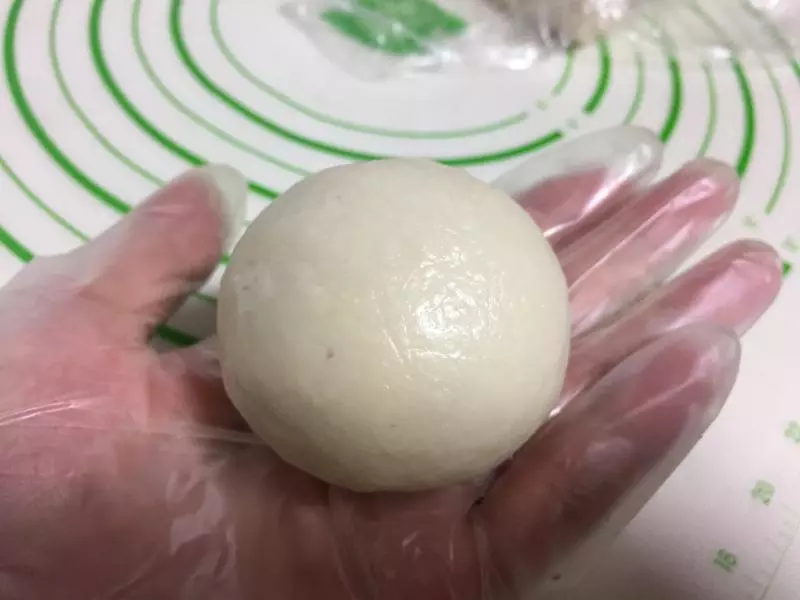
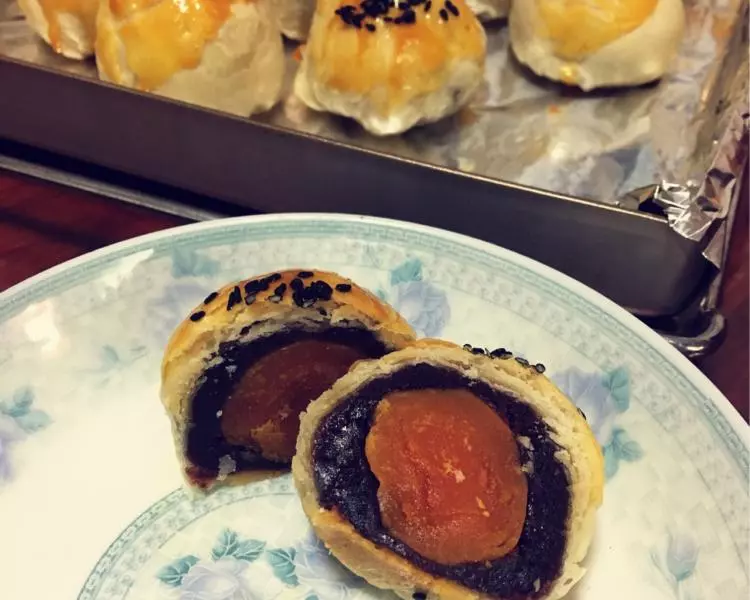
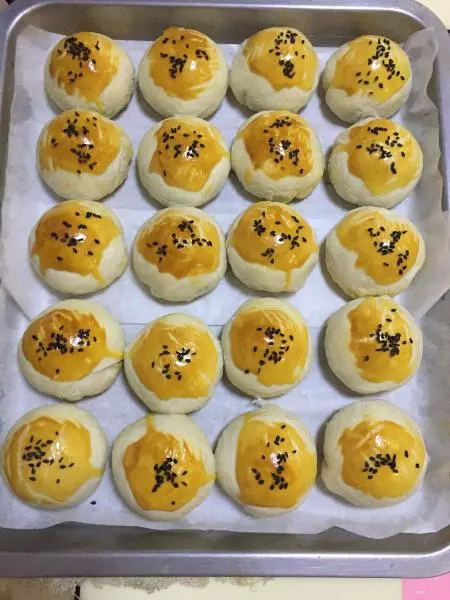
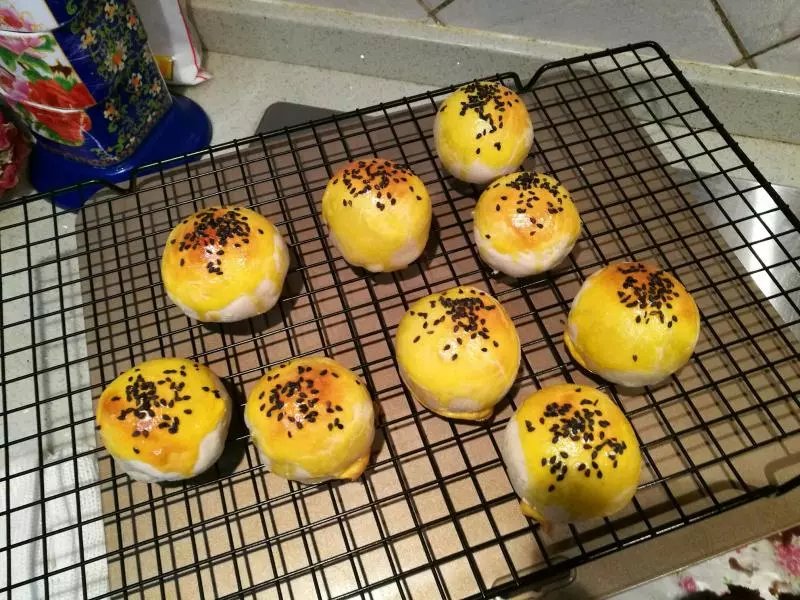
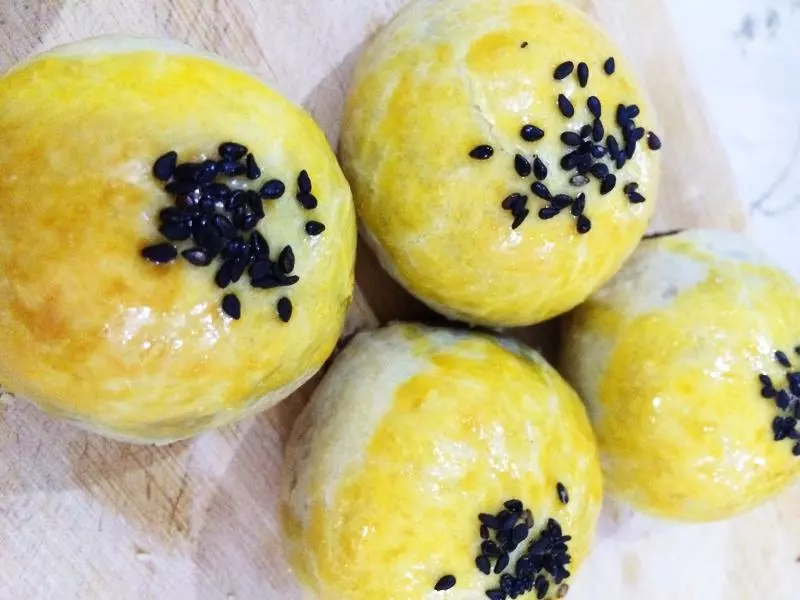
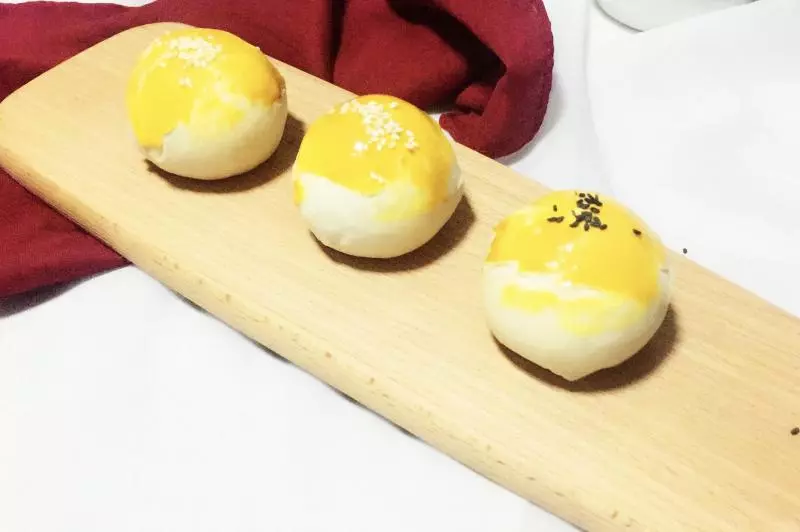
13全部包好,刷上蛋黄液。 这里用的是土鸡蛋,颜色非常漂亮。 最后可撒上芝麻装饰。
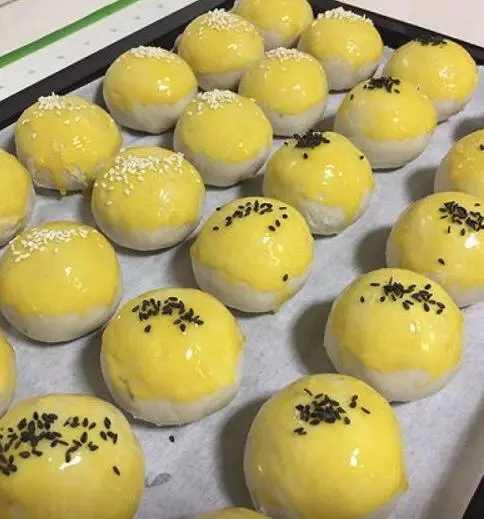
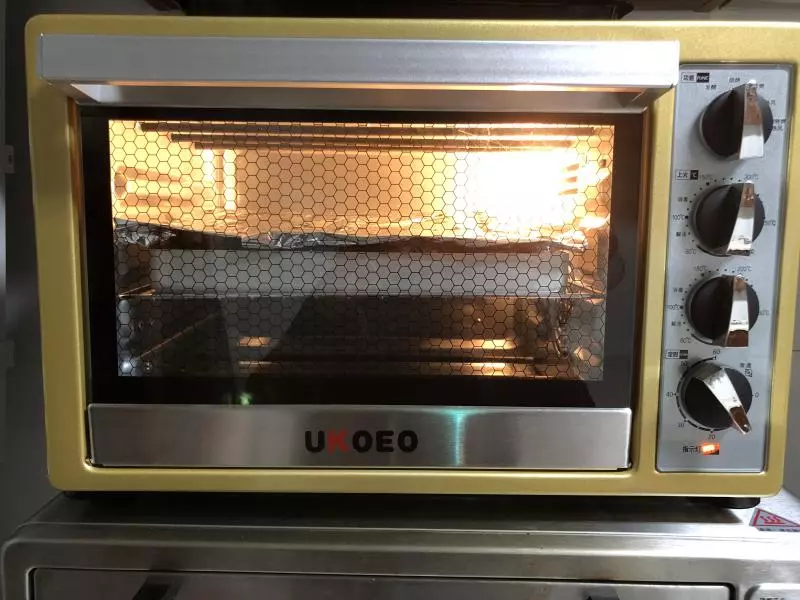
14烤箱提前预热,上下火170度烤35分钟。 时间温度根据自家烤箱调节。
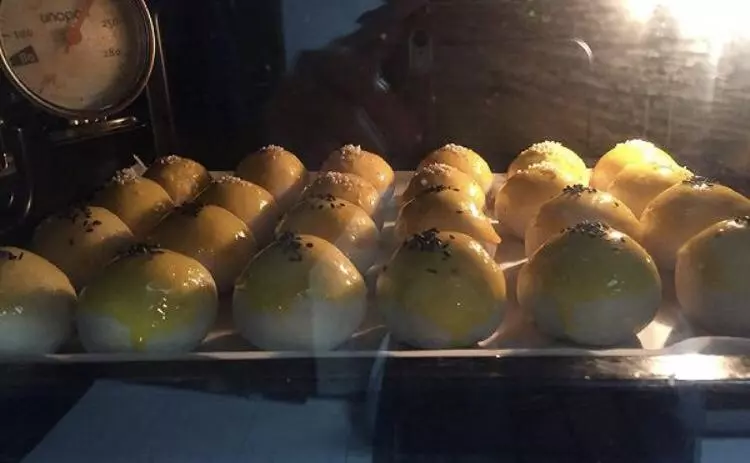
15中途多注意观察,上色差不多及时加盖锡纸。
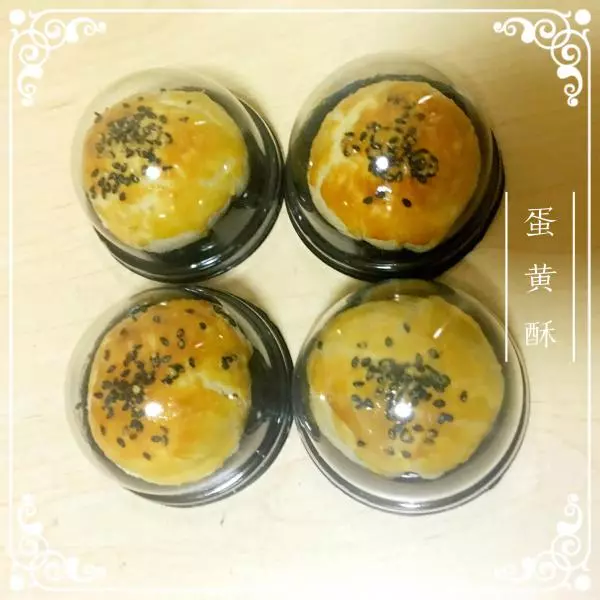
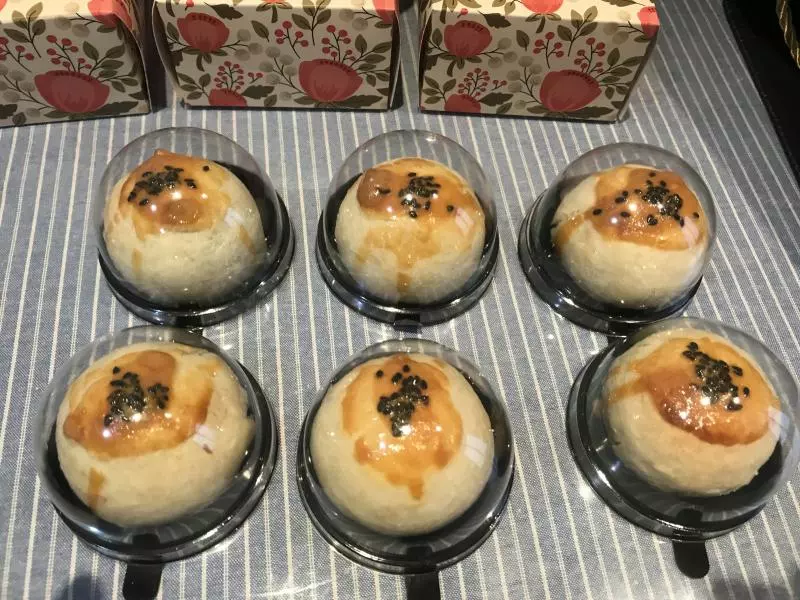
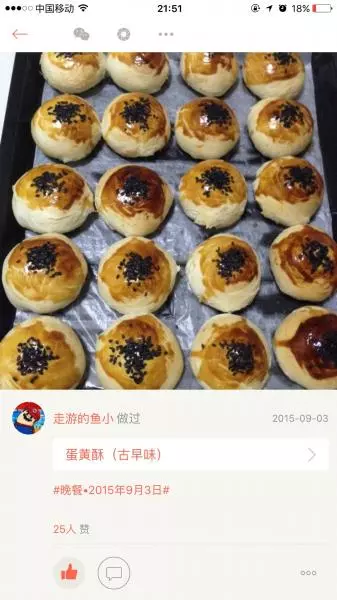
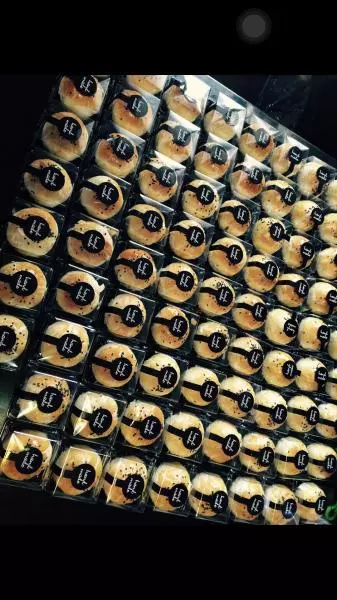
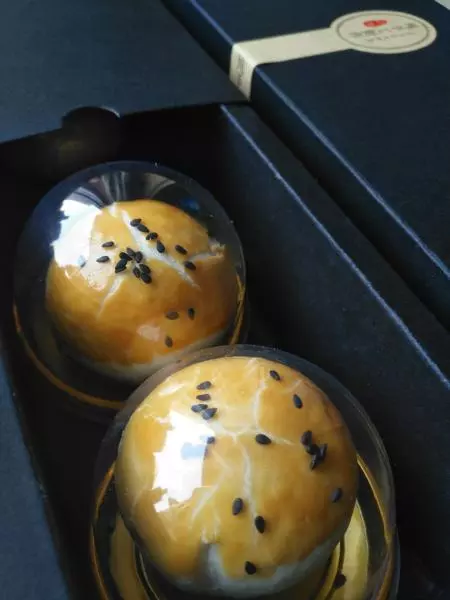
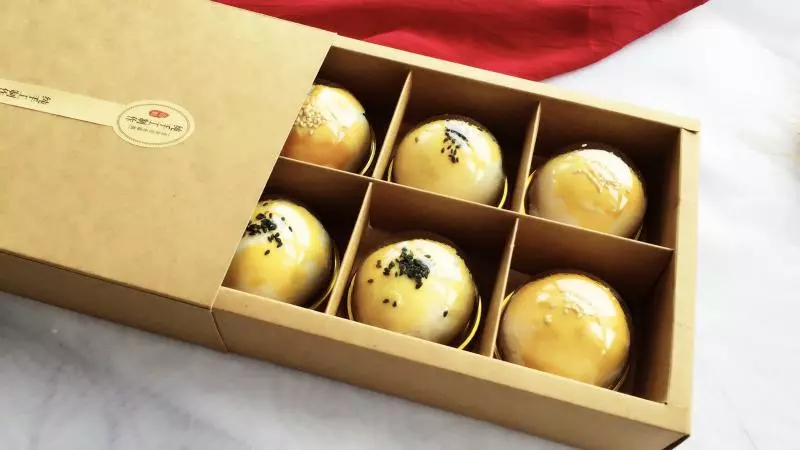
16出炉放凉密封包装,配上包装盒送人非常不错哦。
小技巧
1.糖和猪油用料不用再减了,我这个已经属于少油少糖版了;不喜欢猪油的可换成黄油或植物油; 2.夏天气温高的话,油酥在揉的时候粘手可放冰箱冷藏一会,猪油遇冷凝固后再揉就很容易成团; 3.擀的时候不要太长,也不要重复擀,从中间部位朝上擀一下再中间部位朝下擀一下即可,重复多次擀的出品会混酥,在最后包的的时候会破皮; 4.馅的部分可换成紫薯,莲蓉、椰蓉等等; 5.时间温度根据自家烤箱调节。 6.此配方可以做16蛋黄酥。