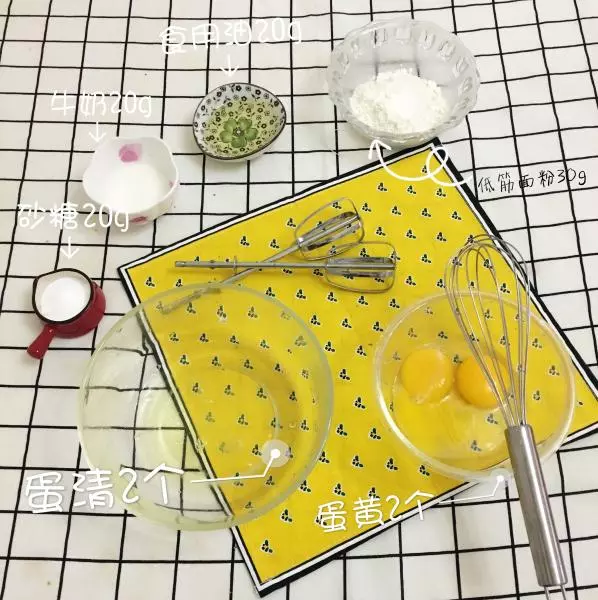
原料
鸡蛋: 2个, 牛奶: 20克, 食用油: 20克, 细砂糖: 20克, 低筋面粉: 30克
步骤
1姜姜,就是这些东西,是不是很眼熟……╮( ̄▽ ̄"")╭
2我用的是玉米油,没味道的油即可。
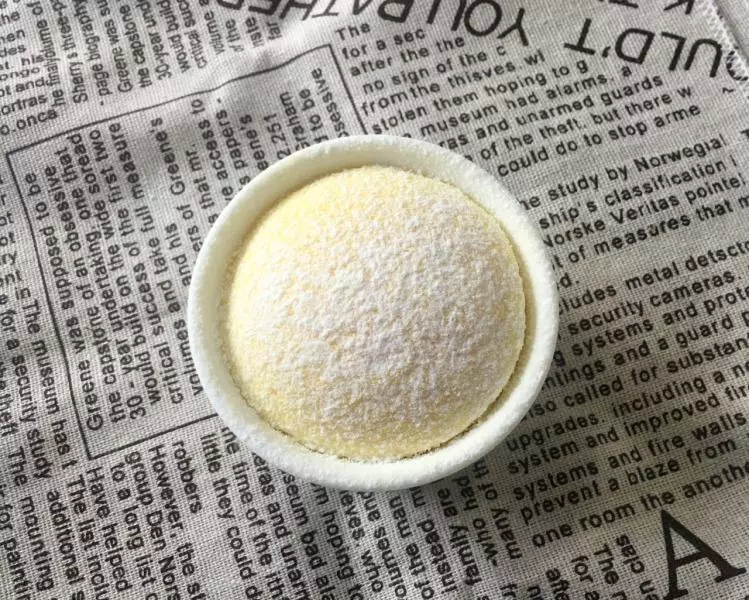
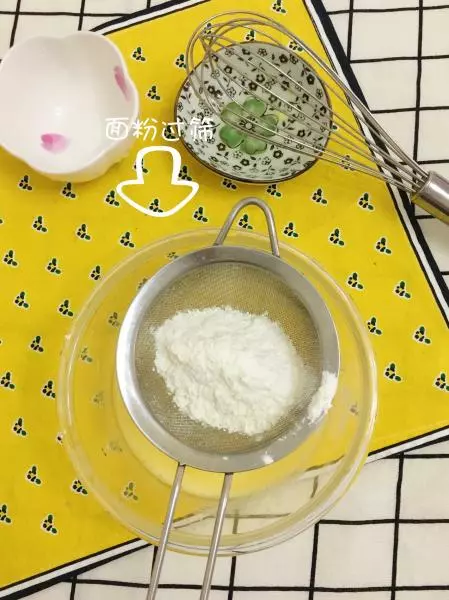
3面粉过筛
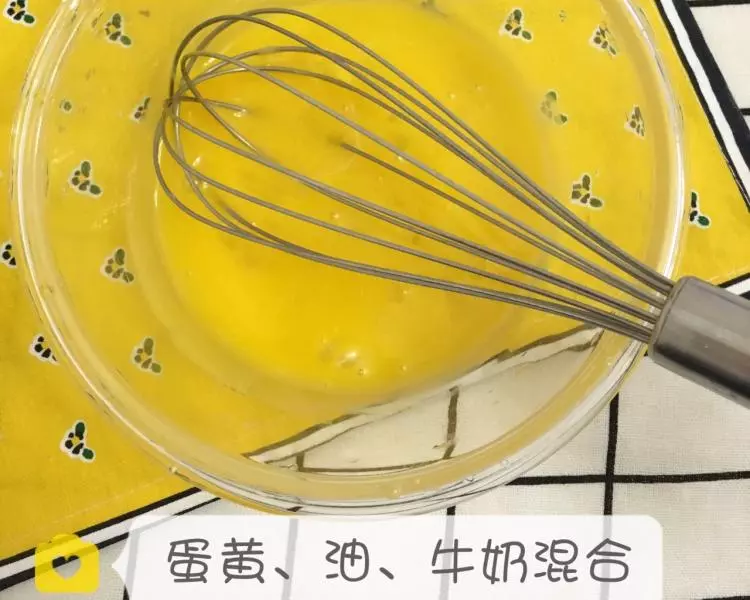
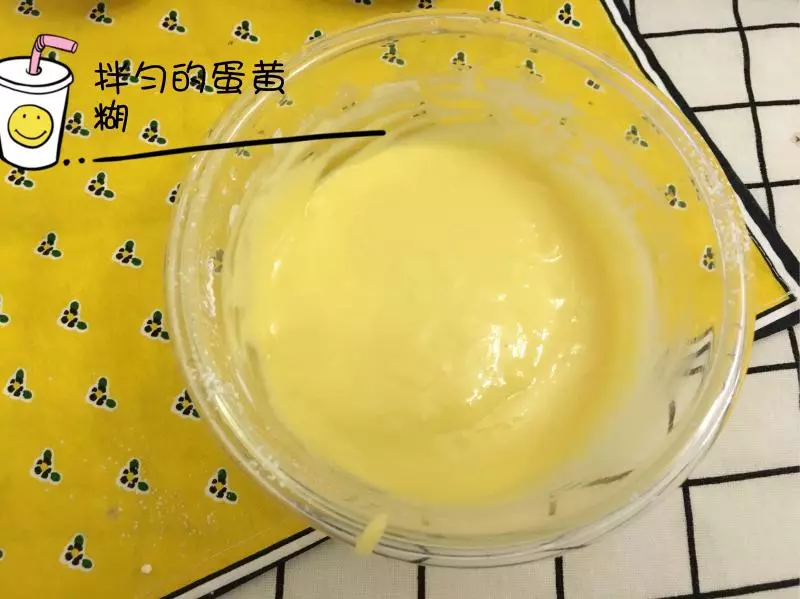
4蛋黄糊备用。
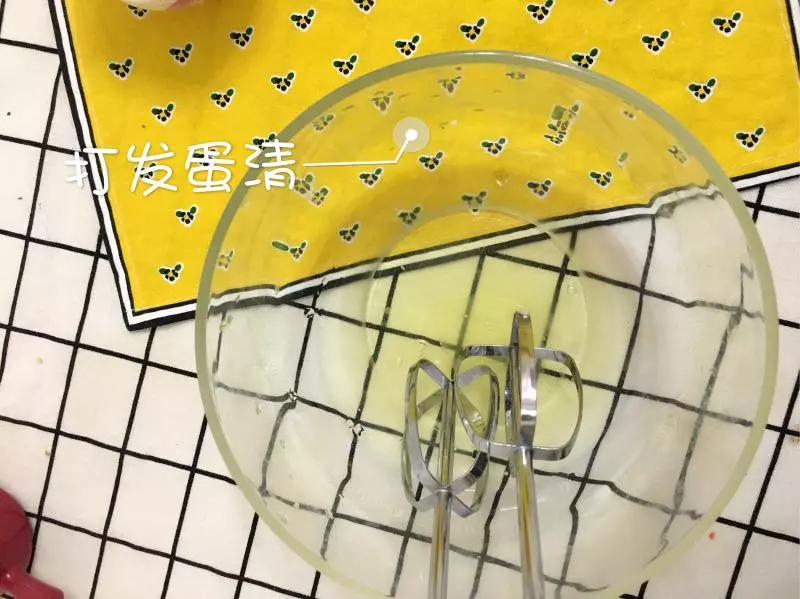
5打发蛋清。
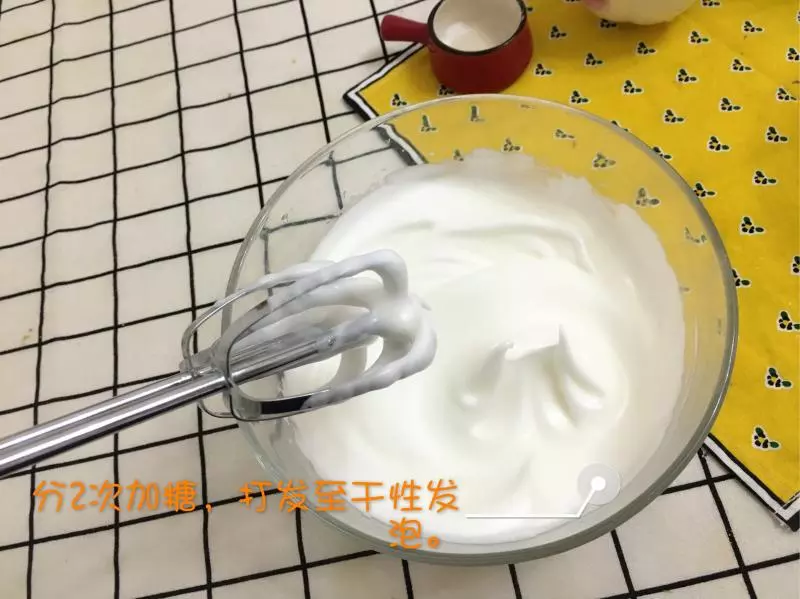
62次加入砂糖,打发到有小尖钩。糖不能再减啦!!!
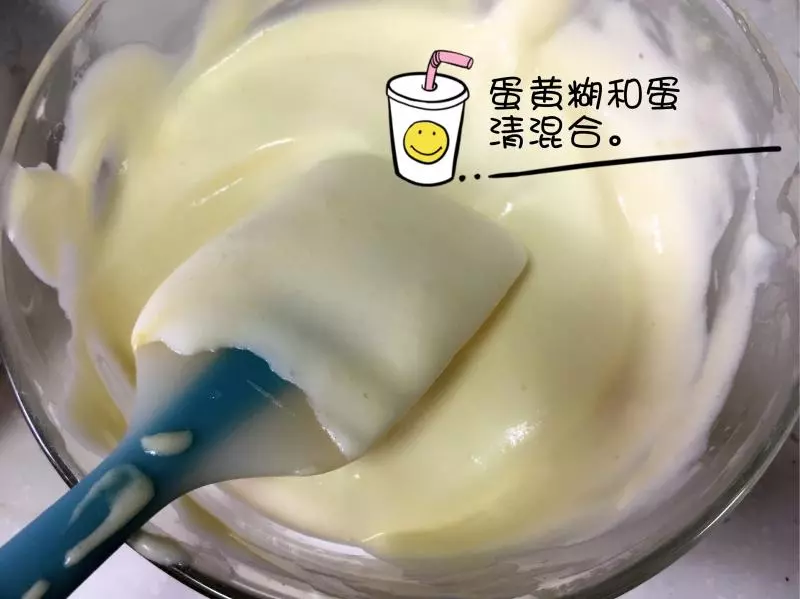
7混合的方法不用再多说了吧……
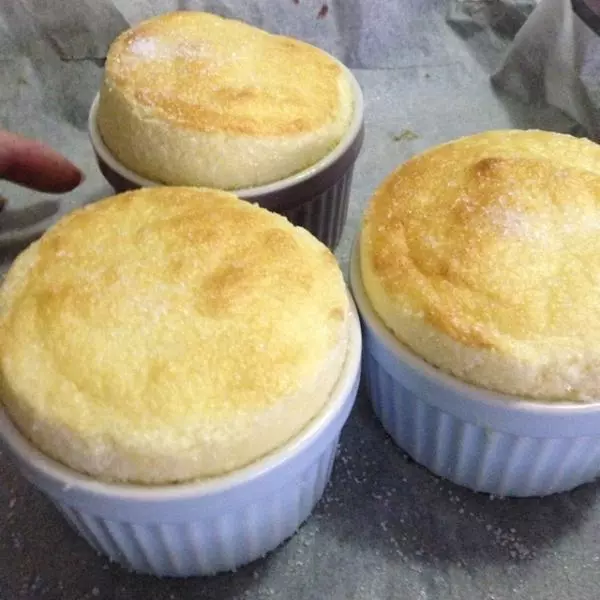
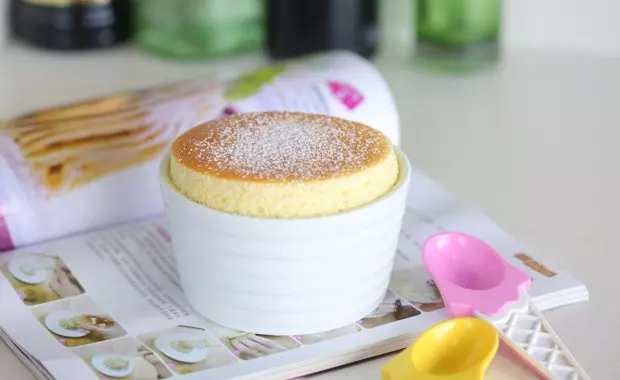
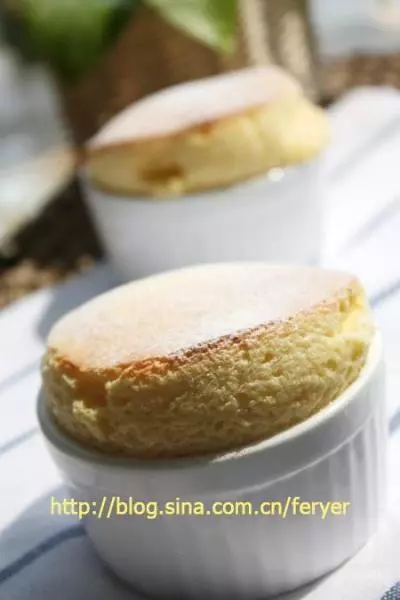
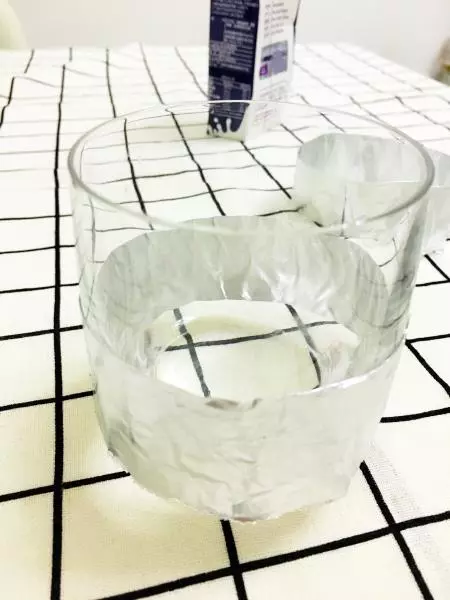
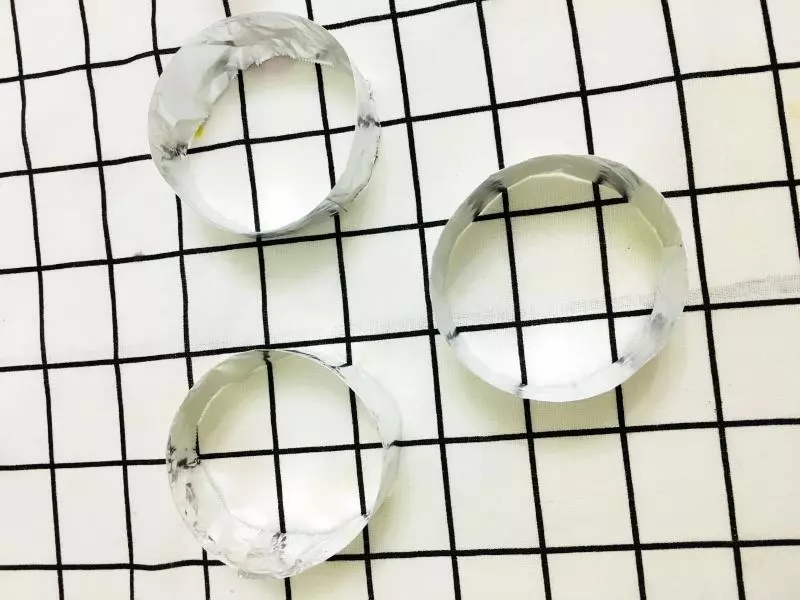
8锡纸折成三公分的圈,绕着杯子塑形。
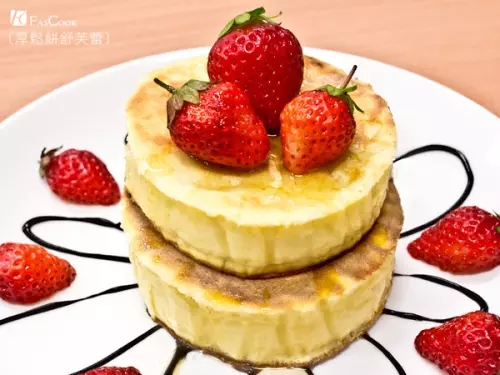
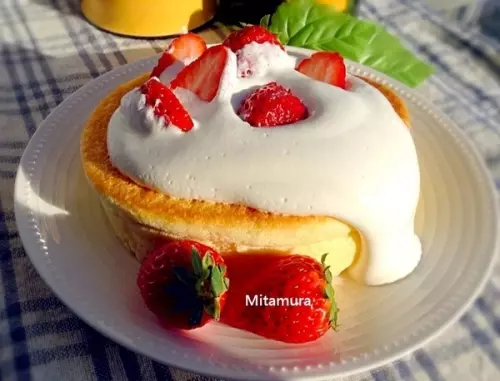
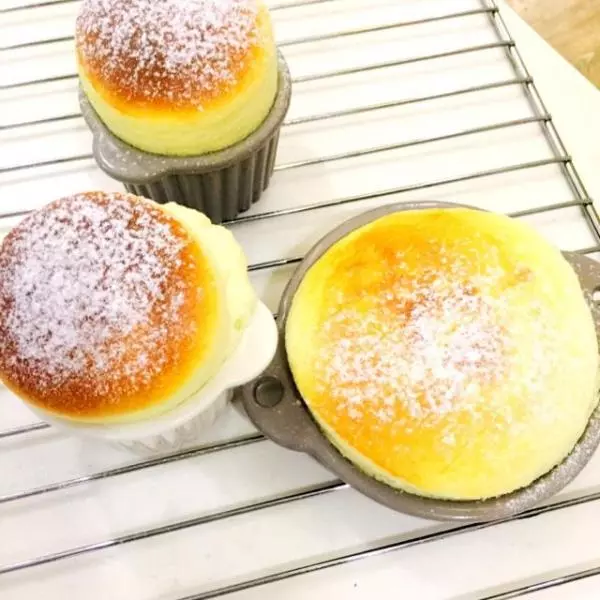
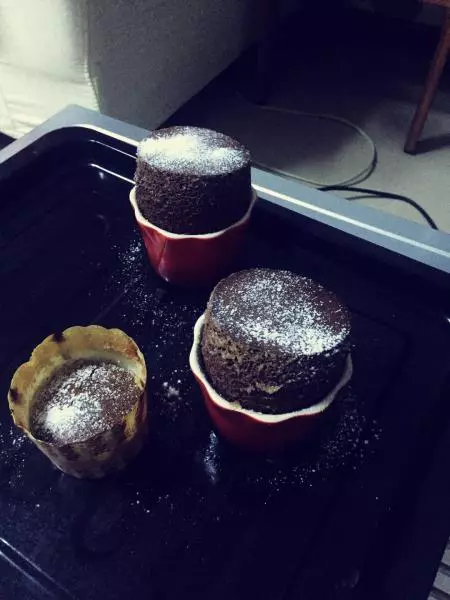
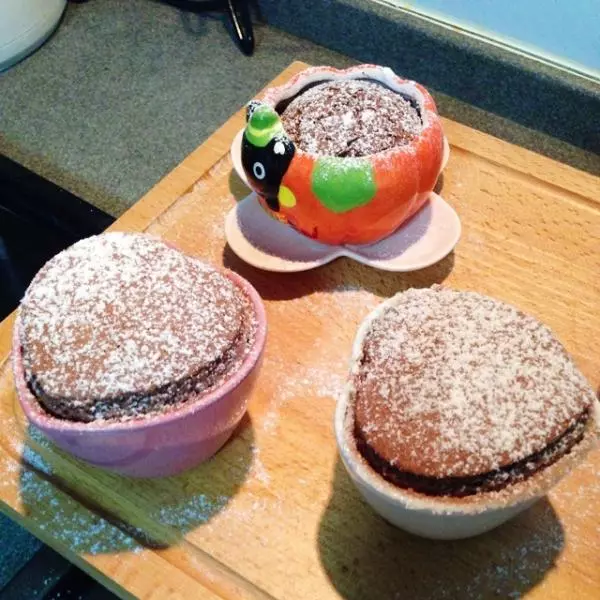
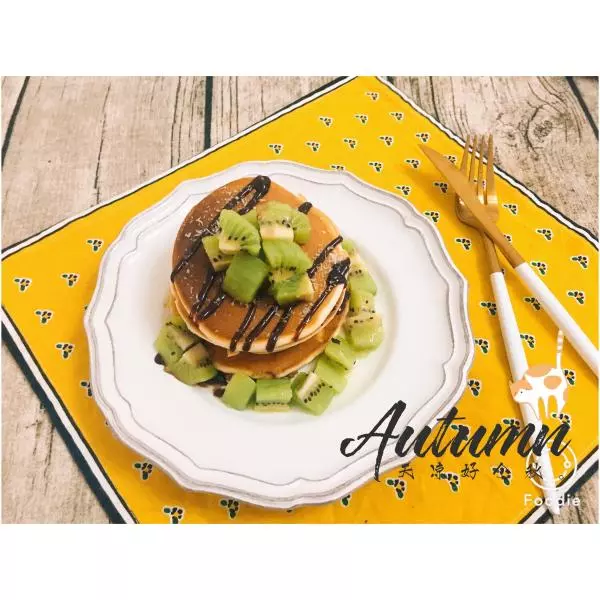
9这个方子大概三到四个的分量
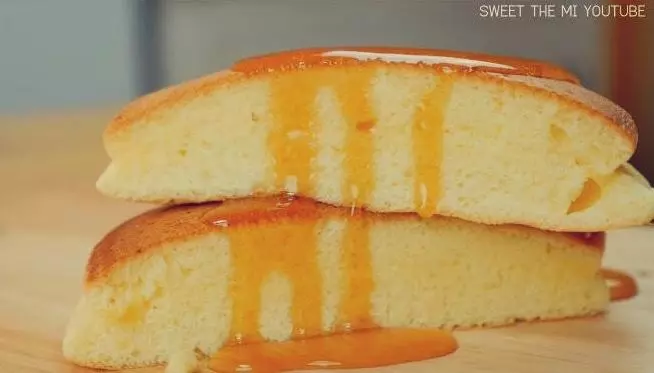
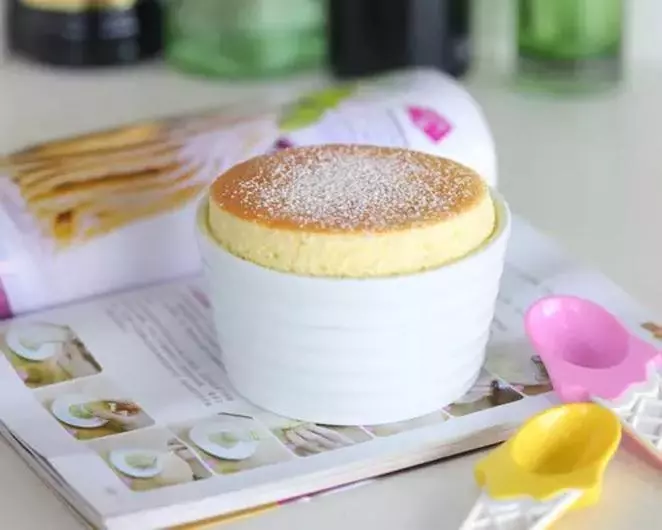
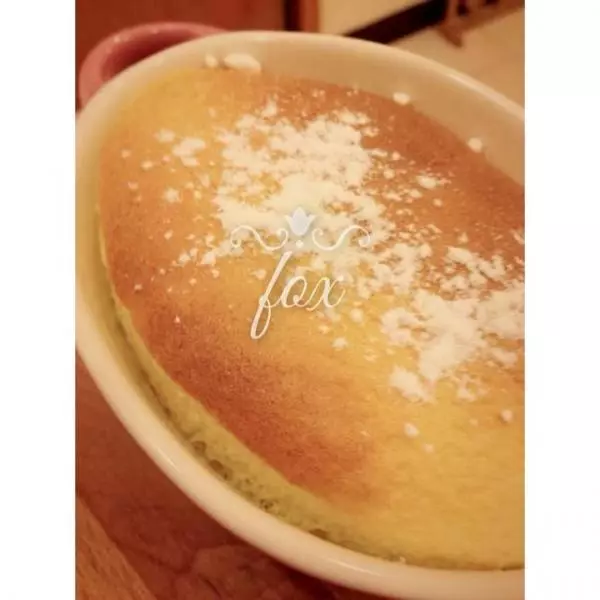
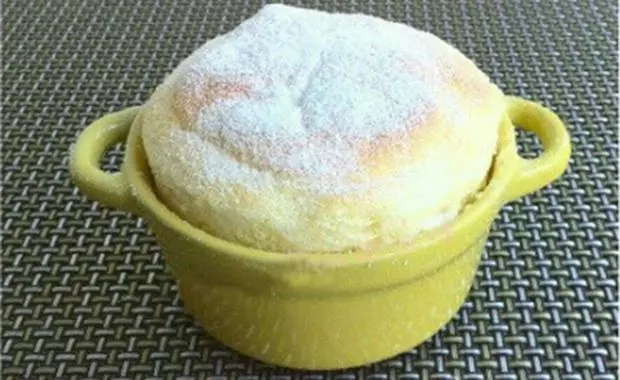
10是的,还挺容易塌的~不过塌到这个程度就不会再往下塌。
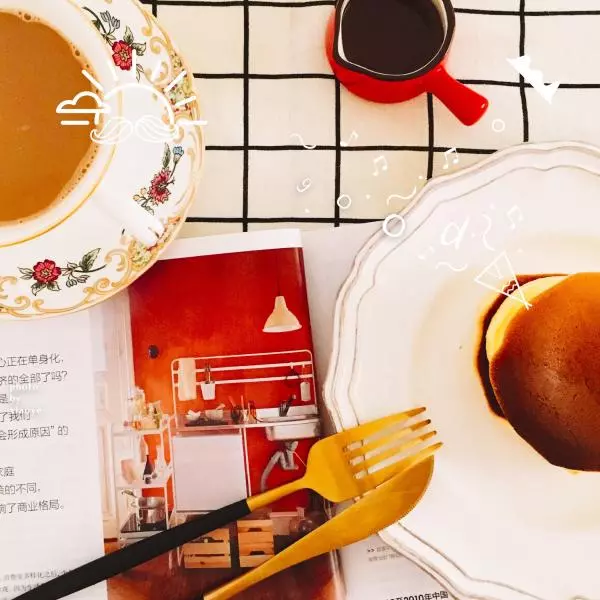
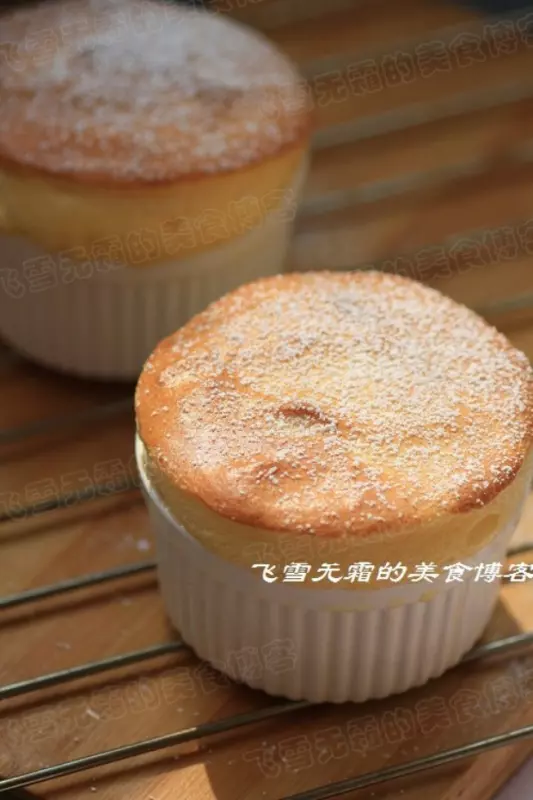
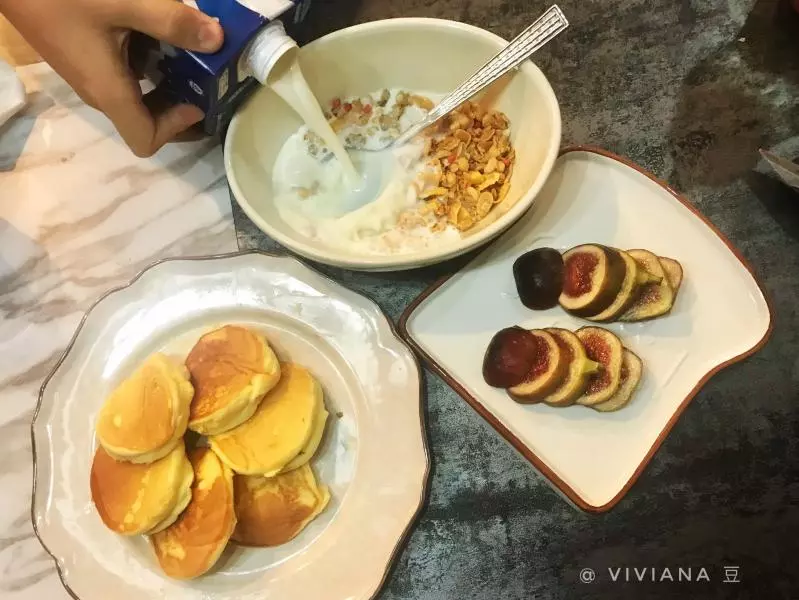
11榛子酱和松饼非常搭。
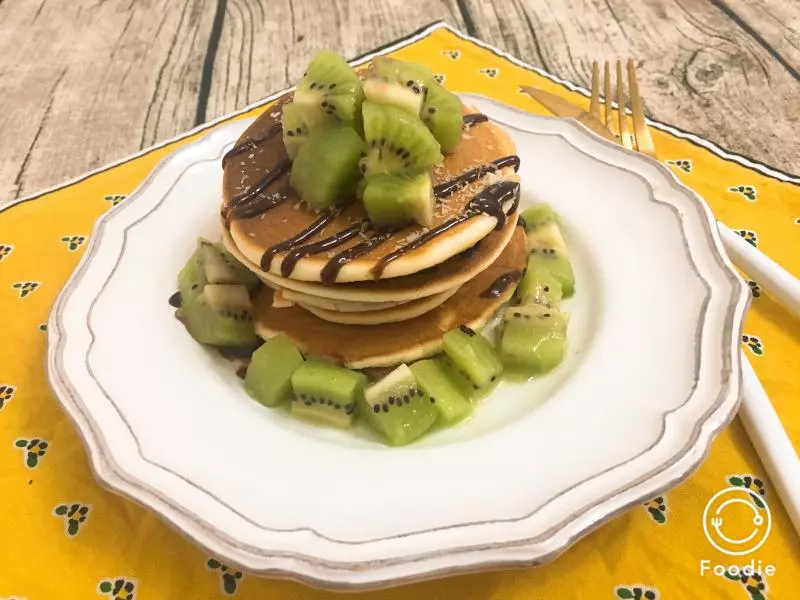
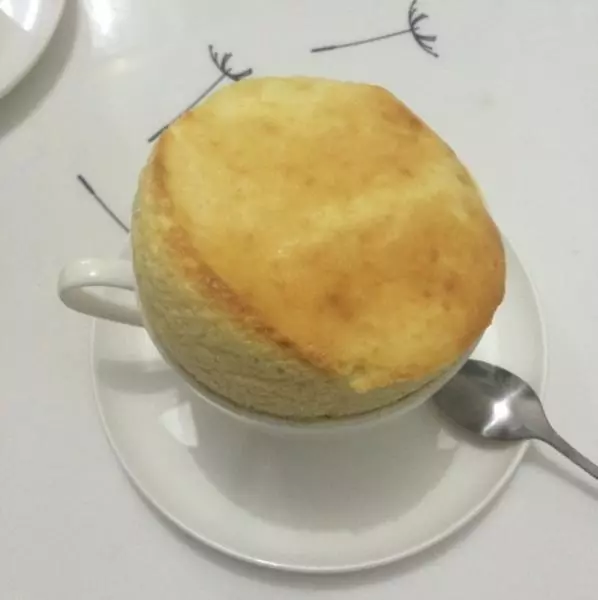
12懒得用模具的话就是酱shai的~更简单,也很松软~

13come on~~
小技巧
1、煎锅要小火!小火!小火!!! 2、盖盖子!盖盖子!!