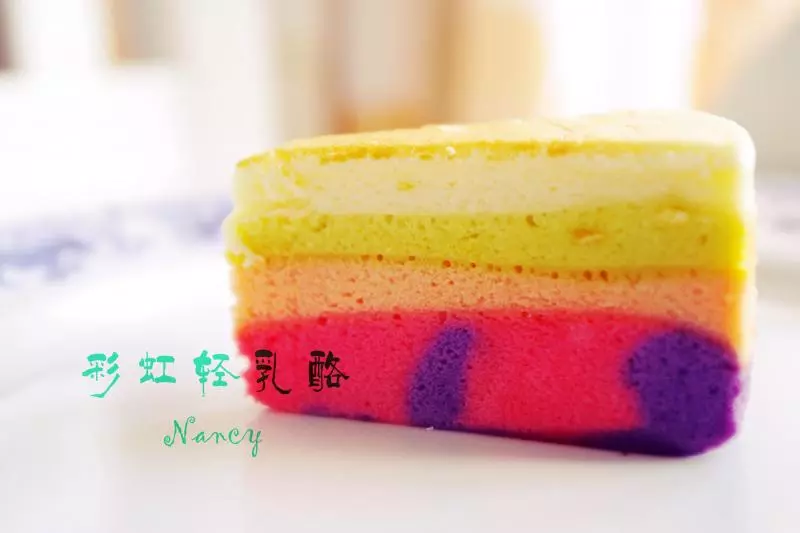
原料
奶油奶酪: 100克,A料, 红枣浓浆: 15克,B料, 黑芝麻酱: 15克,A料, 低粉: 35克,B料, 水: 25克,B料, 蛋黄: 60克,C料, 蛋白: 90克,D料, 细砂糖: 30克,D料
步骤
1奶油奶酪室温软化后打顺滑
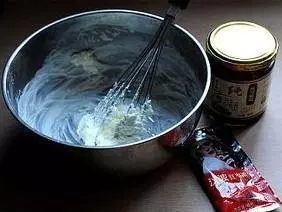
2加入A中液体材料
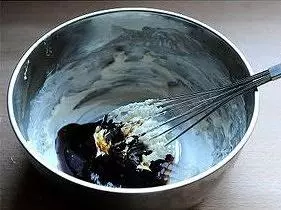
3搅匀
4原料B中,将低粉与红枣水拌匀
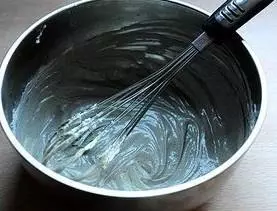
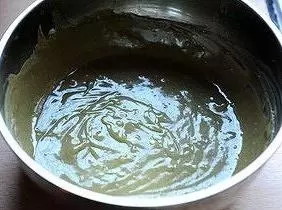
5混合3与4,隔沸水搅拌至奶酪面糊逐渐变浓稠,搅拌有阻力,其间会有颗粒感
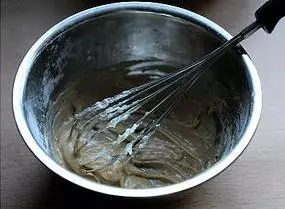
6离水后继续搅拌至浓稠顺滑

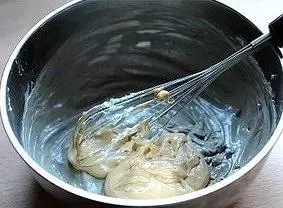
7分次加入C料中的蛋黄
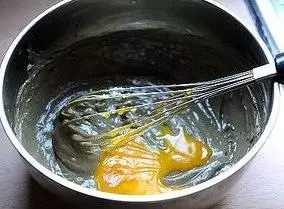
8搅拌均匀
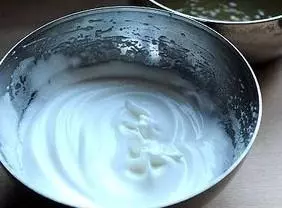
9戚风法打蛋白至湿性发泡
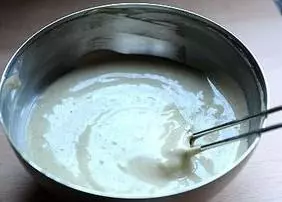
10三分之一法与蛋黄奶酪糊混拌均匀
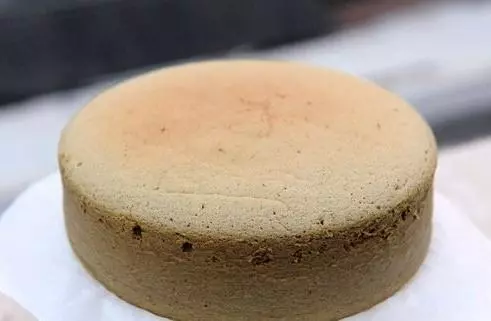
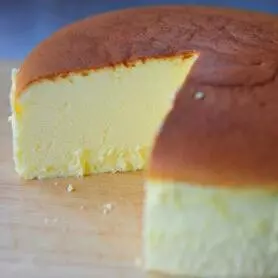
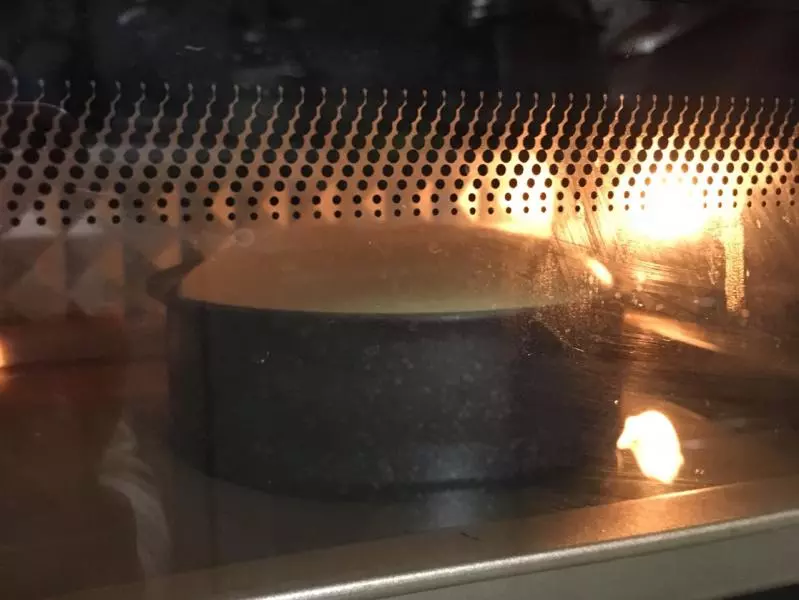
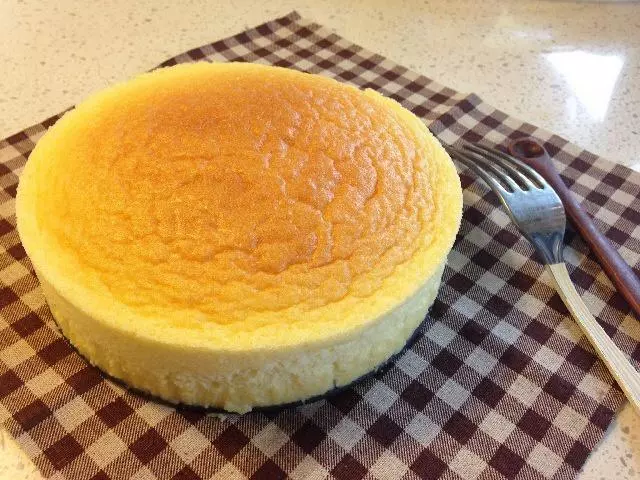
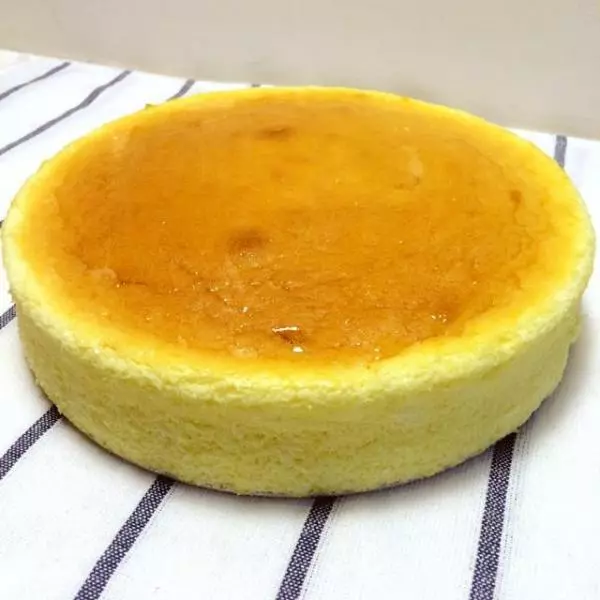
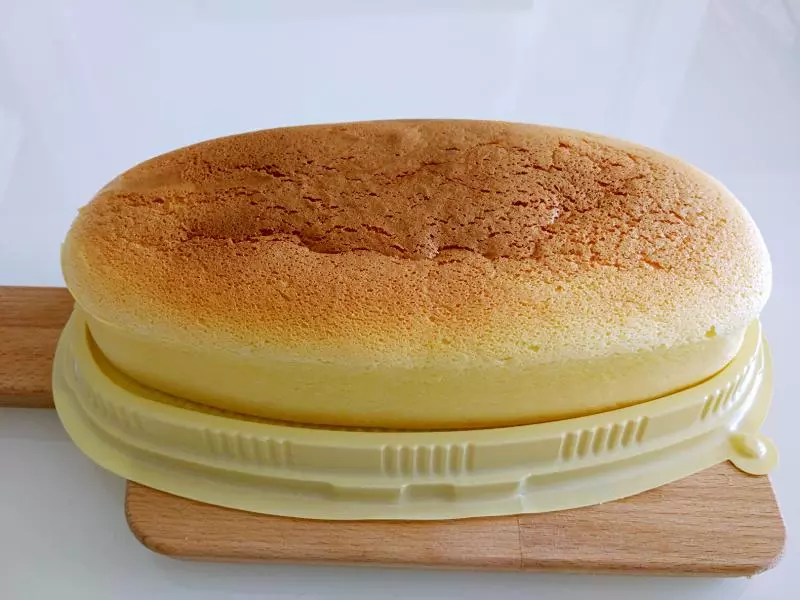
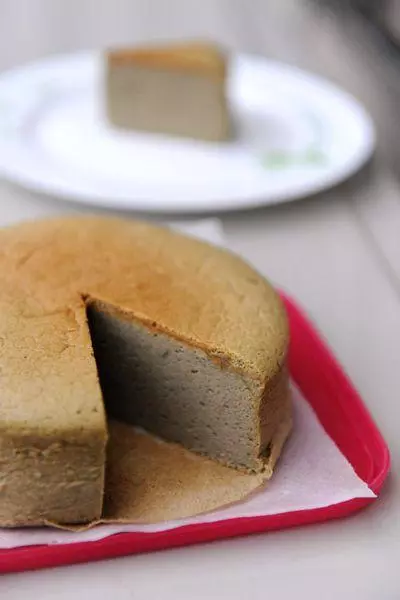
11不粘固底模底部垫油纸,倒入蛋糕糊
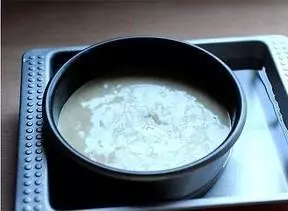
12烤箱预热,水浴,160摄氏度60分钟,烤温及时间需自行调整
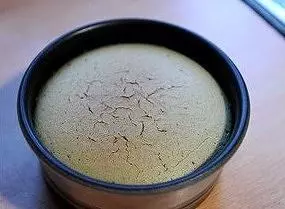
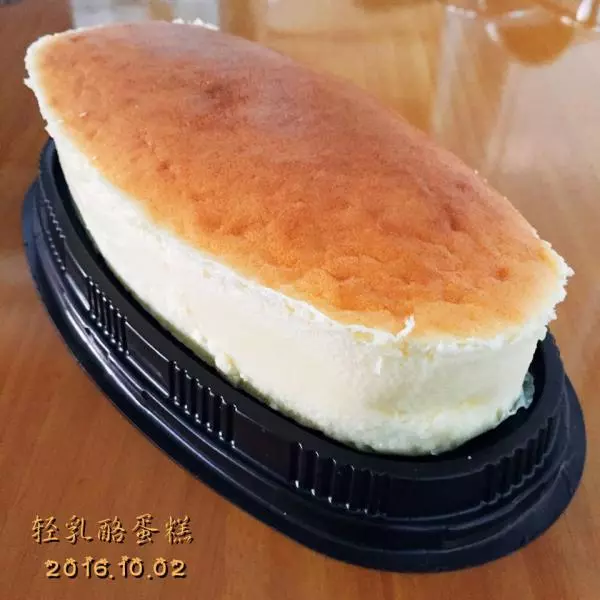
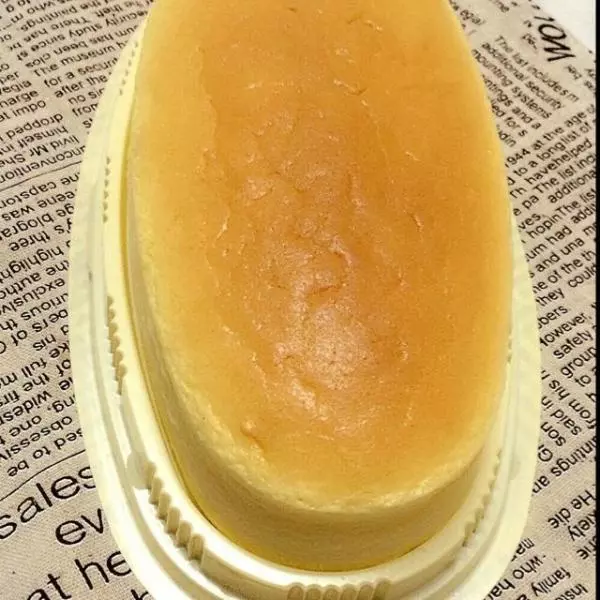
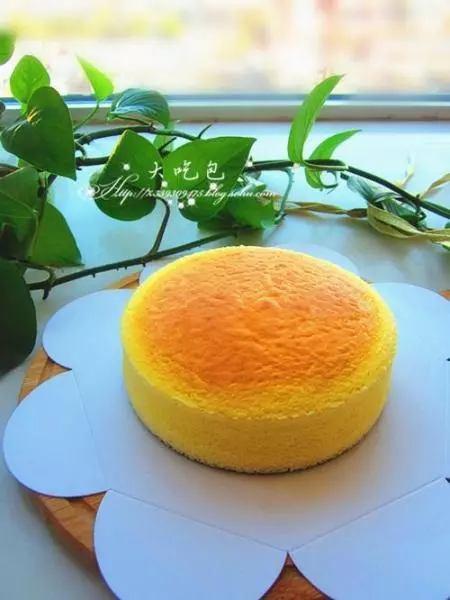
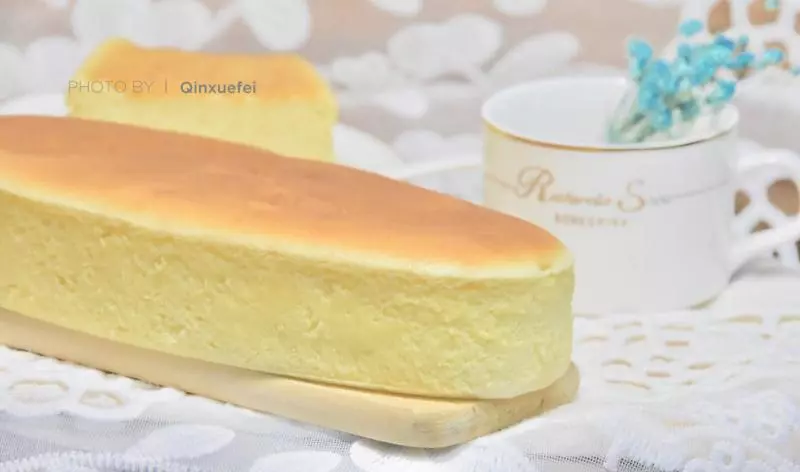
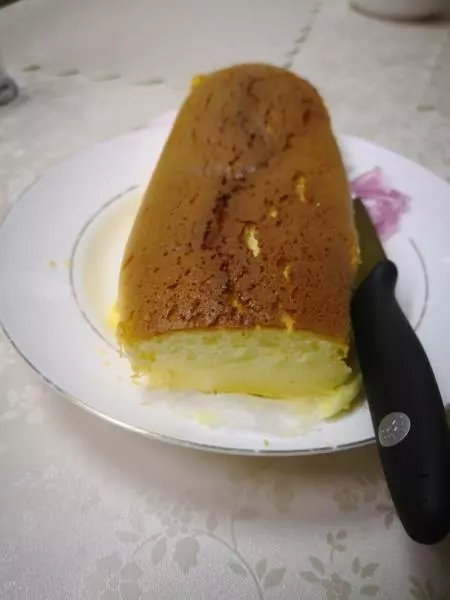
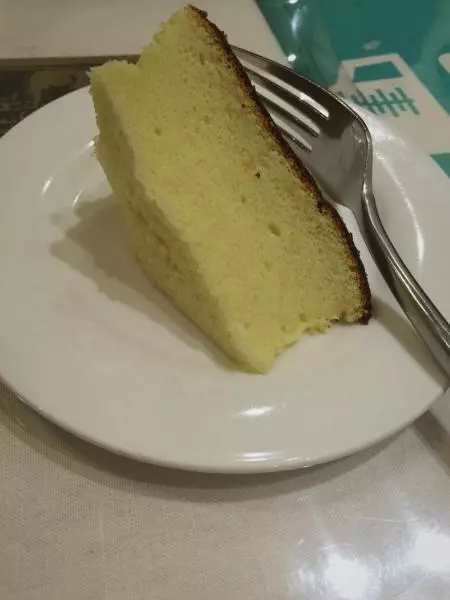
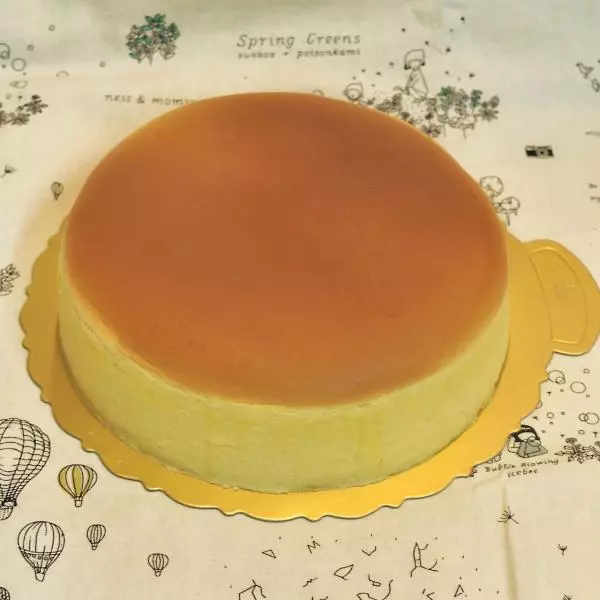
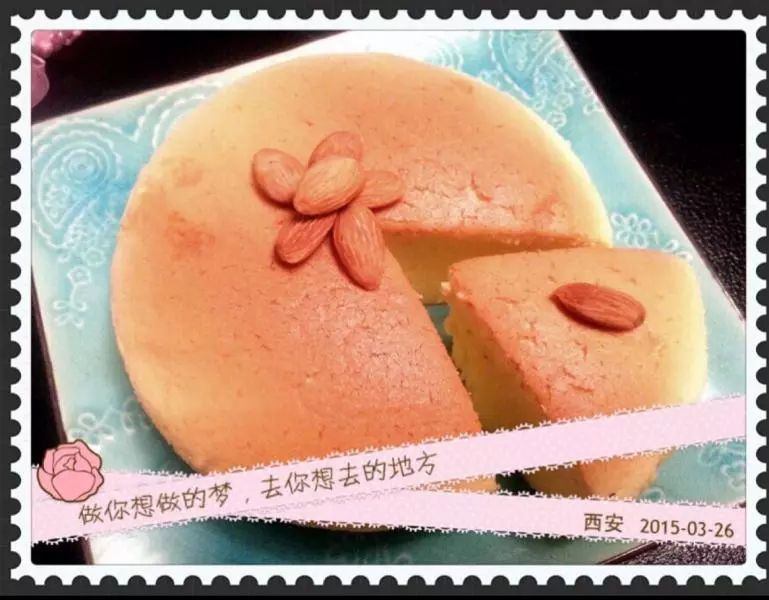
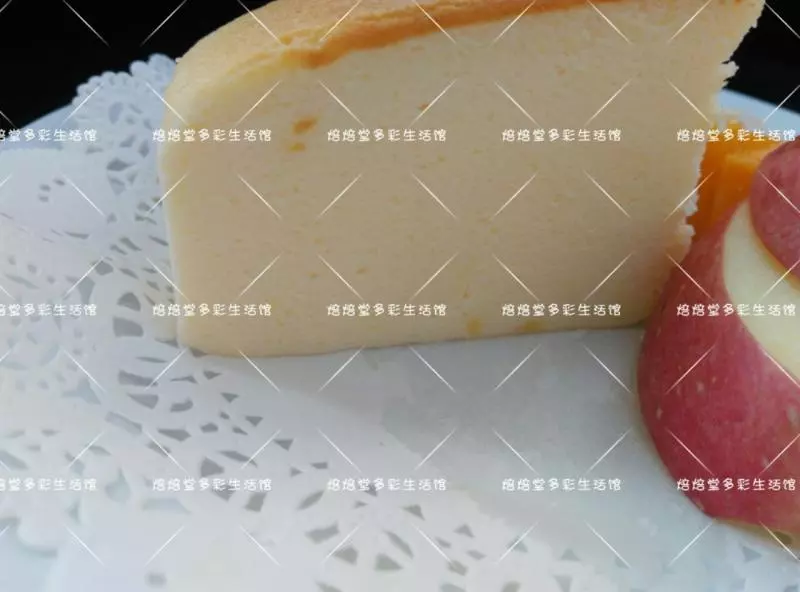
13出炉后稍稍放凉,脱模,入冰箱冷藏就好啦