原料
【蛋黄糊】: , 奶油奶酪: 150克, 温牛奶: 150克, 蛋黄: 3个, 黄油: 38克, 低筋粉: 30克, 玉米淀粉: 20克, 【蛋白糊】: , 蛋白: 3个, 砂糖: 75克
步骤
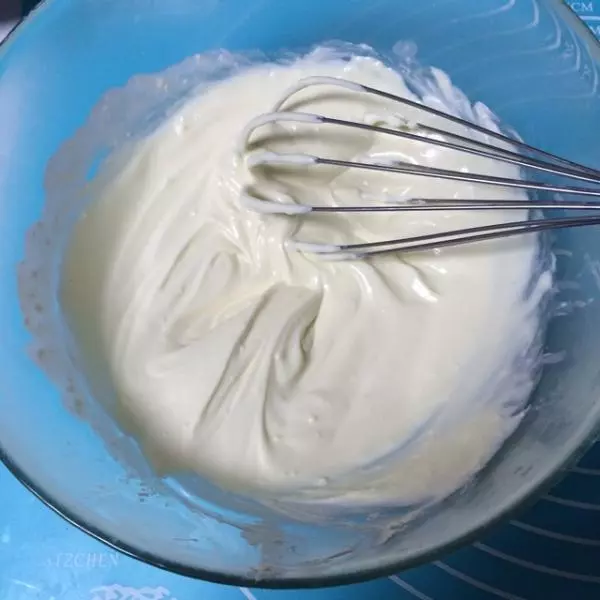
1奶酪切小块,微波炉叮一分钟至软化,倒入50克温牛奶,搅拌均匀至无颗粒
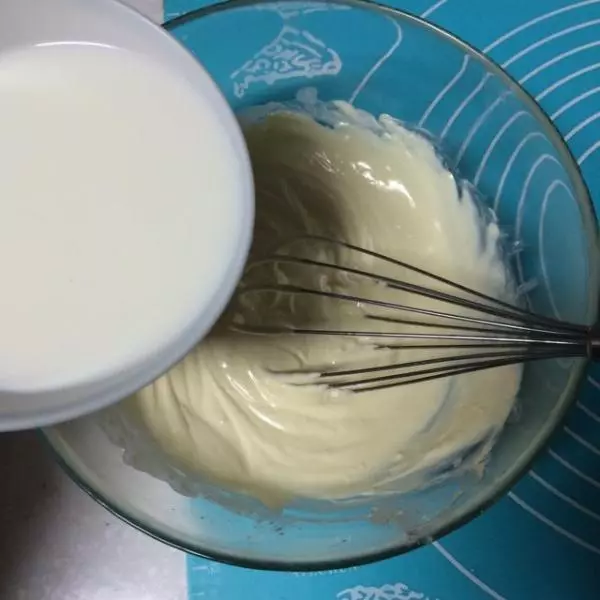
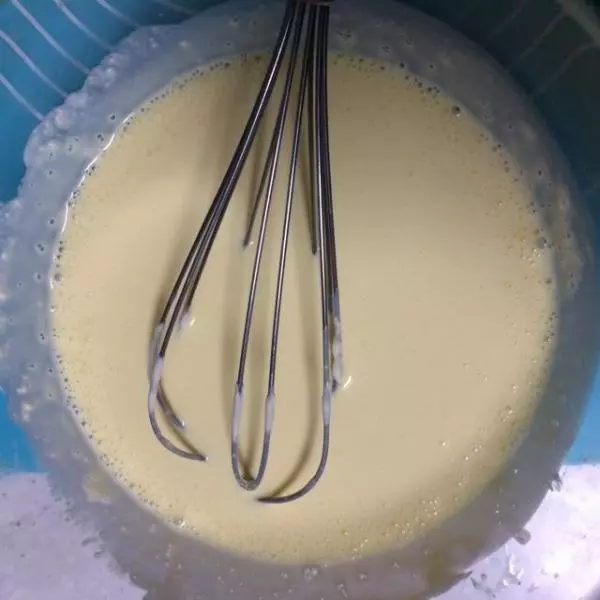
2分次少量加入剩余温牛奶,搅拌均匀
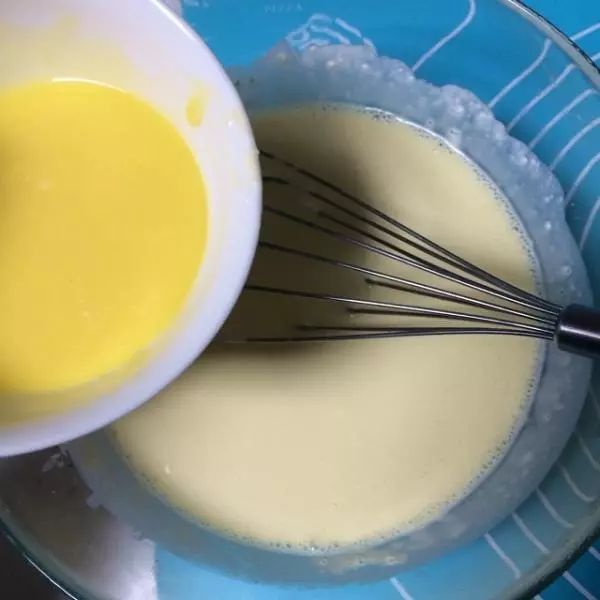
3蛋白蛋黄分离,蛋白放冰箱冷藏室备用,蛋黄一个个加入搅拌均匀
4黄油融化至液体,加入搅拌
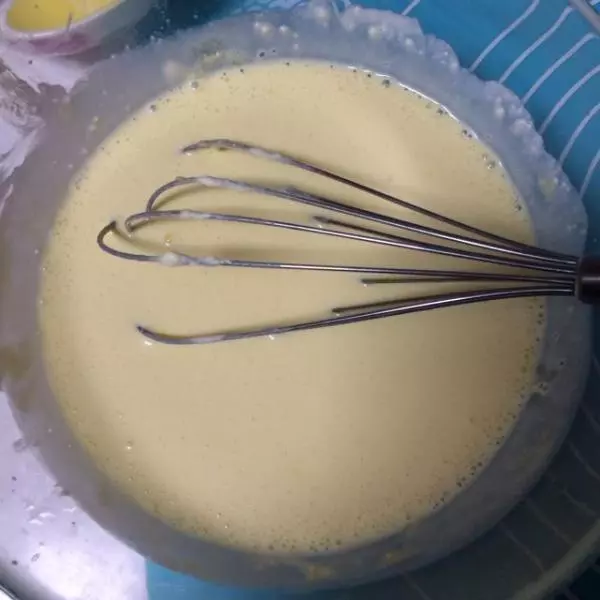
5粉类过筛,拌匀,蛋黄糊完成
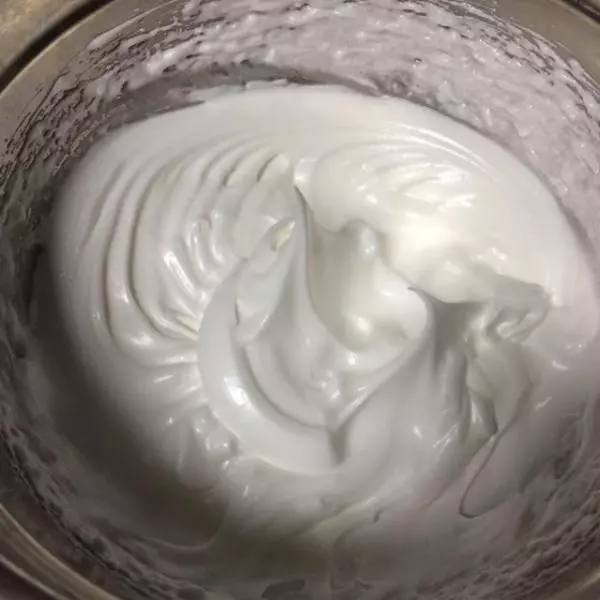
6接下来打发蛋白,分三次加入砂糖,打发至8分
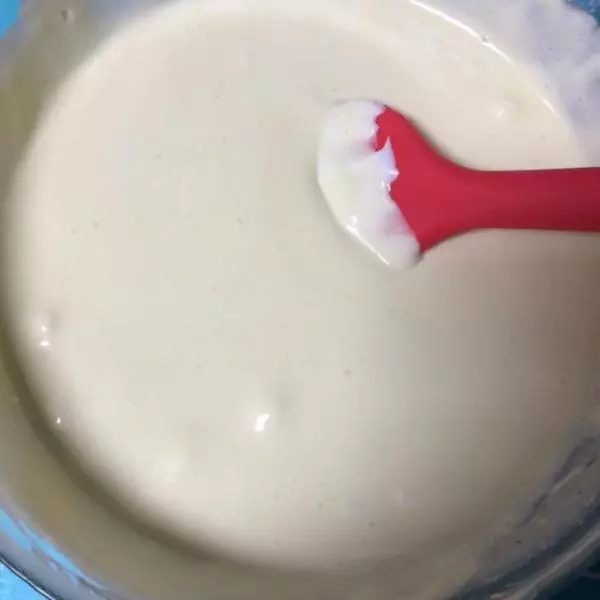
7先将1/3蛋白糊倒入蛋黄糊,切拌均匀,再倒入剩余蛋白糊内,切拌均匀
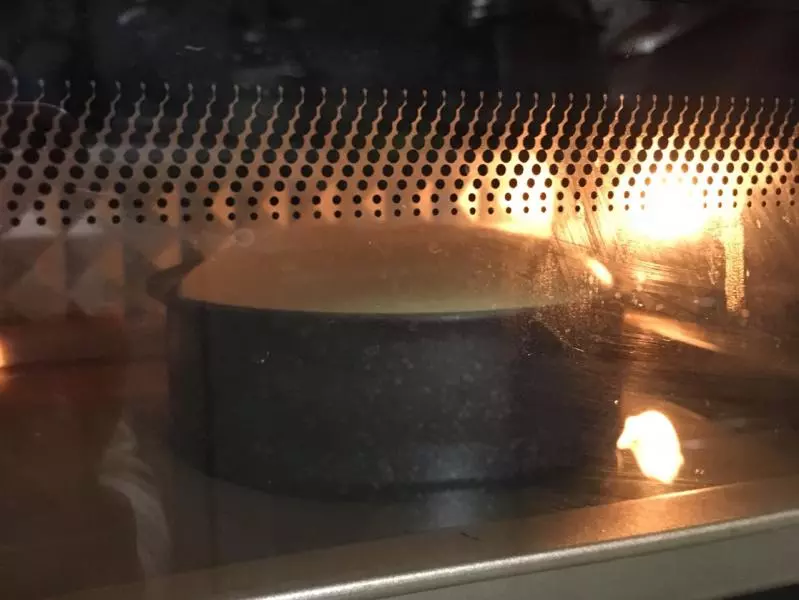
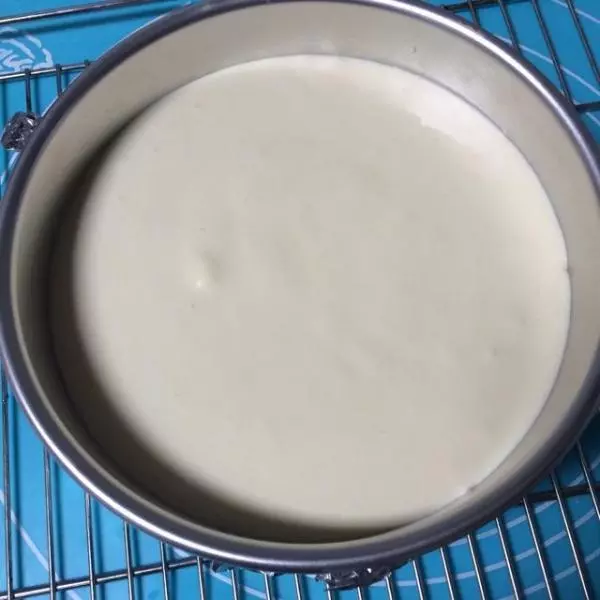
8模具外包锡纸,倒入蛋糕糊,放入事先预热好150度的烤箱中下层,然后在最下层放水,俗称隔水法,先150度40分钟再转170度20分钟
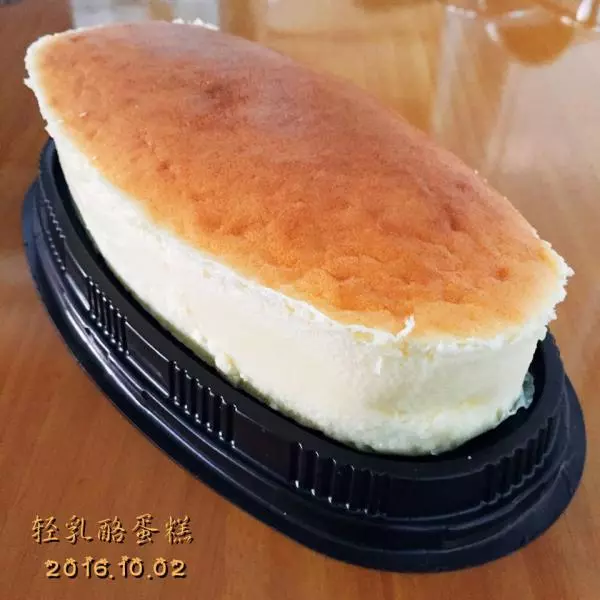
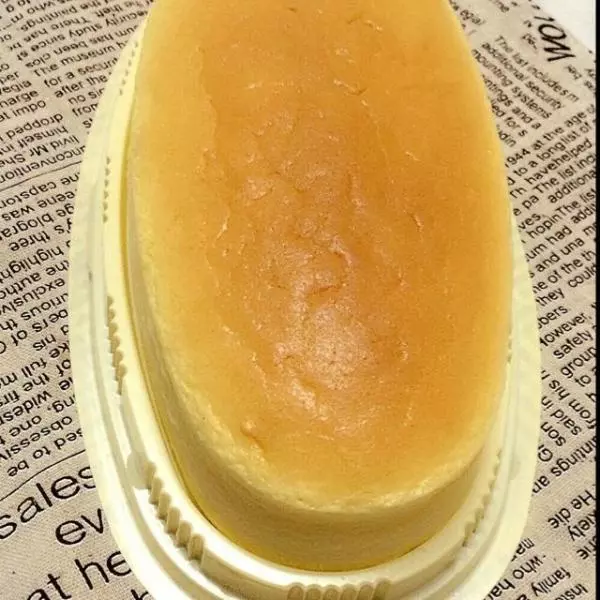
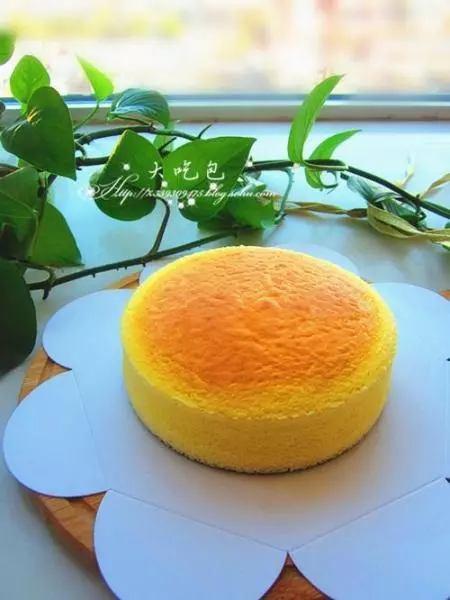
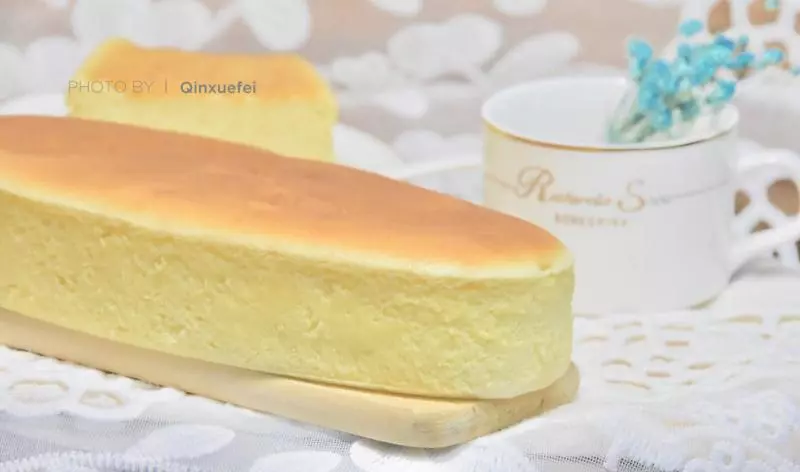
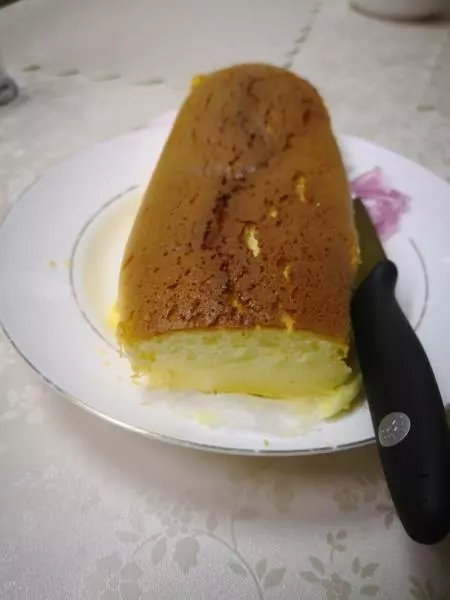
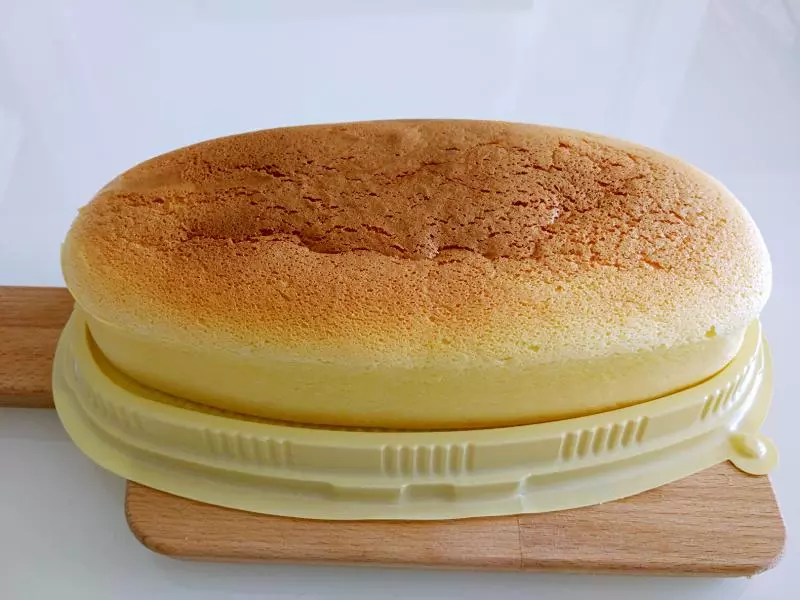
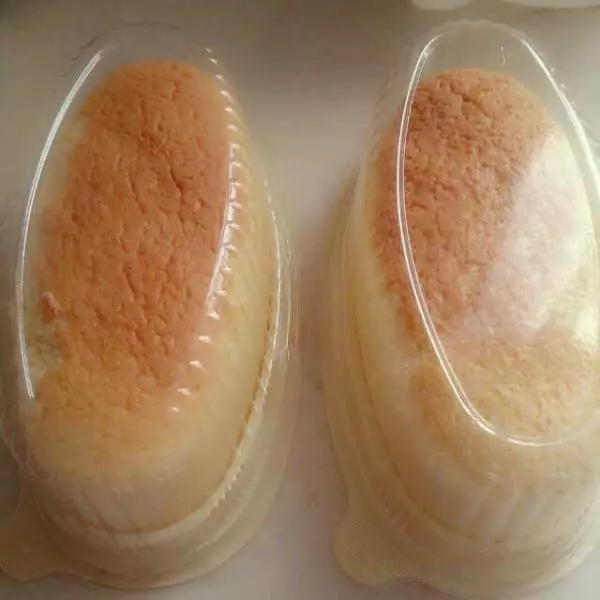
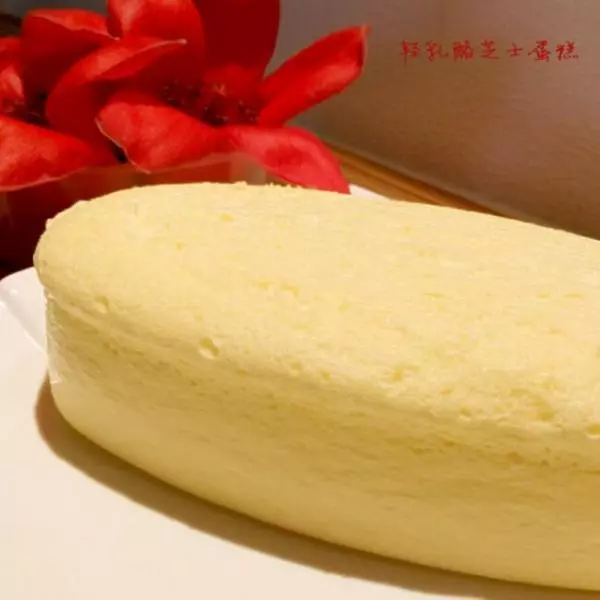
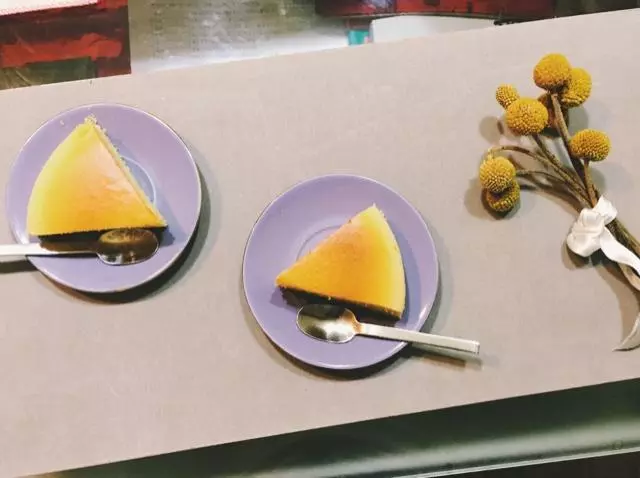
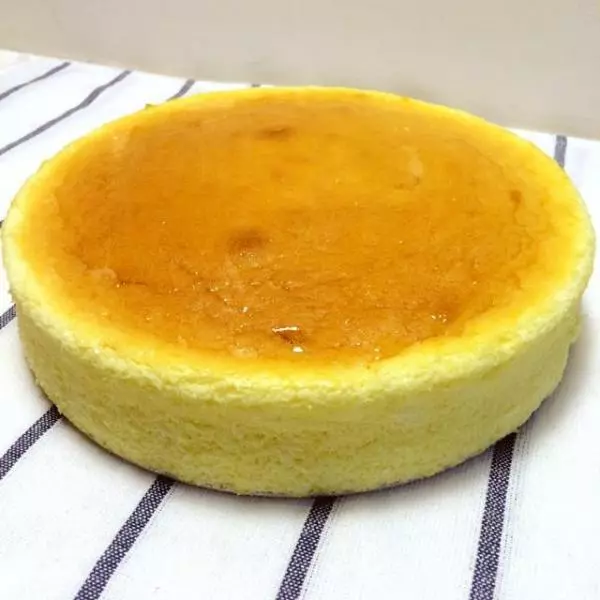
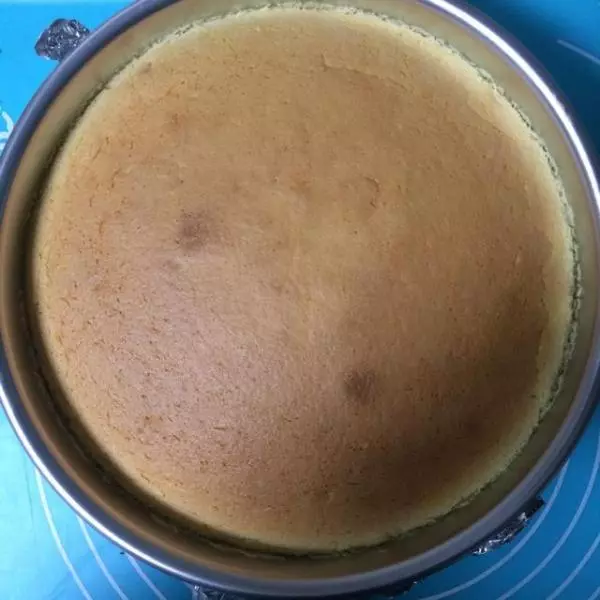
9出炉后边上会渐渐分离,我没抹油,用脱模刀轻轻刮一圈也很容易脱,冷藏一夜或四小时以上更好吃哦!
小技巧
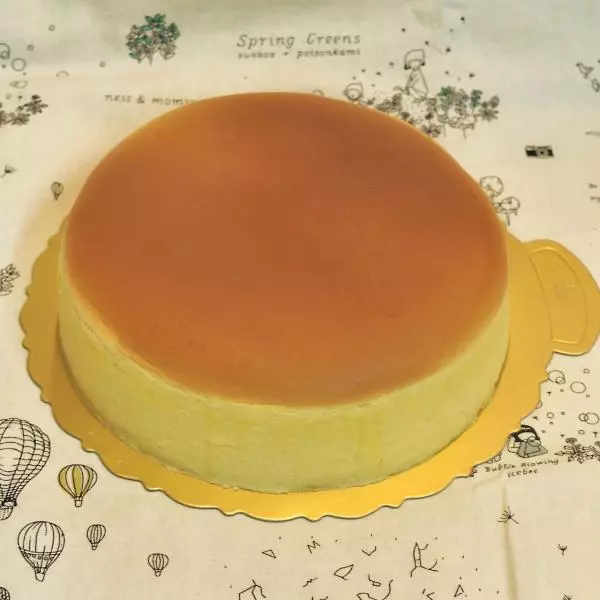
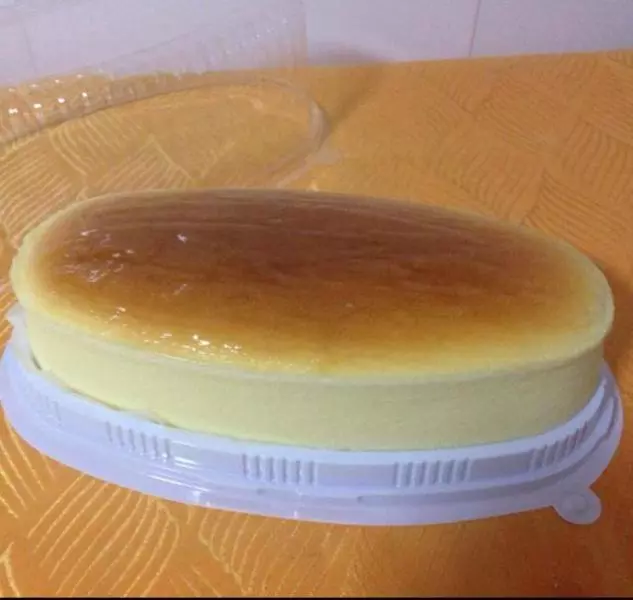
表面为啥那么亮,是因为我用杏子果酱+水 1:1涂了下哟,哈哈~