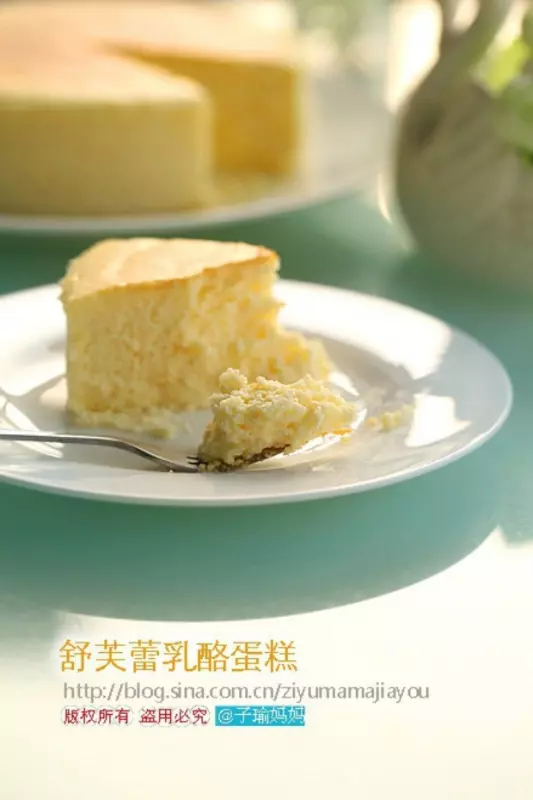
简介
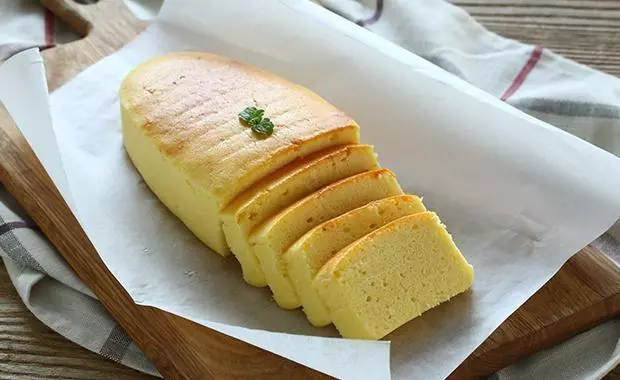
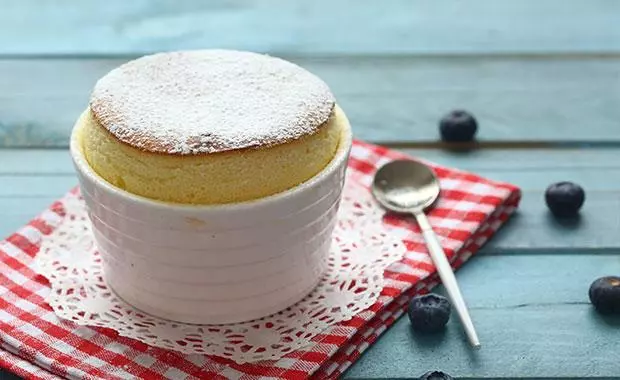
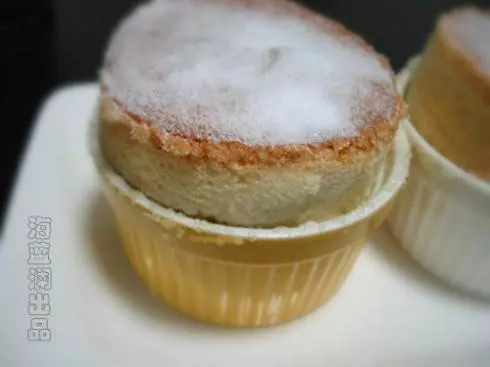
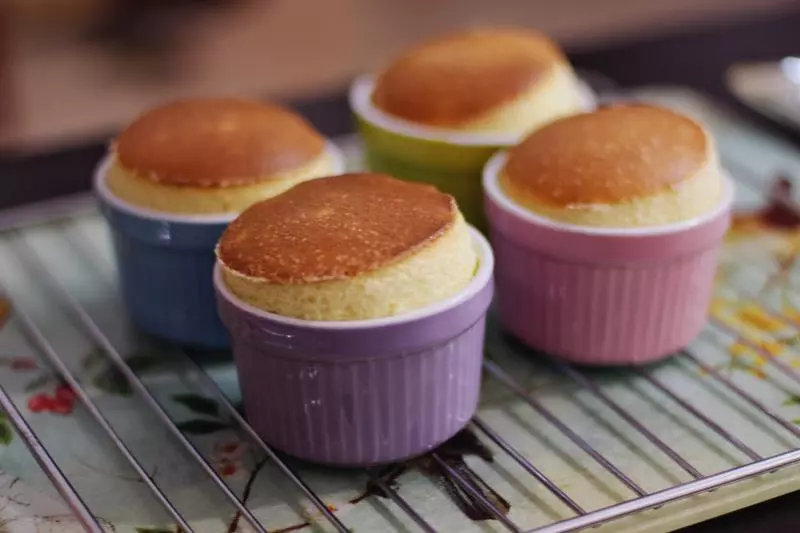
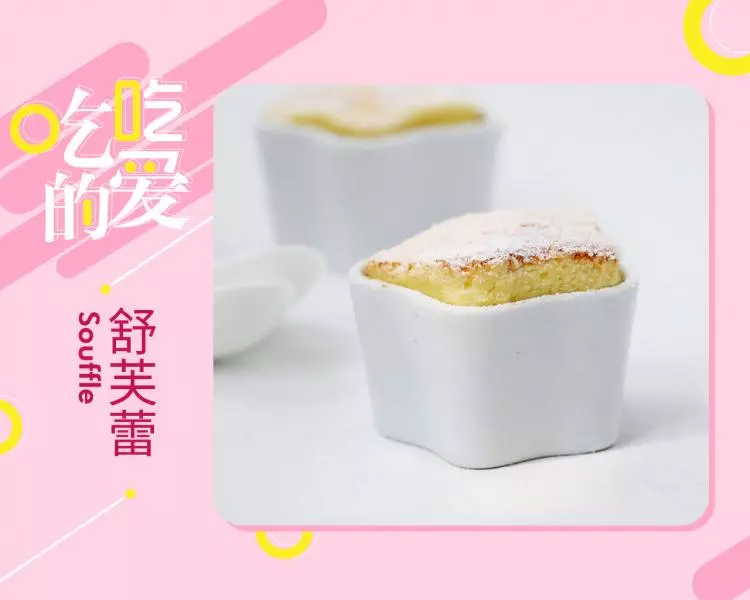
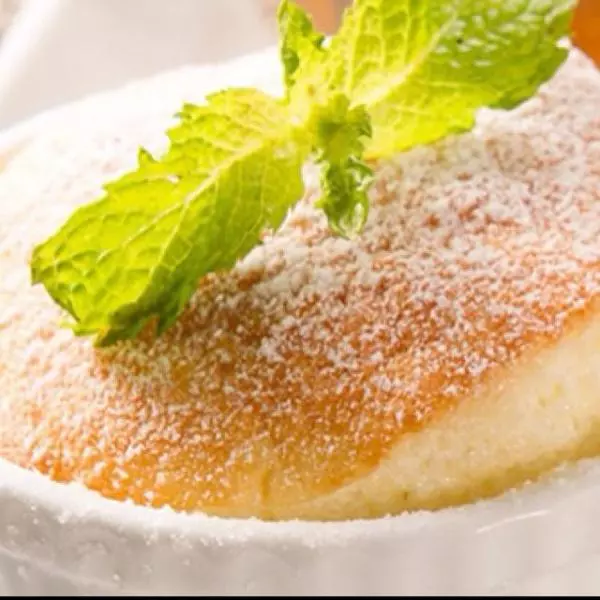
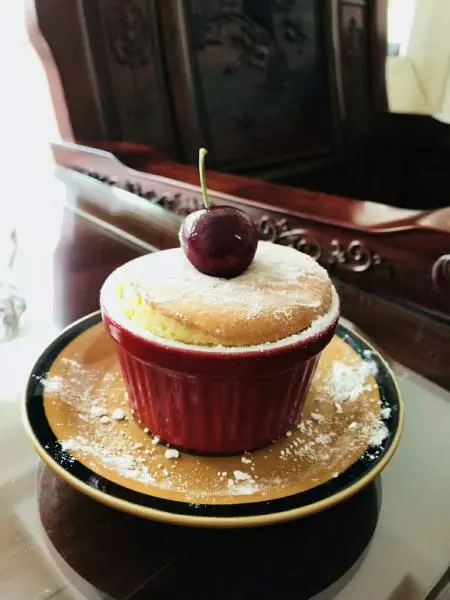
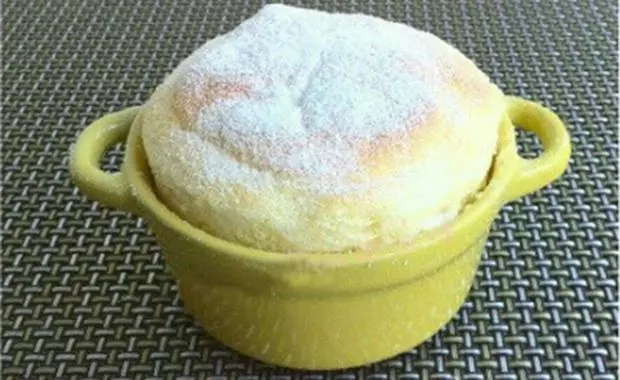
这是一款吃过一次就让人终身难忘的蛋糕 --- 小岛老师的书里是这样描述的。蛋糕里不含面粉,在卡仕达酱里拌入顺滑的乳酪和细腻的蛋白霜,才可以做出这款蓬松柔润的舒芙蕾乳酪蛋糕。配上应季的水果 满足味蕾的双重滋味!
原料
奶油奶酪 200克, 无盐黄油 30克, 蛋黄 38克, 细砂糖(蛋黄用) 13克, 玉米淀粉 7.3克, 牛奶 100克, 蛋白 63克, 细砂糖(蛋白用) 37克
步骤
1室温软化的奶油奶酪用刮刀搅抹顺滑(室温低时可隔水加热帮助软化)。

2加入融化的黄油。

3抹拌均匀。

4蛋黄+细砂糖+玉米淀粉,搅拌均匀。

5牛奶稍煮沸

6倒入步骤4的蛋黄糊中拌均匀。

7将拌匀的蛋黄牛奶糊隔沸水加热,同时用单抽快速搅打,以防止糊底,直到蛋奶糊变粘稠。 将蛋奶糊趁热倒入步骤3的奶油奶酪糊中。

8快速用蛋抽搅打至细腻顺滑,无颗粒。

9蛋白提前冷冻至四周结冰。

10加几滴柠檬汁和一小撮细砂糖, 打蛋器高速搅打至7分发(大约2分钟),加入剩余的细砂糖1/2量打发30秒,再加入剩余的砂糖,打发至提起打蛋器,打蛋头上的蛋白霜缓缓下弯,可拉出比较长的弯钩,刚刚接近湿性发泡的状态即可。

11蛋白霜分两次加入到蛋黄糊中,刮刀底部翻起 大幅搅拌,要翻拌均匀以后再加第二次。

12翻拌成颜色均匀的蛋糕糊。

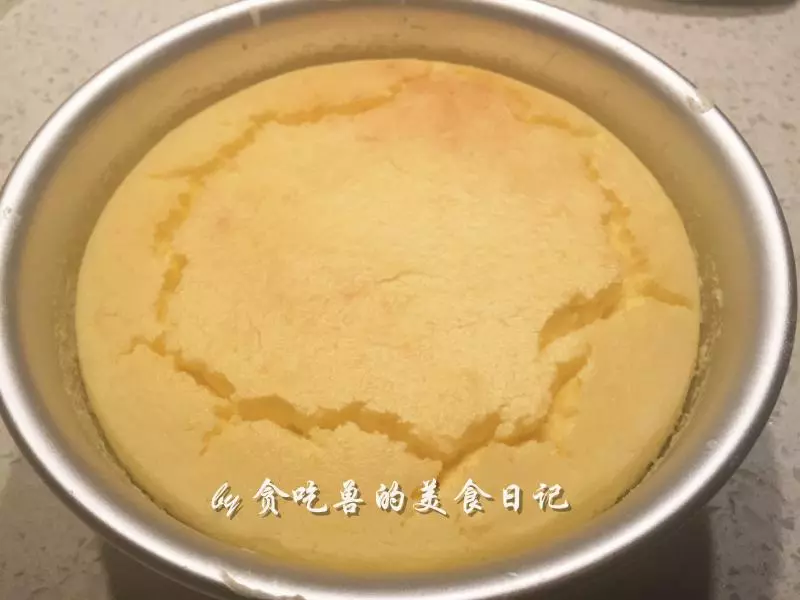
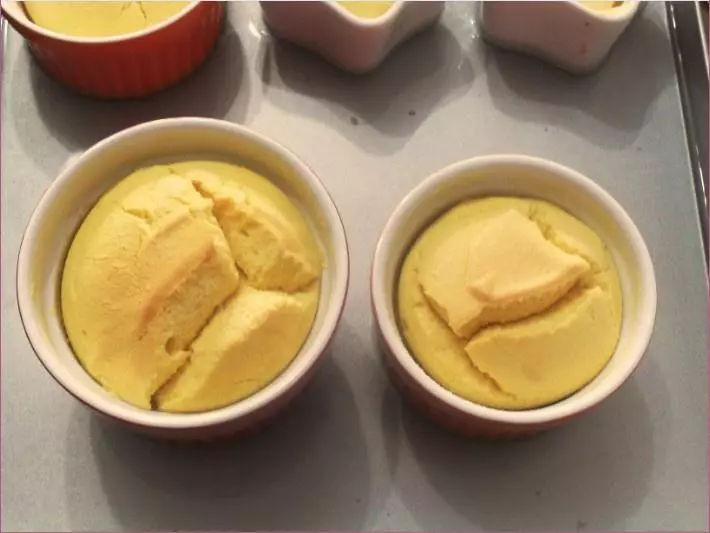
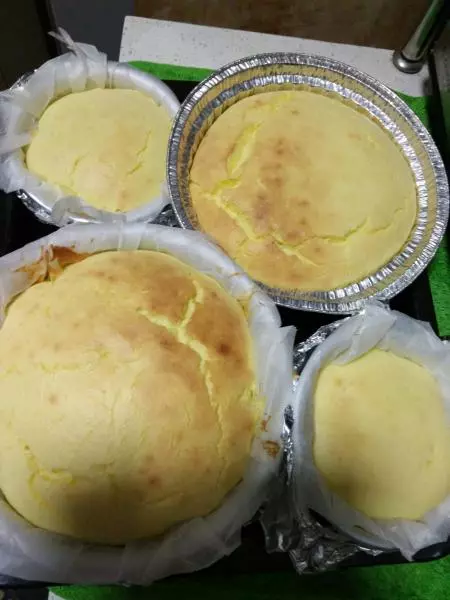
13倒入预先底部和侧壁已经铺好油纸的圆模中,轻震两下模具。(侧壁的油纸至少要高出模具边缘1公分)

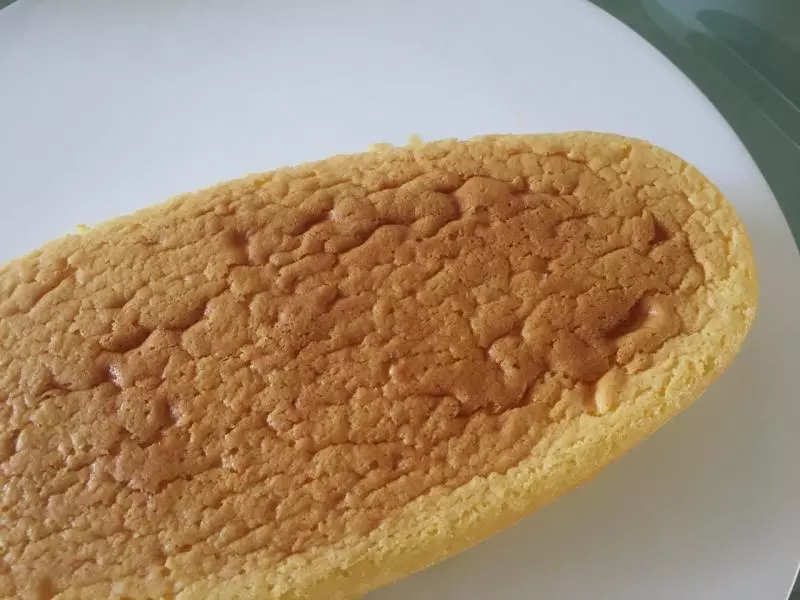
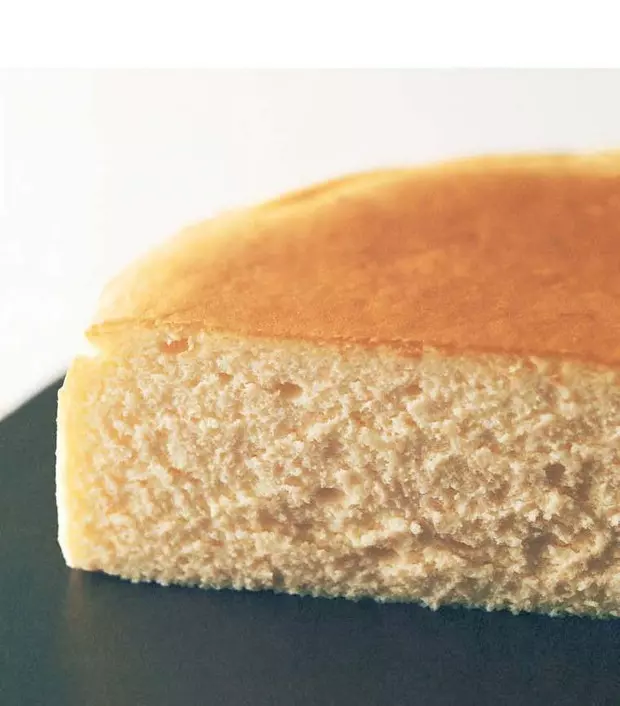
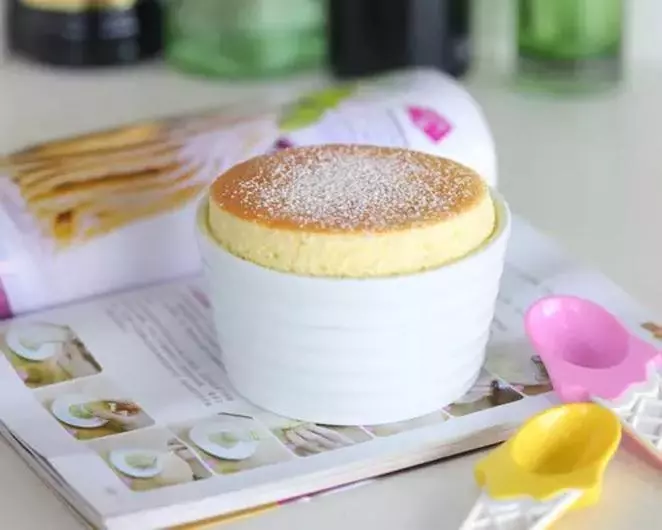
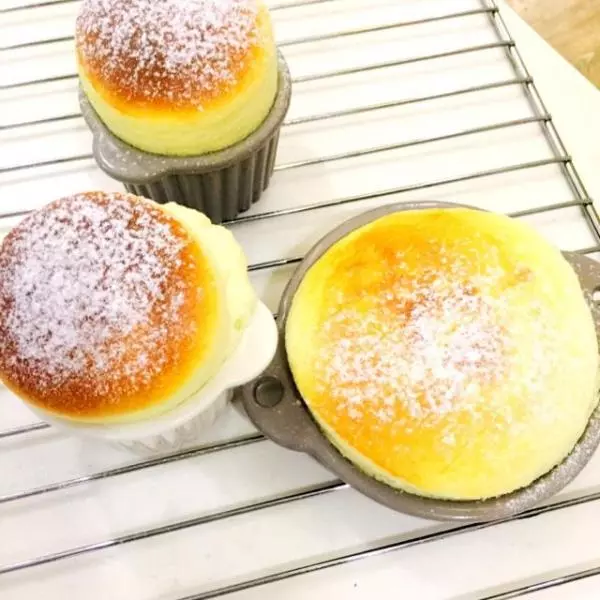
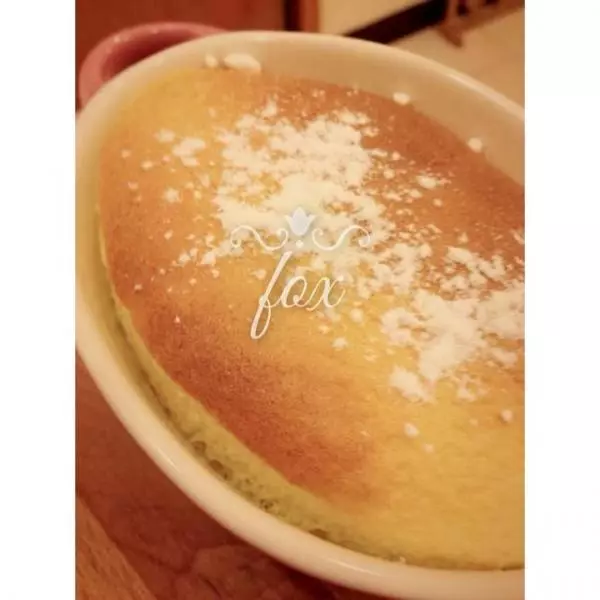
14连同装水的烤盘一起,提前将烤箱预热。170℃15分钟,再转160℃20分钟,烤至表面金黄,关掉烤箱,不要开烤箱门,利用余热再蒸烤50分钟-1小时。取出蛋糕,完全冷却后用保鲜膜连同模具包好,冷藏一晚再取出脱模。

小技巧
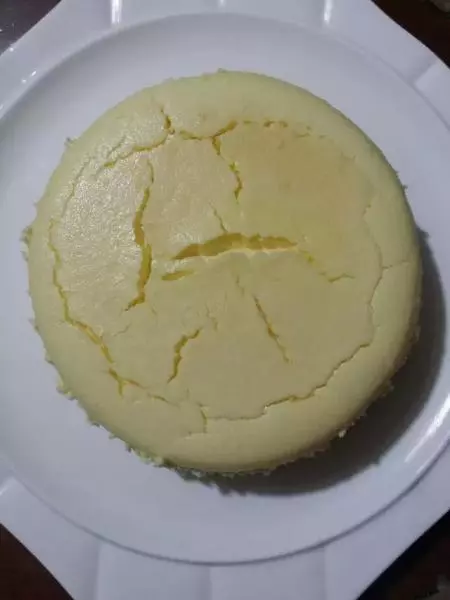
1.6寸圆模一分量。 2.蛋白打发前要冷冻至周围有冰渣。和常温下的蛋白相比,虽然打发时间长些,但打发的蛋白霜稳定,不易消泡,打出的蛋白霜泡沫细腻。 2.这款蛋糕最后的成品高度和入模的蛋糊高度差不过。要注意蛋白霜打发至刚刚接近湿性发泡的状态就可以了,打发过头烘烤时蛋糕蓬发的会比较高,放凉后回缩的也厉害,导致表面不平整。 3.这款蛋糕水浴烘烤,烘烤全程要保证烤盘中有水。 4.蛋糕放凉后需冷藏一夜,各种风味的原料才会渗透融合,达到最佳口感。