原料
雞蛋: 2個, 低精麵粉: 28克, 玉米澱粉: 6克, 烘焙奶粉: 3克, 香草精: 3滴, 玉米油: 16克, 水: 16克, 細砂糖(放入蛋黃): 12克, 粗砂糖(放入蛋白): 24克, 鹽: 1克, 檸檬汁或白醋: 3滴
步驟
1低粉,玉米澱粉,奶粉稱量好混合
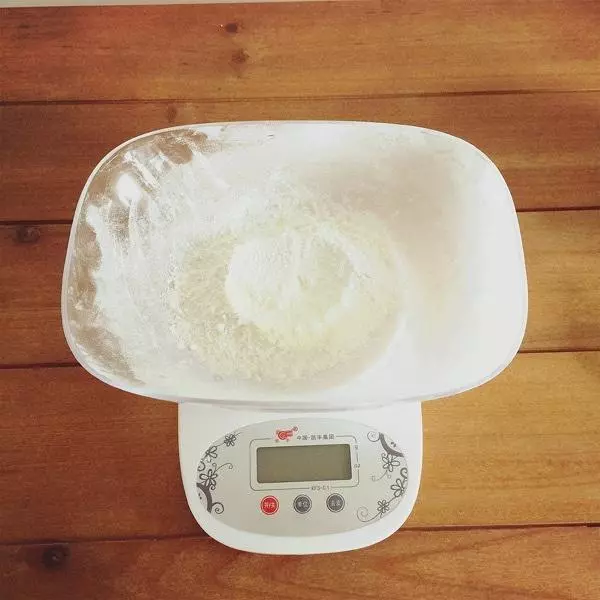
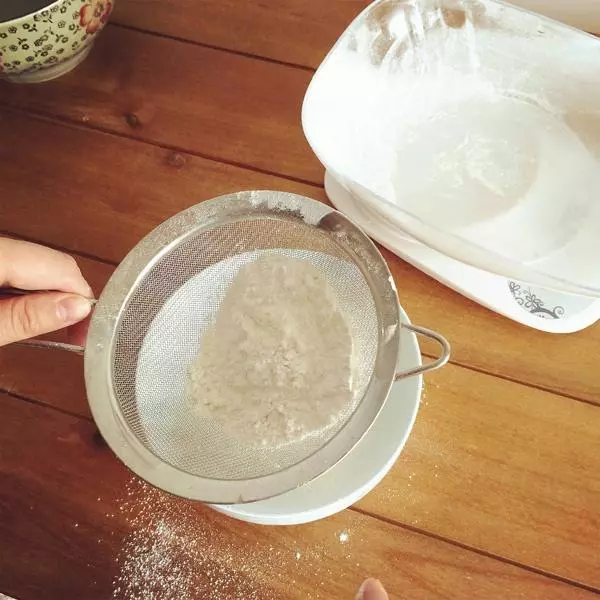
2反覆三次過篩
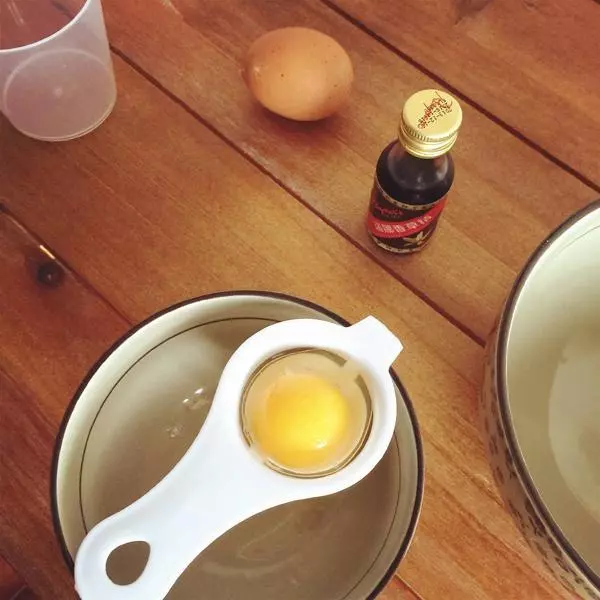
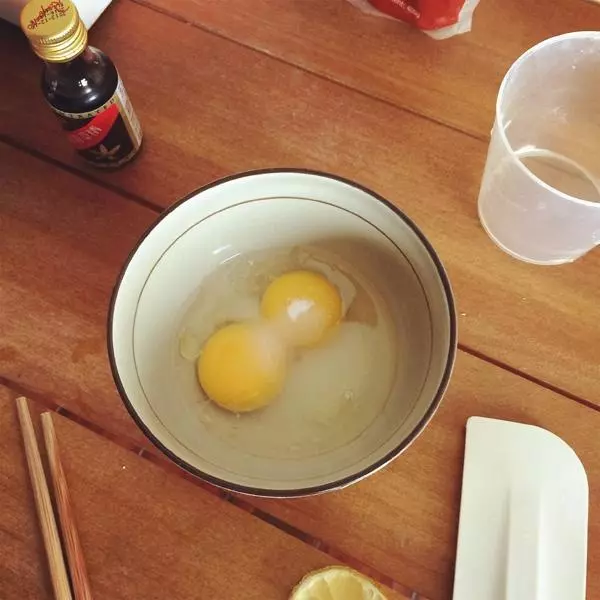
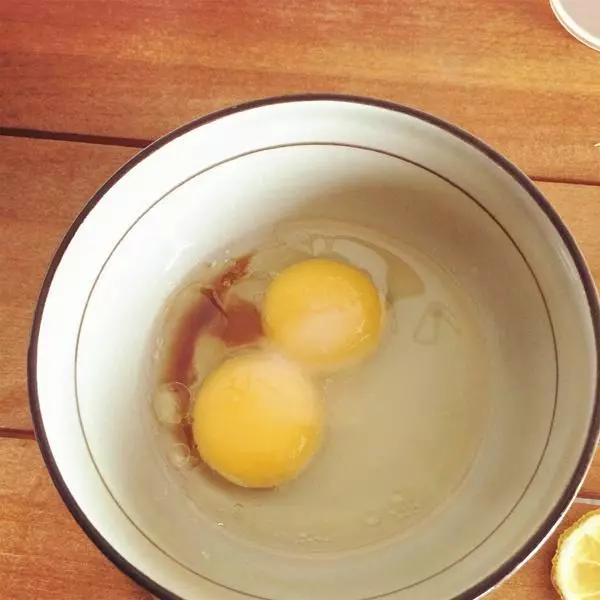
3取兩個雞蛋,分離蛋黃和蛋白,備用
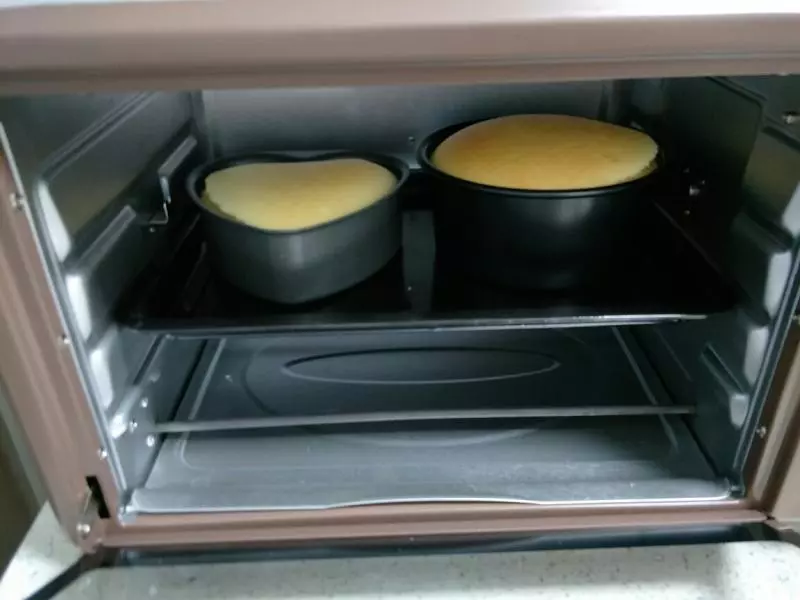
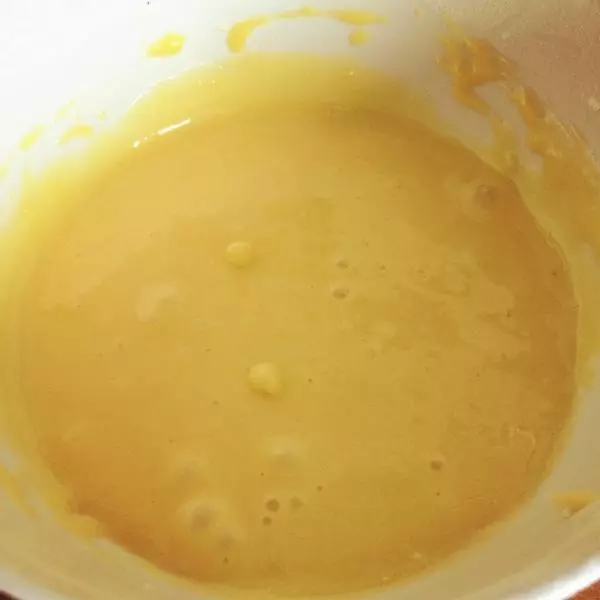
4烤箱180度預熱。蛋黃中放入水,油(最好是玉米油,花生油和橄欖油絕對不要用,要不戚風爬不起來),鹽,細砂糖
5加入幾滴香草精

6用筷子輕輕攪拌,然後放置蛋黃和水油乳化
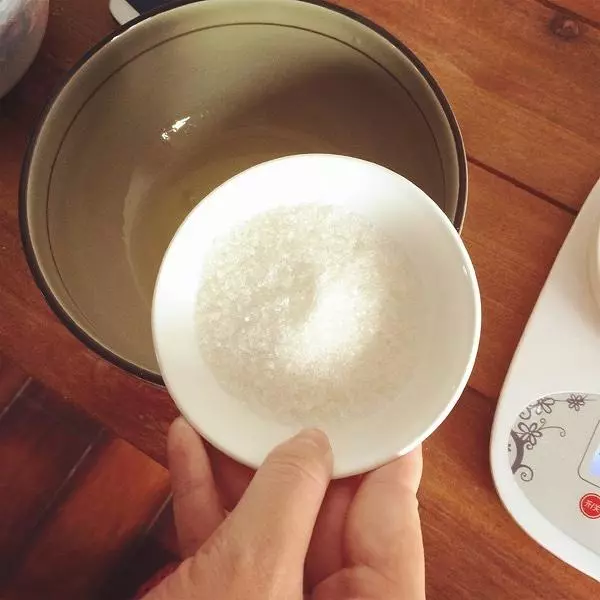
7蛋白中一次性加入所有粗砂糖
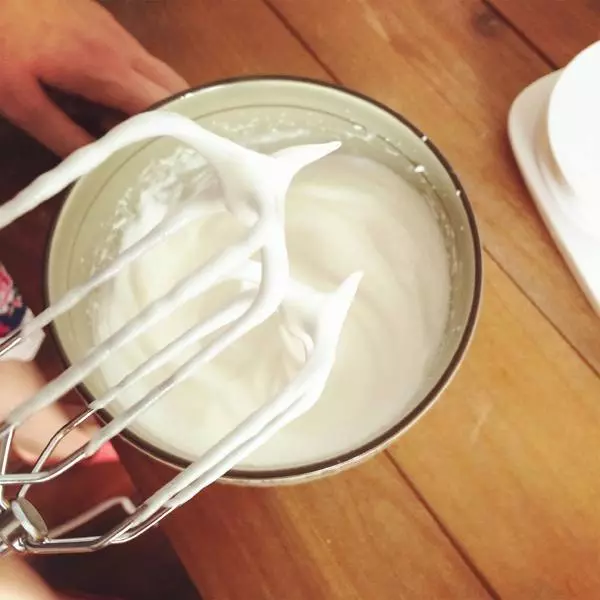
8打發至提起打蛋器成直角的硬性發泡
9把乳化好的蛋黃糊倒入過篩後的麵粉中,先不開打蛋器,用打蛋器的頭部輕輕攪拌,防止麵粉飛濺。
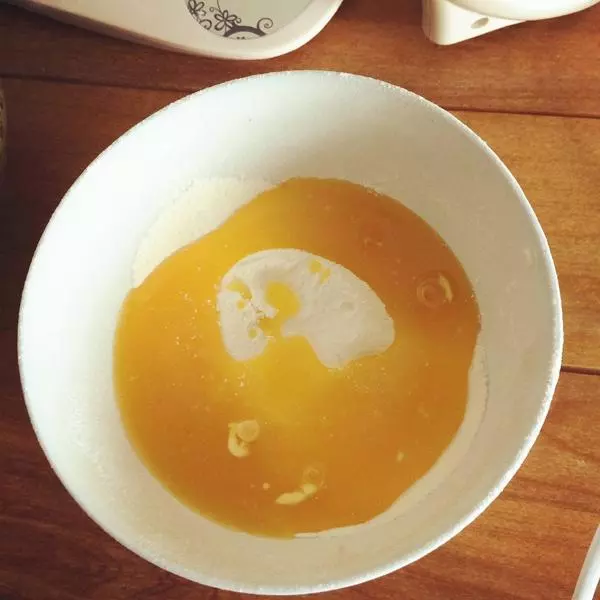
10打蛋器低速5秒,將蛋黃糊攪拌均勻。
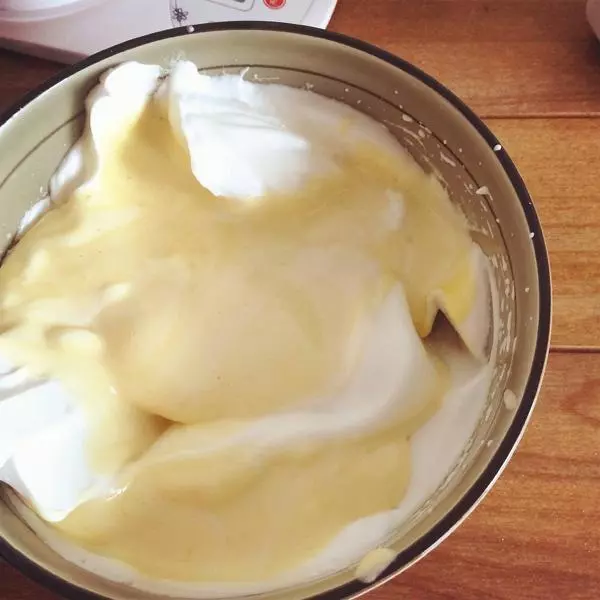
11混合蛋黃糊和蛋白糊,用炒菜的翻攪手法快速拌勻,千萬不能順時針攪打,防止消泡。
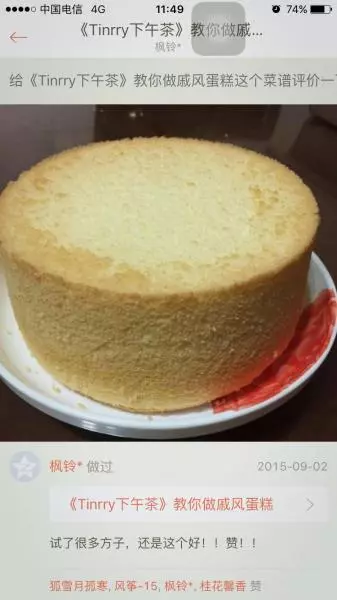
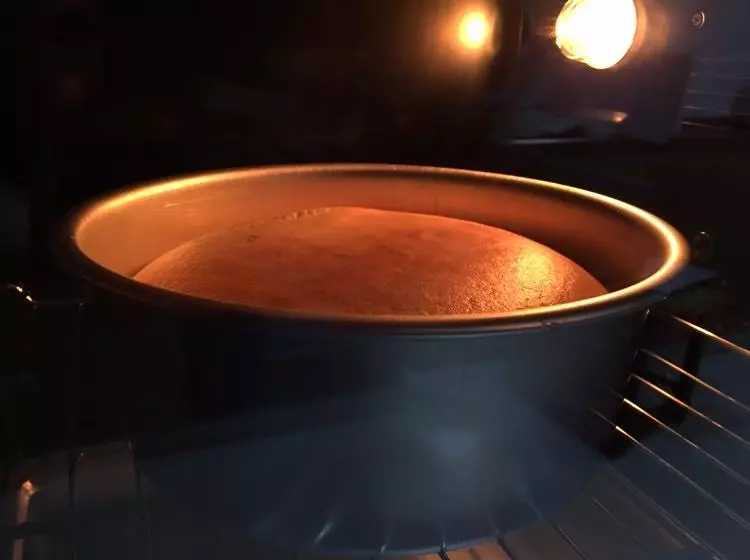
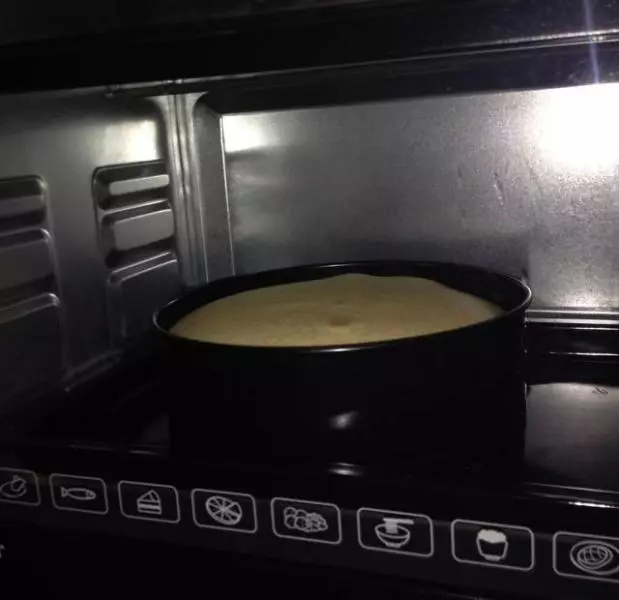
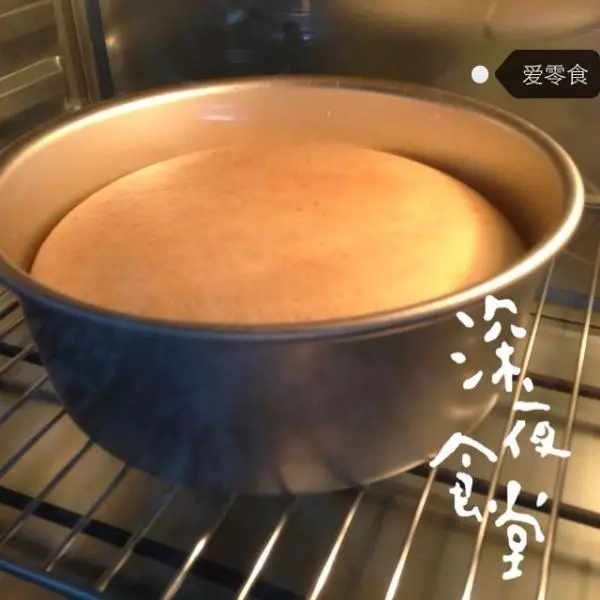
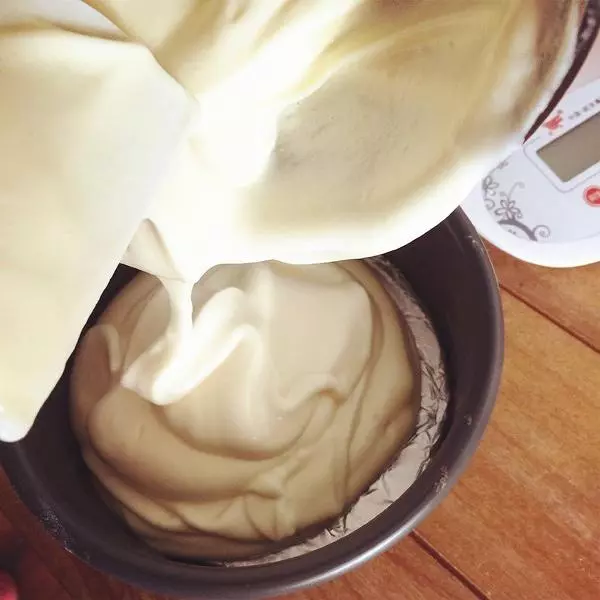
12攪拌好的蛋糕糊像緞帶一樣,細膩粘稠,倒入6寸圓模。用刮刀抹平。
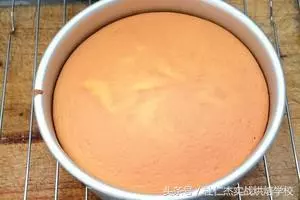
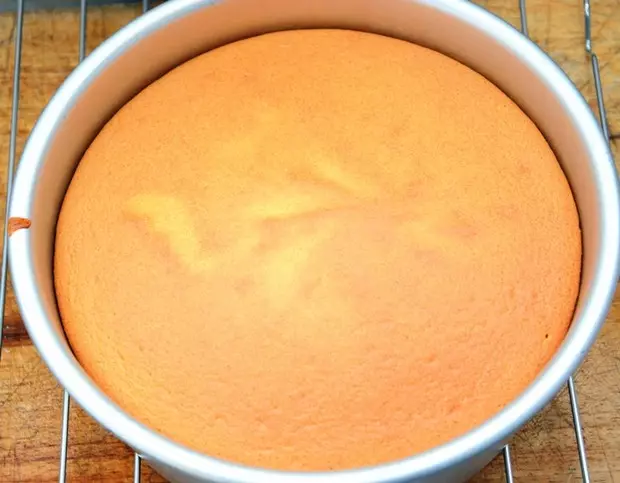
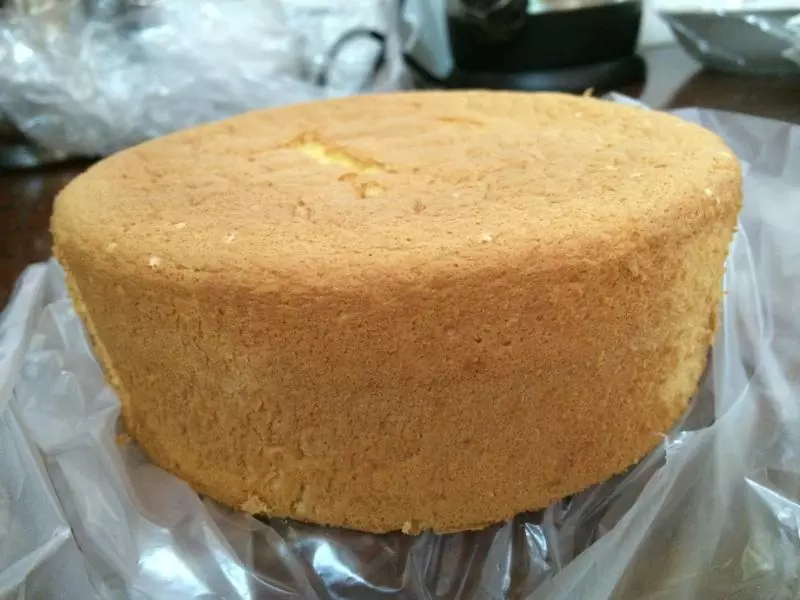
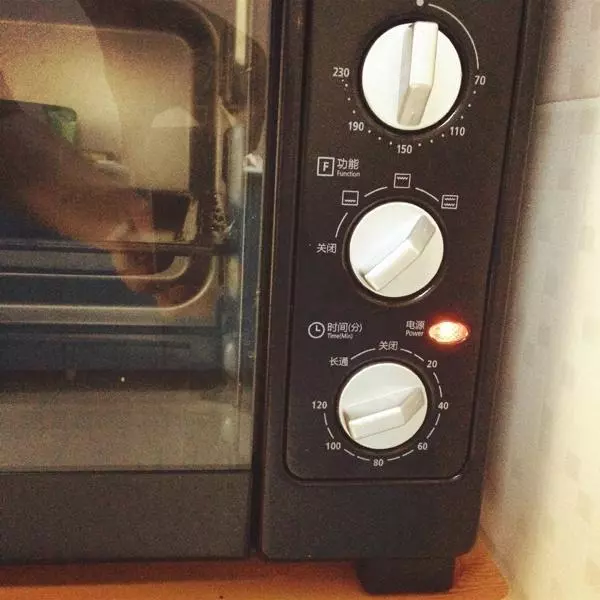
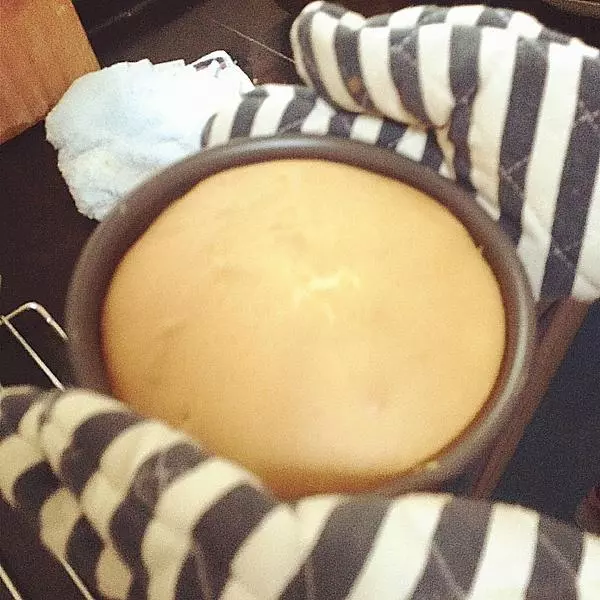
13上下火150度,30分鐘
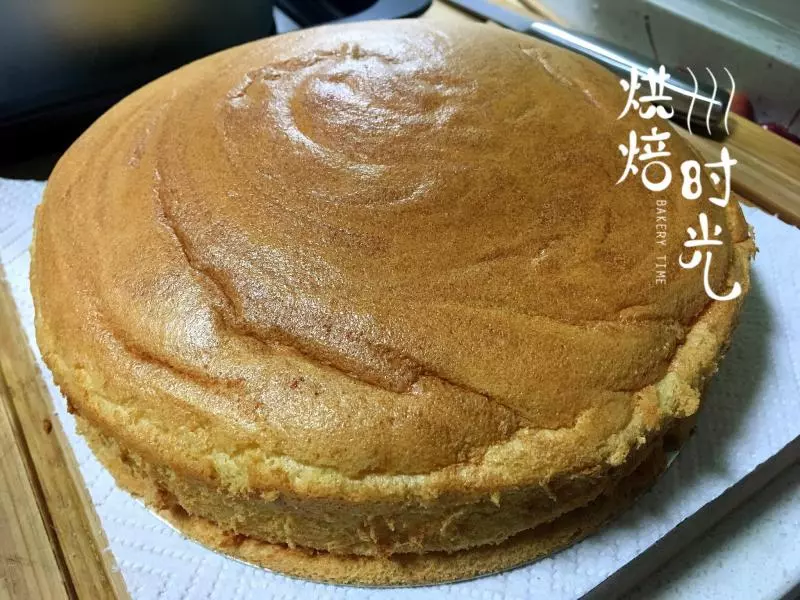
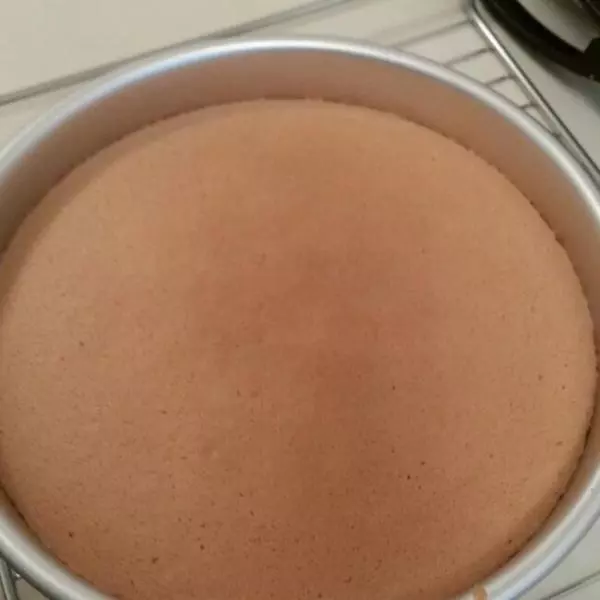
14出爐後從距離10cm的桌子上做自由落體一次,震出大氣泡。
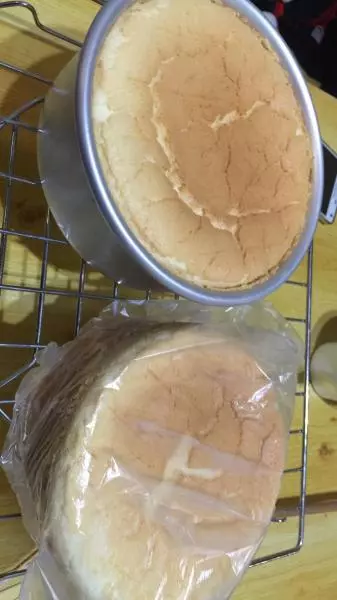
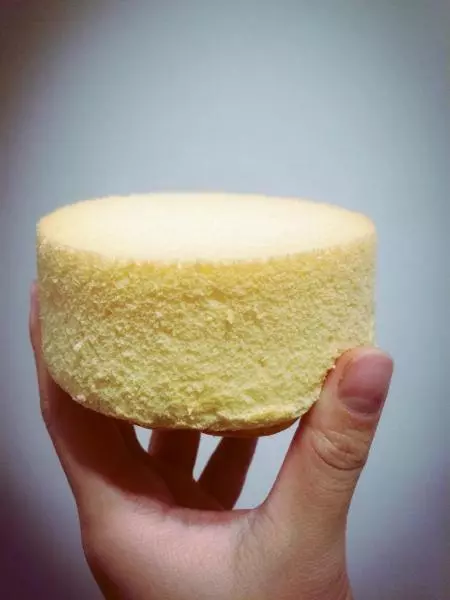
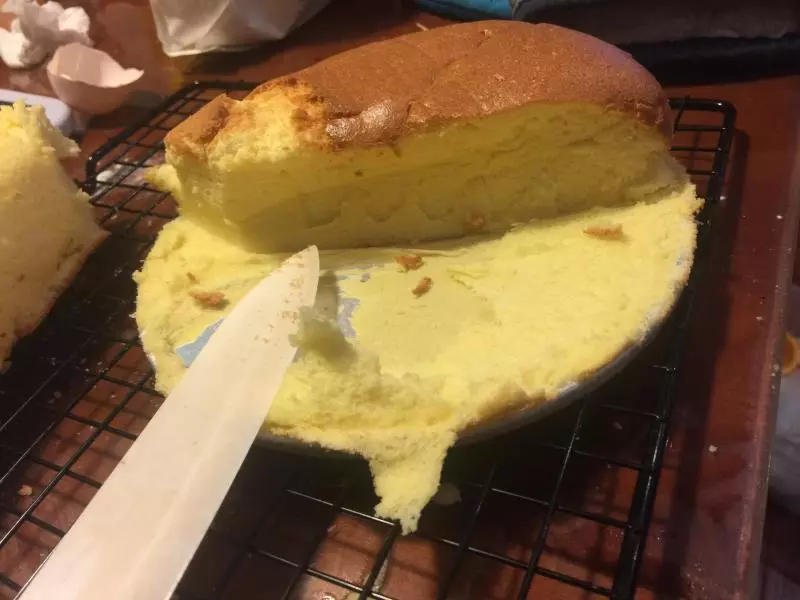
15倒扣在烤網上,讓蛋糕拉伸
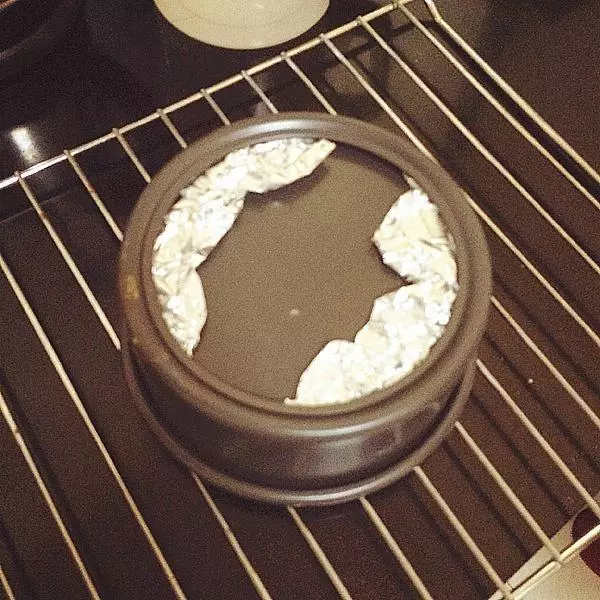
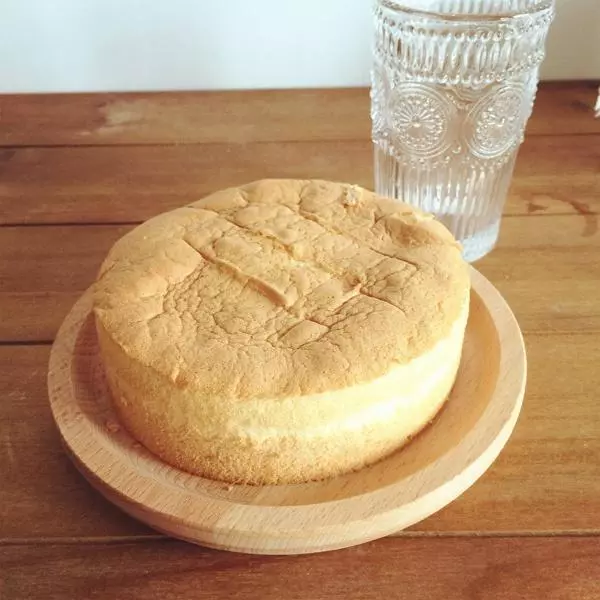
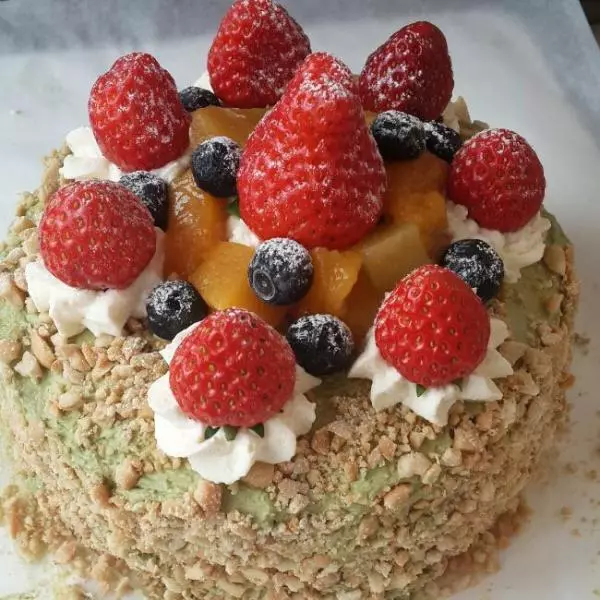
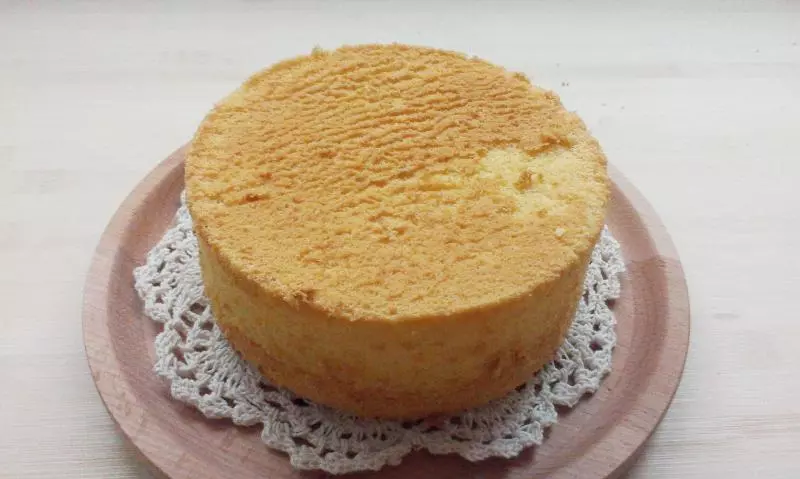
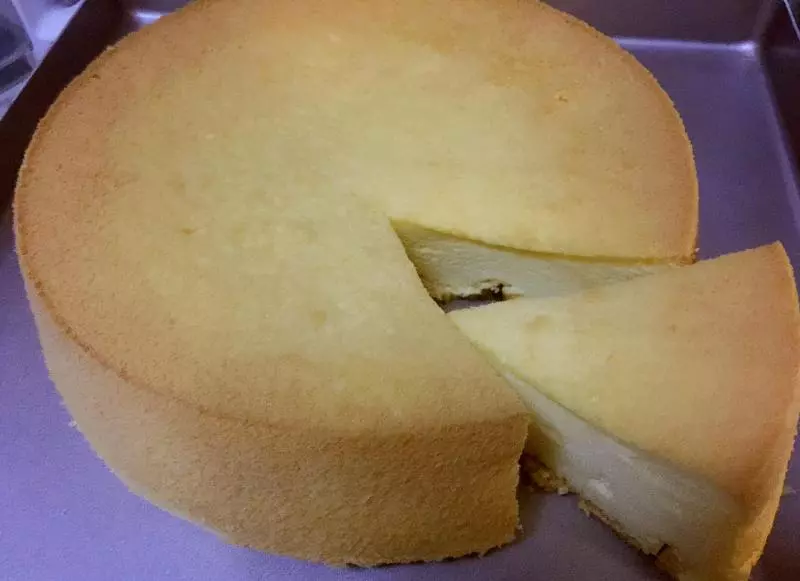
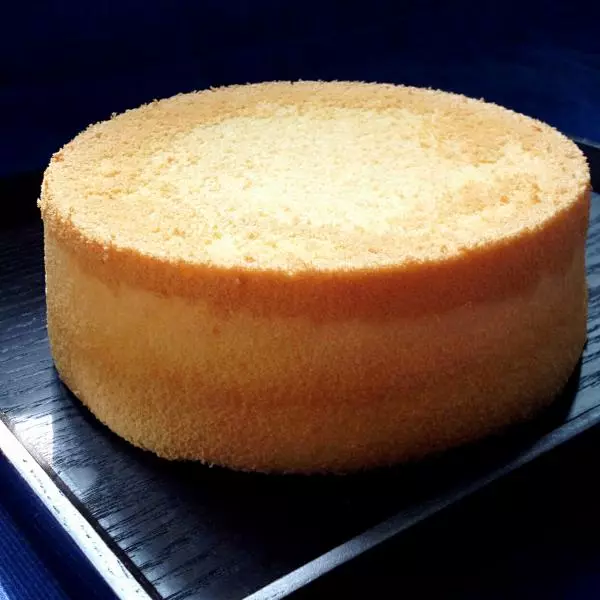
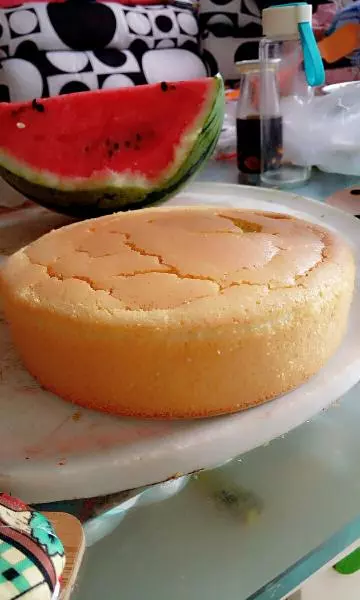
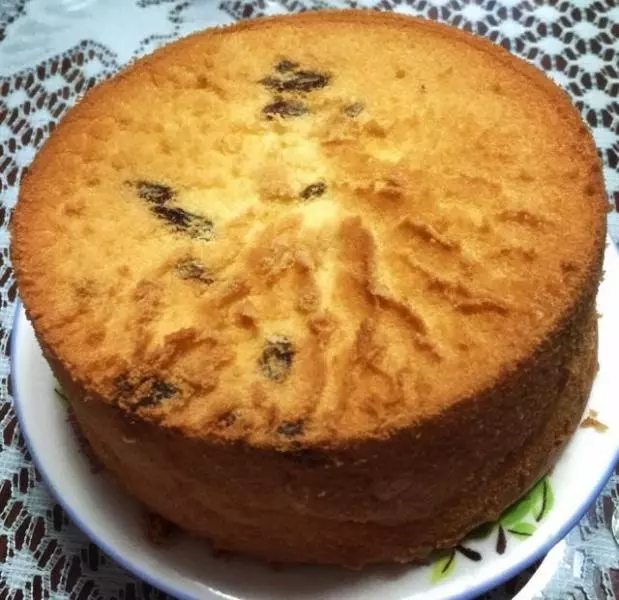
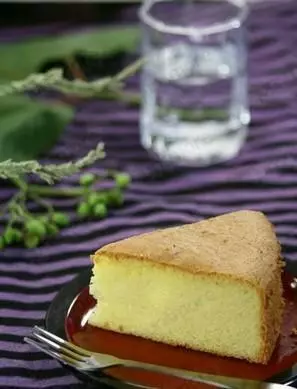
16冷卻後脫模,完成。享受你們的下午茶吧!