簡介
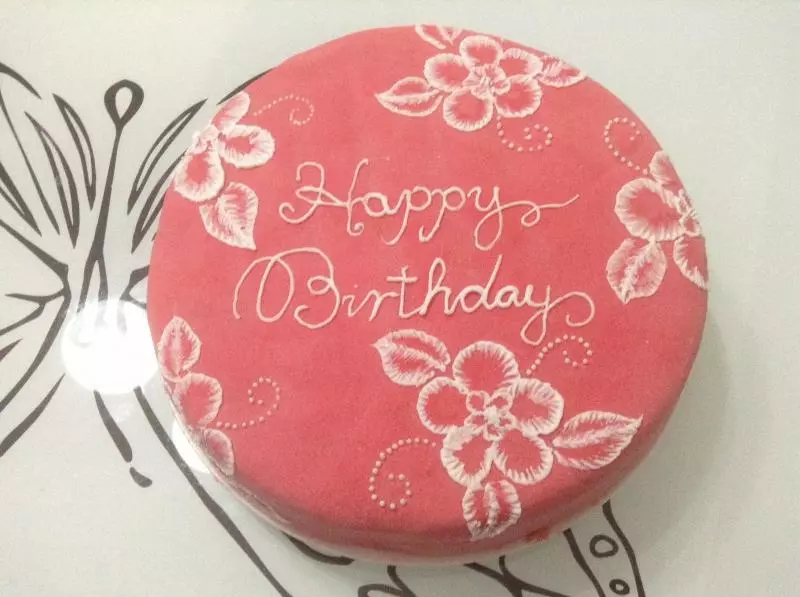
刷繡(Brush Embroidery),一種很經典的西點裝飾手法。 這種裝飾手法,主要是用在翻糖蛋糕,或者餅乾表面的裝飾。刷繡成功的效果,能使得糖霜畫看上去像是一種刺繡。它的主要原料是用奶油糖(buttercream icing),工具是一支幹凈的軟毛畫刷。我們一般會在蛋糕上畫出花瓣形狀,再用裱花嘴擠出細線條描出花瓣輪廓,畫筆刷沾點水後甩去多餘水珠,將糖霜細條從邊緣向中間方向拉,這樣能刷出繡花狀的花朵。蛋白糖霜乾得快,需刷好一片花瓣,再用糖霜勾勒出下一瓣花瓣形狀,不可一次全部勾好,重複直至整幅畫完成。當然在蛋糕上能合理的構圖,也是讓蛋糕層出藝術品的關鍵。
原料
低筋麵粉 80克, 綠茶粉 10克, 雞蛋 4個, 糖 60克+30克, 牛奶 60克, 油 55克, 50%黑巧克力 150克, 動物性淡奶油 400ML, 牛奶 100ML, 糖 80克, 吉利丁片 4片, 蛋黃 3個, 朗姆酒 適量, 無鹽黃油 250g, 細砂糖 100g, 水 30g, 蛋白 3個, 香草精 適量
步驟
1提前做好一個8寸綠茶戚風蛋糕備用

2將蛋糕切成兩,三片

3將每片蛋糕邊緣剪一點,剪好的一片蛋糕平鋪在模具底部

4將吉利丁片用冷水泡上

5將動物性奶油倒入容器內,用電動攪拌器打發

6打發只六,七分的時候,放入冰箱中冷藏備用

7將黑巧克力隔水融化後拿出來放在一邊備用

8泡軟的吉利丁片擠干水分放入牛奶中隔水融化

9不停的攪拌直至其完全融化

10分次加入蛋黃,不停的攪拌均勻

11再加入融化的巧克力

12不停的攪拌,將它們混合均勻

13拿出來放在一邊,溫度降低點後放入適量的朗姆酒,攪拌均勻放涼

14將放涼的巧克力混合液倒入打發的奶油中混合成慕斯液

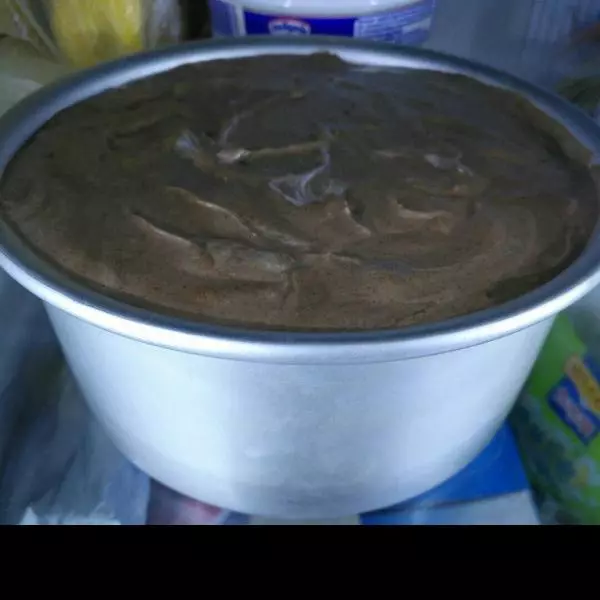
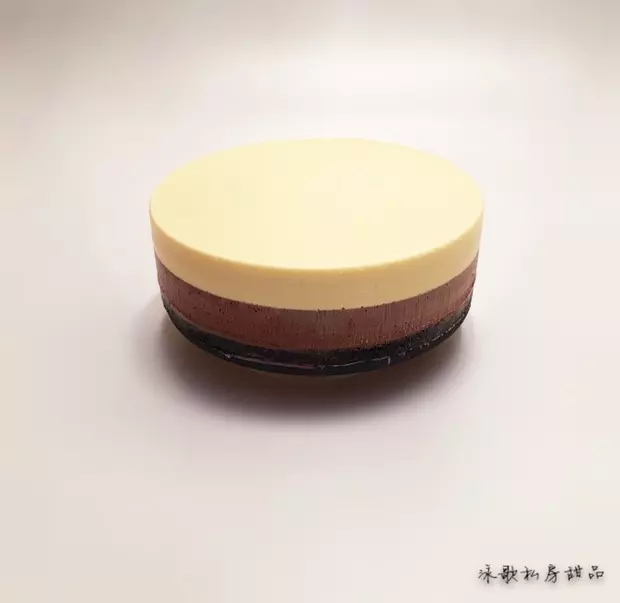
15將慕斯液倒入模具中,一層蛋糕,一層慕斯液

16將做好的蛋糕一起放入冰箱中冷藏一晚上

17冷藏定型後的巧克力模具蛋糕從冰箱中拿出,用吹風機沿著模具邊緣吹一下,直到蛋糕模具能緩緩的落下

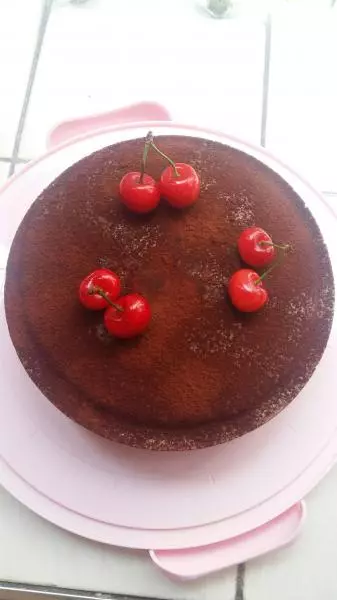
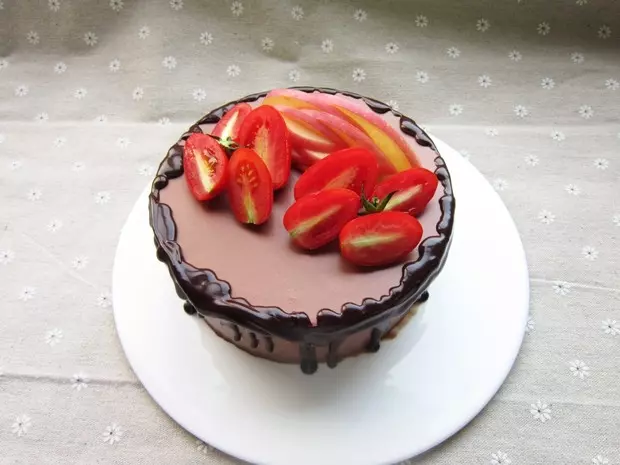
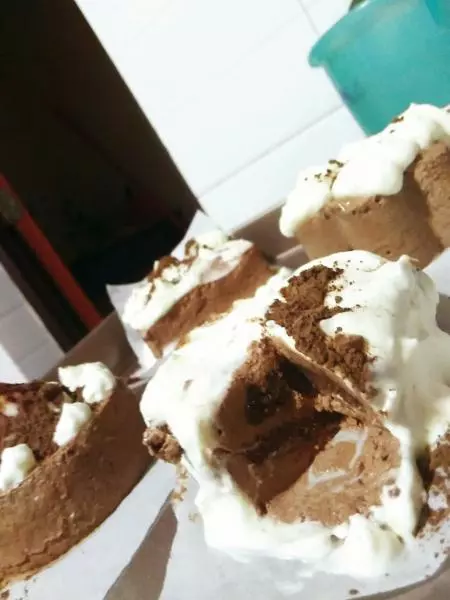
18這樣脫模好的巧克力慕斯蛋糕就準備好了

19黃油室溫軟化,放入大碗中,用打蛋器攪打順滑即可

20蛋白分次放入50g糖,用電動攪拌器打發

21蛋白打發達到6、7分,不可流動即可

2250g細砂糖和30g水放入小鍋中,大火加熱

23糖水煮到糖水質地變粘稠,上面布滿小小的氣泡

24將糖水立即倒入蛋白中

25用高速攪打蛋白,使之降溫

26把打過的黃油全部放入蛋白中攪打

27加入幾滴香草精,繼續攪打直至得到顏色較淺,非常順滑的奶油糖霜了

28準備好翻糖的工具,細尖畫筆,花嘴,再準備小碗中放入適量的熱水

29將奶油糖霜放入裱花袋中

30用翻糖小模具在蛋糕上刻上花印

31用細花嘴描出花的輪廓

32再用細毛筆從花邊緣向中心拉

33再在中間劃個小花,同樣方法向中心刷

34再在花邊緣同樣方法做幾片樹葉

35畫好樹葉輪廓後再用毛筆刷

36這樣一大朵花的刷繡就完成了

37同樣的方法在蛋糕不同的地方刷繡些花朵

38將蛋白糖霜將蛋糕底部做些花瓣裝飾

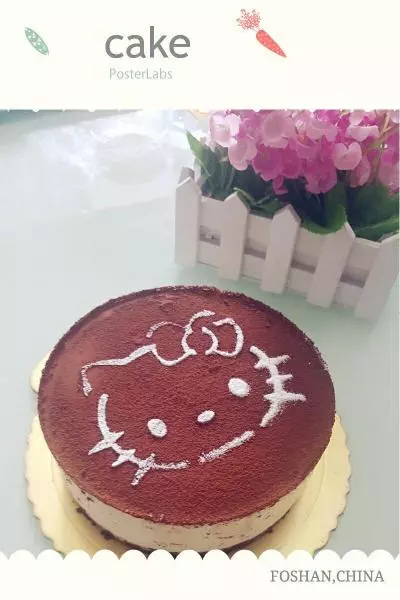
39在蛋糕表面用模具刻出字體模樣
40再用奶油糖霜描寫出來,這樣整個蛋糕裝飾就完成了

小技巧
- 提前準備一個8寸的綠茶戚風蛋糕,也可以根據個人的口味選擇;
- 蛋糕切成兩, 三片後,將邊緣剪去一點,讓蛋糕與模具部分留有空隙,以便充滿慕斯液;
- 吉利丁片冷水泡軟,擠干水分後放入牛奶中隔水融化,再分次加入蛋黃,融化的巧克力,每一次添加輔料就要攪拌均勻;拿出來,溫度冷卻到一定程度時加入幾滴朗姆酒攪拌均勻;
- 最後將攤涼的混合物倒入提前打發六, 七分的動物性奶油中,混合均勻, 這樣巧克力慕斯液就完成了;
- 再將準備好的巧克力慕斯液, 一層蛋糕, 一層慕斯液, 裝入模具中, 放入冰箱中冷藏八個小時以上, 以便定型;
- 慕斯蛋糕脫模時可以用電吹風沿著外邊緣將其吹熱或用熱毛巾將蛋糕模具邊緣捂住, 直到蛋糕模具能緩緩的滑落下來;
- 蛋白糖霜我選用的是意式奶油霜,因為加了蛋白的緣故,所以口感更淡些,顏色也更淺些,很適合調色;
- 用打蛋器攪將黃油打順滑,在蛋白中加入一半糖打發至不可流動;再將另一半糖和水大火加熱,糖水煮到121度,如果沒有溫度計,可以目測,煮到糖水質地變粘稠,上面布滿小小的氣泡,而不是大泡泡;
- 將糖水立即倒入蛋白中,並用高速攪打蛋白,使之降溫;把打過的黃油全部放入蛋白中攪打;一開始,呈豆渣狀,不用擔心,繼續攪打。慢慢的會有明顯的變化,堅持再打幾分鐘,就能得到顏色較淺、非常順滑的奶油霜了。如果要加調味品,最後添加,攪打均勻即可;
- 我是利用翻糖工具在慕斯蛋糕上先刻出痕跡,再用細裱花嘴畫出輪廓,最後用細小毛筆刷繡出花朵;剛開始使用時也不流暢,但是不要緊,用細毛筆刷後就不會那麼明顯;當然如果第一次做,建議先在紙上練習一下,再開始在蛋糕上處理;
- 用個小碗放點熱開水,是用了在刷繡過程中,毛筆頭前會沾有奶油糖霜,這時在熱水中清洗下,再在乾淨毛巾上擦乾水分,這樣毛筆就能一直保持在好的狀態,而且不會有水分粘在蛋糕上;
- 對於在蛋糕上的花型,自己先在腦海中規劃好,有個大致輪廓,再動筆;也可以提前在紙上畫一下;這樣才能做出自己滿意的漂亮蛋糕來啦。