原料
1.焦糖菠蘿: , 菠蘿: 250g, 鹽開水: 適量, 砂糖: 60g, 沸水: 15毫升, 黃油: 30g, : , 2.蛋糕:: , 黃油: 80g, 低筋麵粉: 120g, 雞蛋: 5個, 砂糖: 50g, 牛奶: 60毫升
步驟
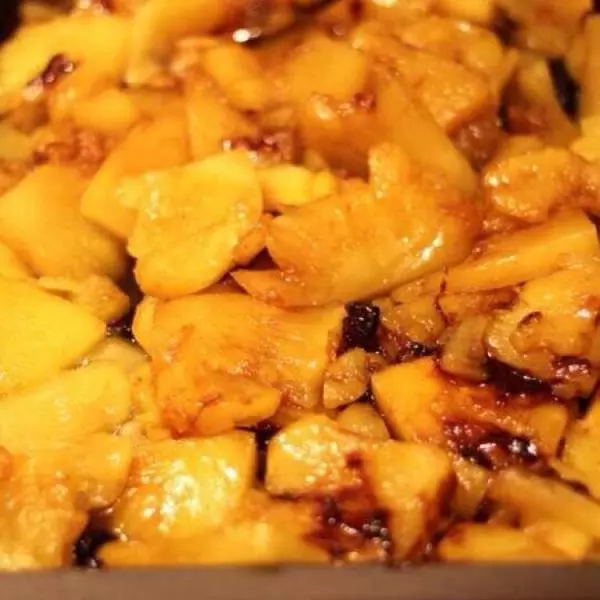
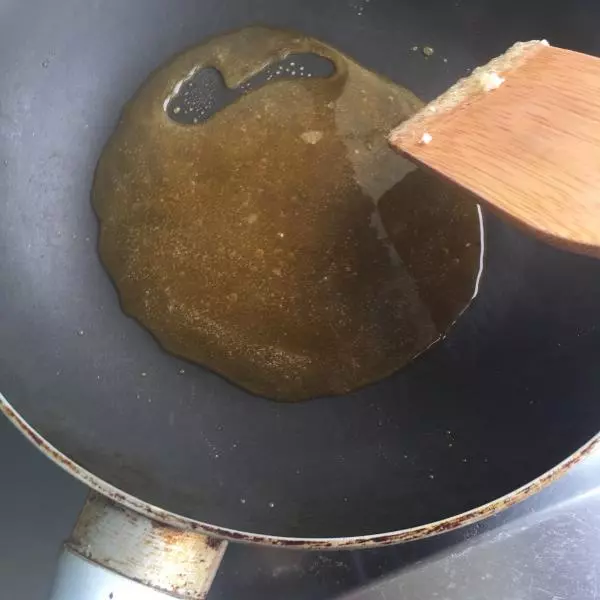
1製作焦糖菠蘿:切菠蘿,淡鹽水浸泡;砂糖小火炒至琥珀色。
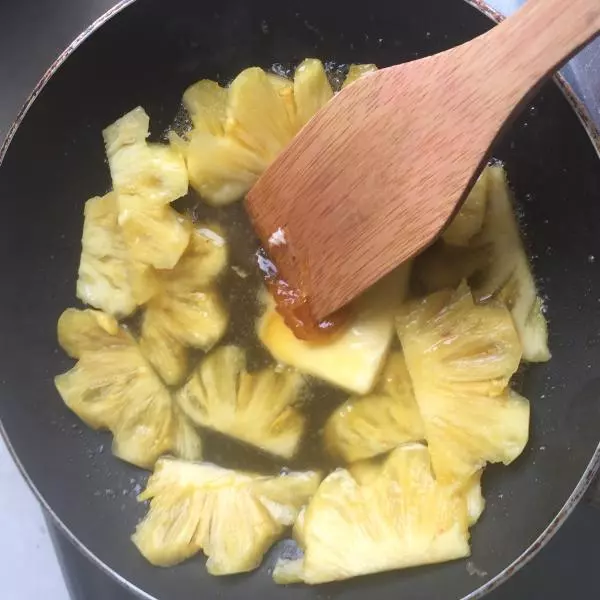
2一邊加入沸水和黃油,一邊攪拌;菠蘿片瀝干水,倒入鍋中快速翻拌上色;
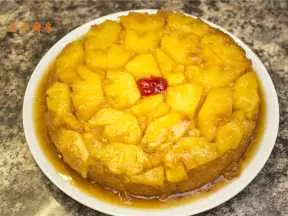
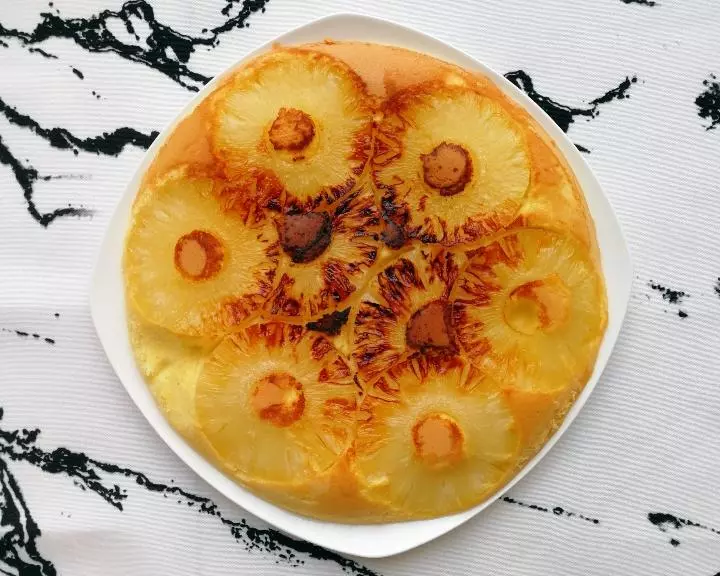
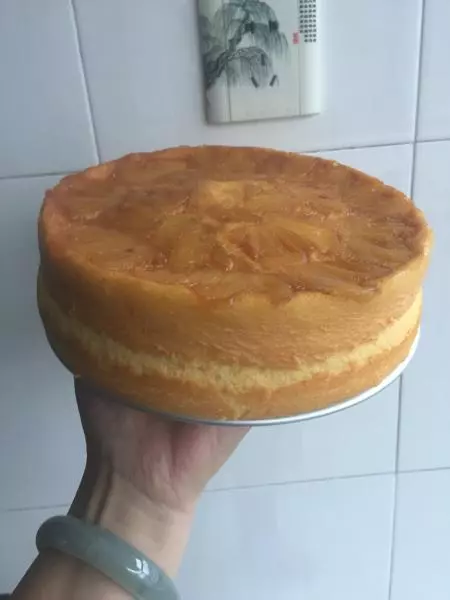
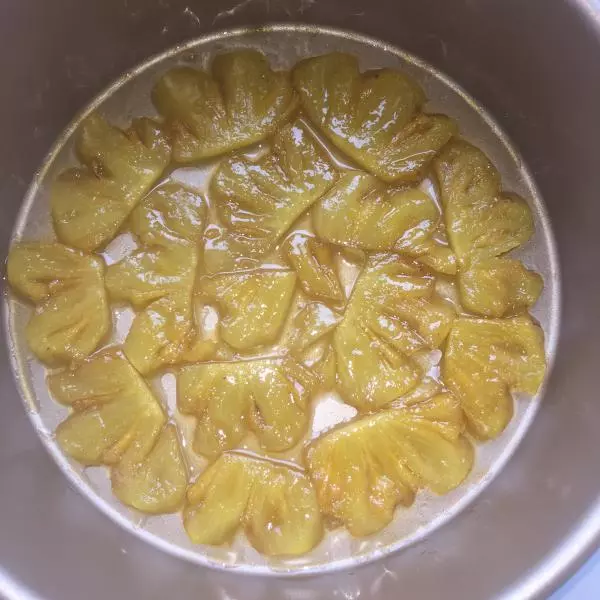
3把菠蘿片擺入烤盤。(非不沾烤盤要在底部和內側刷黃油)
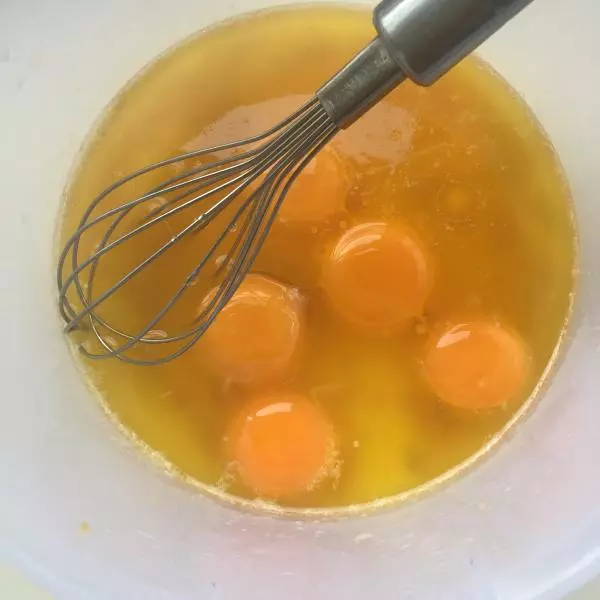
4製作蛋糕 蛋黃糊: 融化黃油,分離蛋黃、蛋清。(蛋清要放入無油無水的容器,放入冰箱冷藏)蛋黃加入稍量的黃油,攪打均勻。
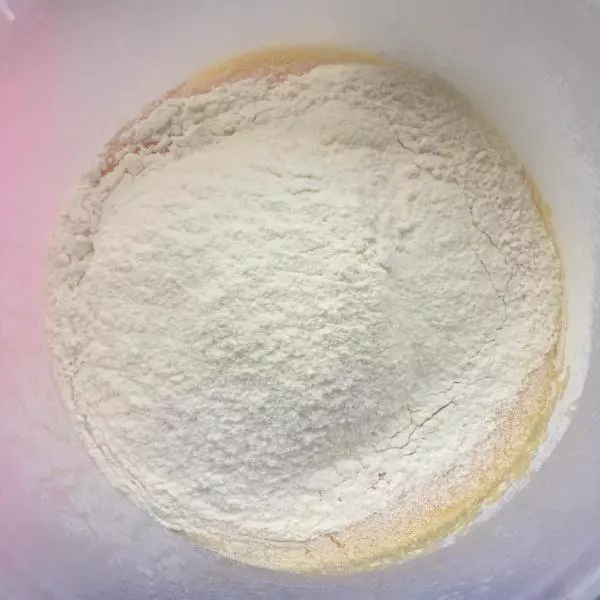
5加入奶,攪拌均勻;篩入低粉,切拌到無乾粉。(熬菠蘿剩下的糖漿我加入這裡了,其實可以留著最後刷在烤好的菠籮上)
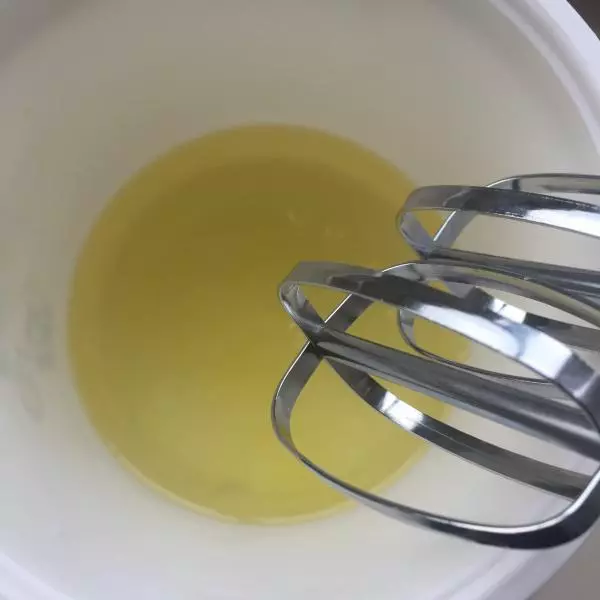
6蛋白霜: 製作蛋白霜前,打開烤箱預熱170度。 1.蛋白中加入幾滴檸檬汁或白醋。
72.高速打發到粗泡,加入1/3白糖。
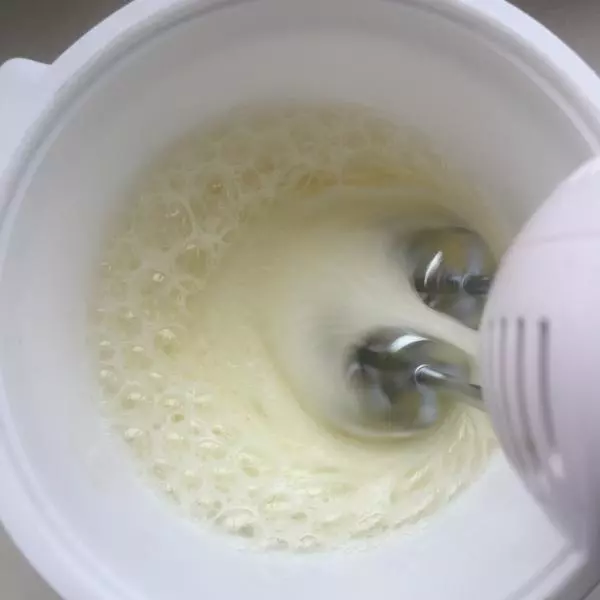
83.高速打至泡沫細膩,加入1/3白糖。
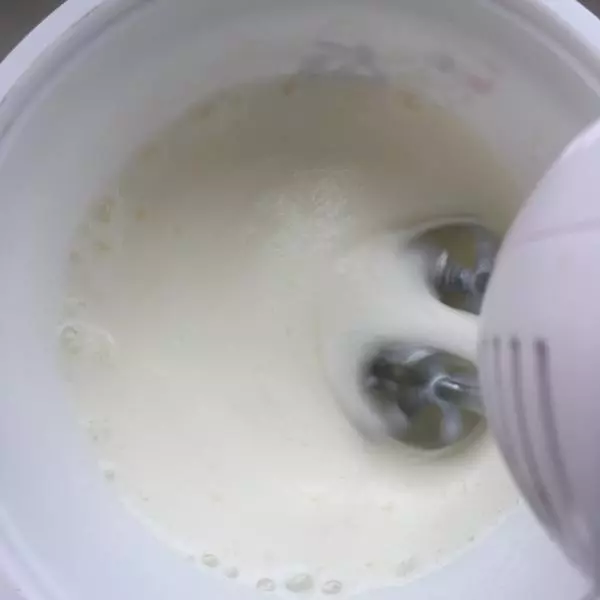
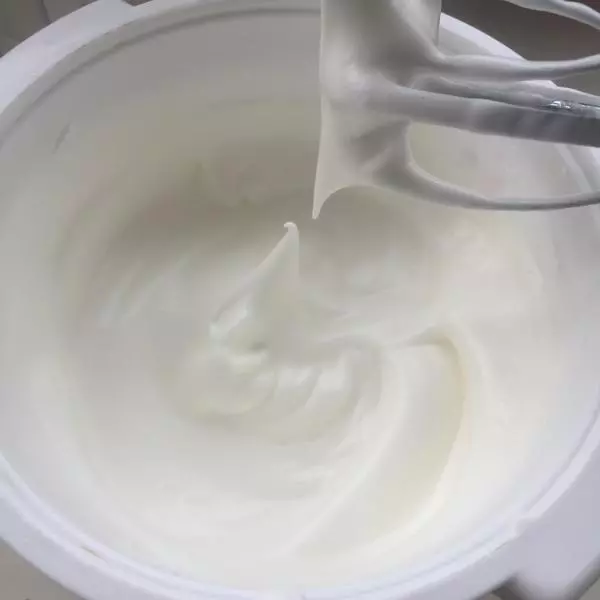
94.繼續高速打至出現紋路,加入最後1/3點白糖。
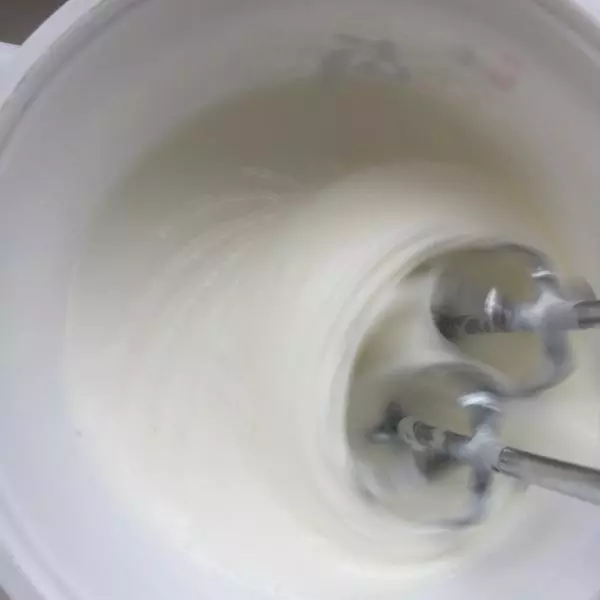
105.低速打至乾性發泡,出現灣鉤。
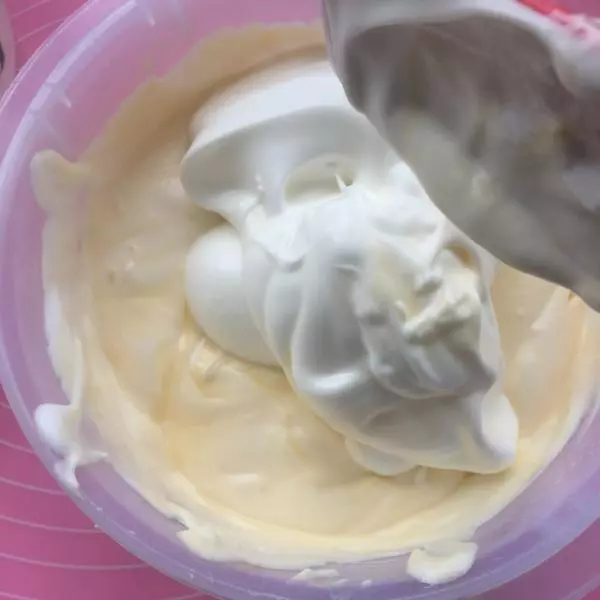
11混合蛋黃糊與蛋白霜: 1.取1/3蛋白霜到蛋黃糊中翻拌均勻。
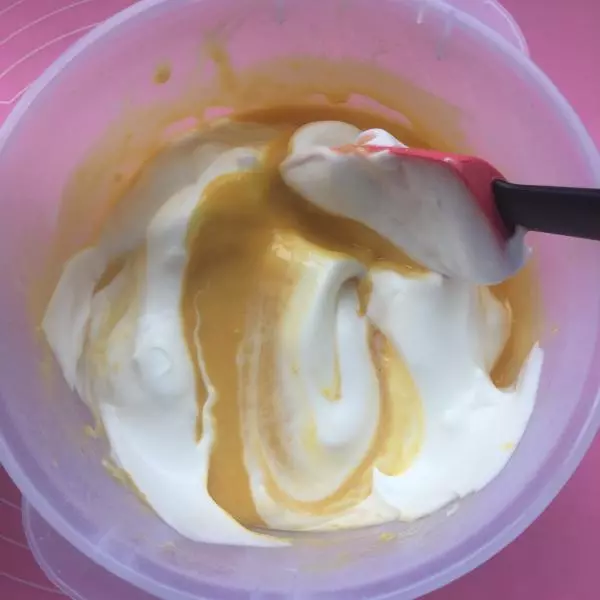
122.再取1/3蛋白霜繼續翻拌均勻。
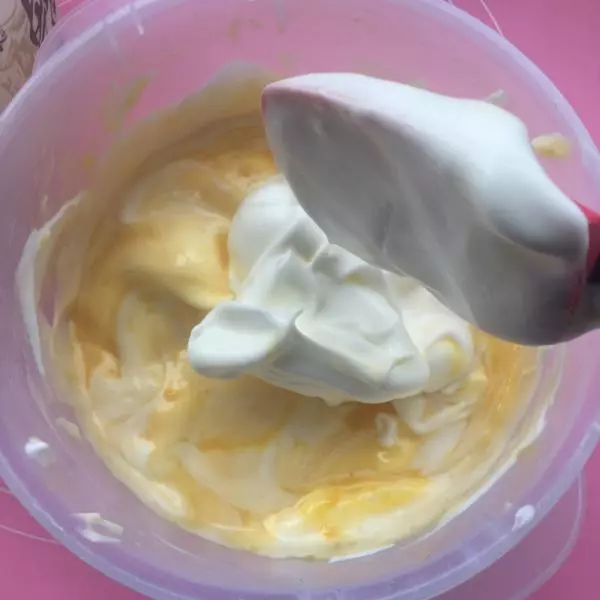
133.加入最後1/3蛋白霜翻拌均勻。
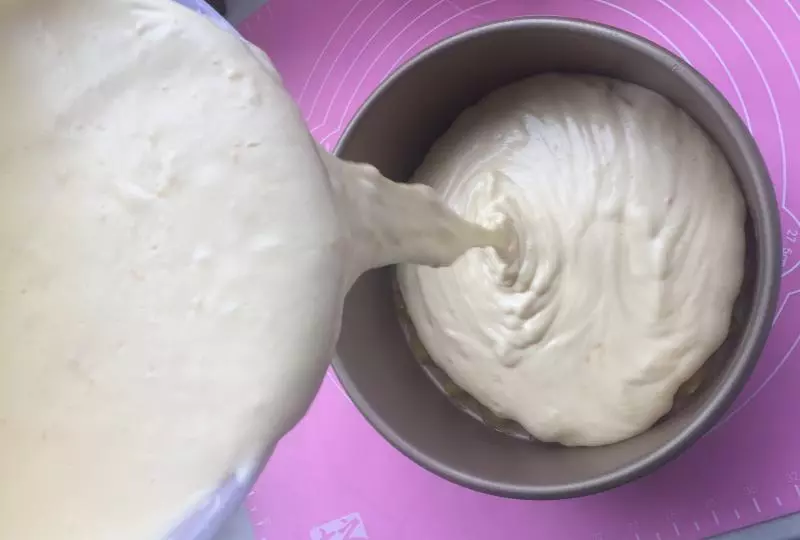
144.將蛋黃霜倒入烤盤。
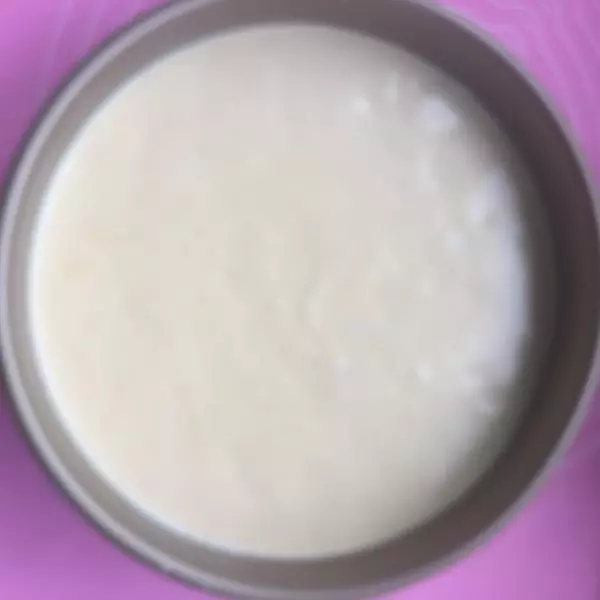
15輕輕震出大氣泡。
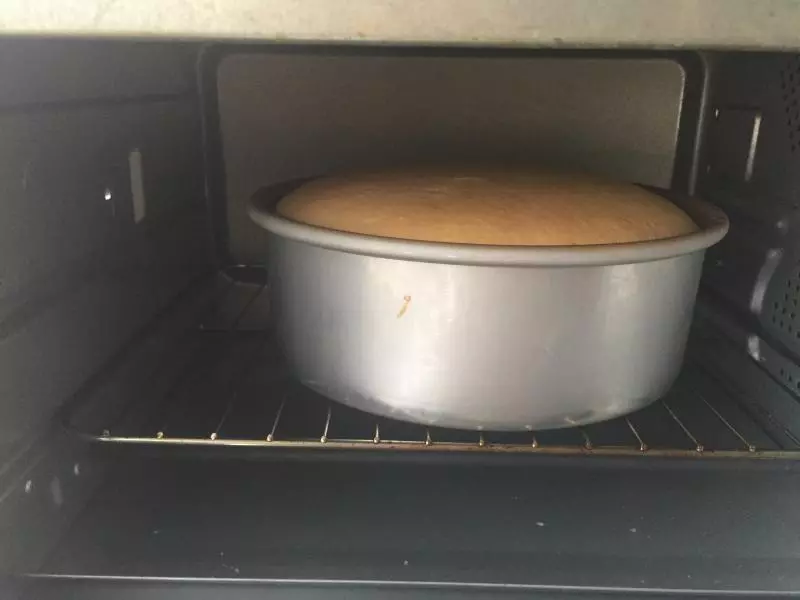
165.放入預熱好的烤箱,140度烤50分鐘。
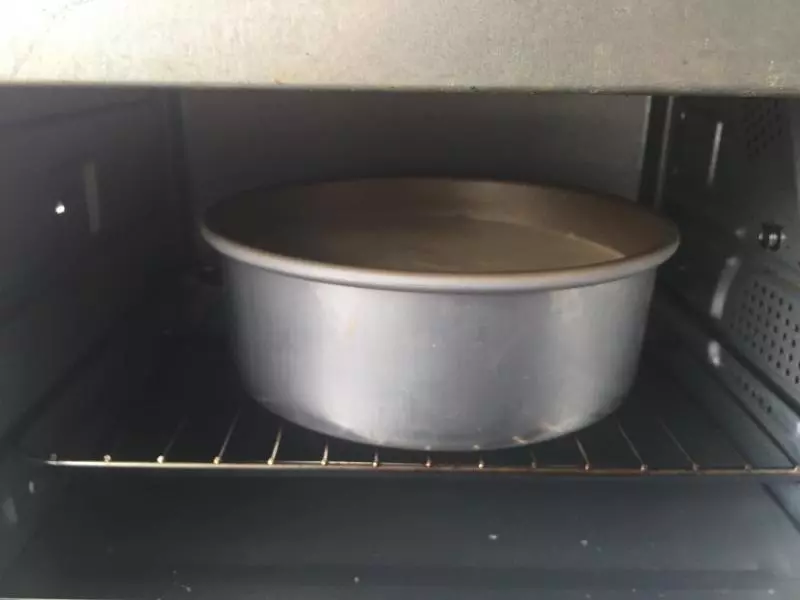
17上色後,加蓋錫紙。
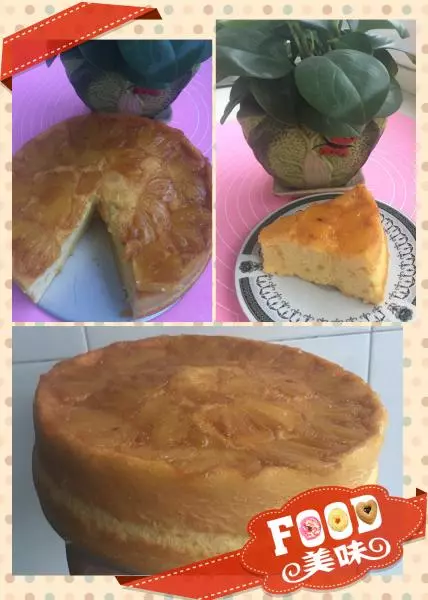
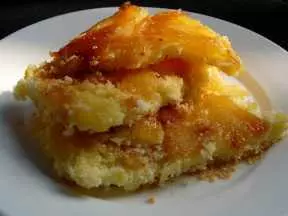
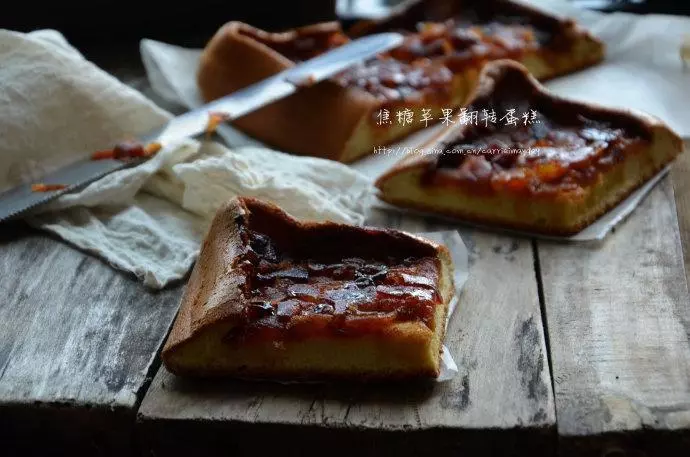
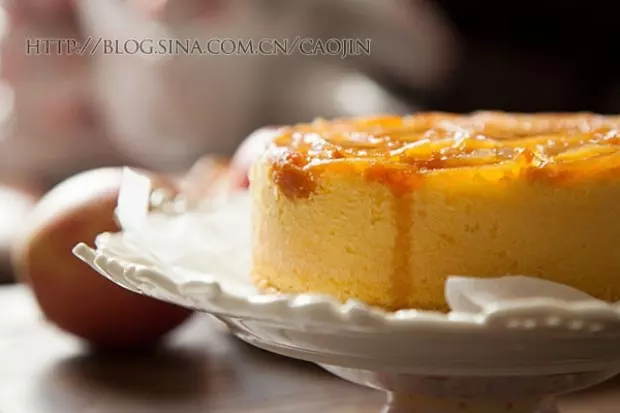
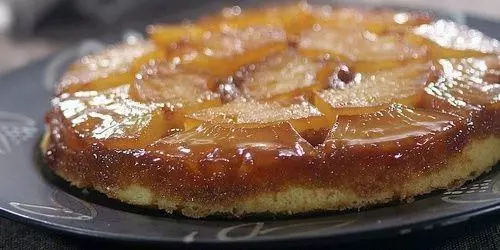
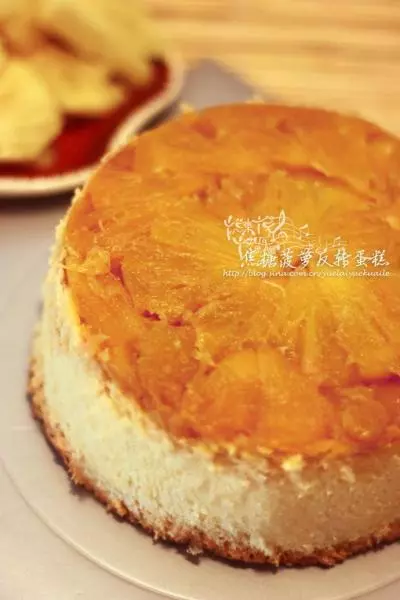
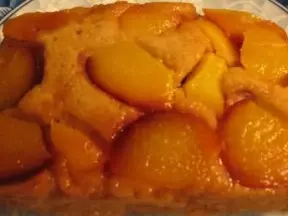
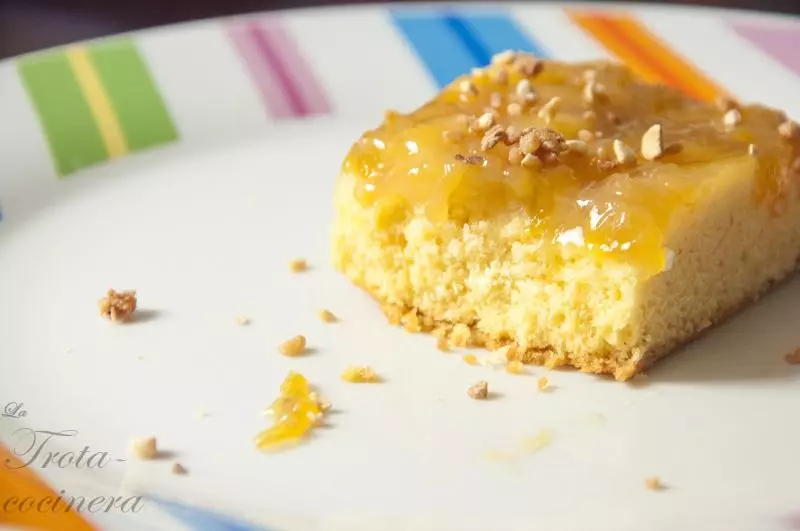
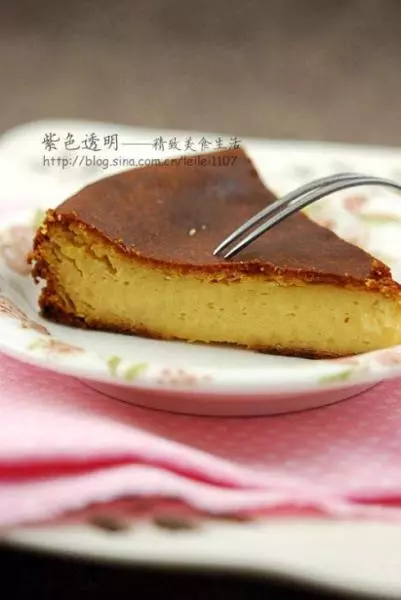
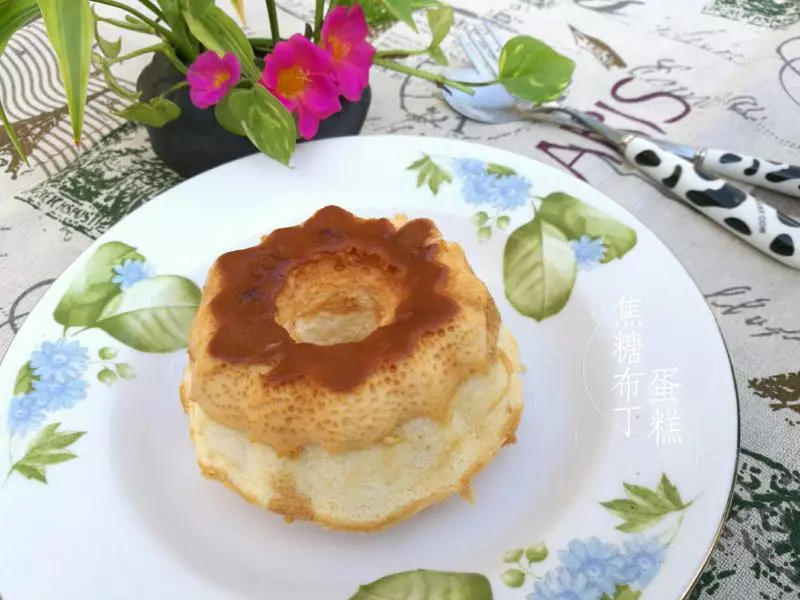
186.出爐,輕震,倒扣脫模。
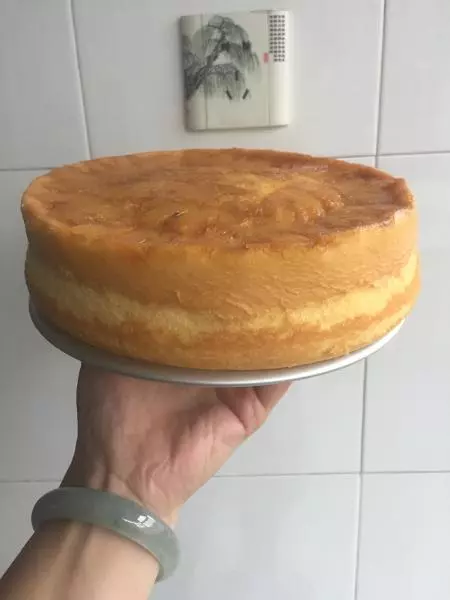
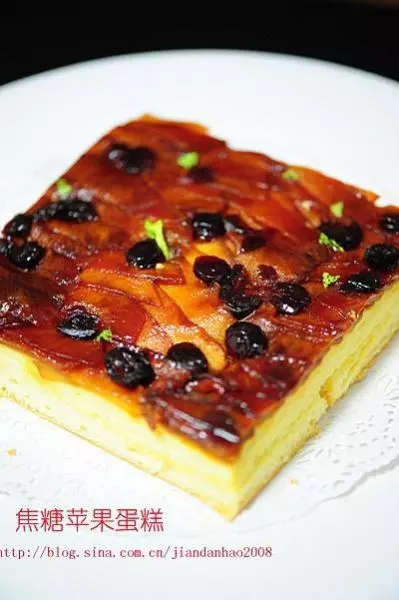
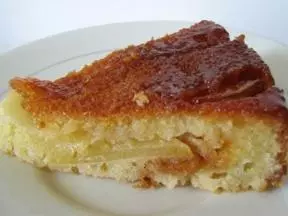
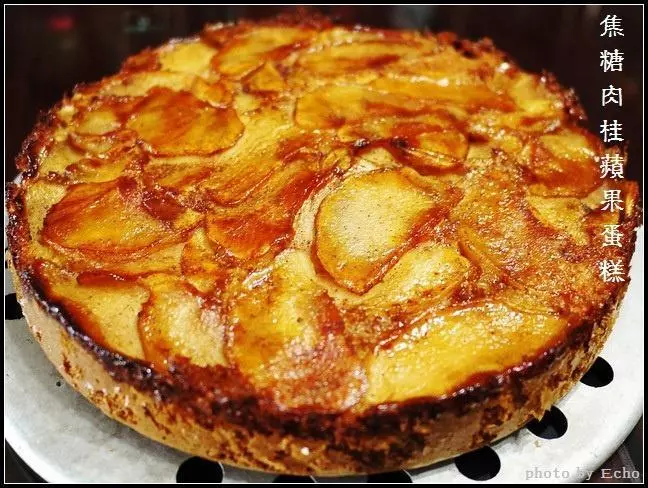
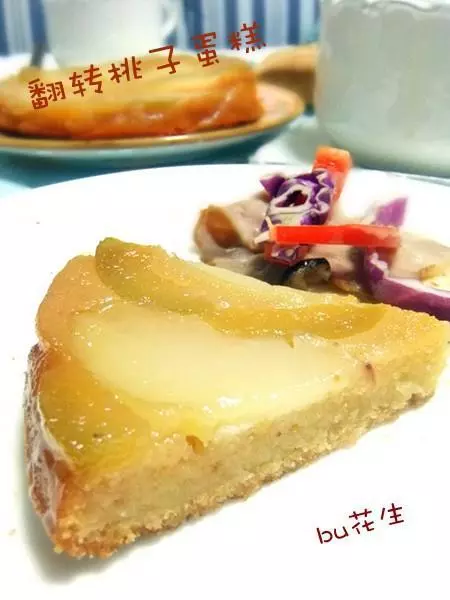
19稍涼,開吃!