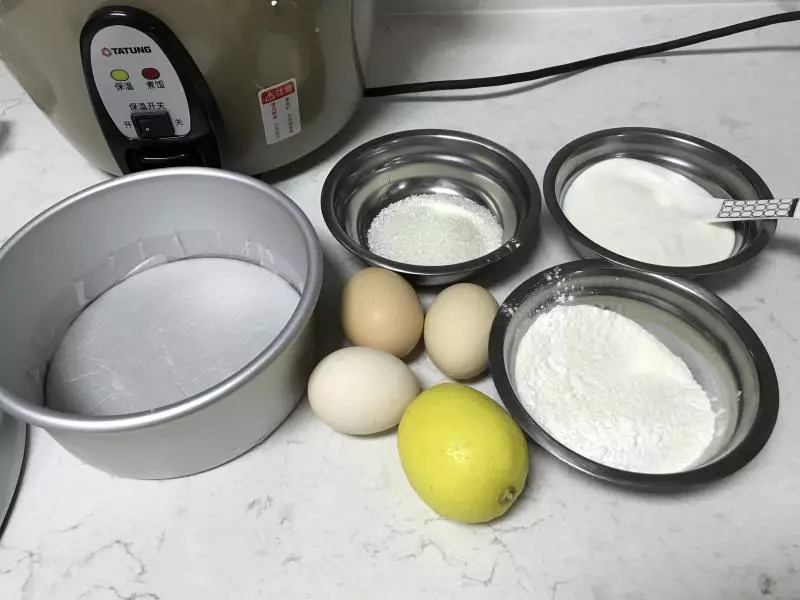
原料
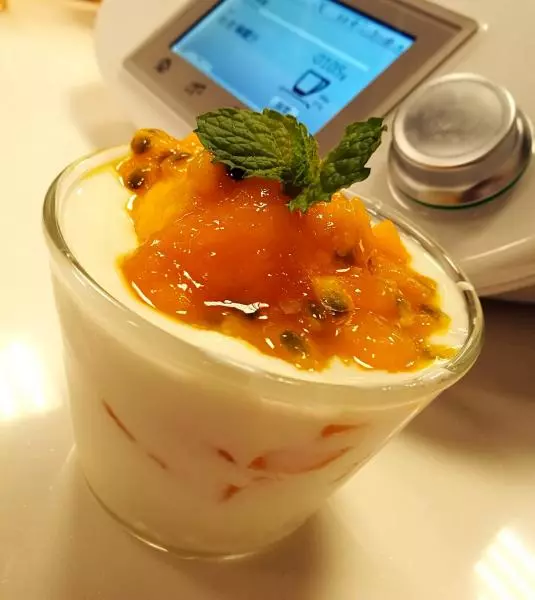
鸡蛋: 3个, 低筋面粉: 40克, 糖: 40克, 柠檬汁: 少许, 自制酸奶: 120克
步骤
1容器垫好烘焙纸,面粉过筛,其他材料称好备用
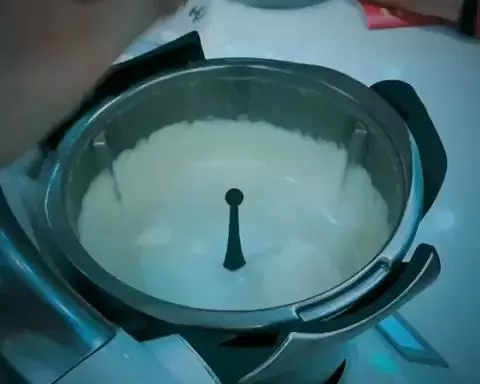
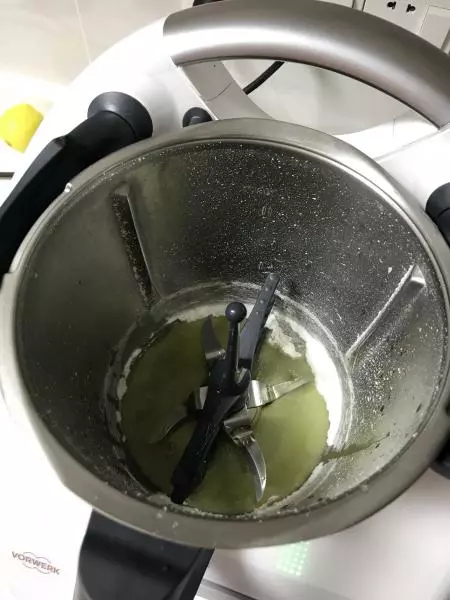
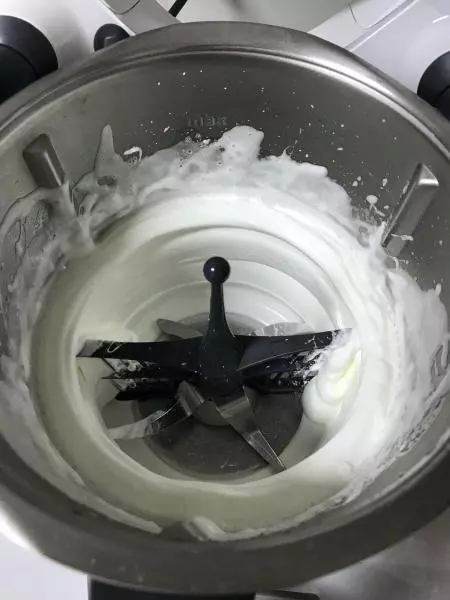
2准备无水无油干净的锅子,插入蝴蝶棒,放入蛋白和糖,2-3分钟/37度/速度1-4
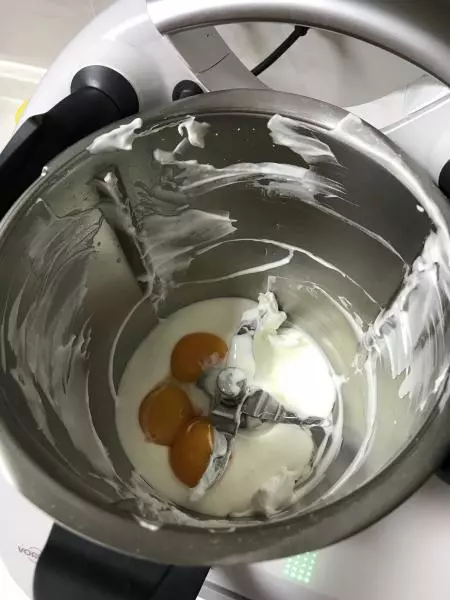
3打好的蛋白盛出来放一旁备用,不用洗锅,继续下一步
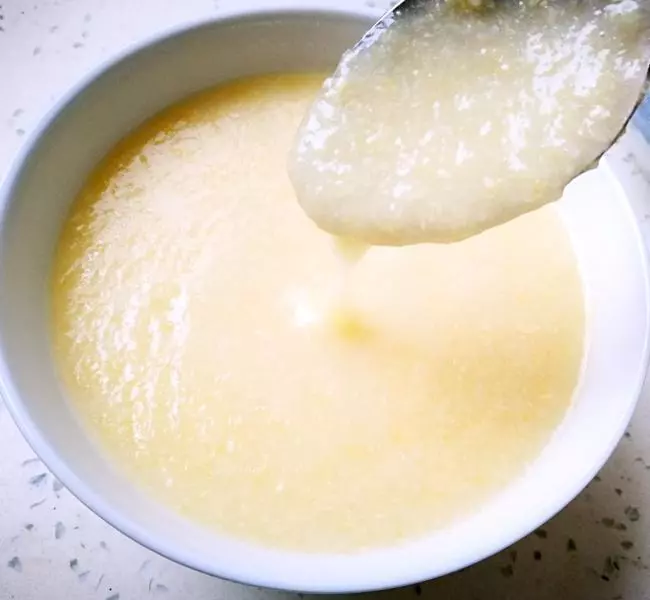
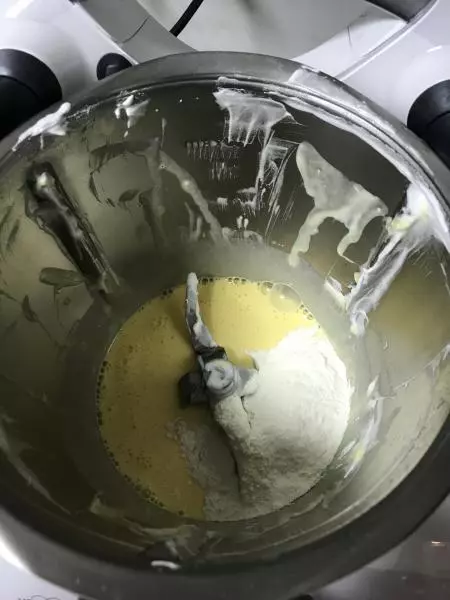
4倒入酸奶和蛋黄,速度3/5秒混合
5再倒入面粉,速度1-3/5秒混合
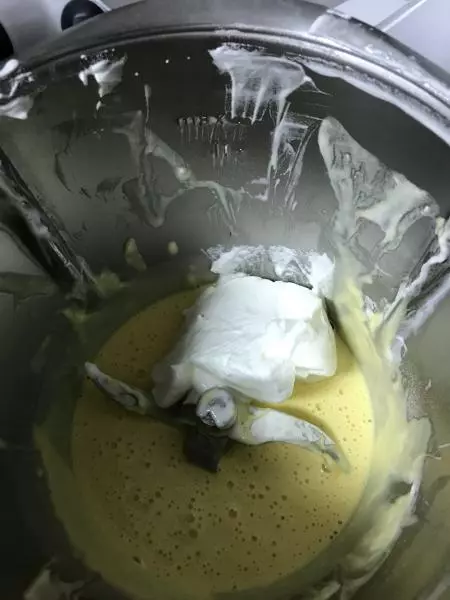
6分三次加入蛋白,每次速度从1-3,大概2,3秒就可以,确定混合均匀即可,不要过多搅拌
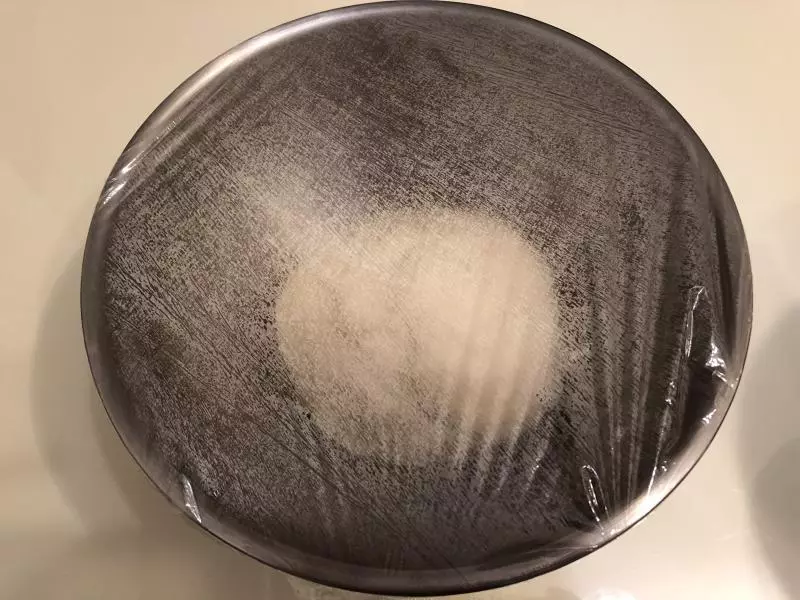
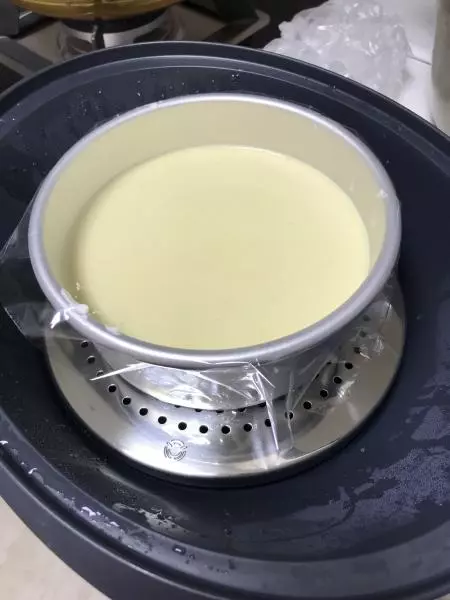
7倒入模具,盖上保鲜膜(或者锡箔纸,盖子)预防滴水,放进蒸锅里,同时主锅加水预热
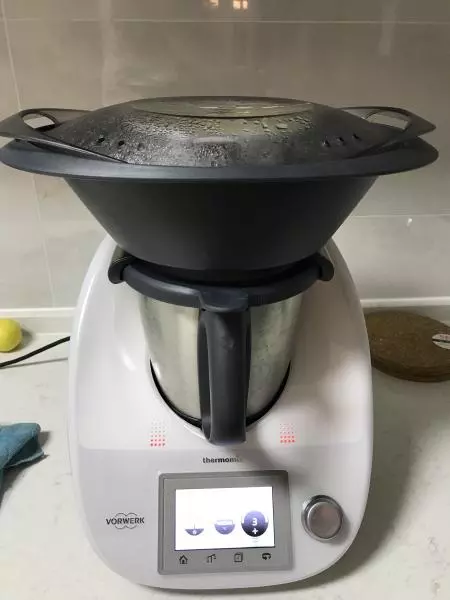
8主锅放进500g水,时间30分钟/温度V/速度2,水温到达后,架上蒸锅蒸20分钟左右即可
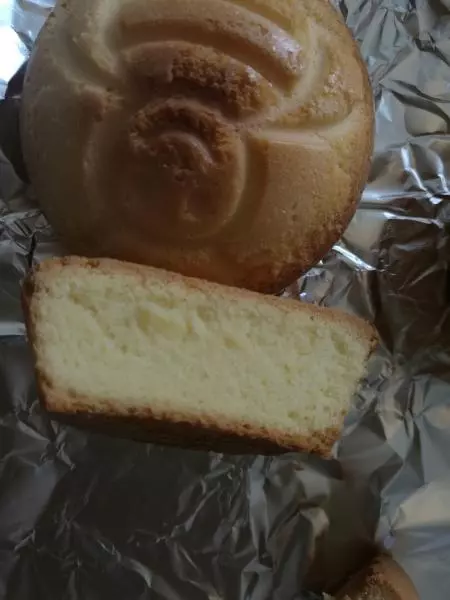
9蒸出来的蛋糕,热腾腾的很松软,但是我觉得等完全冷却比较好吃
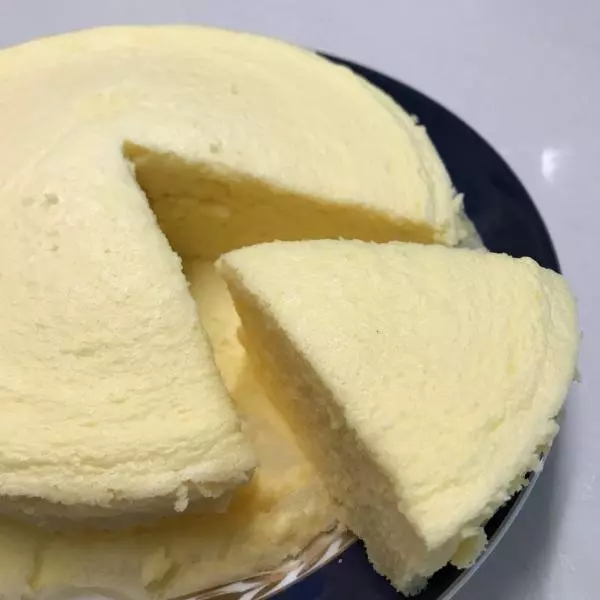
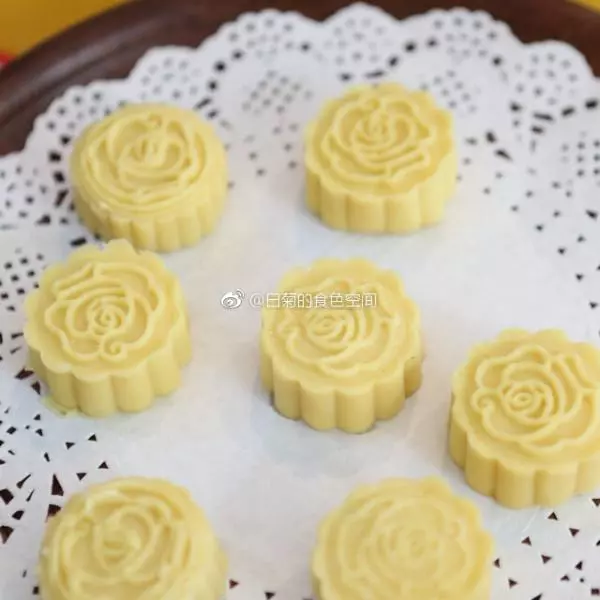
10切开来组织还可以,低糖低脂吃了没负担