豆腐: , 韭菜: , 粉丝: , 盐: , 鸡精: , 橄榄油:
1妈妈说用这个瓶子装油,可以控制全家的吃油量,用起来也真是超级顺手啊!
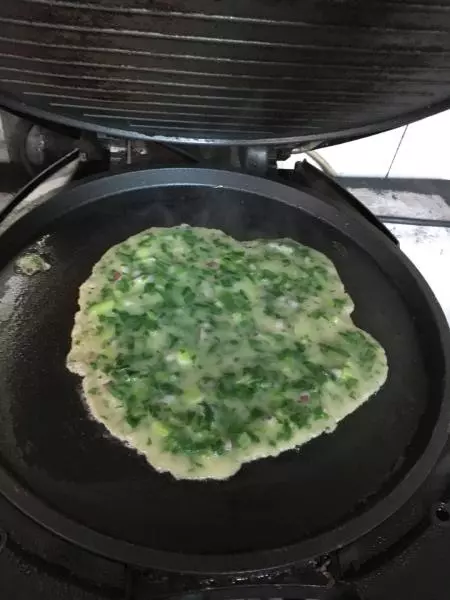
2煎饼,中间要多补一块,因为放菜时油和水可能会渗透煎饼,补这一块就不会漏。
3菜铺上来。
4放油,盐,鸡精。
5铺好菜后在中间再铺一块。因为这卷菜特别多,四周折叠过来时会包不满,所以要打补丁啦,如果菜比较少四周折叠过来可以封住的话,就不需要啦!
6开始折叠!
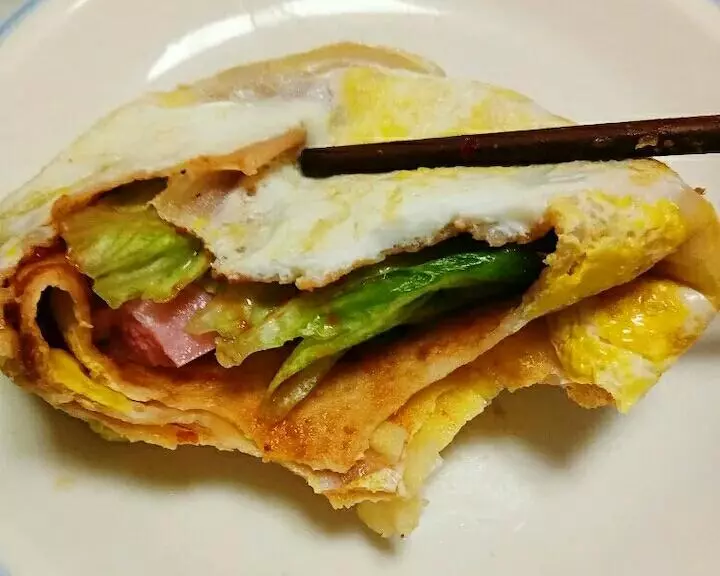
7折叠完毕!
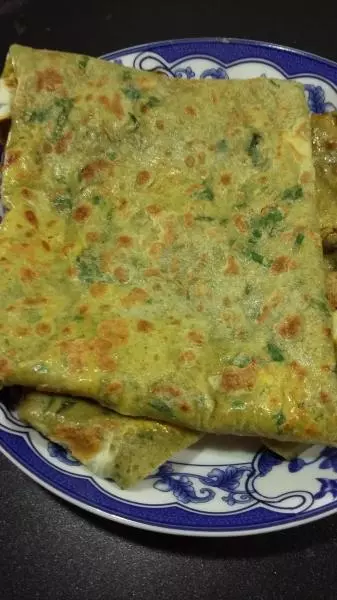
8放入电饼铛。要压紧实些,迅速当下电饼铛盖!
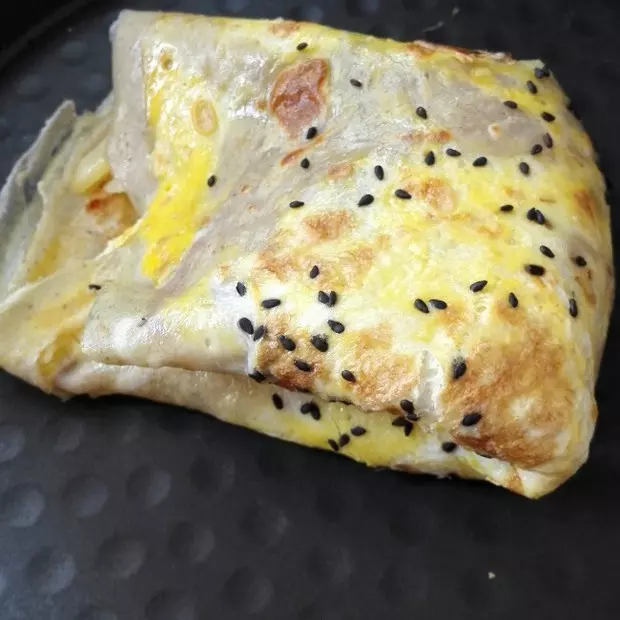
9再翻个身!
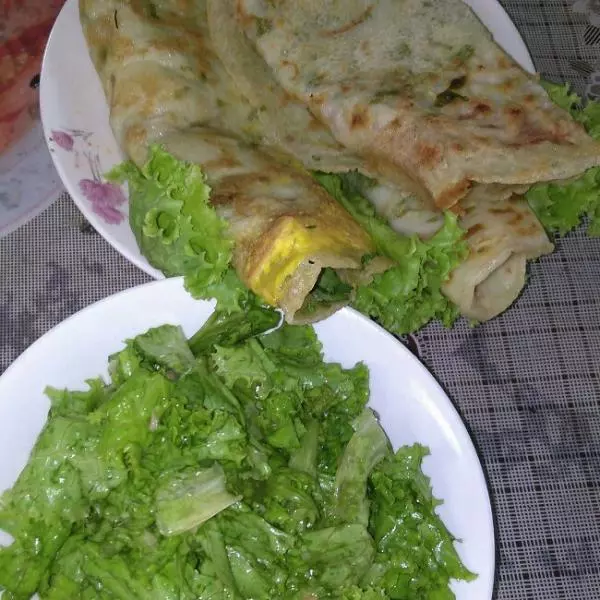
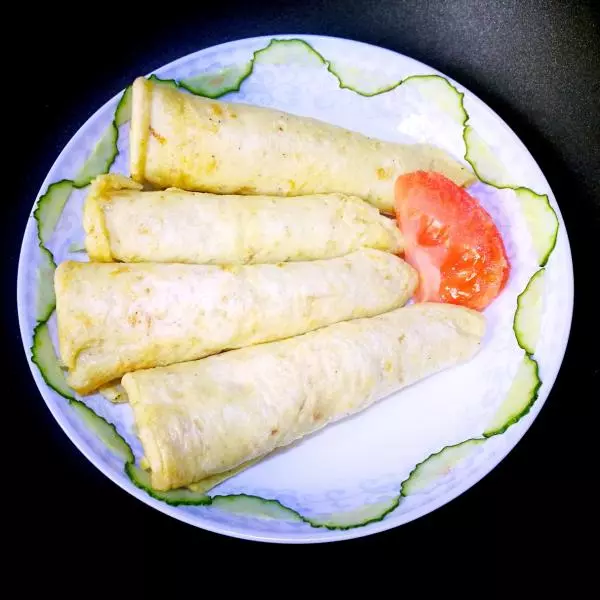
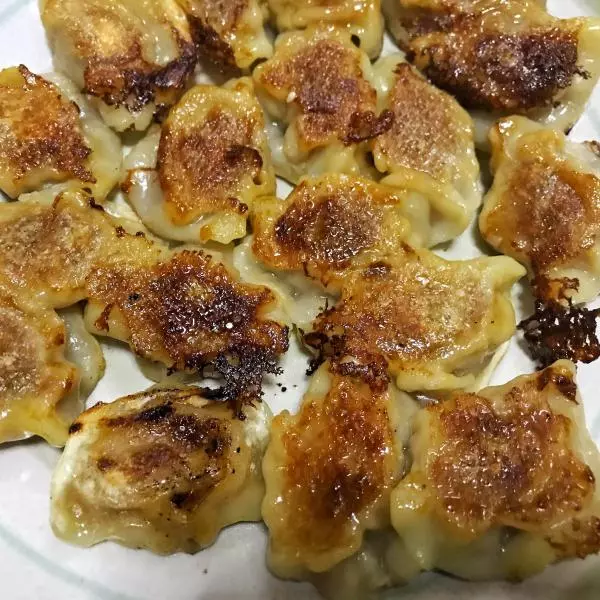
10出锅啦!