原料
中种材料:高筋面粉180g,细砂糖6g,即发干酵母4g,水107g。: , 主面材料:高筋面粉135g,细砂糖61g,奶粉18g,盐5g,全蛋72g,无盐黄油36g。: , 椰蓉馅料:无盐黄油50g,全蛋66g,椰蓉76g,糖粉40。: , 表面材料:稀蛋液(鸡蛋与水1:1),黑芝麻少许:
步骤
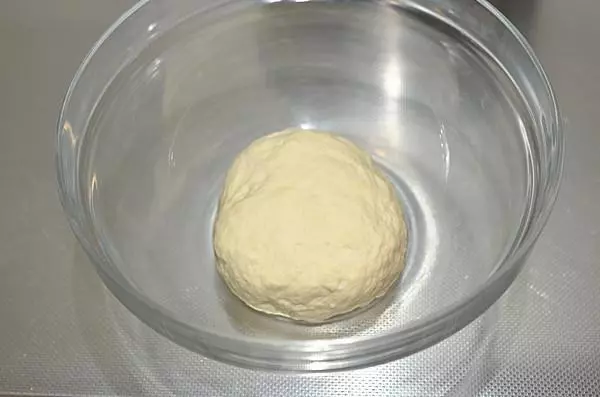
1中种材料混合后揉成团,盖保鲜膜放温暖处发酵。
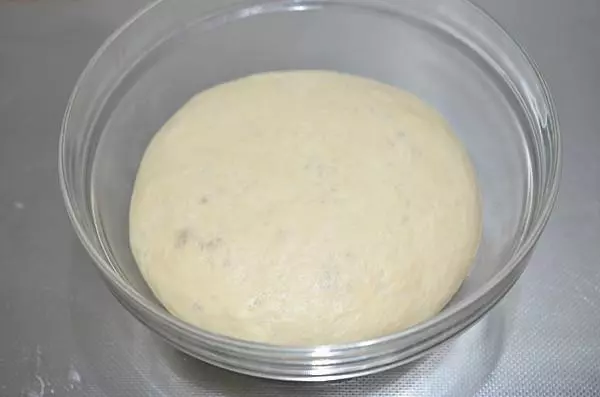
2发酵至原体积的3倍大即可。
3将发好的中种撕成小块与主面团中除黄油外的其它材料一起放厨师机的搅拌桶中。
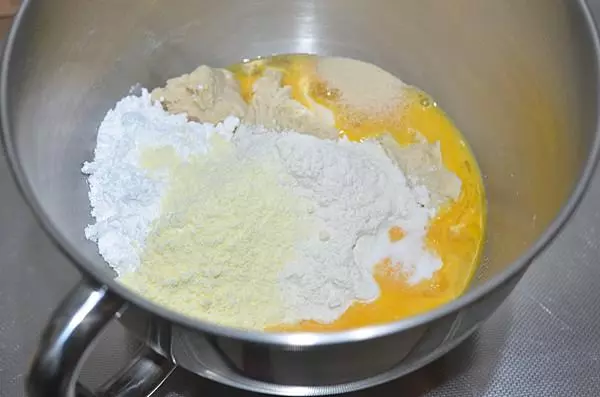
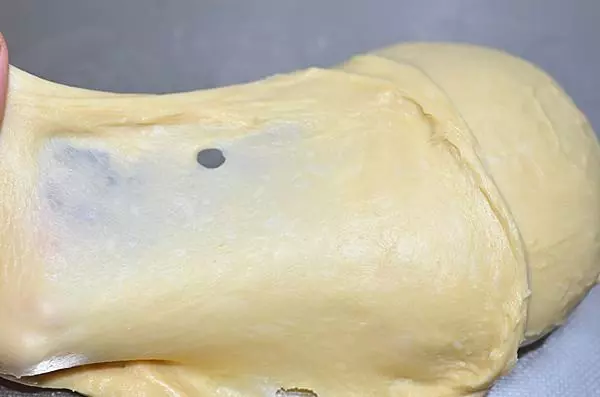
4后油法揉至能拉出大片薄膜的状态。
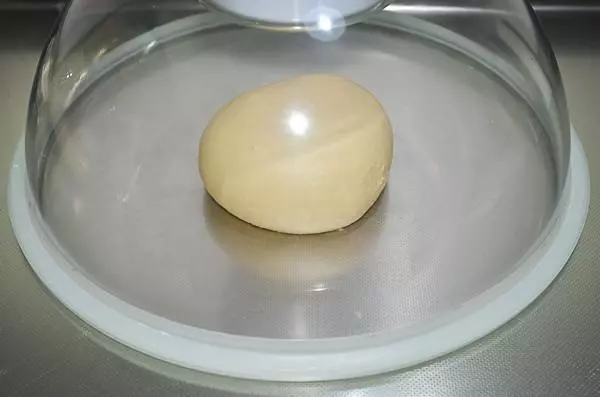
5滚圆后密封在室温下醒发30分钟。
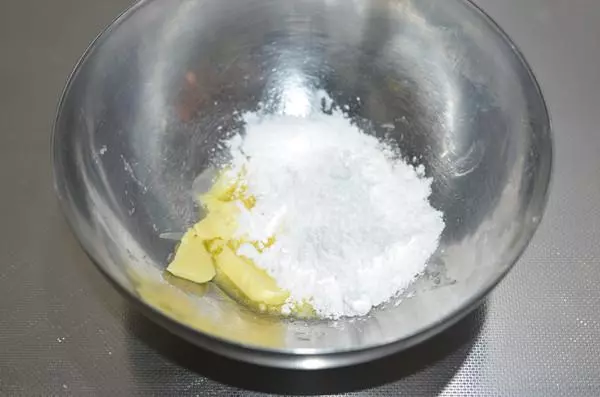
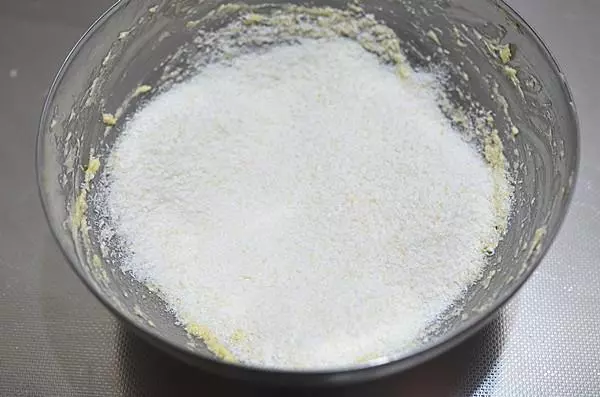
6面团醒发的时间制作椰蓉馅,软化好的黄油放入糖粉搅拌均匀。
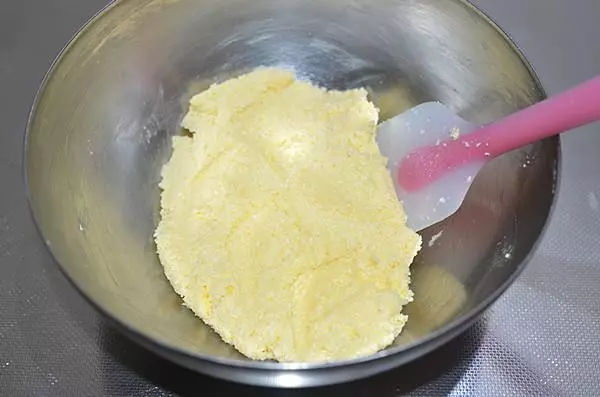
7分次加入全蛋液,每次都搅拌均匀再加下一次,直至全部加完。 5分钟左右即可。

8加入椰蓉。
9翻拌均匀后放冰箱冷藏备用。 烤1
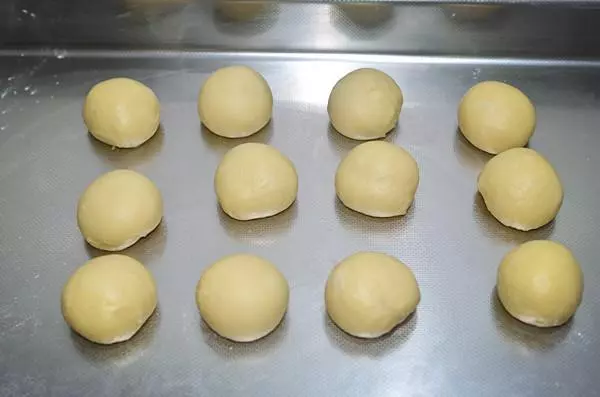
10发好的面团平均分成12份,盖保鲜膜松驰15分钟。
11椰蓉馅也平均分成12份。 ,
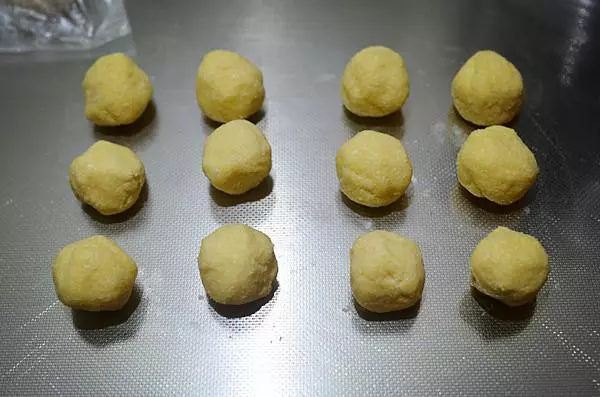
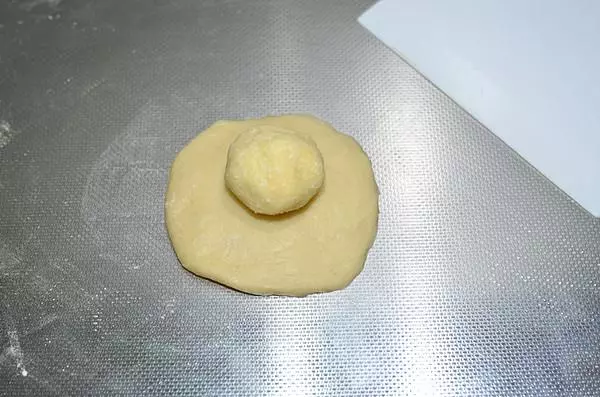
12取一个面团擀开后翻面包入椰蓉馅,收口捏紧放在下面。
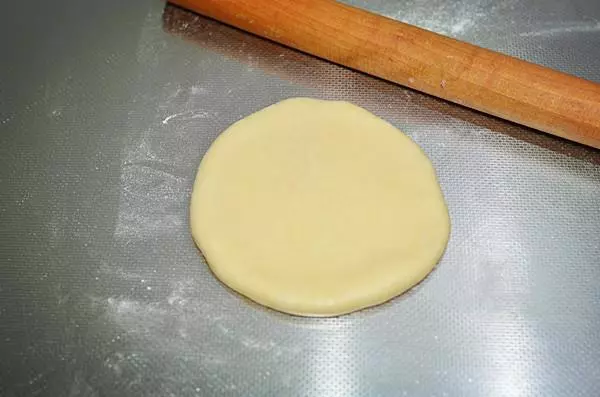
13稍微压扁后擀开成圆片。
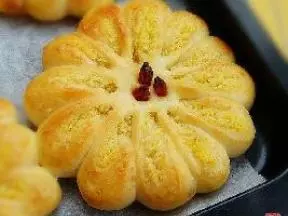
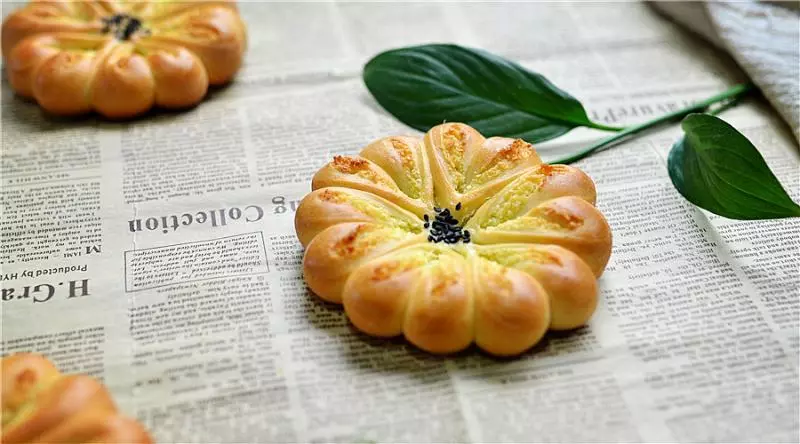
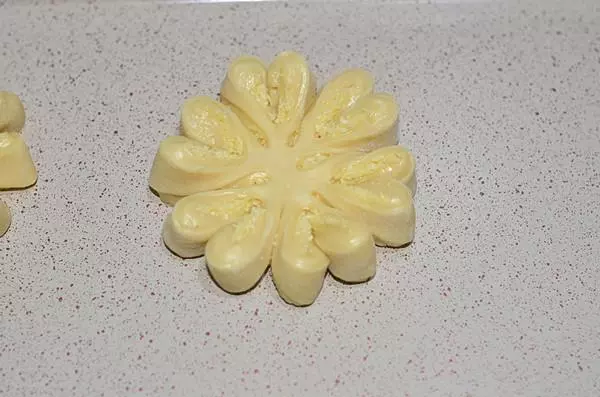
14用剪刀剪成六等份,中间不要剪断。
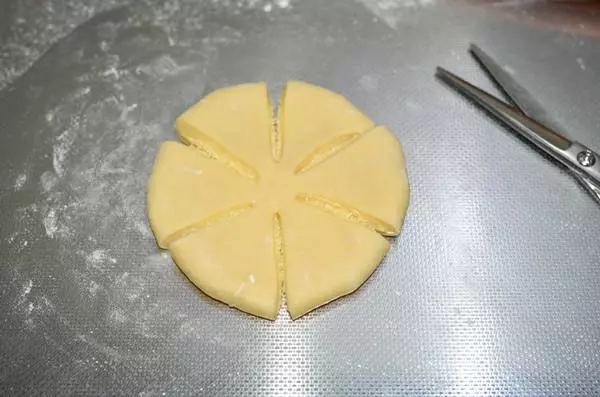
15移入烤盘中,每片的中间再剪一刀。
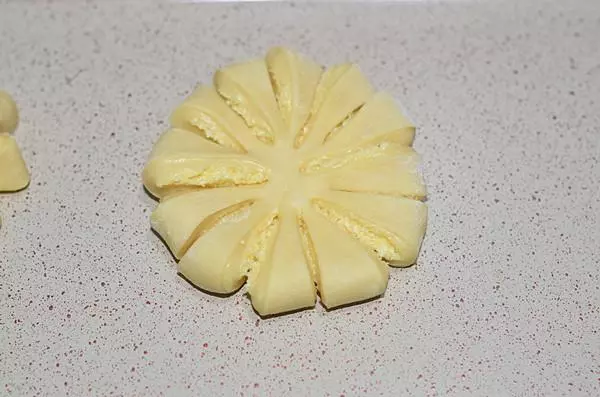
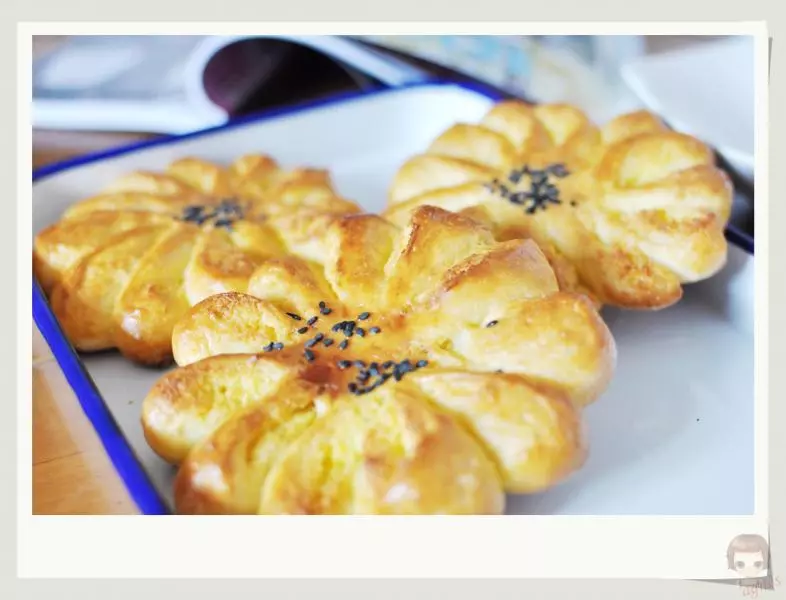
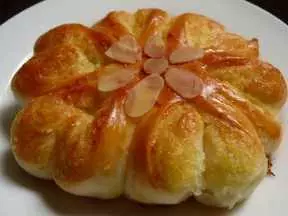
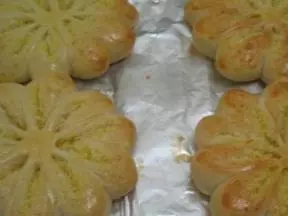
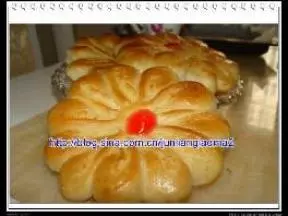
16每两个为一组,左边的向左上扭转,右边的向右上扭转,切口朝上露出椰蓉馅。
17用手轻轻按压整形,依次做完全部。
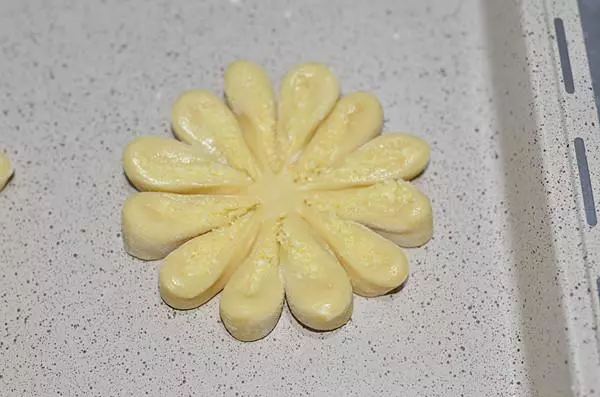
18烤箱中放一杯热水开启发酵功能,将做好的面包胚放烤箱中发酵。
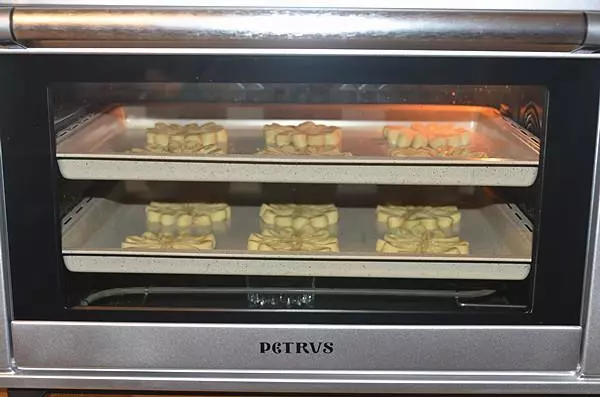
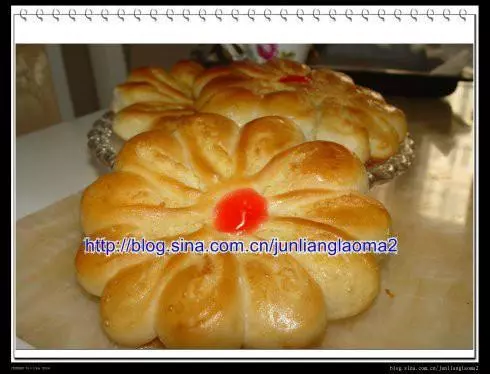
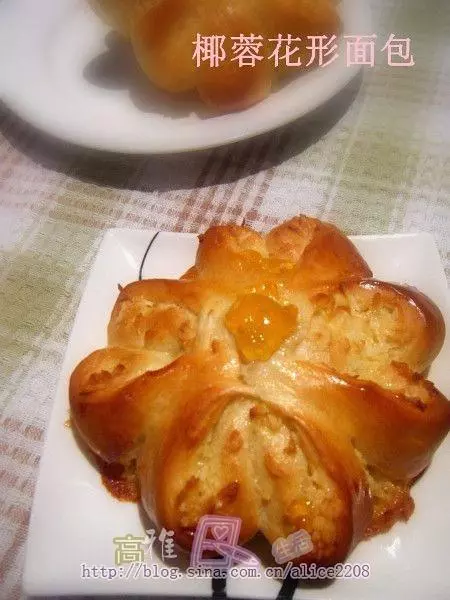
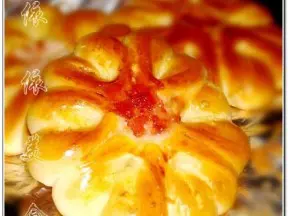
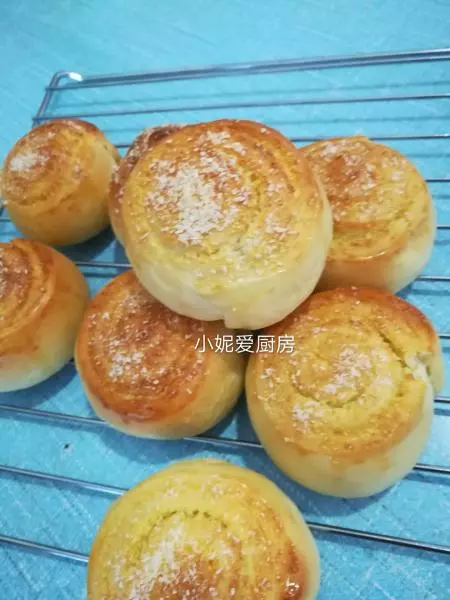
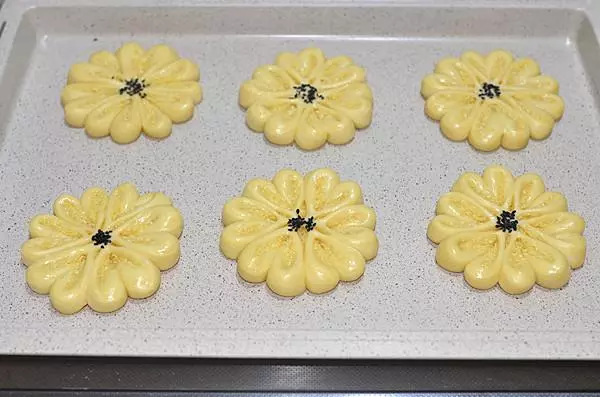
19发至1.5倍大时取出表面刷一层稀蛋液,中间撒一点黑芝麻。
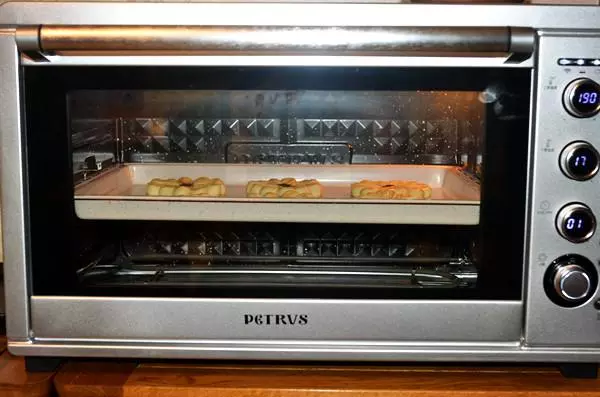
20放入预热好上火190度下火170的烤箱中层
小技巧
- 面粉的吸水率不同,方子里的液体量请依实际情况调整。 2. 烘烤上色后即加盖锡纸直至烘烤结束。 3. 每台烤箱都会有温差,烘烤温度及时间以自家烤箱为准。