原料
鸡蛋: 3个, 芒果: 4个, 低筋面粉: 100克, 细糖: 30克, 牛奶: 一袋
步骤
1准备材料
2加入鸡蛋和细糖开始搅拌蛋液

3蛋液里加去筛过的面粉,再加入溶化的黄油,再加入牛奶均匀搅拌,成糊状。

4用勺子舀30ml平勺,摇动不粘锅摊均匀,小火煎单面脱皮即可。
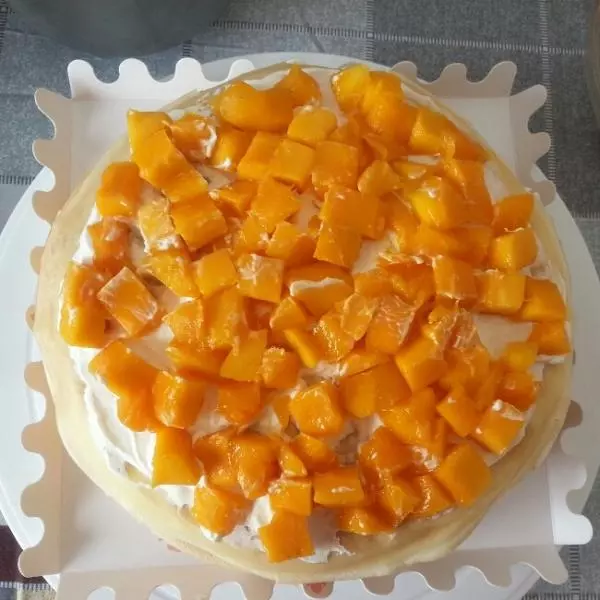
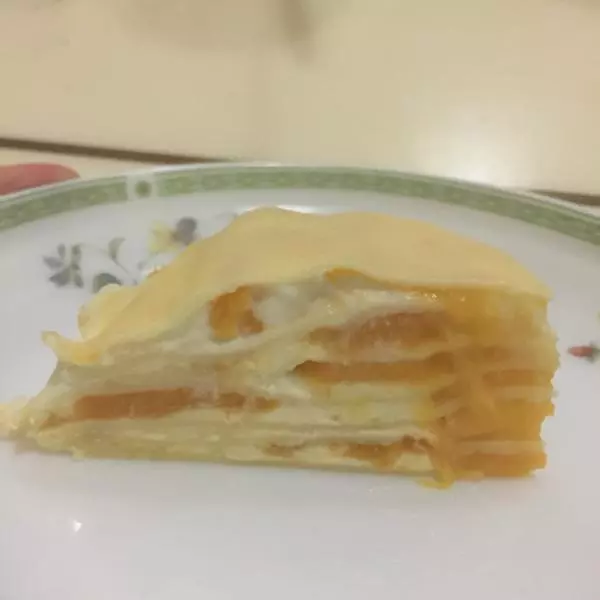
5切好芒果待用。切成片状做出来的蛋糕看看点。

6奶油打发,按自己喜好可再放糖。

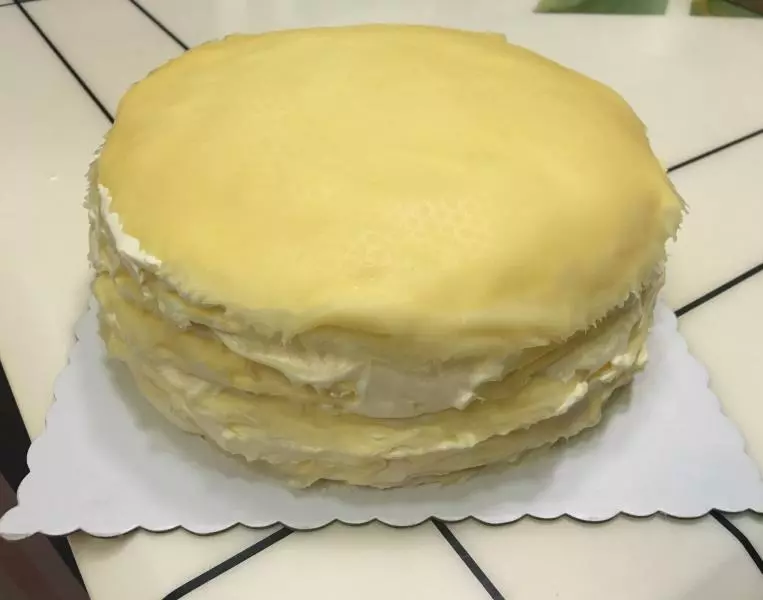
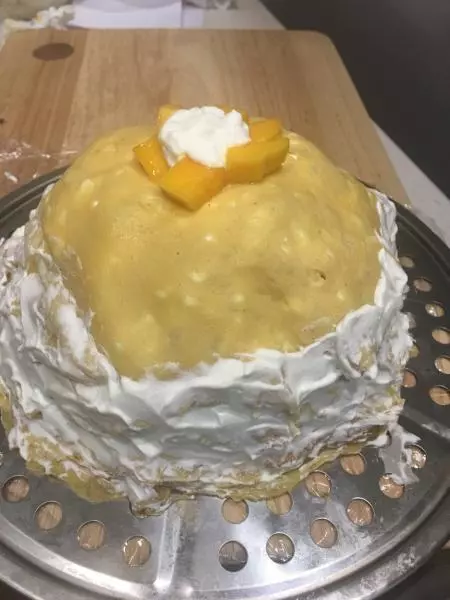
7把面皮放冰箱冷气上半小时,拿出来涂上奶油,涂抹均匀。

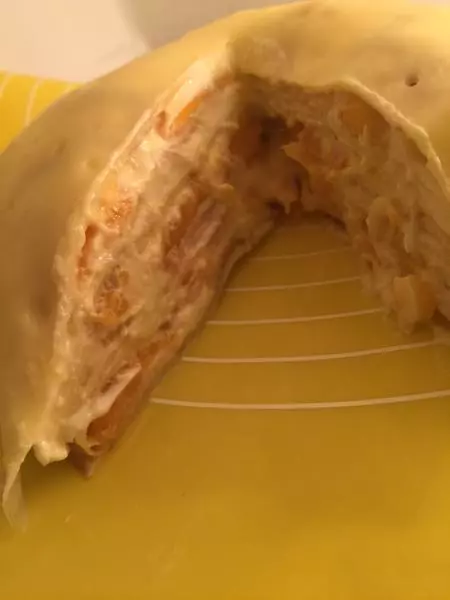
8每一层涂上奶油,每2~3层放入芒果,看摊的面皮的薄厚度自己适量调整的放。

9放入芒果后再把奶油涂抹在芒果上,我摊的面皮大小不均匀,不太美观凑活看吧,一共煎了12层。

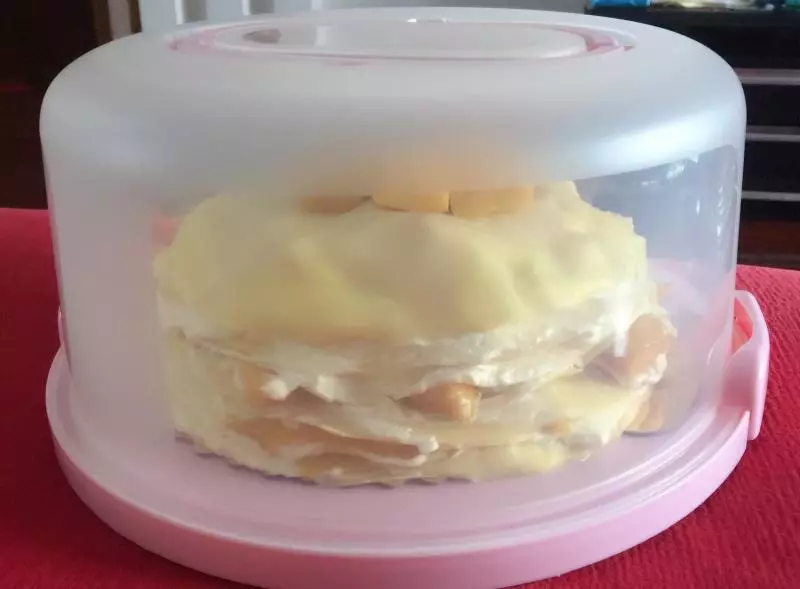
10最后装盘把蛋糕放入冰箱冷却3小时就可以吃了。真的很好吃!

小技巧
每层涂抹奶油时面皮边要留出点空隙,以免切蛋糕是奶油流出~ 奶油是我用蛋清自己打发的,存放度不如买的奶油。