原料
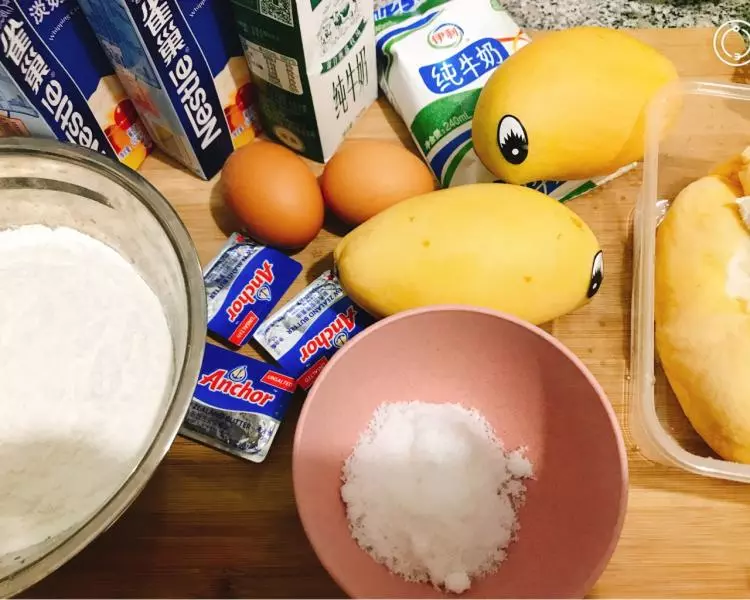
低筋面粉: 180克, 纯牛奶: 420克, 鸡蛋: 2个, 细砂糖: 50克(30克加面糊,20克加淡奶油), 黄油: 30克, 淡奶油: 500克, 芒果: 2个中等大小, 榴梿肉: 500克
步骤
1首先给大家看下食材全家福哟
2两个鸡蛋磕入盆中,加细砂糖30克
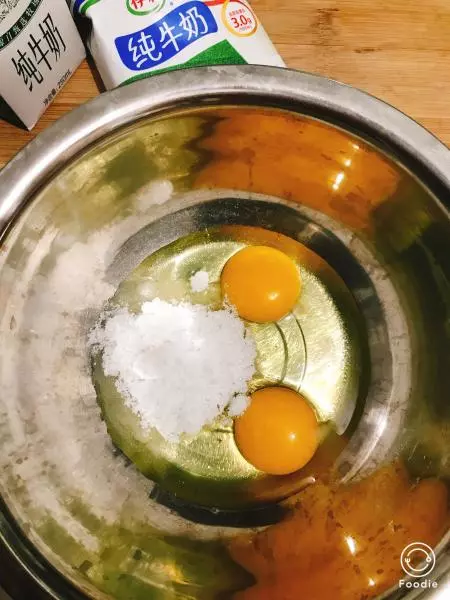
3加入牛奶搅拌

4加低筋面粉搅拌均匀
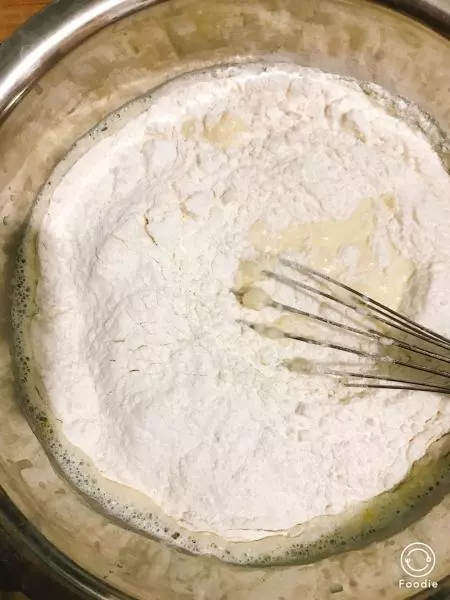
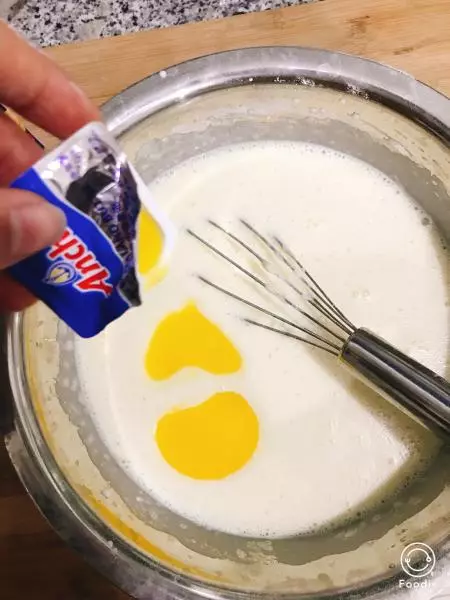
5加入隔水融化的黄油
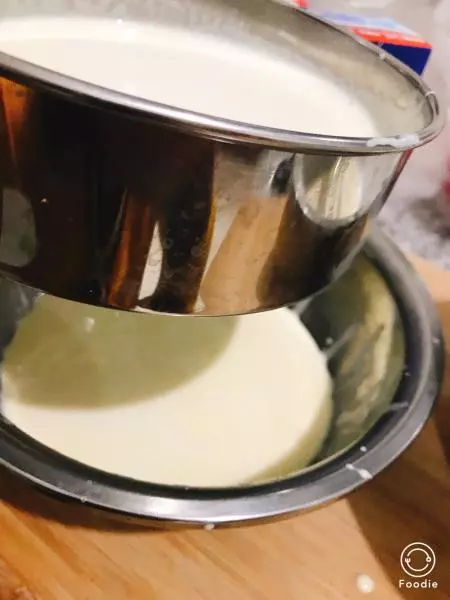
6面糊过筛一遍。这布一定要有的,筛过的面糊摊出来的饼皮才漂亮
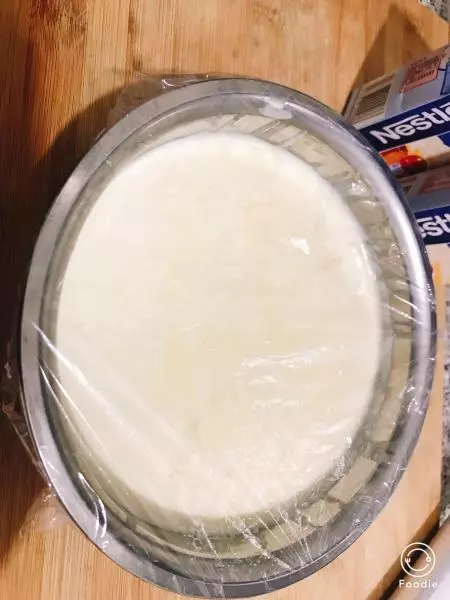
7筛好的面糊盖上保鲜膜放冰箱冷藏半小时
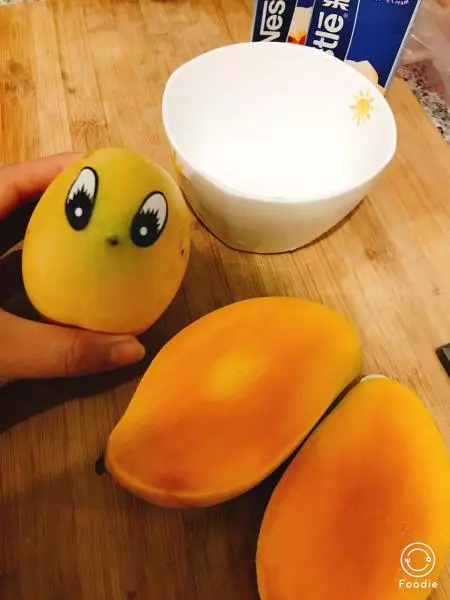
8好啦,现在开始准备榴莲芒果吧。我可爱的小芒果呀,就是丝比较多我也很无奈,北方的冬天买不到香甜的小台芒呀
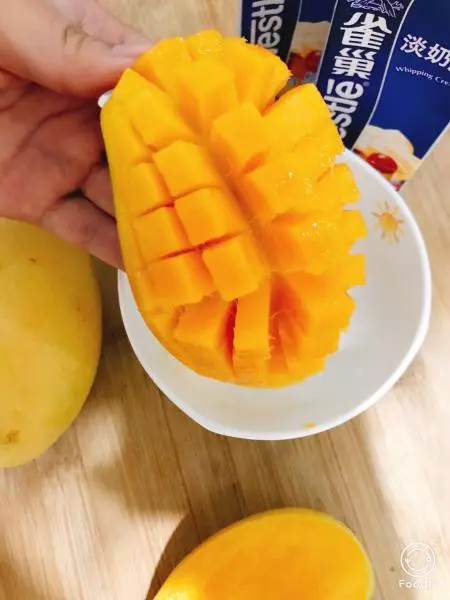
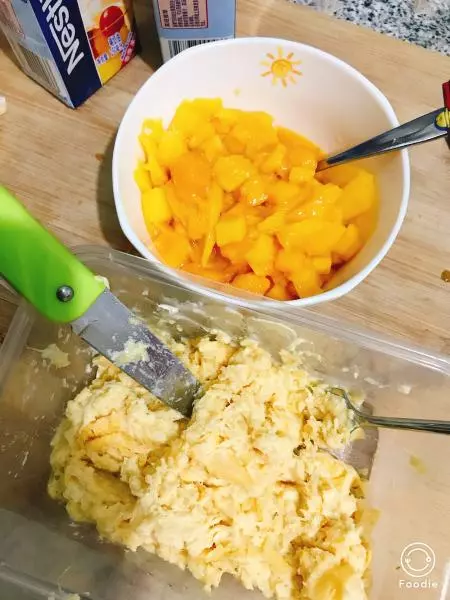
9切法不用我说吧,尽量切小块啦。嗯,如果可以把芒果切薄片的话,做出成品切面会更整齐更美,颜狗值得一试
10榴莲肉用刀叉配合取出果核,把果肉搅打成泥
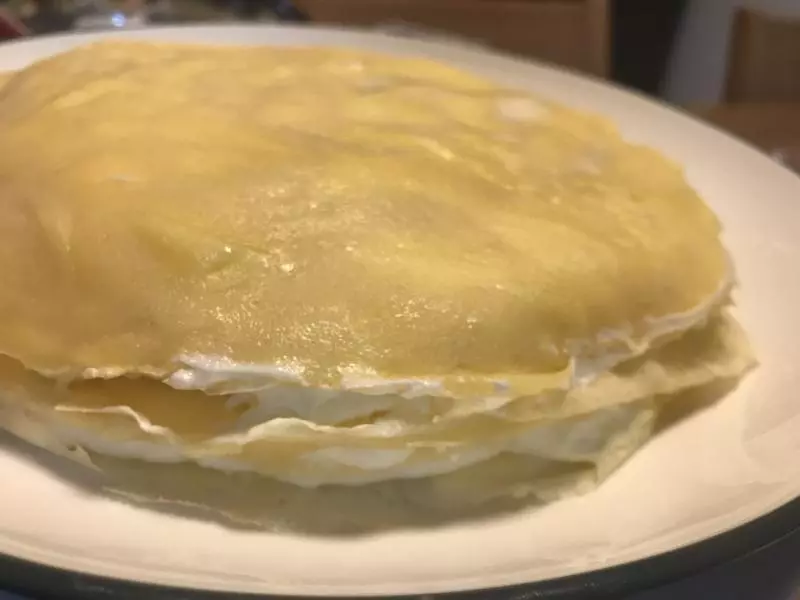
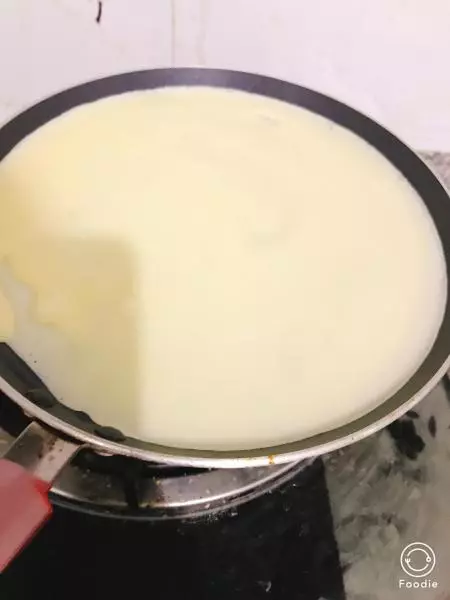
11面糊从冰箱取出,搅拌均匀。不沾平底锅加热,全程用最小火!这里锅底是不需要加油的,因为面糊里本身就有很多黄油啦~~舀入两大勺面糊,转动锅子让面糊铺满锅底,小火加热至饼皮颜色变黄,表面出现很多小泡泡就可以倒出来啦,锅子倾斜饼皮就滑下来了,完全不粘的✌️ (倒面糊那块儿因为要一个手倒面糊一个手转动锅子,原谅作为单身狗的我无法腾出第三只手给你们拍皂片啦,场景自行脑补吧)
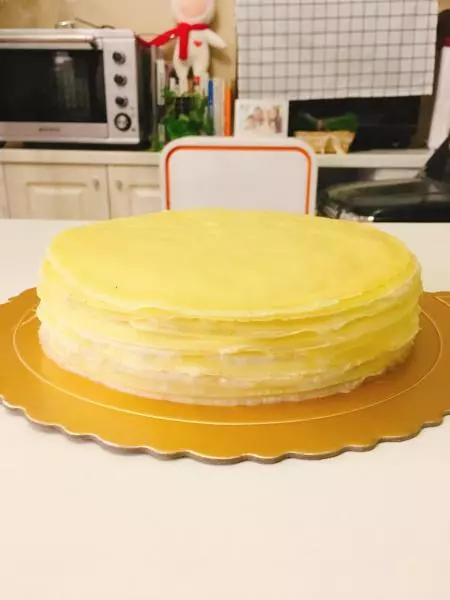
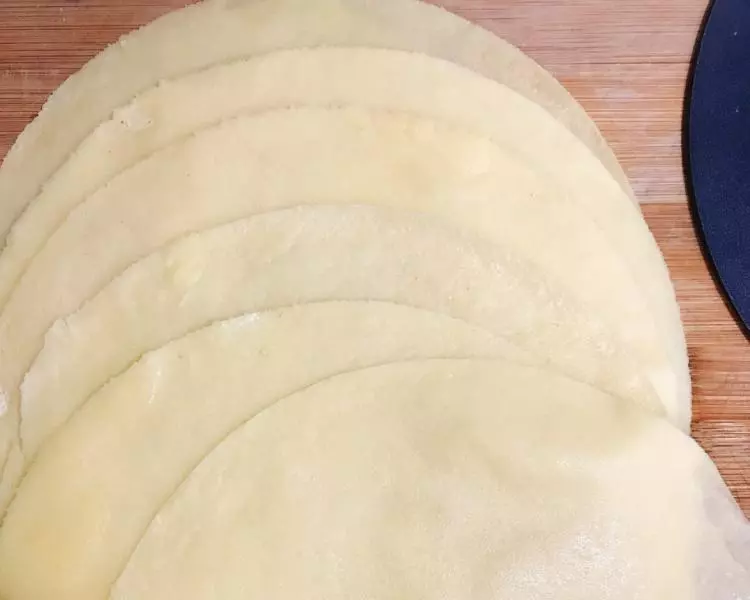
12就酱紫摊完所有面糊,我一共是摊出九张饼皮。 颜狗的我为了让每张饼皮都完美用八寸活底模底部为模型按压每张饼皮去掉多余的边边~不在乎细节的小伙伴可以忽略这步
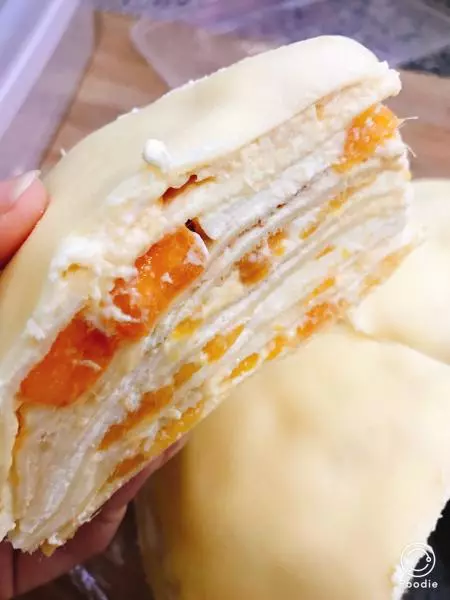
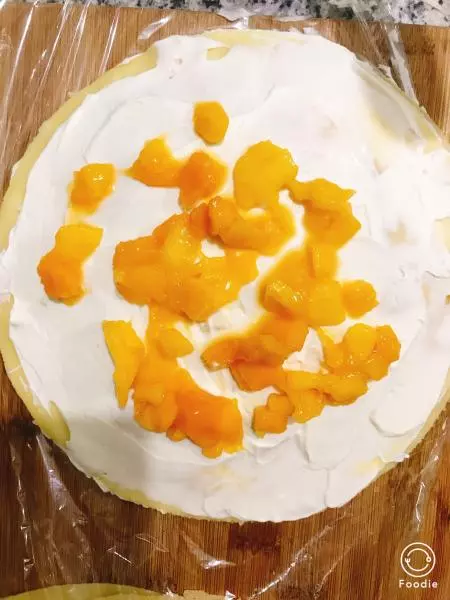
13饼皮完成后就可以打发奶油啦,这一步忘记拍照了我也是醉醉的了?反正就是倒入两盒奶油加入20克细砂糖,用电动打蛋器打发奶油至有清晰的纹路能拉出勾勾就好啦,打两分钟左右就可以。毕竟你们都这么机智不用看图也能懂啦(笔芯给你们呦❤) 然后就铺一张饼皮,均匀抹上一层奶油,撒一层芒果
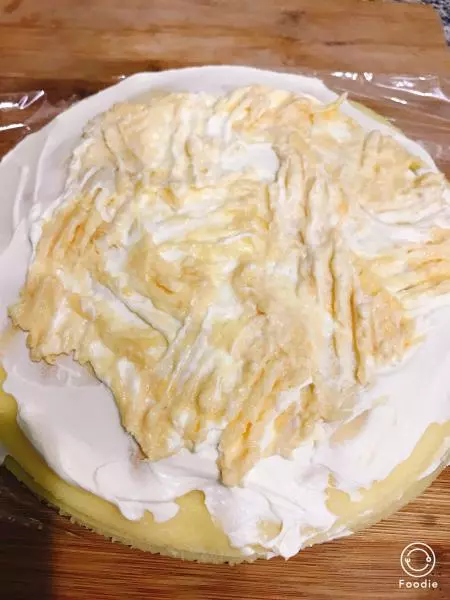
14再叠一张饼皮,抹上奶油,铺满榴莲?写到这里我都流口水?
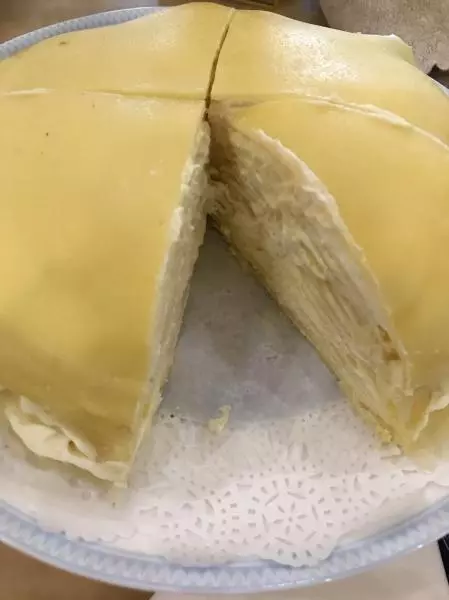
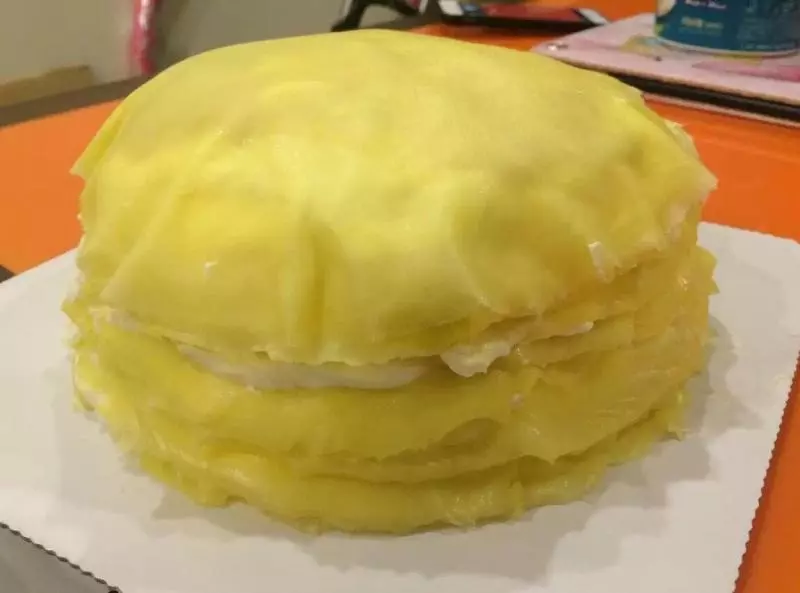
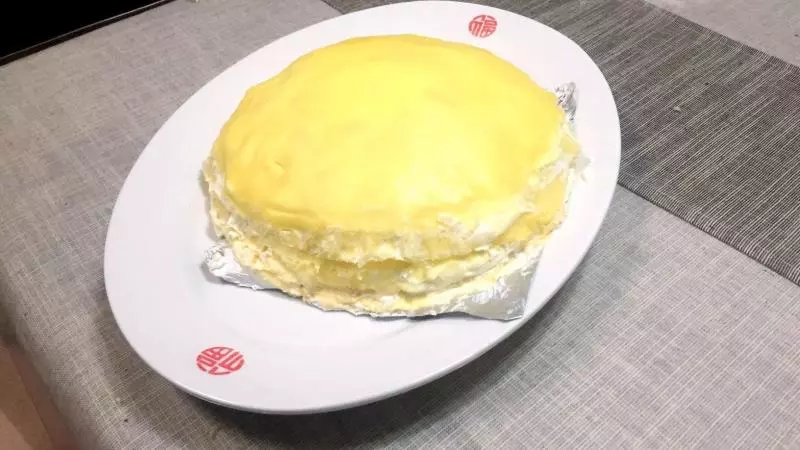
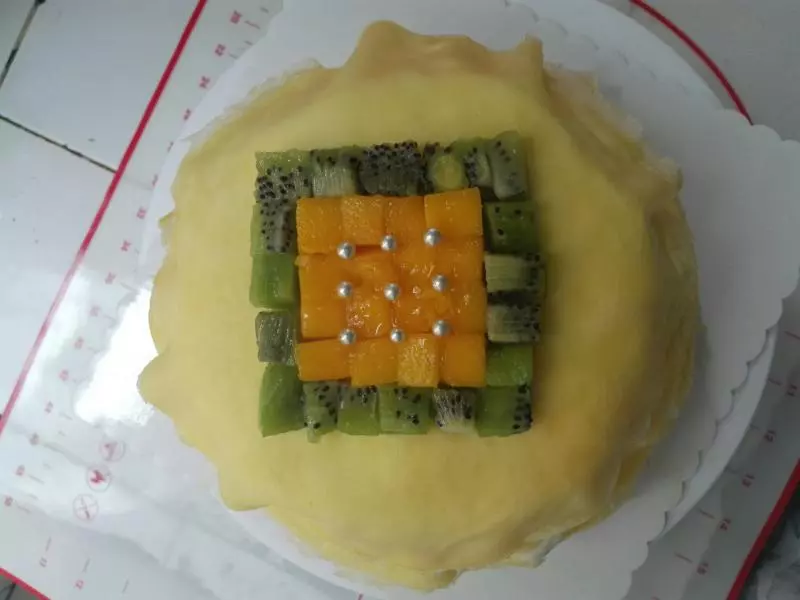
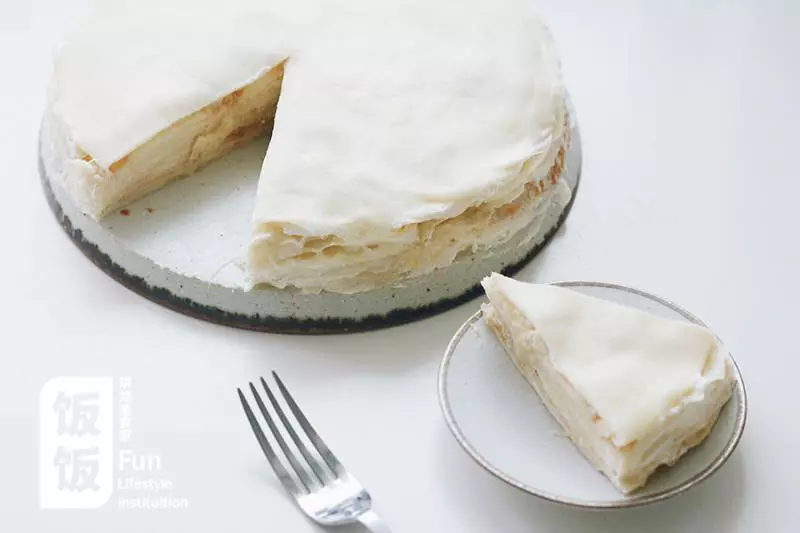
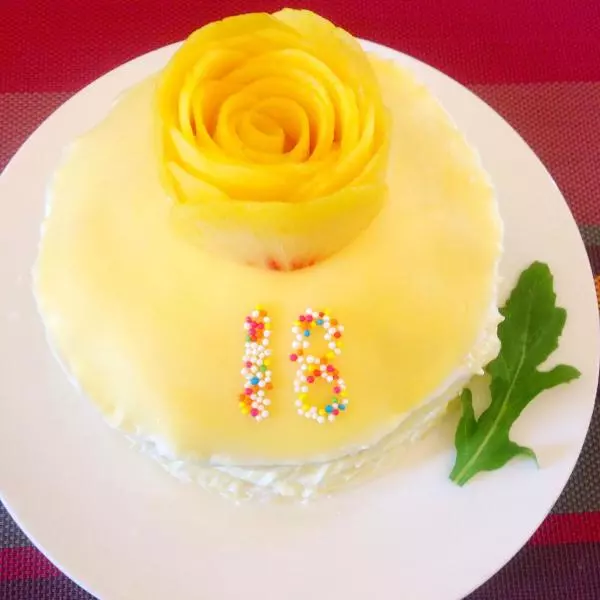
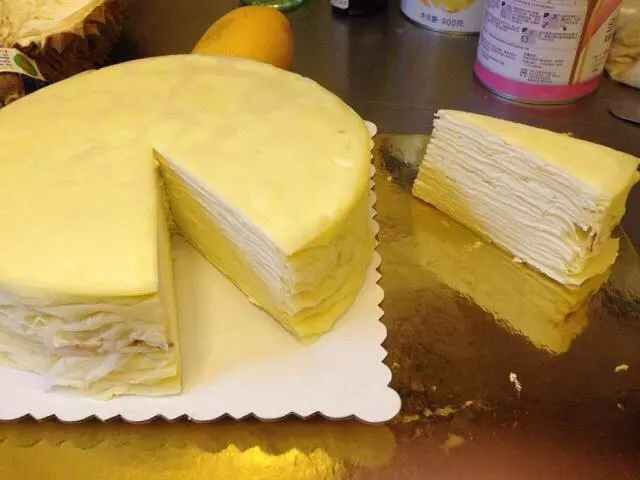
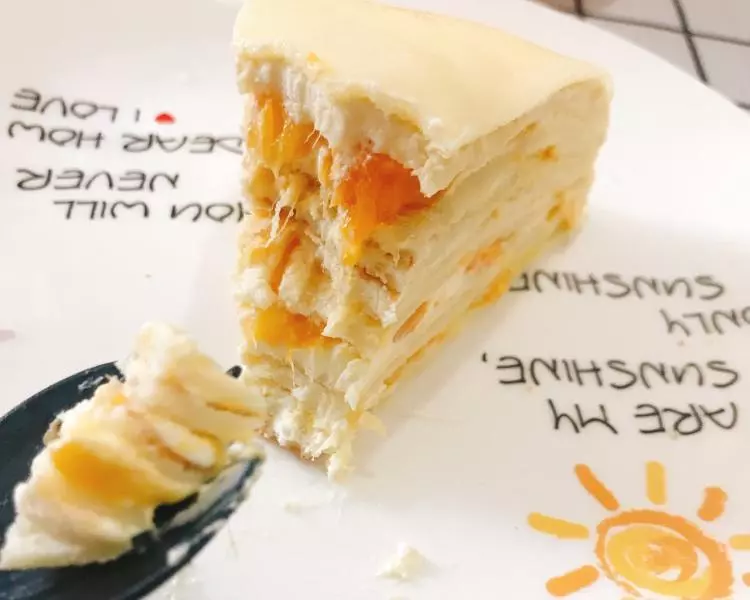
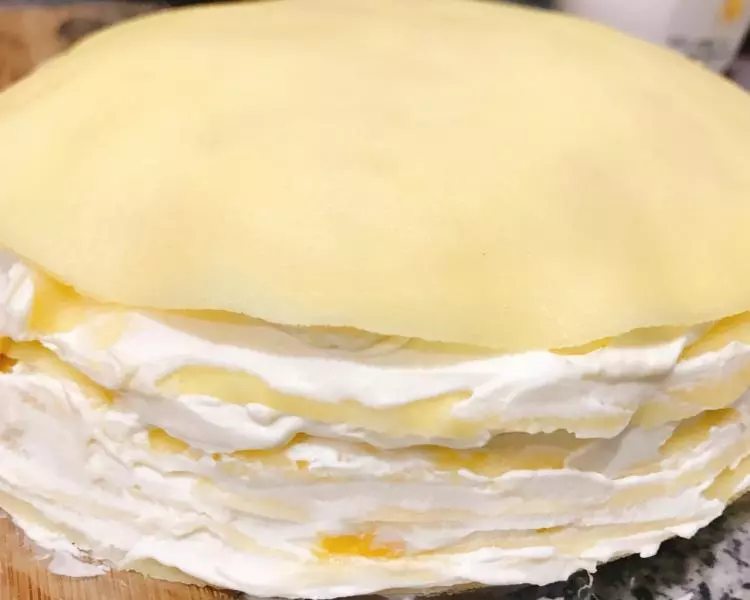
15就酱一层芒果一层榴莲直到叠完所有饼皮,最上面再盖一张就好啦!用刮刀刮去边缘多出来的奶油,包一层保鲜膜放冰箱冷藏两小时至奶油凝固就可以来吃啦?
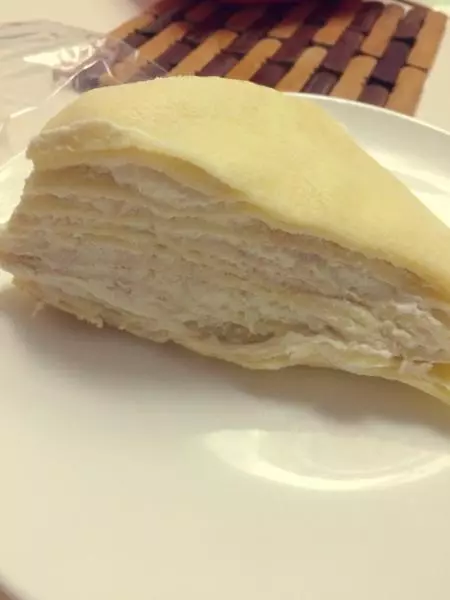
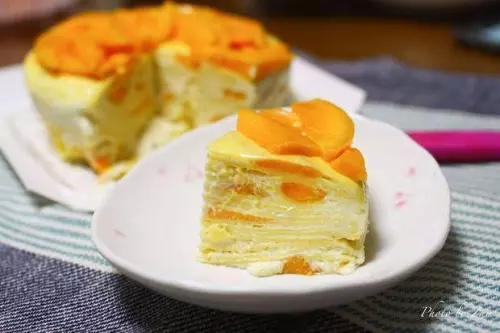
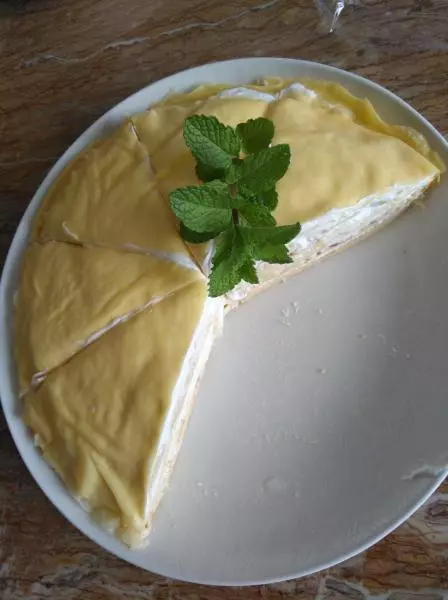
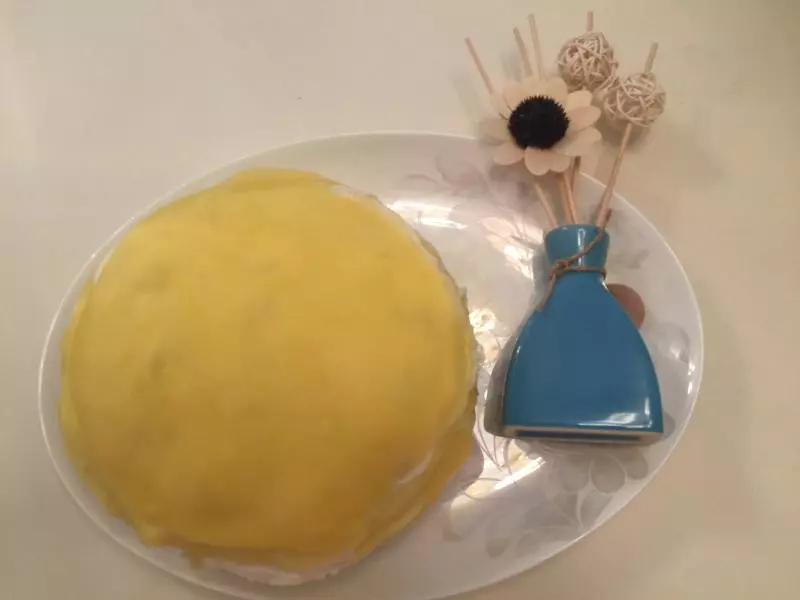
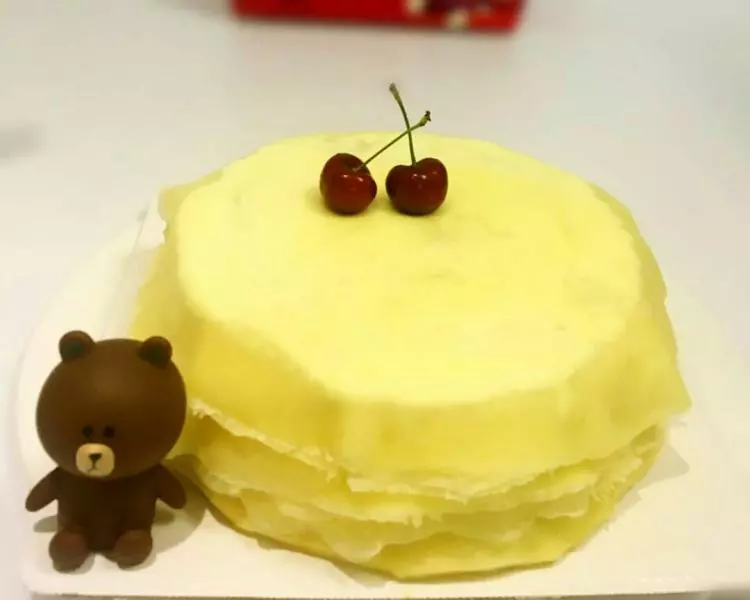
16Duang~Duang~~Duang!系不系很有食欲啊? 切了几块带给我的小伙伴们,大家都吃的敲开心的,讲我可以拿出去卖了哈哈哈。 美好的东西就是要带给大家一起分享啊么么哒???