原料
芝士: 250克, 南瓜泥: 160克, 糖粉: 60克, 雞蛋: 2個, 牛奶: 30克, 消化餅: 100克, 黃油: 50克
步驟
1南瓜洗乾淨外皮,對半切開放入高壓鍋中,燜煮15分鐘後取出。剝去外皮和瓜瓤只留肉搗碎成南瓜泥。

2將消化餅裝入一個裱花袋或者保鮮袋中,用擀麵杖來回碾壓,使餅乾塊變成碎末,小心不要撒出來哦~

3用電磁爐或者煤氣爐加熱一盆水,隔水放進裝有黃油的碗,攪拌加速溶化。溶成液體後拿出。

4把剛碾碎的消化餅乾倒進去,用勺子攪拌均勻即可。

5用手指沾一些黃油,抹在模具底部。取一張油紙,剪成跟蛋糕模具底部同樣大小,粘在模具底部貼合。

6把混合了黃油的消化餅乾碎均勻地鋪在模具底部,反轉勺子背,將餅乾碎稍稍用力壓實壓平整。放入冰箱冷藏備用。

7芝士隔熱水軟化到順滑無阻力狀。

8加入糖粉用手動打蛋器攪拌到混合均勻。

9加入二分之一蛋液,攪拌均勻後倒入剩下的二分之一,繼續攪拌直至蛋液完全被吸收。

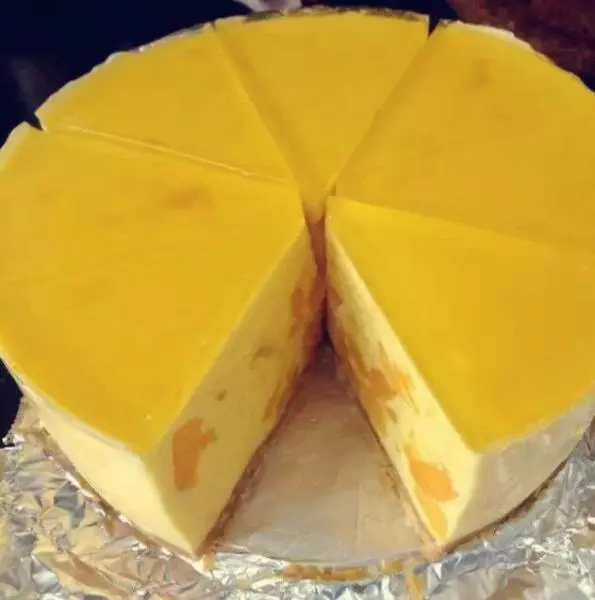
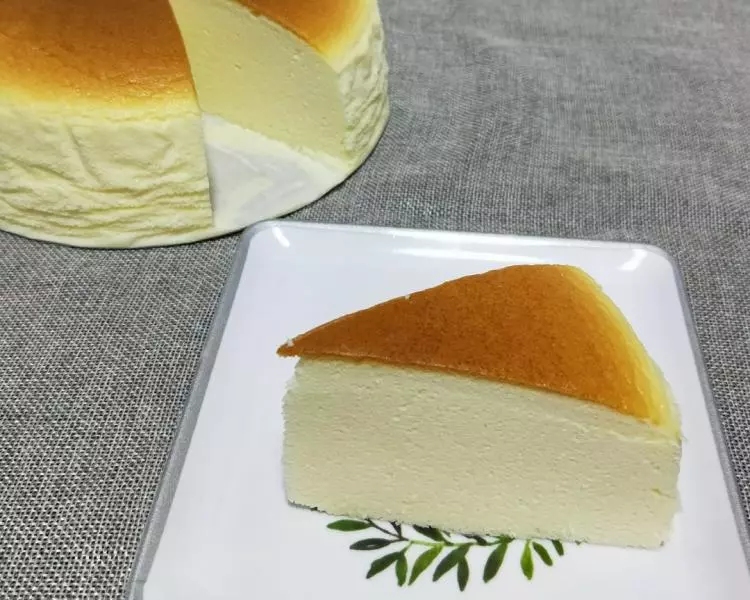
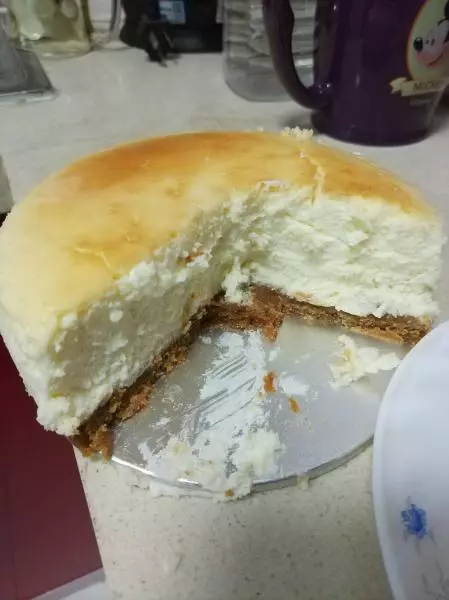
10倒入南瓜泥和牛奶,攪拌均勻。

11從冰箱取出鋪了餅乾碎的模具,將混合好的南瓜芝士蛋糕糊倒入,並用刮刀將表面抹平。

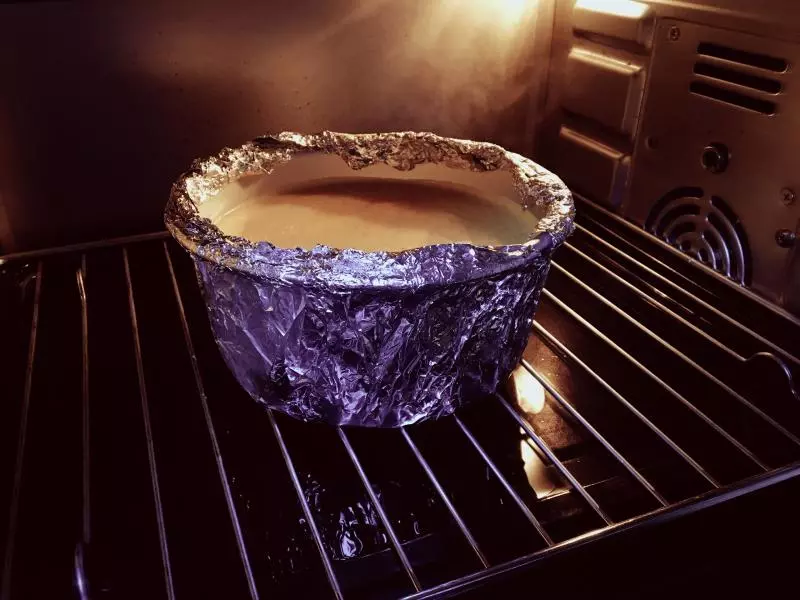
12用錫紙包住模具底部外圍,放入裝有熱水的深烤盤。

13烤箱上下火150℃烘烤50分鐘即可。

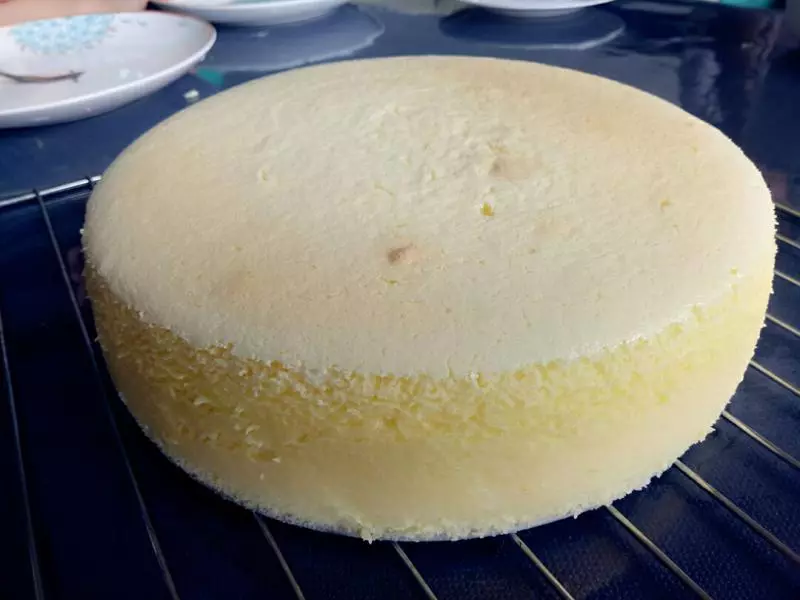
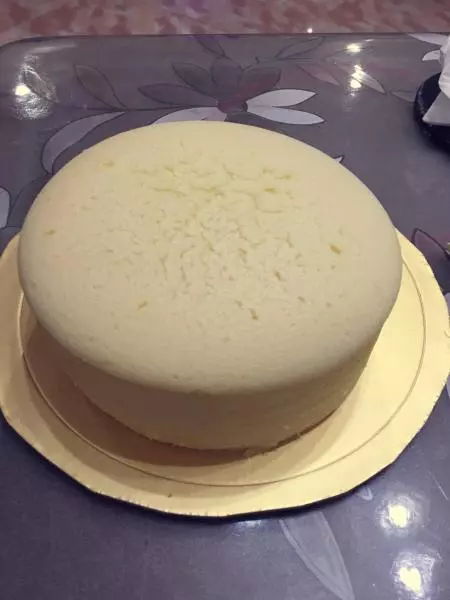
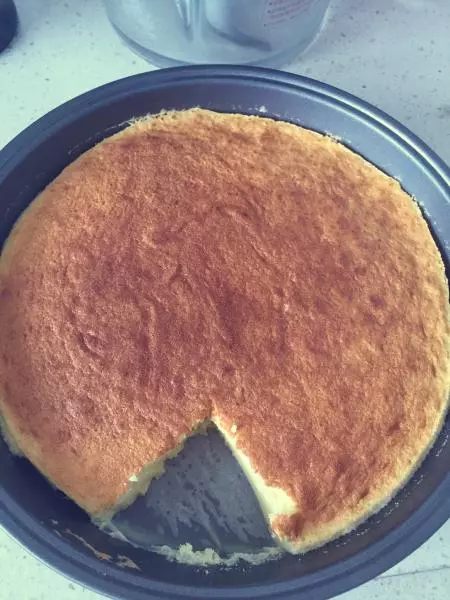
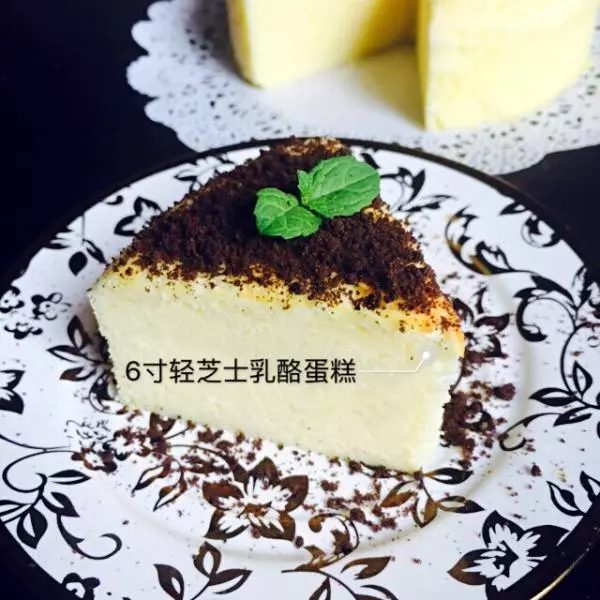
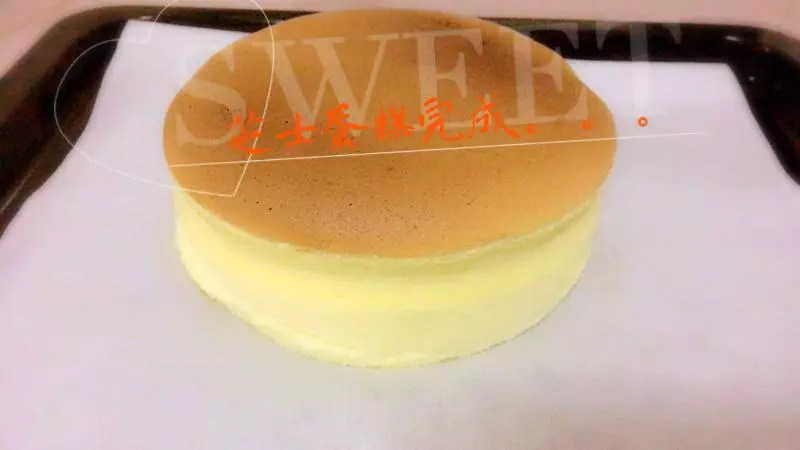
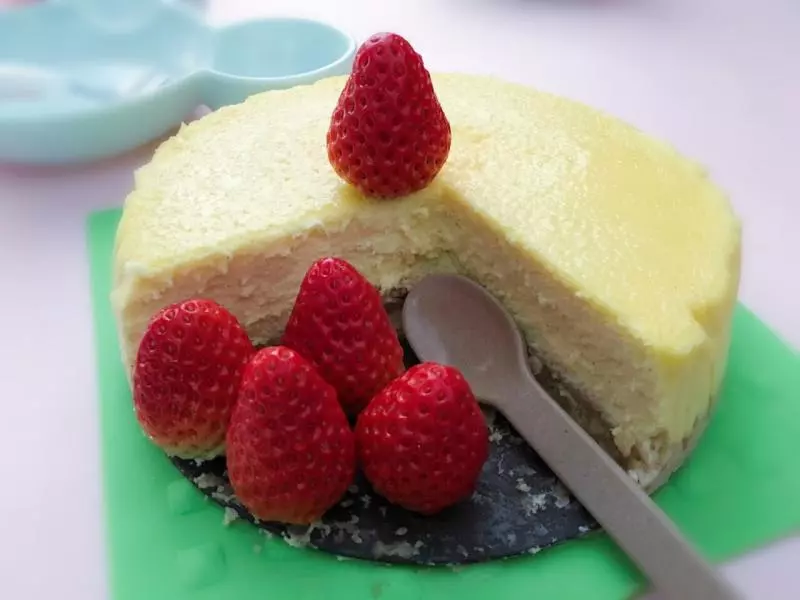
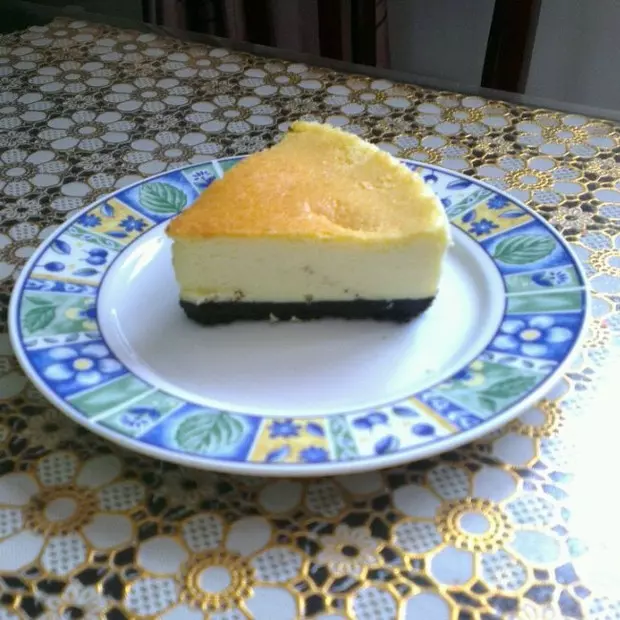
14完美出爐~放上一片薄荷葉裝飾,美美噠!

小技巧
1、燜煮南瓜的時間可適當延長,充分軟化好的南瓜更軟綿。 2、如果採用蒸熟南瓜的方法,蒸南瓜的碗要加蓋或者蓋上保鮮膜,以免蒸鍋里的水汽進入到南瓜碗里,導致南瓜泥的水分偏大。