原料
紅棗: 100g, 牛奶: 80g, 雞蛋: 4個, 紅糖: 60g, 玉米油: 70ml, 低筋粉: 140g, 泡打粉: 5g
步驟
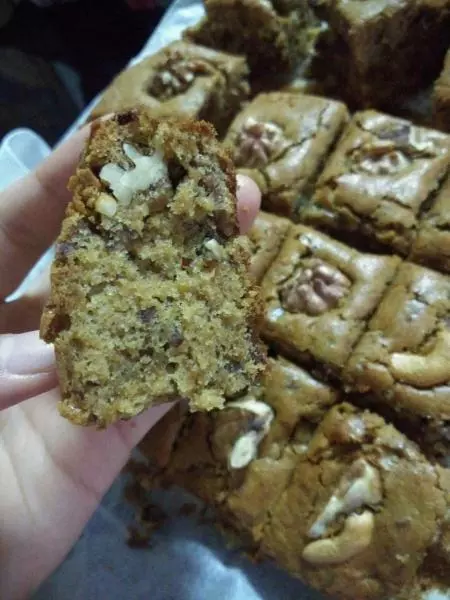
1煮鍋加水放入紅棗 煮透撈出 不要煮到紅棗水分特別飽滿的狀態 ,那樣切碎後就成糊狀了 個人比較喜歡棗糕里咬到棗肉的感覺 ,因為懷念一次和棗糕有關的快樂的事❤️

2去核,切碎 倒入牛奶浸泡

3低筋粉混合泡打粉 過篩 備用

4紅糖加入蛋盆 電動打蛋器 二檔打發讓糖融化 四檔打發至蛋液體積增大一倍

5加入牛奶紅棗 不要劃圓攪拌 防止麵粉起筋 加入玉米油攪拌均勻

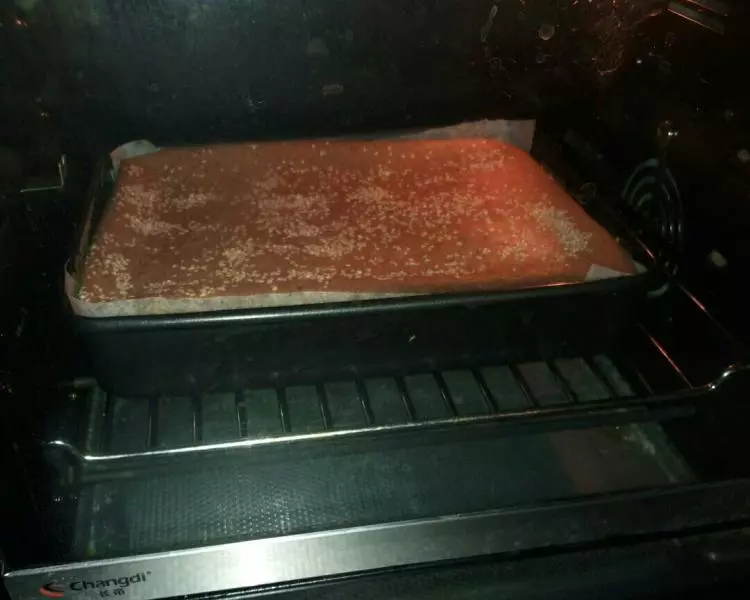
6烤盤上貼油紙 倒入 震幾下消泡

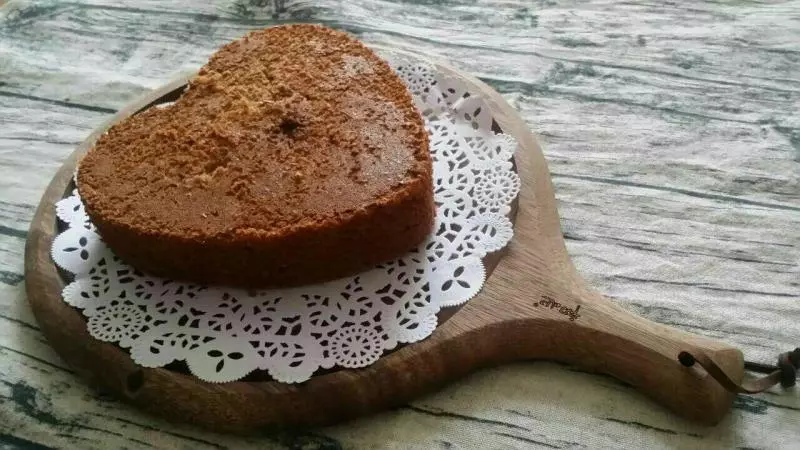
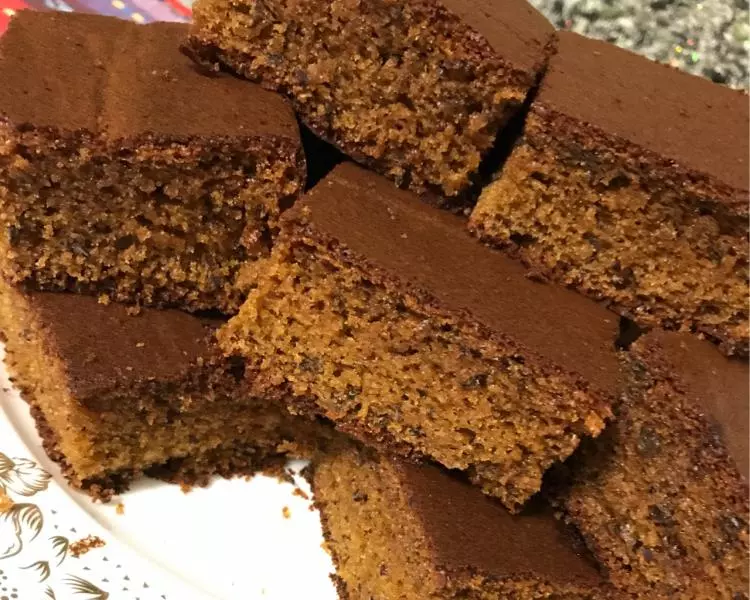
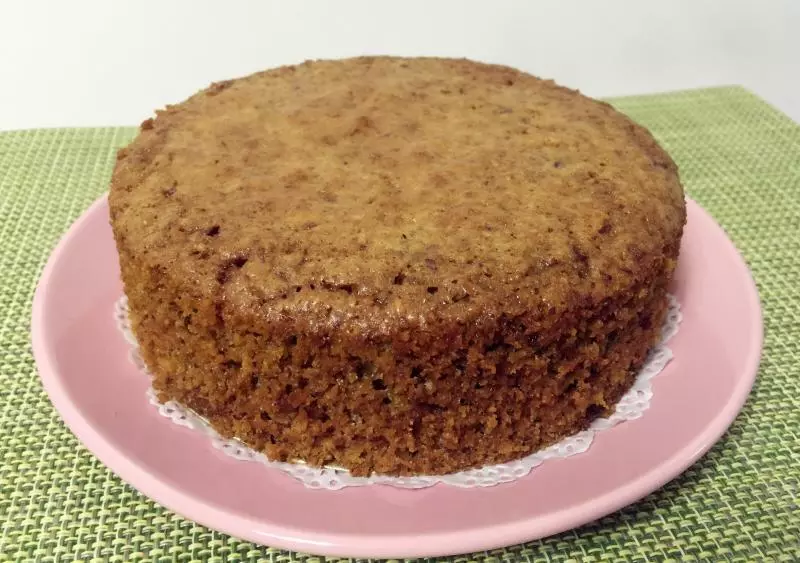
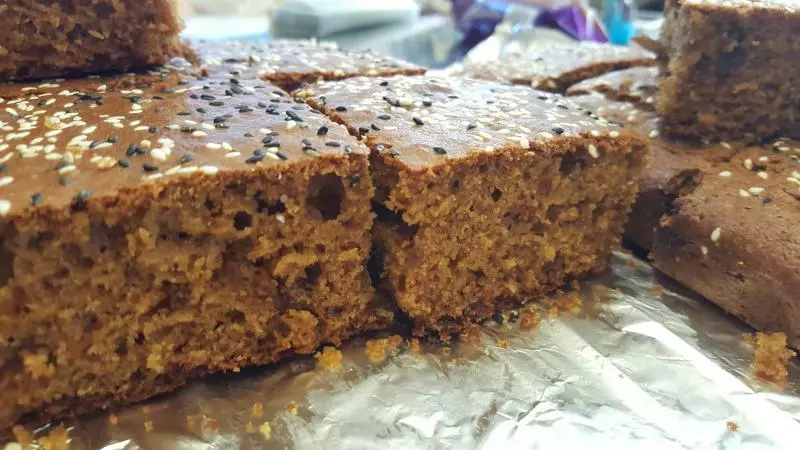
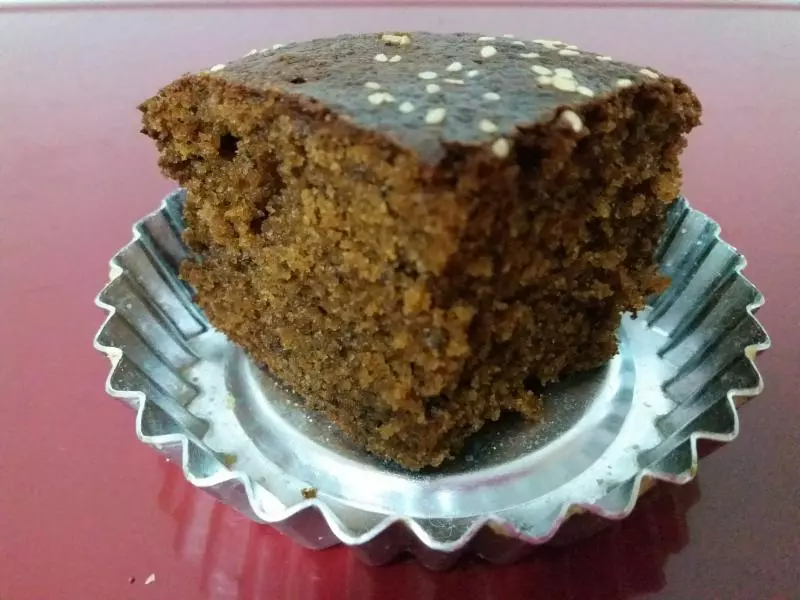
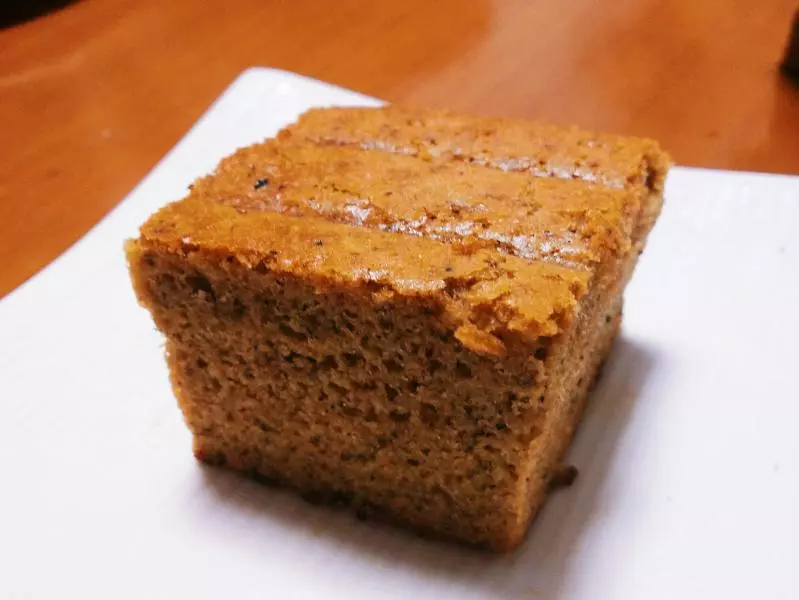
7烤箱預熱 180度 烤25分鐘 出爐

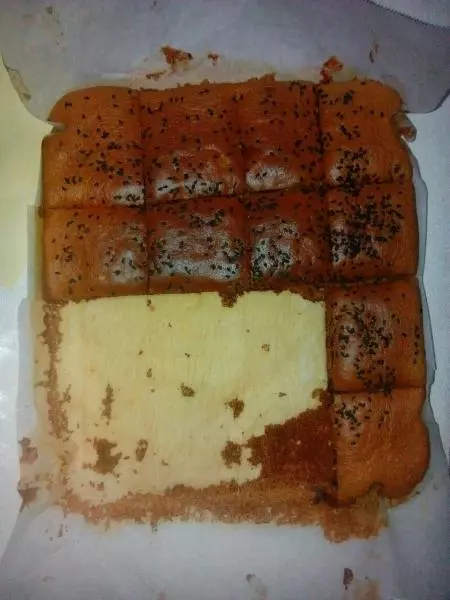
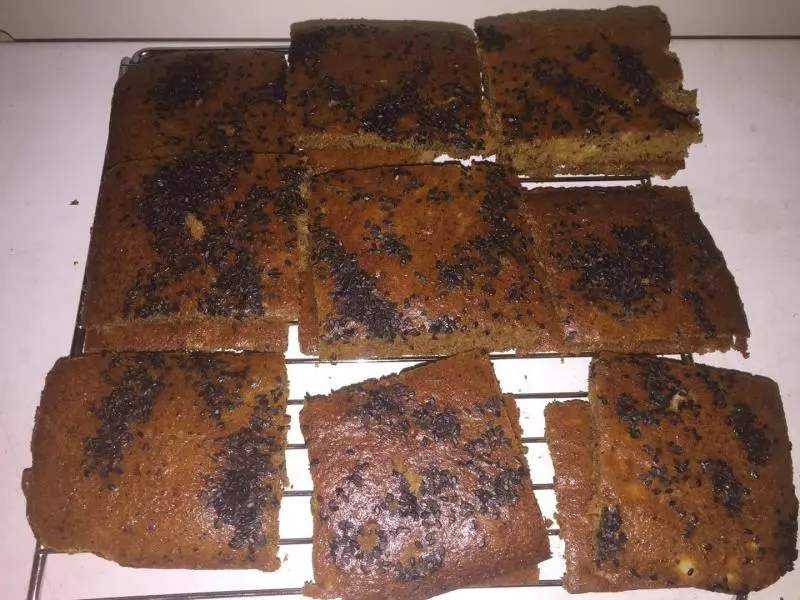
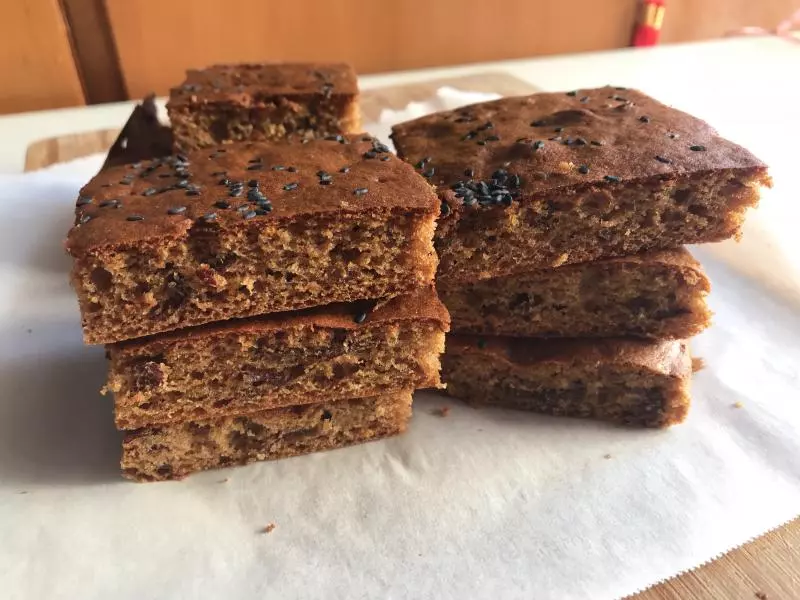
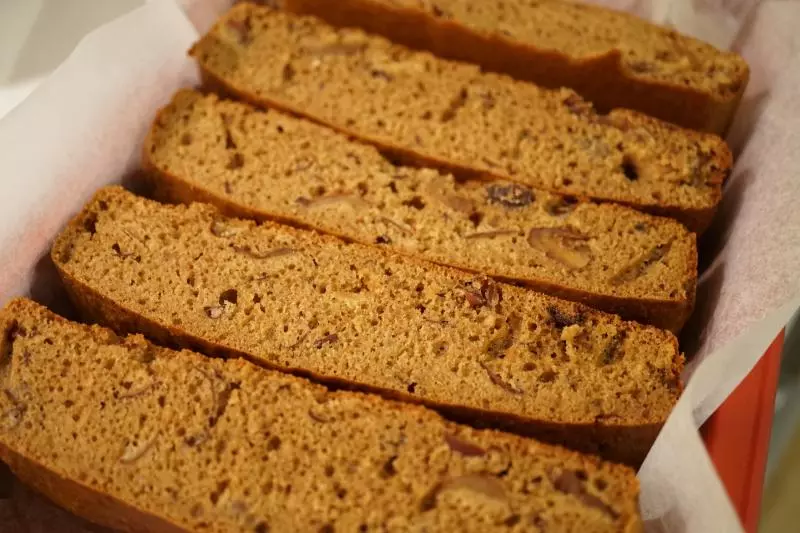
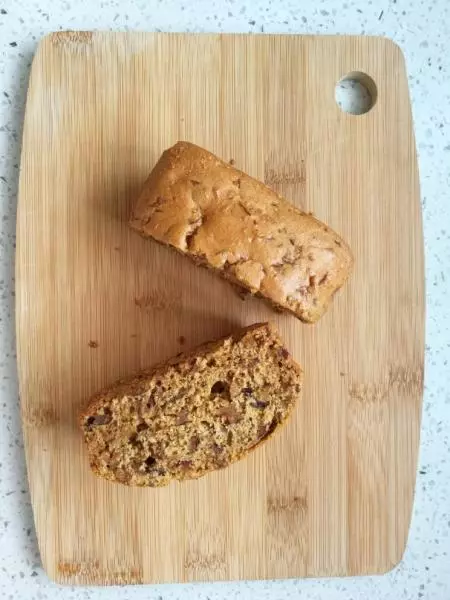
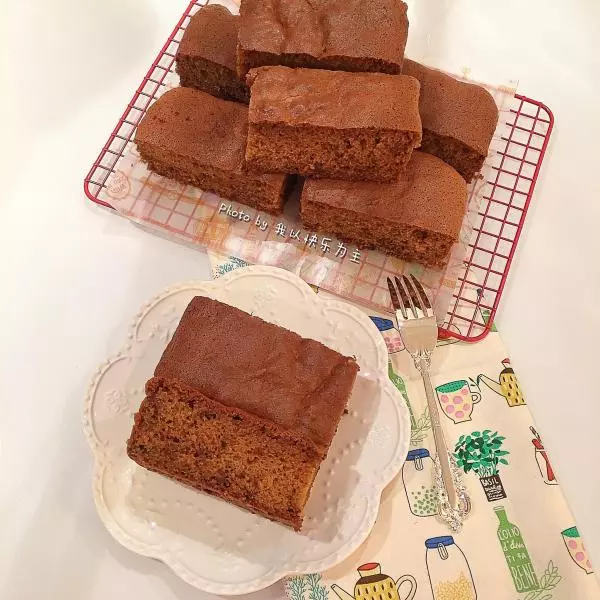
8切得風扇中凌亂~~

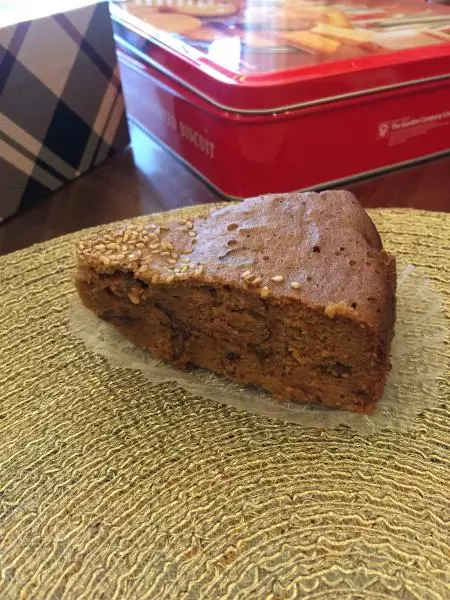
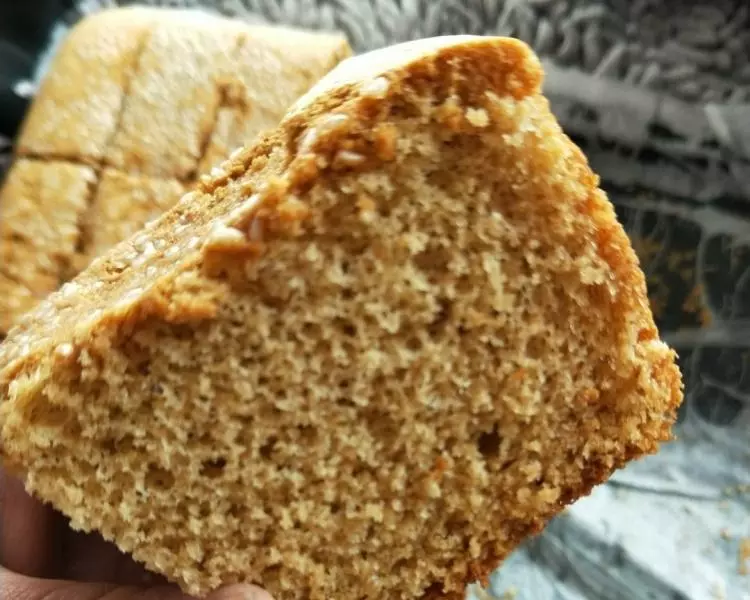
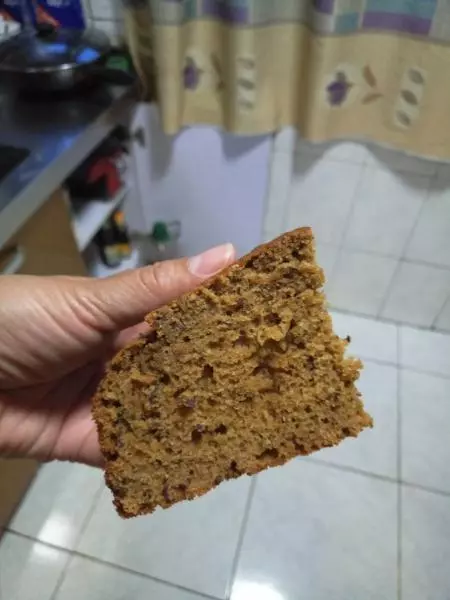
9側切面 滿滿的棗肉 老少咸宜