原料
心形蛋糕食材?: , 低筋麵粉: 60g, 紅曲粉: 10g, 玉米澱粉: 15g, 糖粉: 60g, 黃油: 40g, 雞蛋: 3個, 香草精: 3g, 磅蛋糕食材?: , 低筋麵粉: 150g, 抹茶粉: 10g, 泡打粉: 4g, 糖粉: 60g, 黃油: 140g, 雞蛋: 3個
步驟
1心形蛋糕食材

2低粉+紅曲粉+玉米澱粉混合過篩

3蛋清和蛋黃分離,準備一個無水無油的打蛋盆,高速打發蛋清,至呈現明顯的大泡泡時,加入三分之一的糖粉;

4繼續打發至泡沫消失,蛋清變的細膩順滑時再加入三分之一的糖粉;打至濕性發泡的時候加入剩下的糖粉,繼續打發至出現明顯的紋路和阻力。

5打至乾性發泡

6蛋黃+香草精打散,倒入打發好的蛋清中,翻拌均勻

7加入過篩的粉類,翻拌均勻,不要轉圈圈攪拌

8黃油隔熱水融化成液體,倒入麵糊中

9烤盤鋪一層烤紙,倒入麵糊(我用的28*28的方形烤盤),用刮刀將表面刮平,烤盤垂直震一下,震出大氣泡 烤箱180度預熱5分鐘,烤10-15分鐘

10烤好的蛋糕,從烤盤拿出,撕去烤紙

11用心形模具壓出形狀,我用的是做便當的小模具,

12如果沒有心形模具,那就用紙裁一個心形,按著形狀用刀切出心形 壓好的心形放在一邊待用 接下來來做磅蛋糕

13磅蛋糕食材

14黃油室溫軟化,放入打蛋盆

15軟化好的黃油先用打蛋器打至順滑

16然後分兩次加入糖粉,打發至黃油變白,體積變大,

17打發好的黃油,體積2倍大,顏色發白

18分四次加入蛋液,每加一次蛋液,都用高速打發,

1970g低粉+2g泡打粉+10g抹茶粉混合均勻,過篩 80g低粉+2g泡打粉混合均勻,過篩

20打發好的黃油分成兩份,分別加入分好的粉類

21分別攪拌均勻,攪拌的過程中麵糊會起筋,所以烘培時就會膨脹的很高,

22裱花袋放入杯子中,倒入麵糊

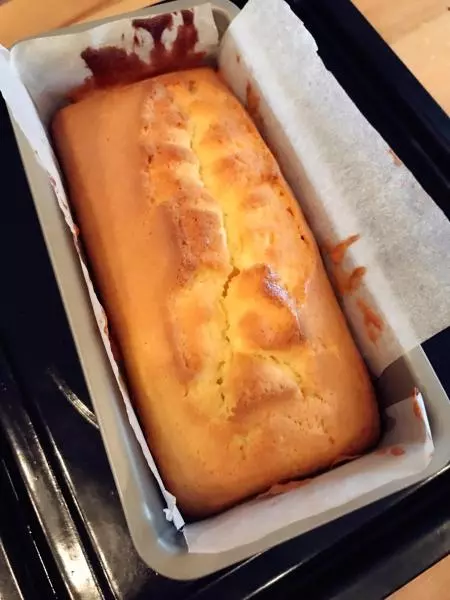
23裝好的麵糊

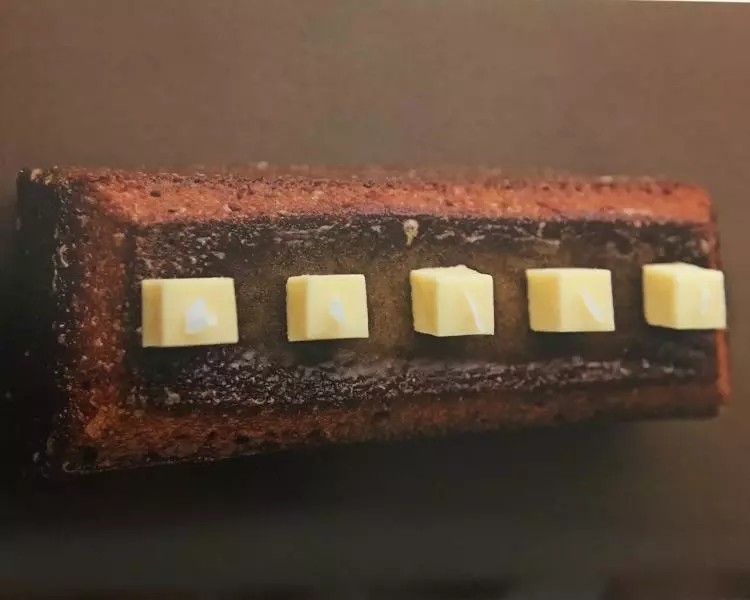
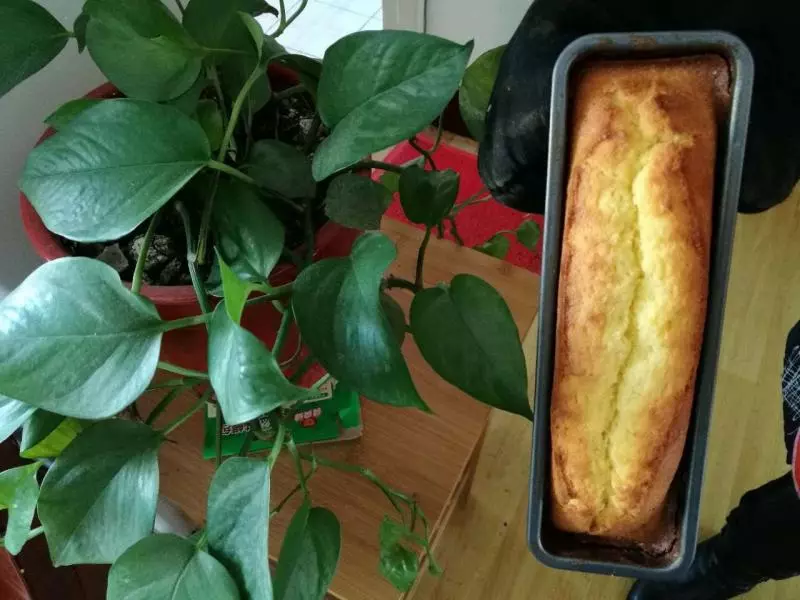
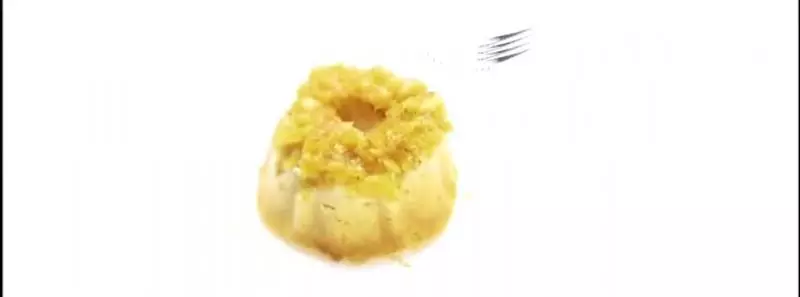
24先擠入白色麵糊,放入之前準備好的心形蛋糕,再擠入抹茶麵糊

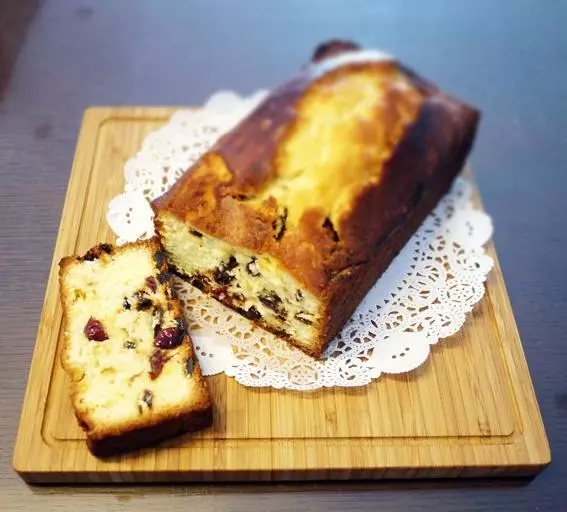
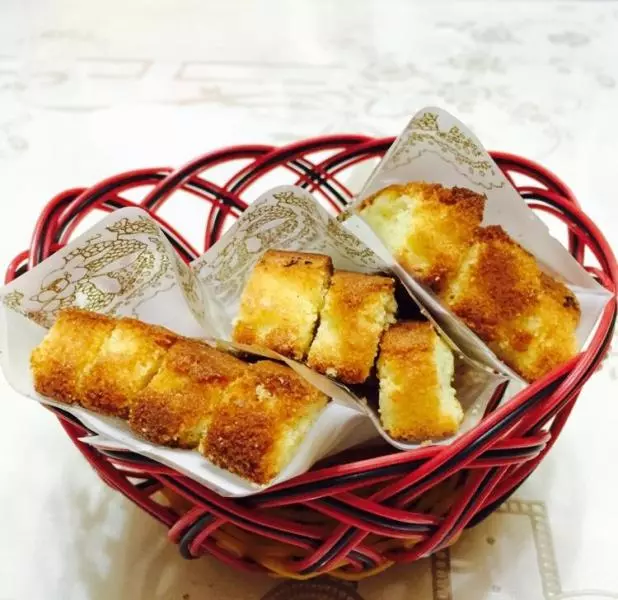
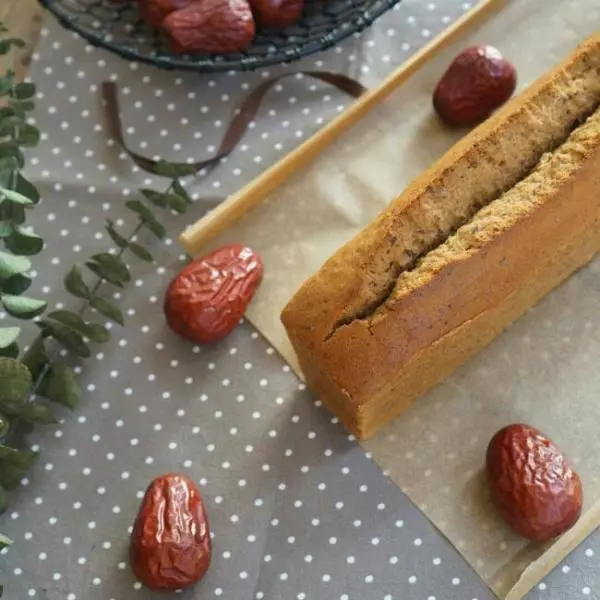
25擠完以後,用刮刀把表面抹光滑,使中間低,兩邊高,這樣蛋糕就會出現自然的裂紋,震去大氣泡, 烤箱180度預熱10分鐘,中層烤40分鐘,

26表面上色,找一根牙籤插入蛋糕,拿出沒有濕麵糊就說明烤好了 烤好後脫模涼於烤網上,刷一層糖水(20g細砂糖+40g水,加熱冷卻後使用),趁熱刷,

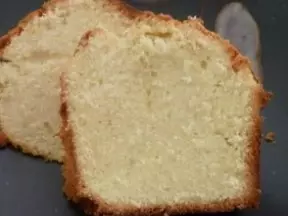
27成品圖

28成品圖

29成品圖

30成品圖

31祝你有個好胃口

小技巧
◆小貼士◆ ①、磅蛋糕黃油的打發很重要,每一步都不要偷懶哦,特別是雞蛋,一定要分次加入~ ②、放入密封袋冷藏保存,食用時回溫即可 ③、最後的糖水很關鍵,可以讓蛋糕不那麼乾澀,噎人 ④、磅蛋糕有很多做法,這不是唯一的 ▲ 我做的時候沒有考慮到模具的大小,食材量少了,所以形狀不太完美,下面的方子是經過調整的,大家做之前看一下你的模具是不是和我的一樣