原料
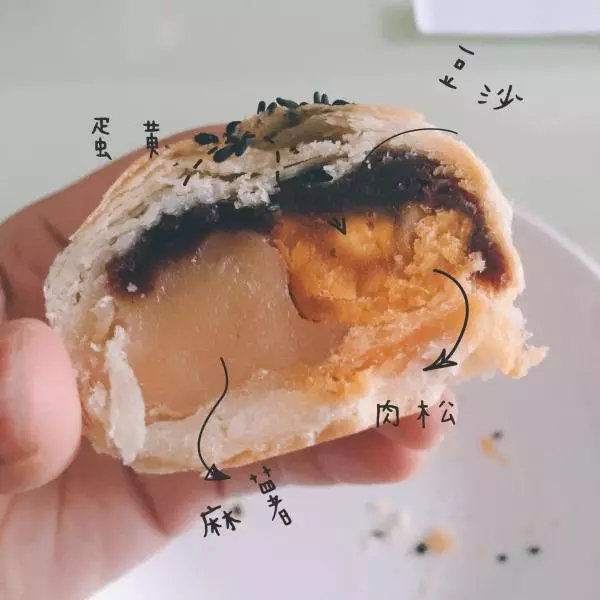
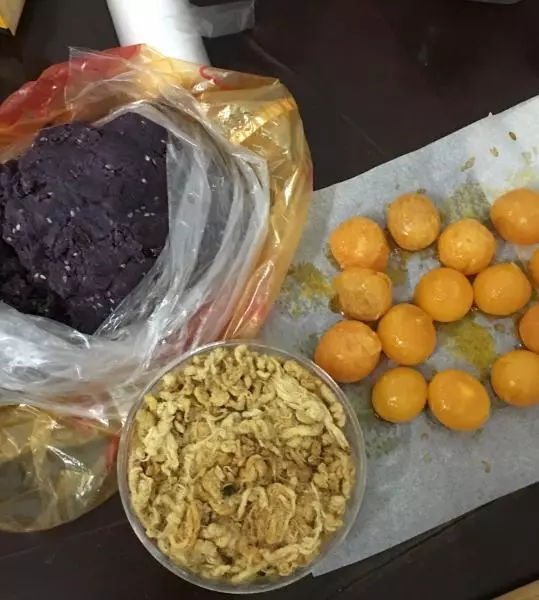
油皮材料: , 中筋面粉(低筋也可): 190克, 猪油: 70克, 糖粉: 25克, 水: 80克, 油酥材料: , 低筋面粉: 150克, 猪油: 75克, 馅料: , 咸蛋黄: 16个, 肉松: 1瓶(适量), 紫薯泥: 400克, 装饰: , 鸡蛋: 1个, 黑芝麻: 适量
步骤
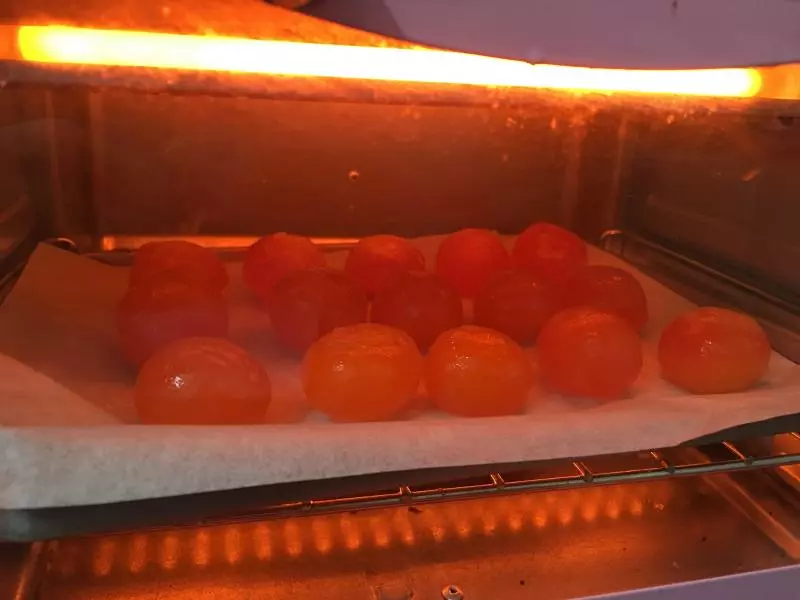
1咸蛋黄去腥,喷点料酒或白酒烤箱预热150度烤5分钟即可
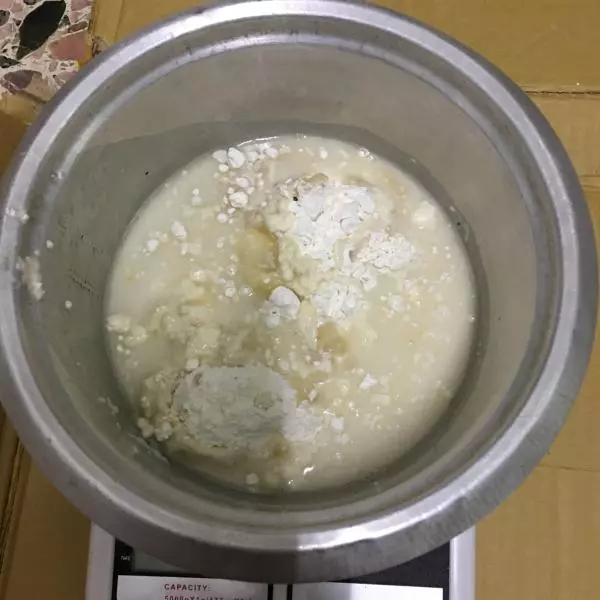
2油皮材料全部混合揉成一团即可
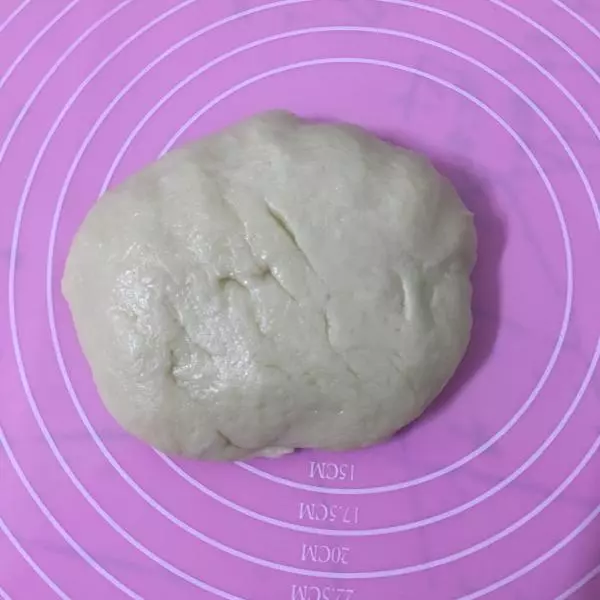
3就是这样啦,不用揉出膜也可只要揉均匀,拿保鲜袋装扔冰箱里或放一旁待用
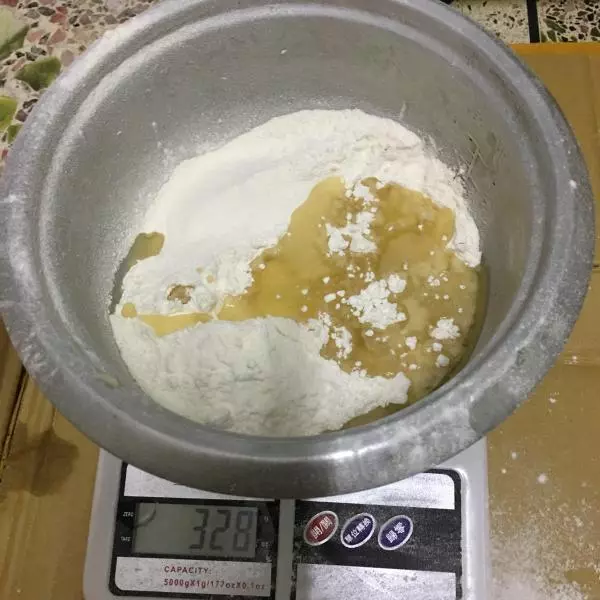
4油酥材料混合均匀即可
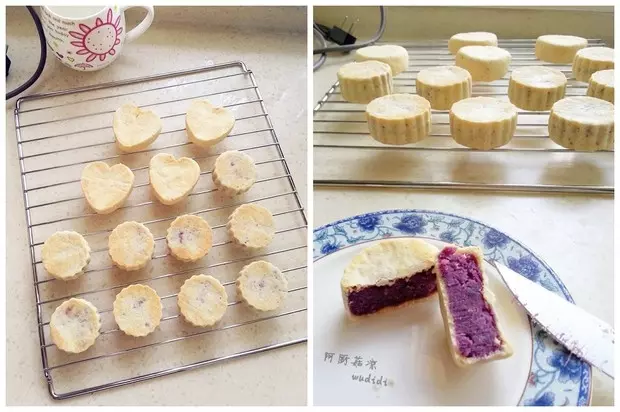
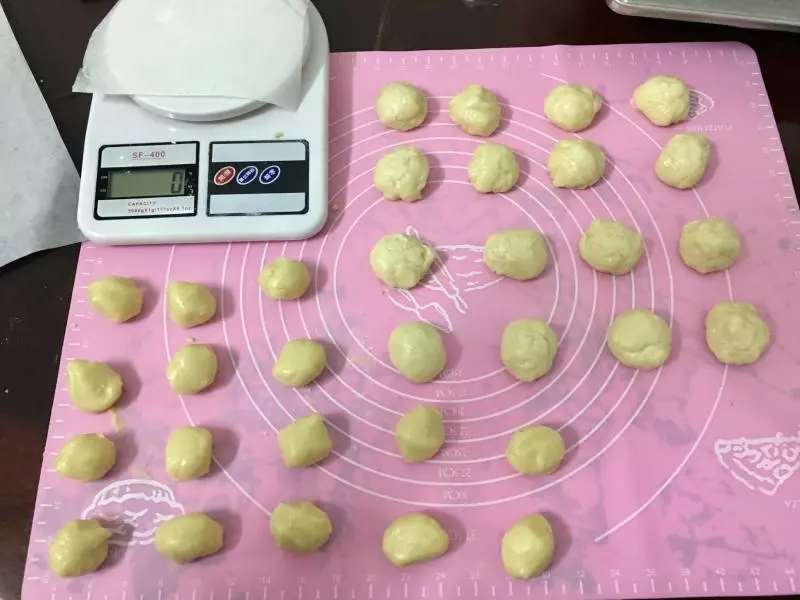
5油皮分成16个约23克左右,油酥分成16个约15克左右。
6油皮包油酥
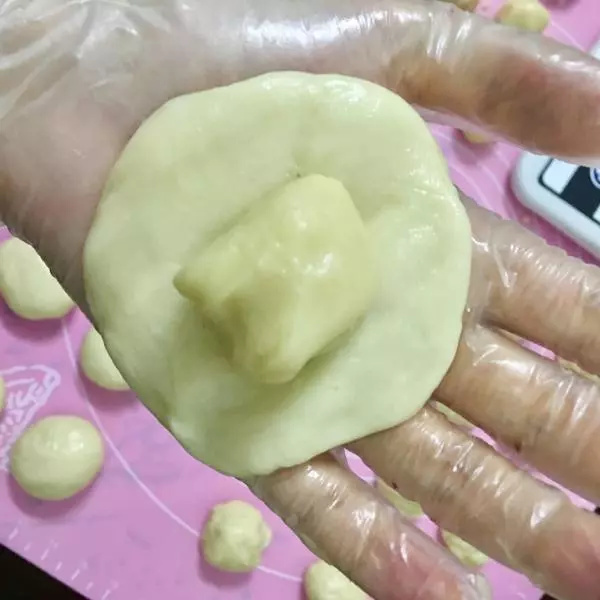
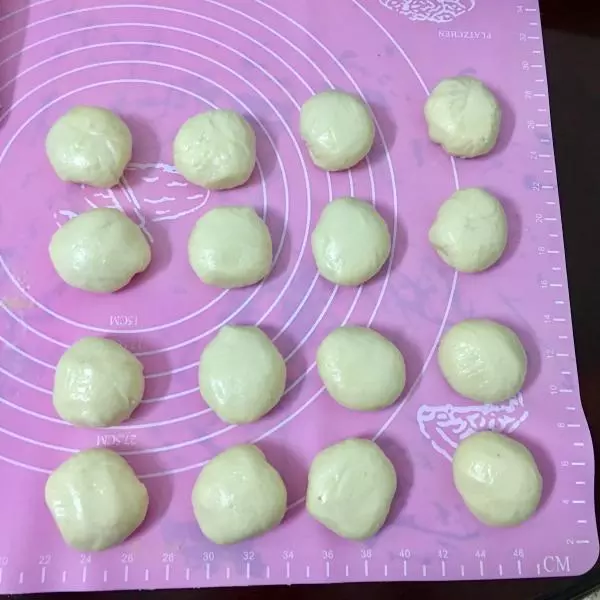
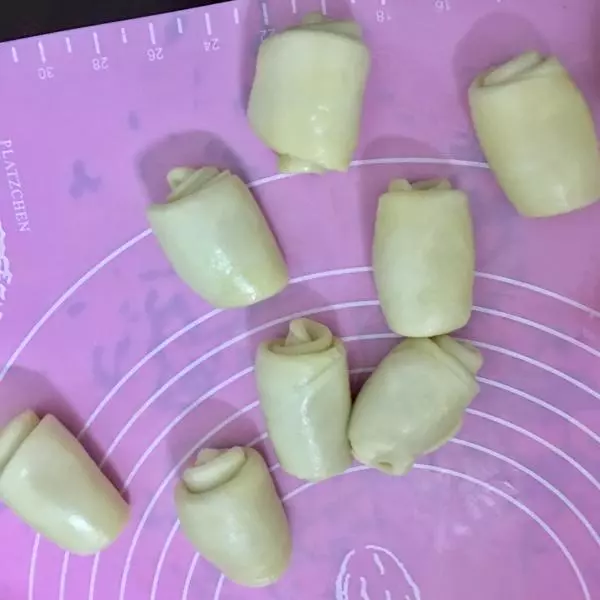
7包好就这样啦
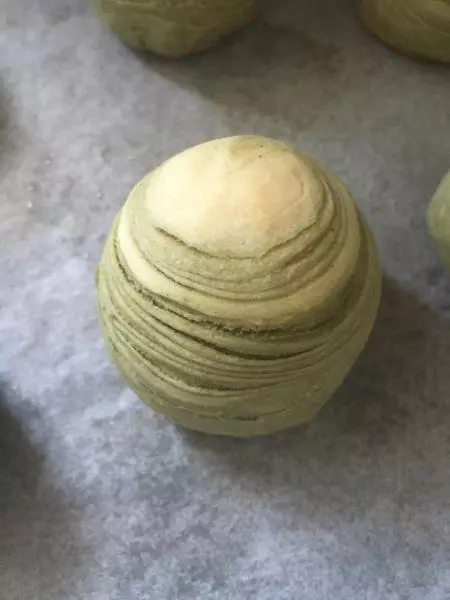
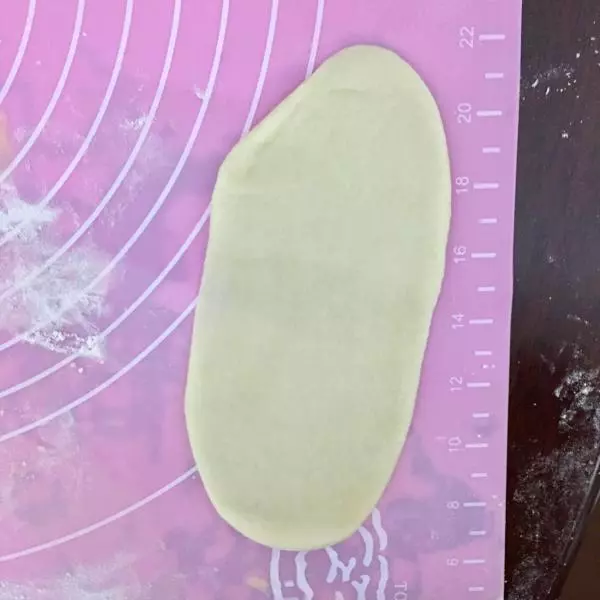
8擀成这样
9从上至下捋成这样
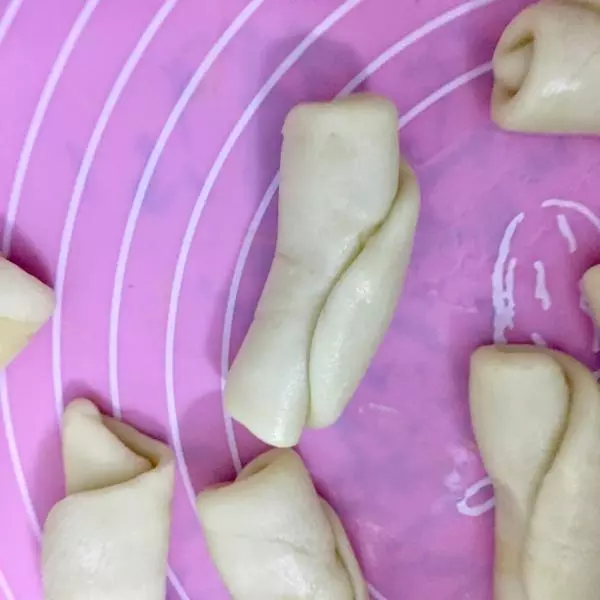
10再一次擀薄从上至下捋成这样,再2头往中间折,然后擀成薄片就可以包内馅了
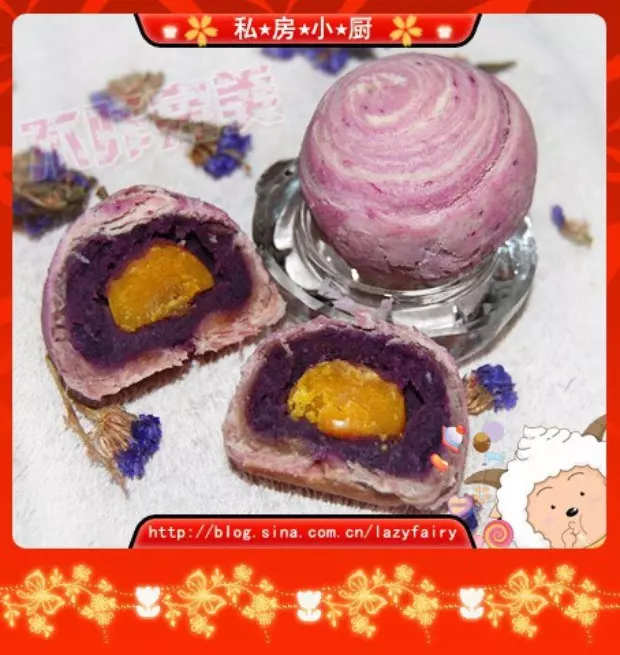
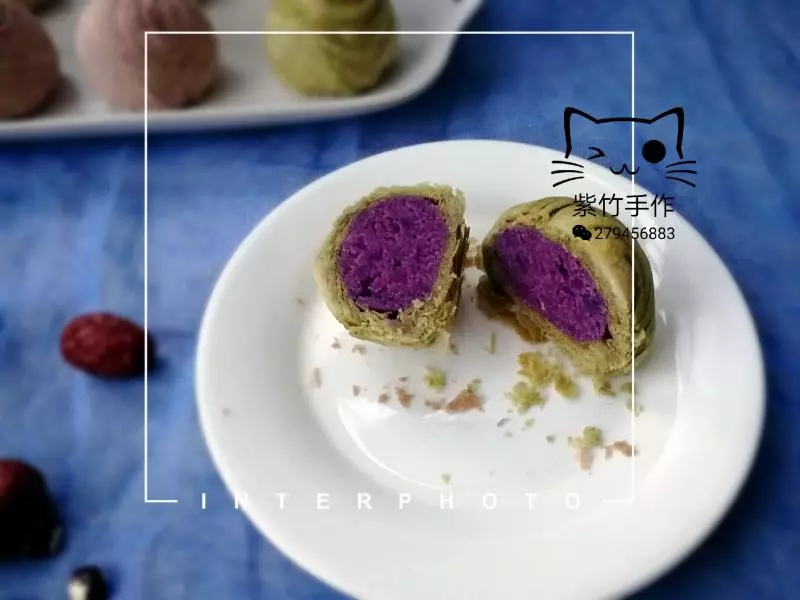
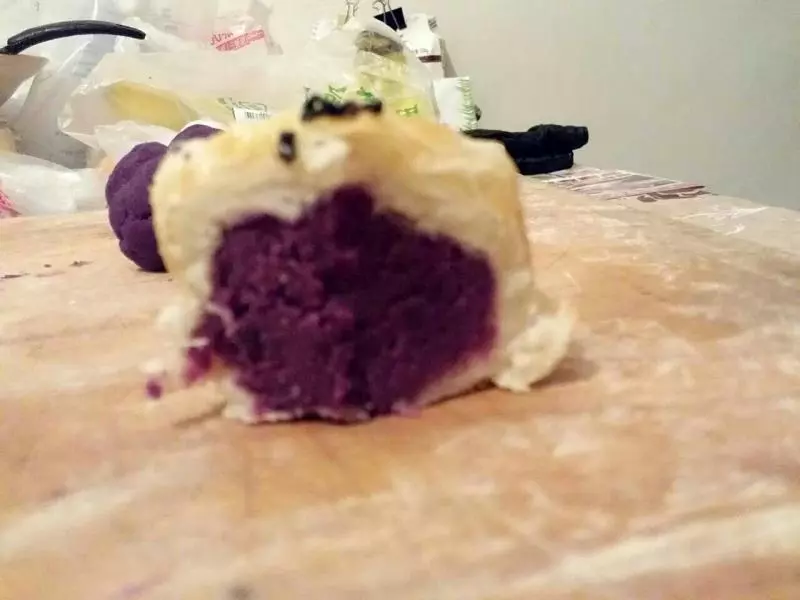
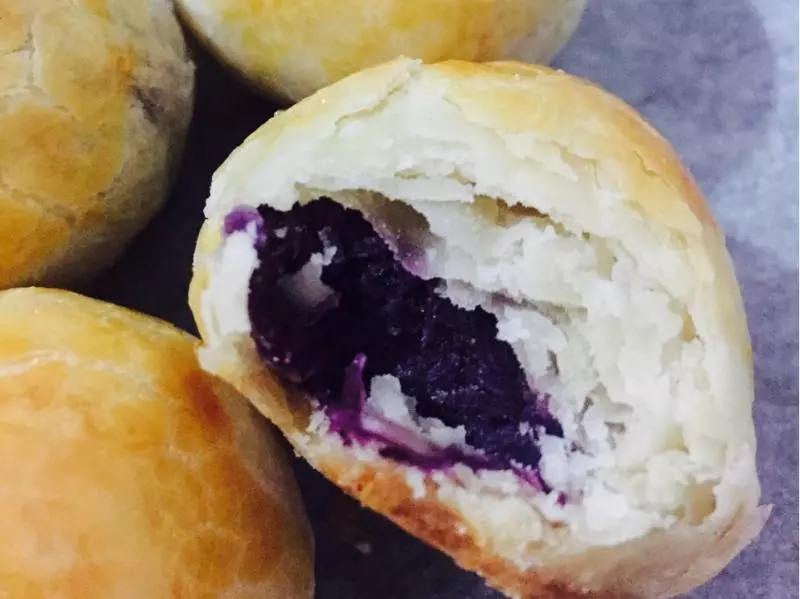
11紫薯泥是自己做的,网上方子很多很容易制作的
12紫薯泥先包蛋黄
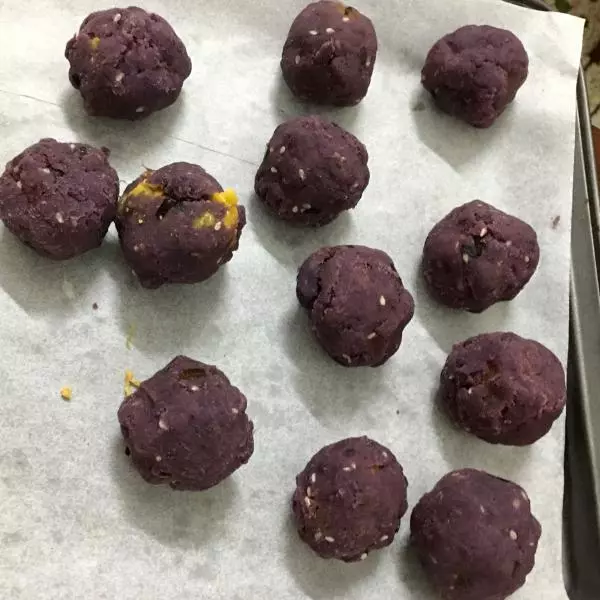
13全部包一起
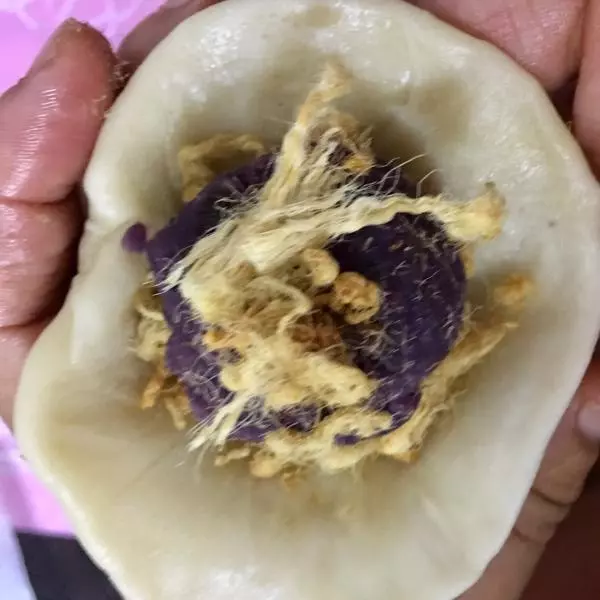
14包好就是这样啦
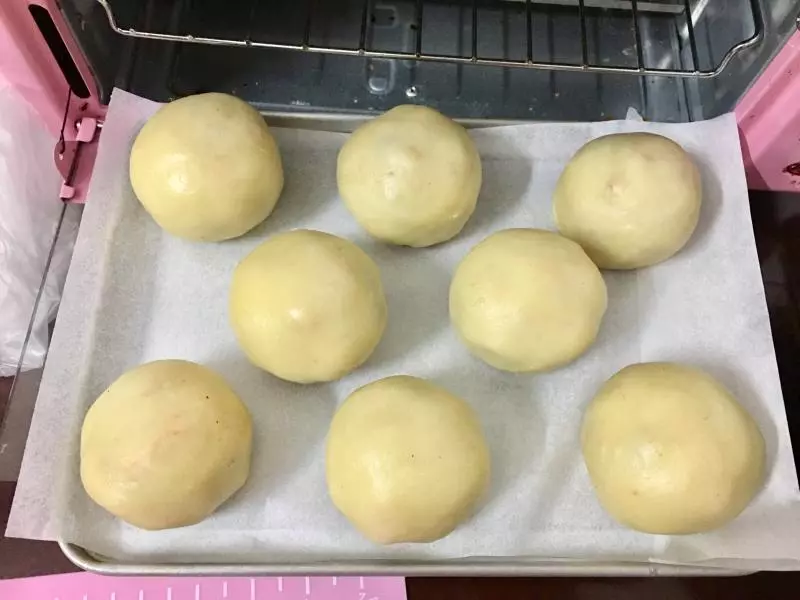
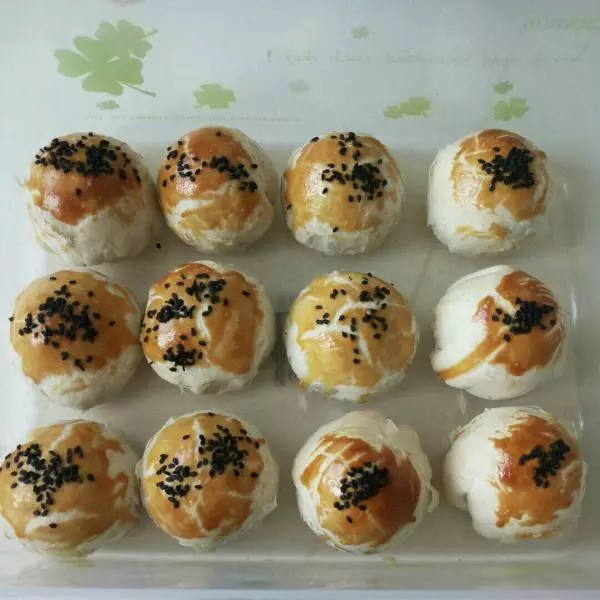
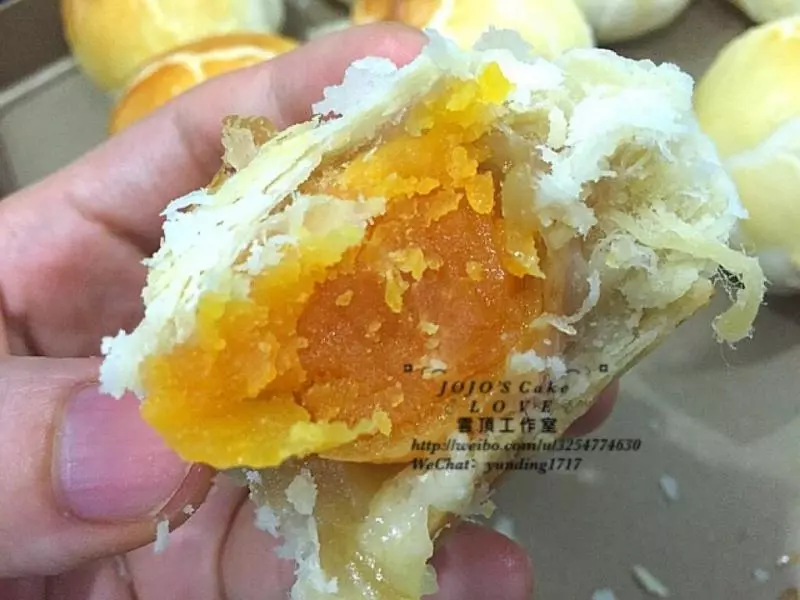
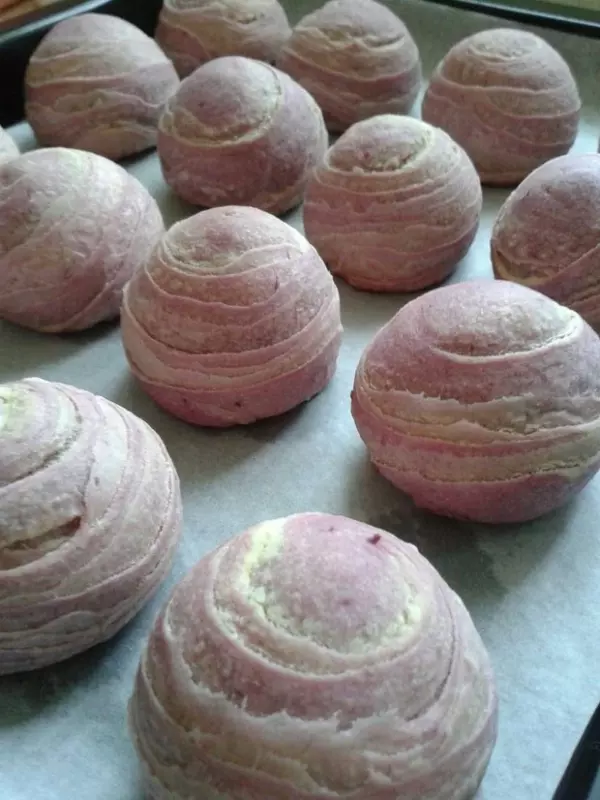
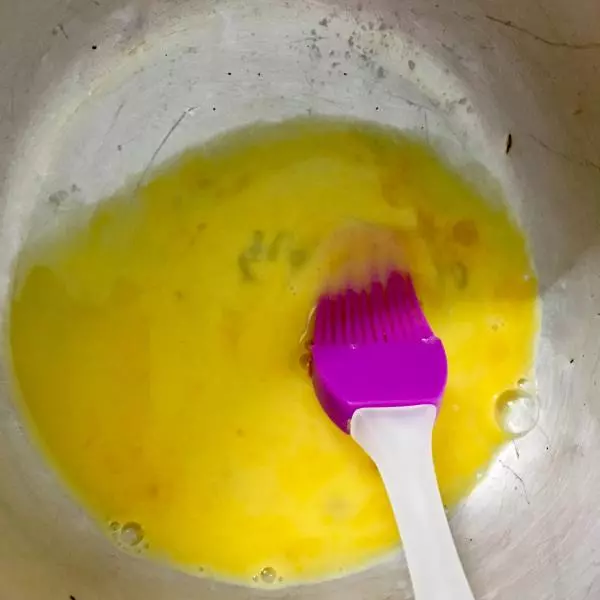
15鸡蛋打散刷在蛋黄酥上,记住宁可薄薄一层中间烤的时候多刷几次也不要一次性刷太多这样烤出来的蛋黄酥就不漂亮了
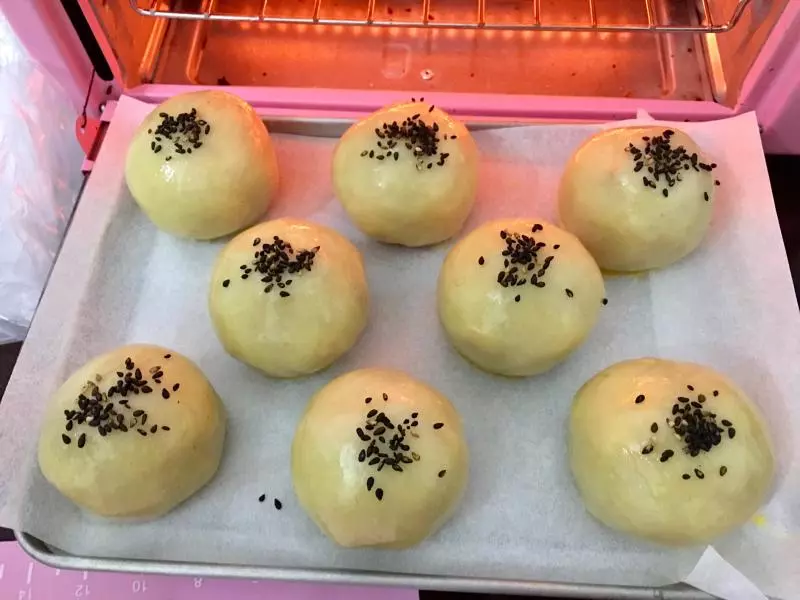
16撒上黑芝麻,烤箱预热200度我家烤箱比较小约烤35分钟,中间我用170度烤熟的
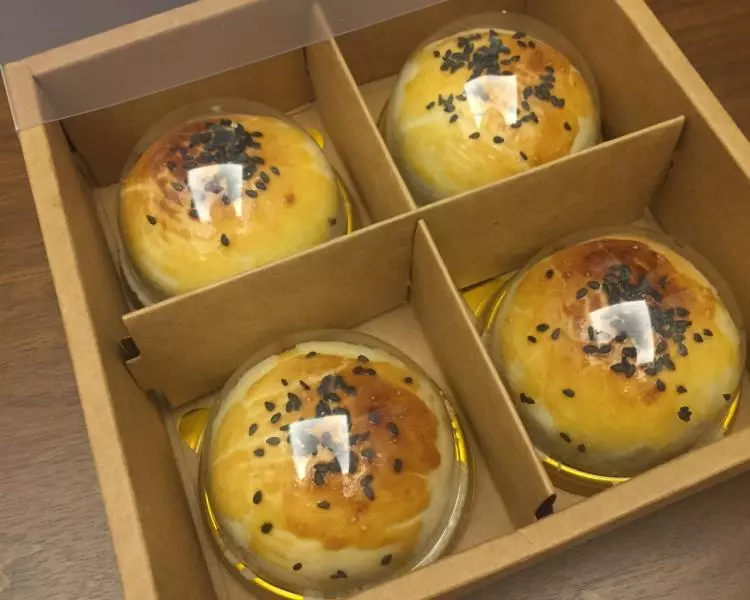
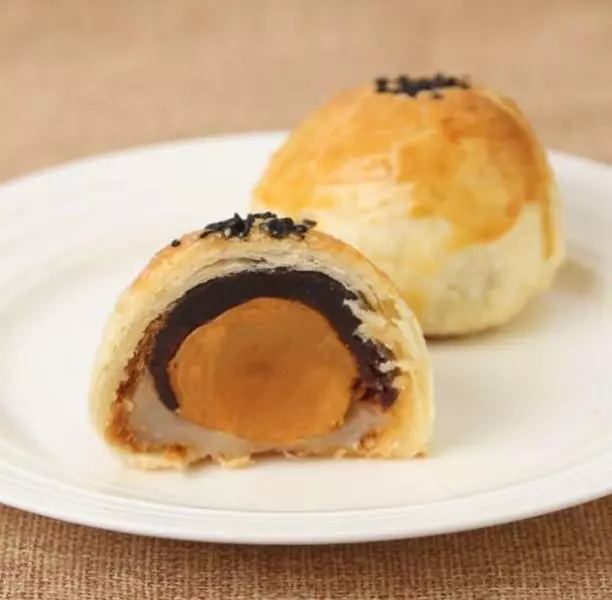
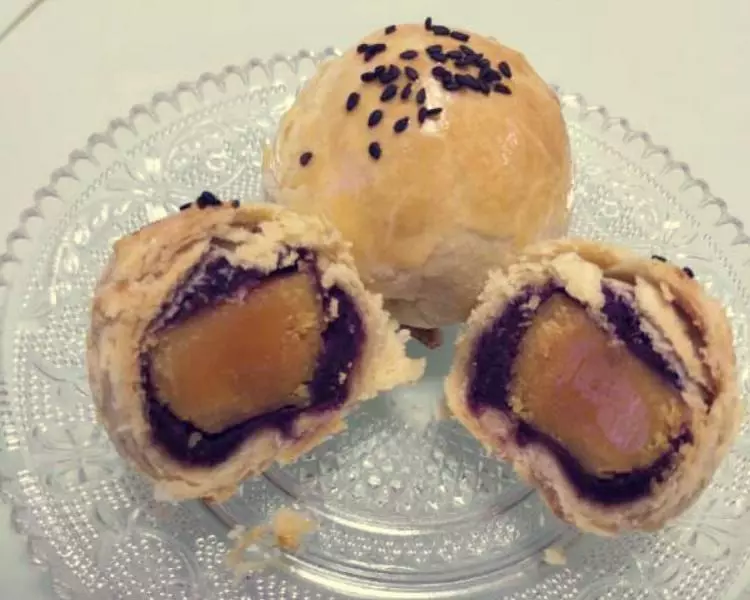
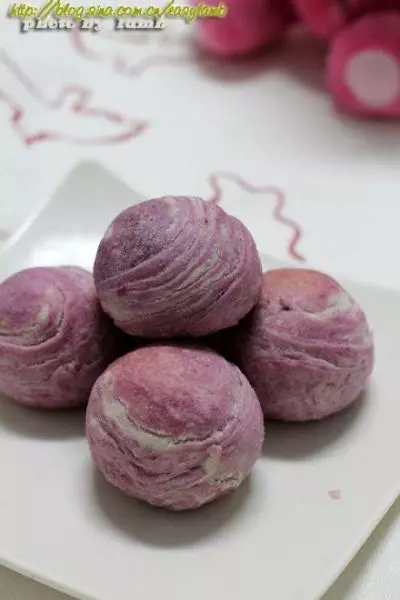
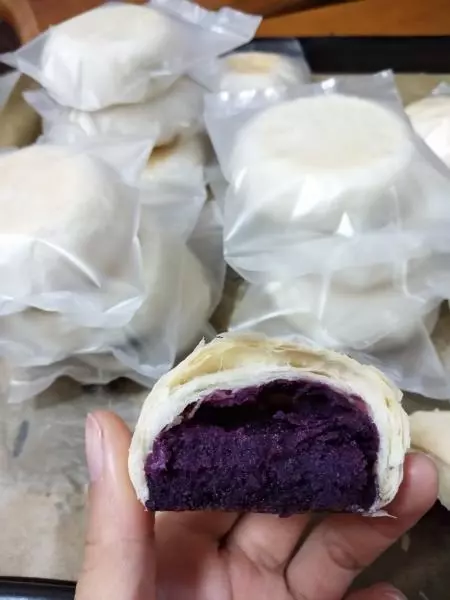
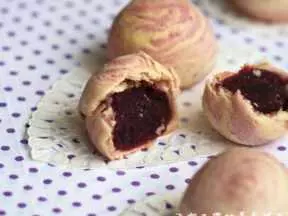
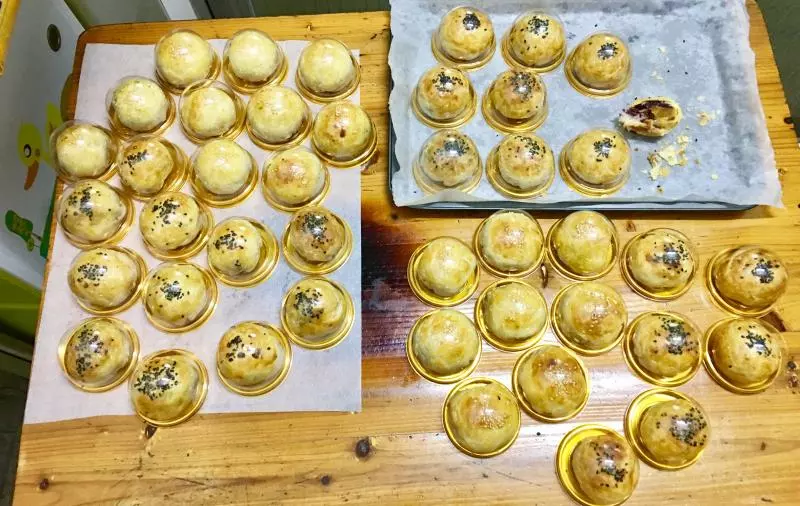
17成品啦

18一早上烤的50个
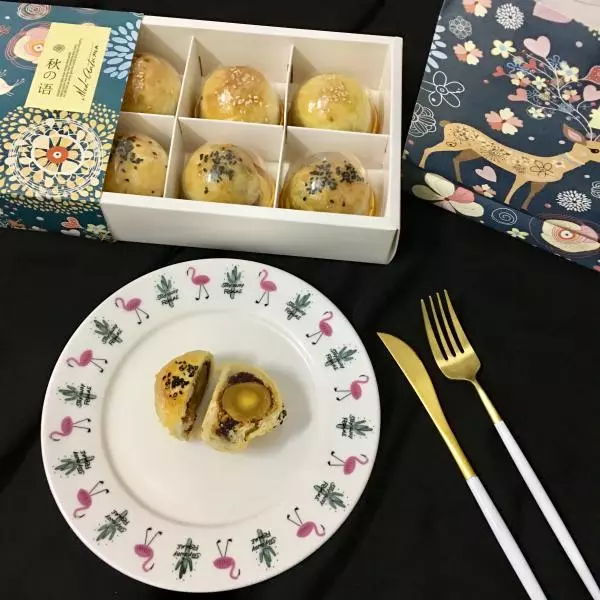
19包装~

20开吃啦
小技巧
网上很多方子都得等醒面跟松弛,我这个是不用的哦直接做的没有等。