原料
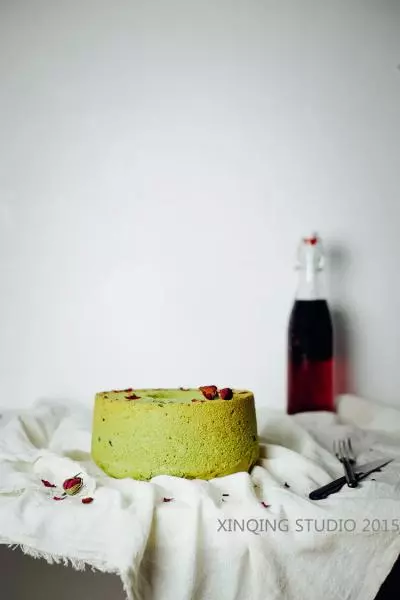
蛋黄: 7个, 细砂糖: 20g, 玉米油: 60g, 牛奶: 80g, 香草精: 5g, 低筋面粉: 100g, 抹茶粉: 10g, 泡打粉: 2g, 盐: 1g, 蛋白: 7个, 柠檬汁: 几滴, 细砂糖: 70g, 自制蜜红豆: 适量, 糖粉: 适量
步骤
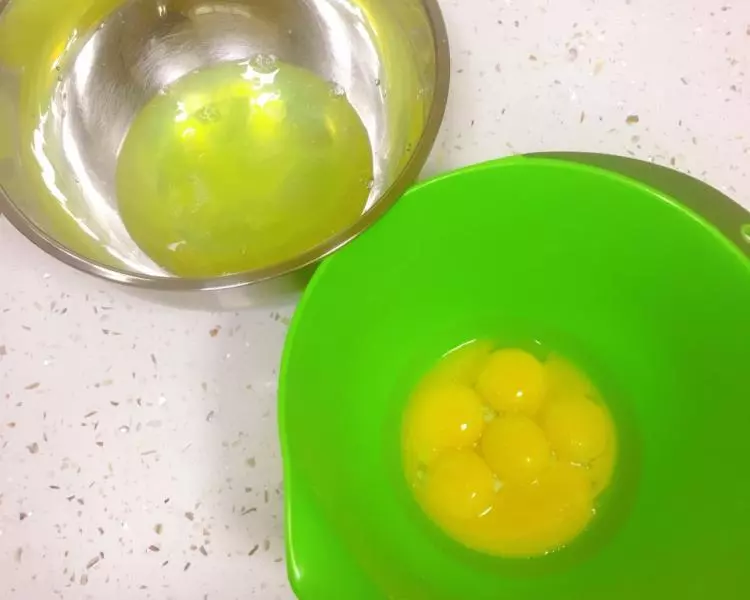
1蛋清蛋黄分离,放蛋清的盆一定要无水无油。
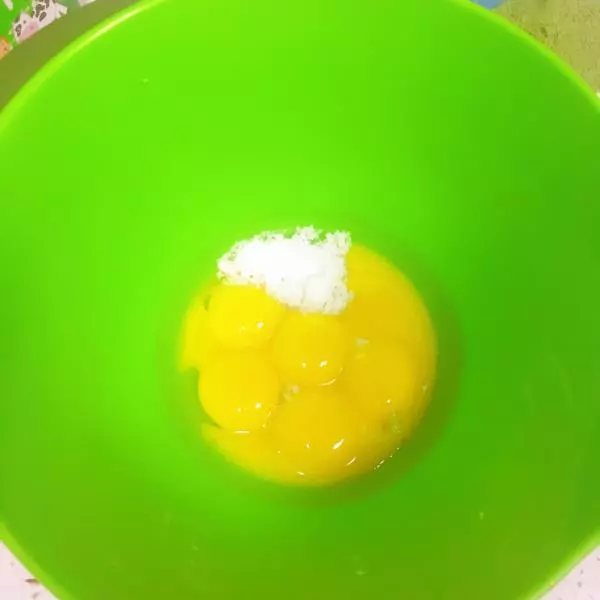
2蛋黄加糖搅拌均匀。
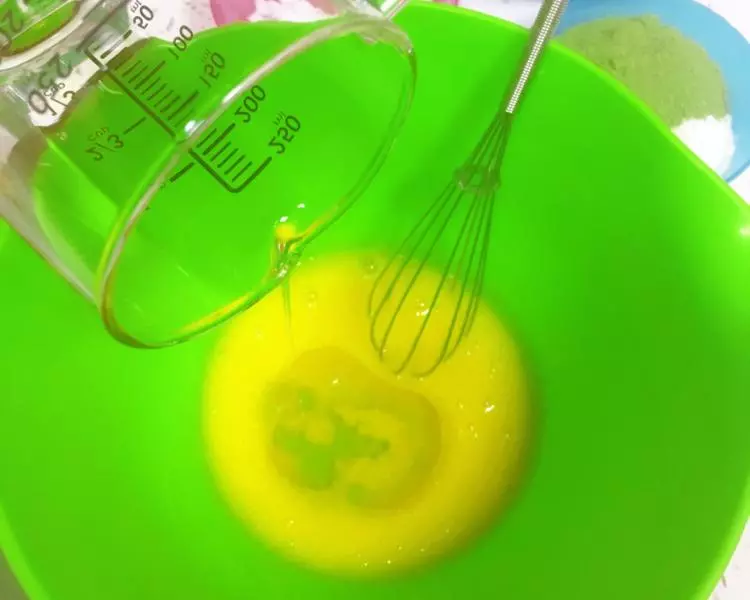
3加油搅拌均匀。
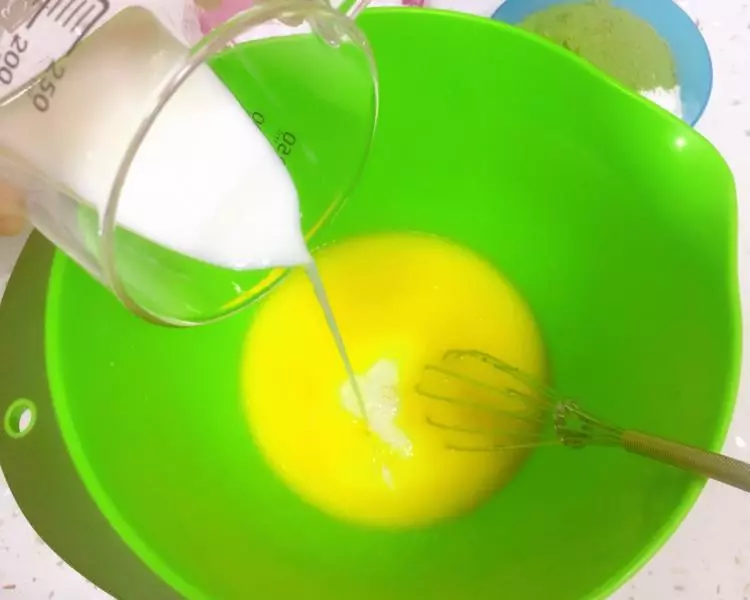
4加牛奶和香草精搅拌均匀。
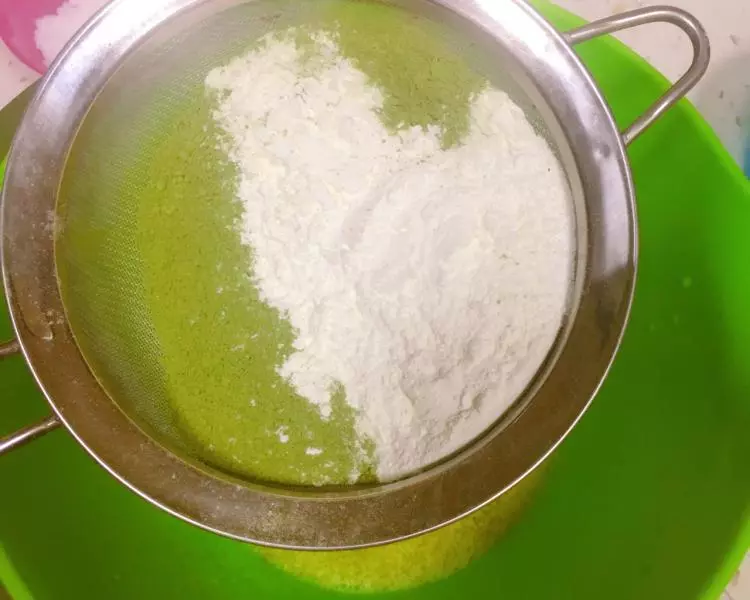
5低筋面粉,抹茶粉,泡打粉,盐过筛,加到蛋糊中,搅拌均匀,无干粉即可,千万不要过度搅拌。
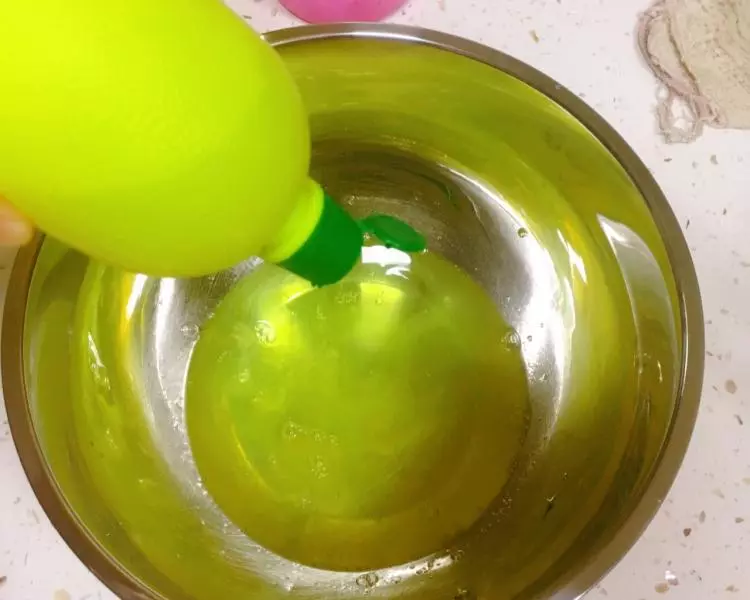
6还白糊滴几滴柠檬汁。
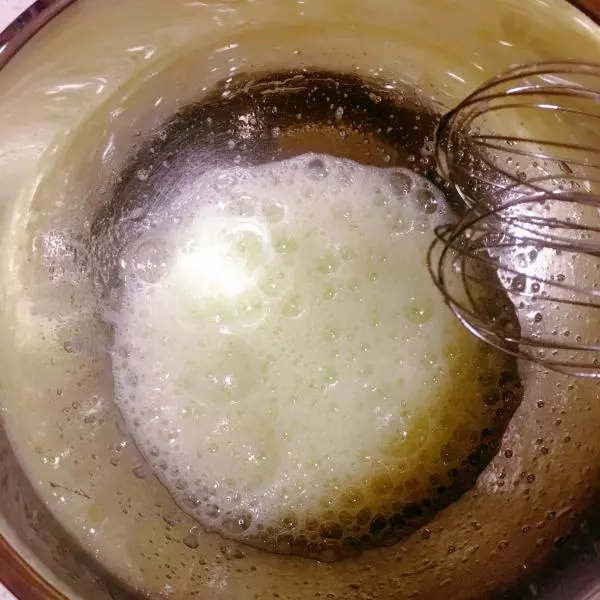
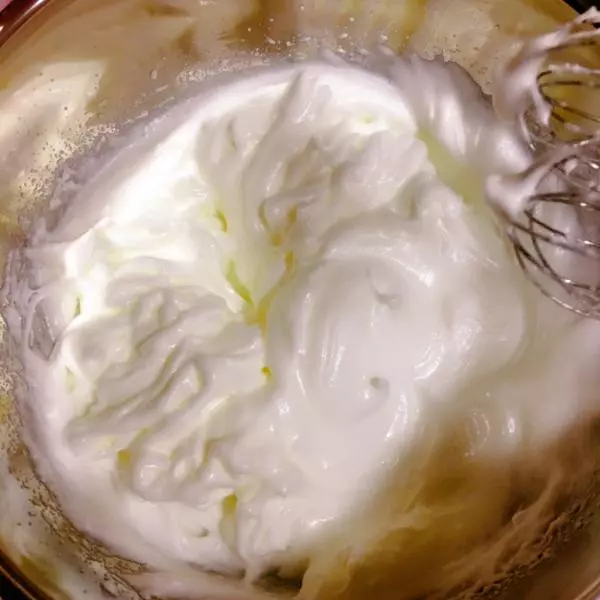
7细砂糖分3次加到蛋白中,打到鱼眼泡的时候加第1次。
8打到略有纹路时,加第2次糖。
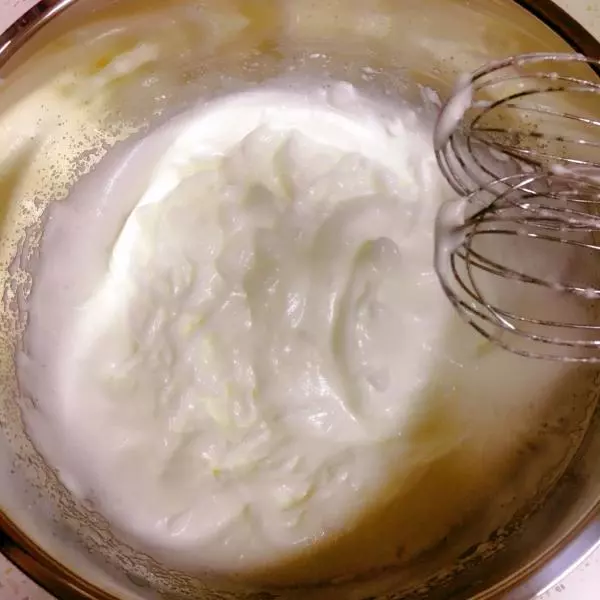
9打到有清晰纹路时,加第3次糖。
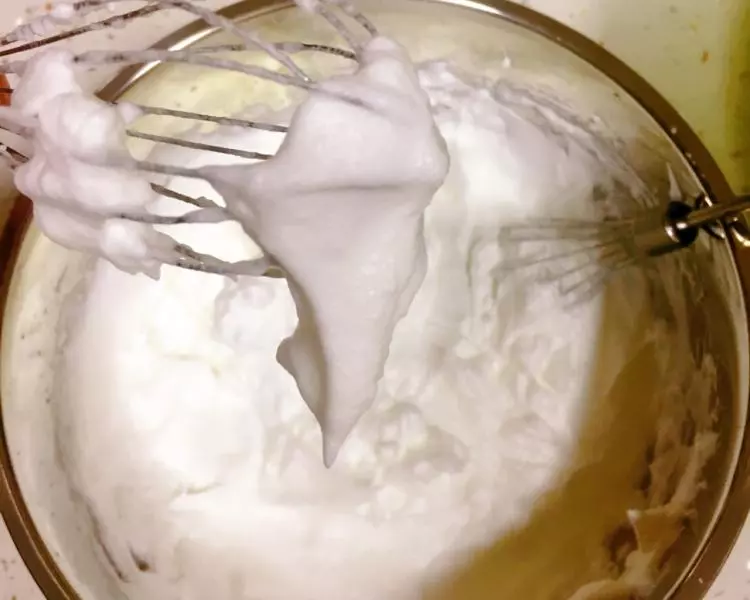
10蛋白打到能拉出鹰嘴状。
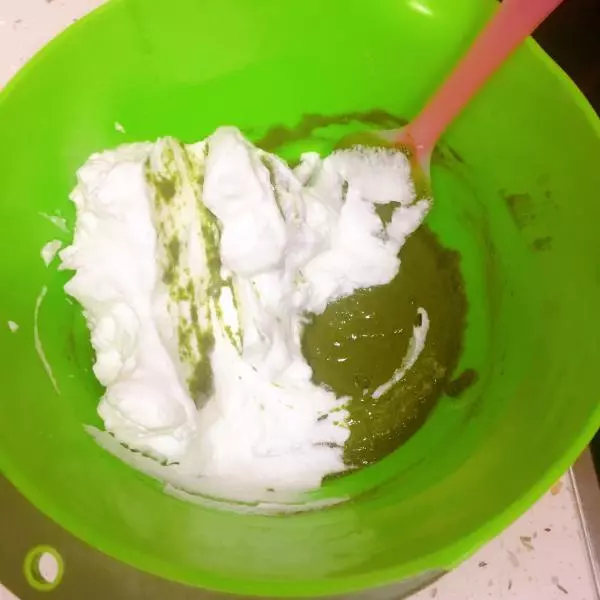
11取1/3蛋白加到蛋黄糊中,翻拌均匀。
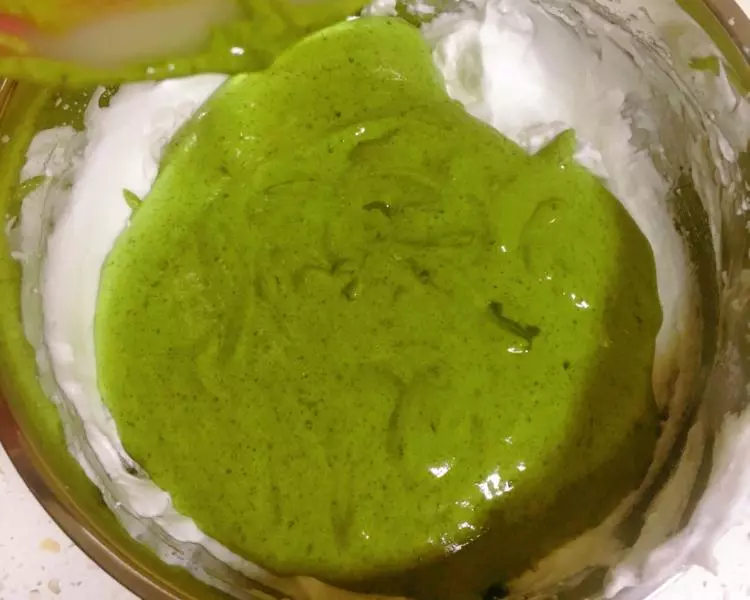
12再倒回剩余的2/3蛋白中,翻拌均匀。
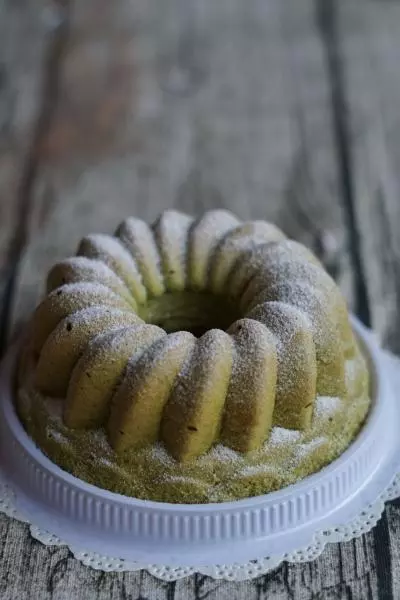
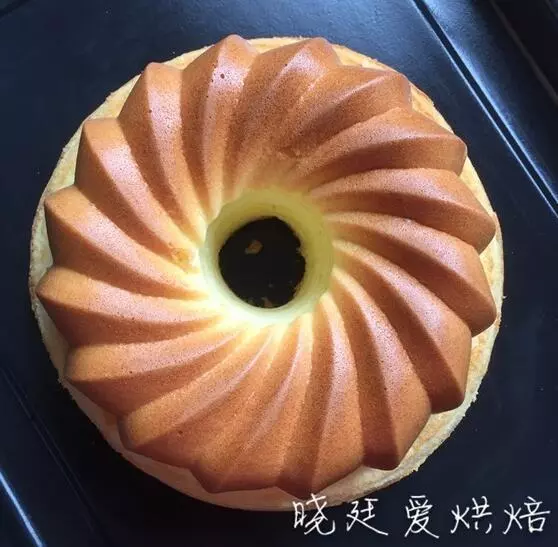
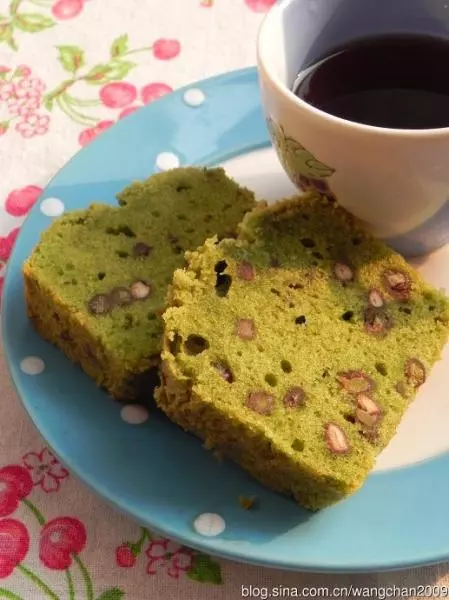
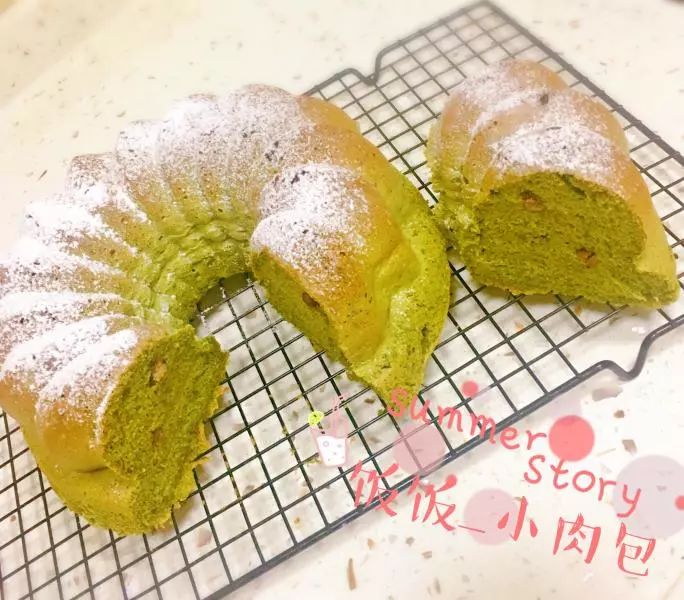
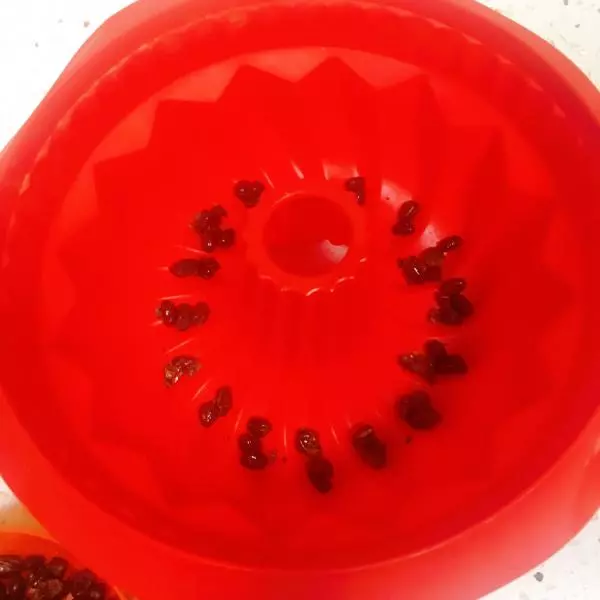
13用乐葵8寸萨瓦林模具,先铺一层蜜豆。
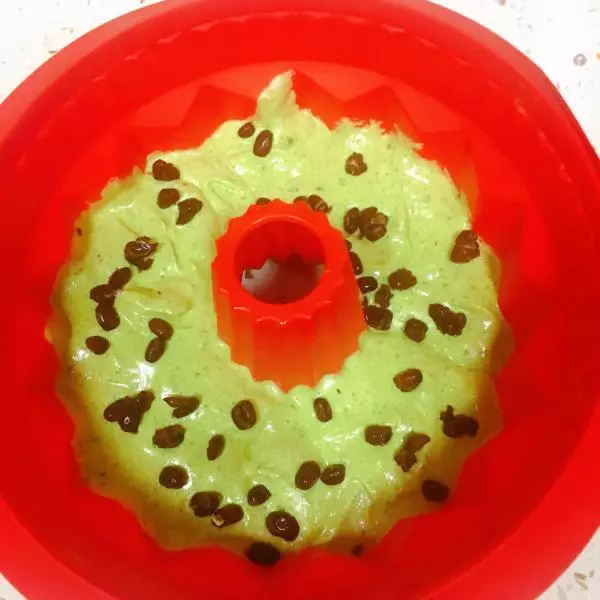
14倒入一层蛋糕糊。

15再撒一层蜜豆。
16倒入一层蛋糕糊。
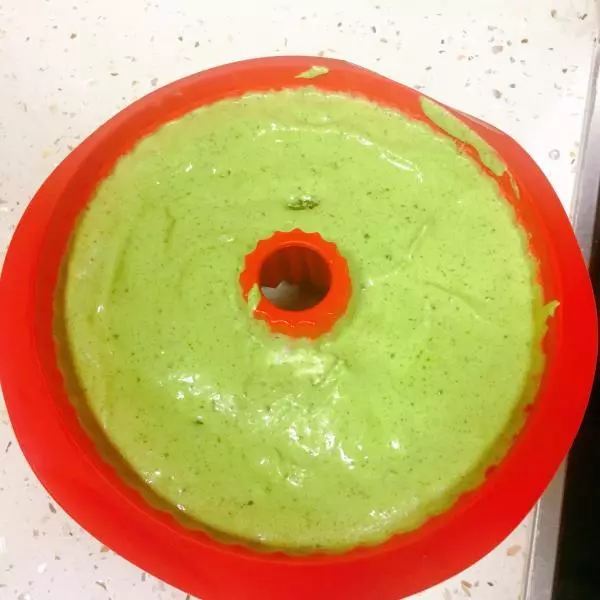
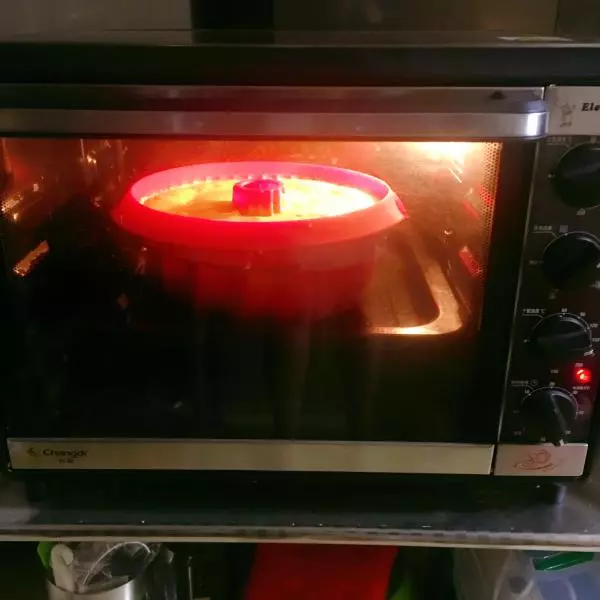
17在台面上震出气泡,烤箱提前预热150℃,中层140℃,1小时10分钟。
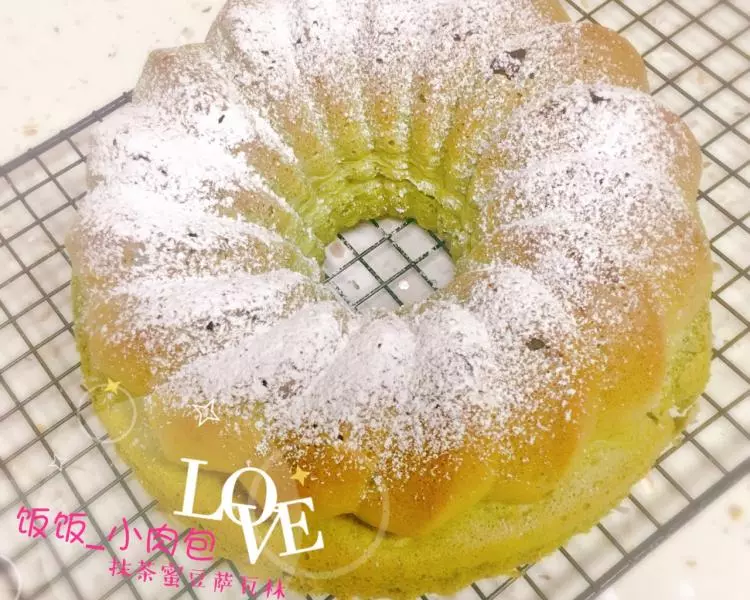
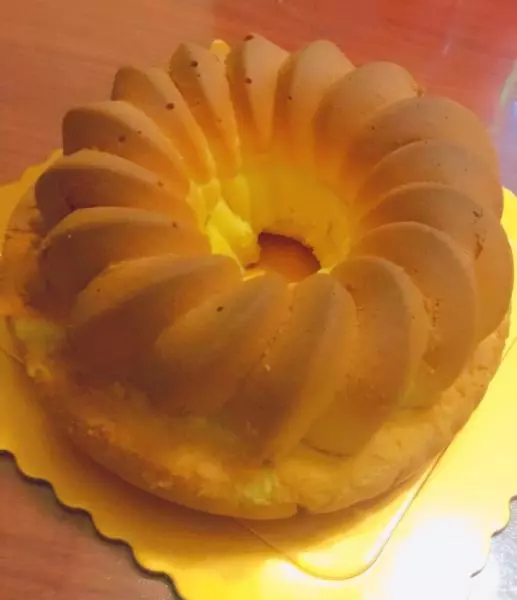
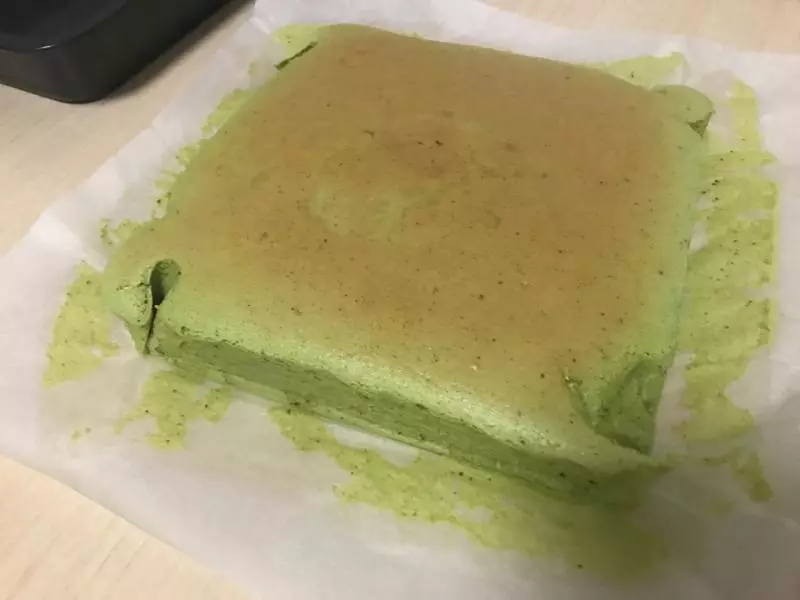
18出炉马上脱模,晾凉。(模具选择非常重要,否则粘的一塌糊涂)
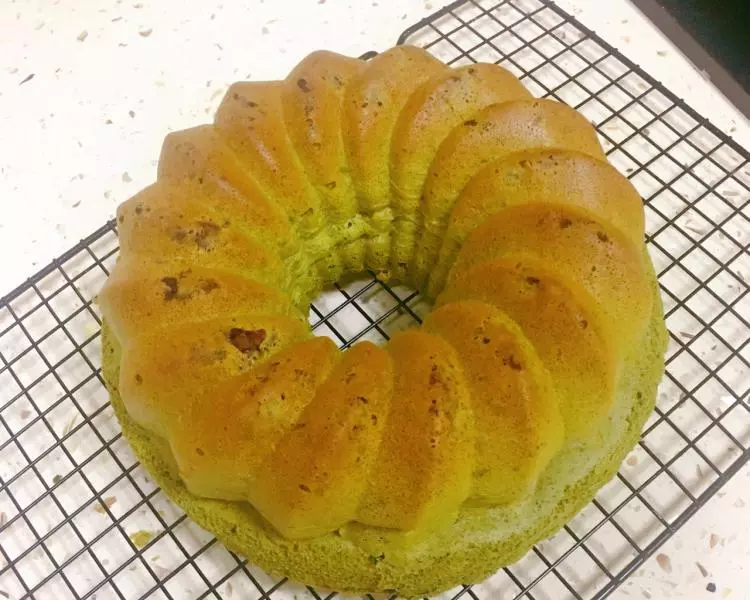
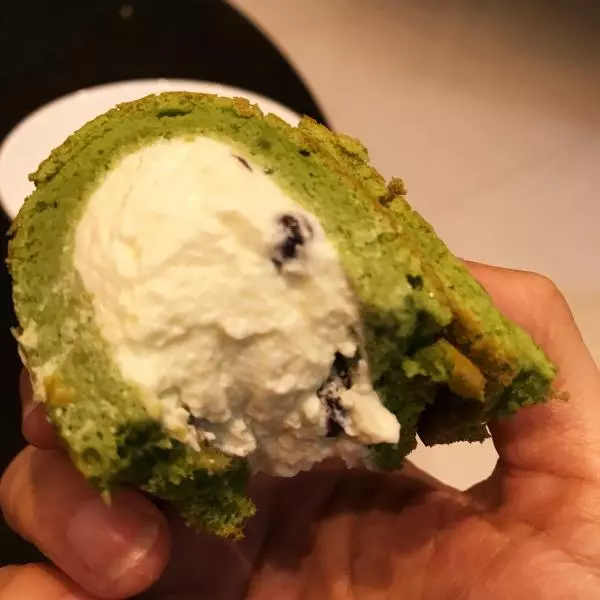
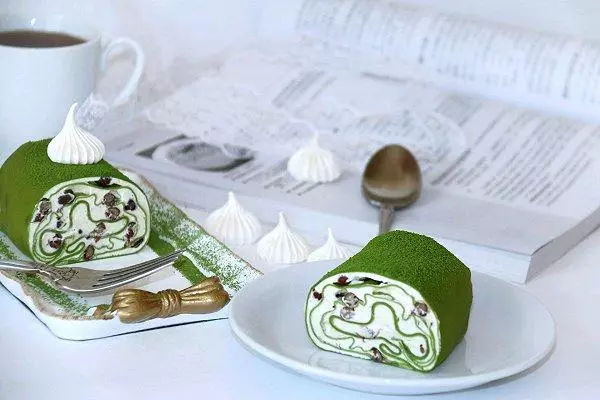
19筛上糖粉装饰一下……