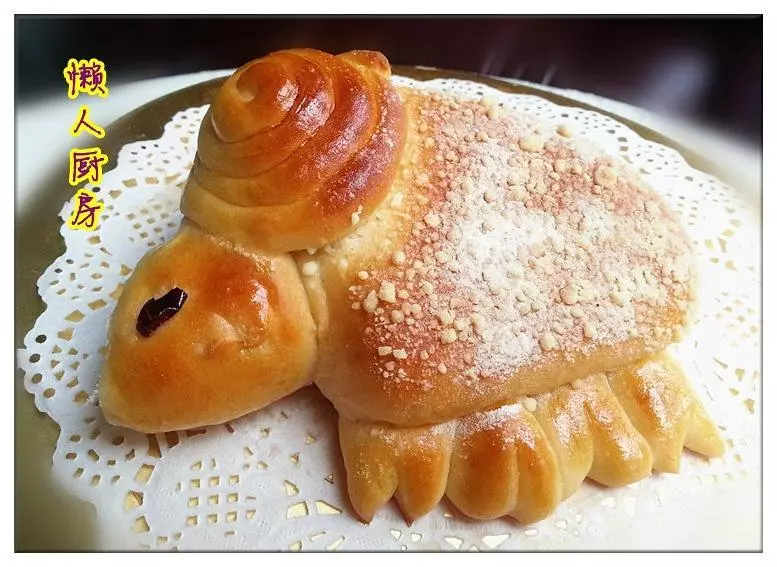
简介
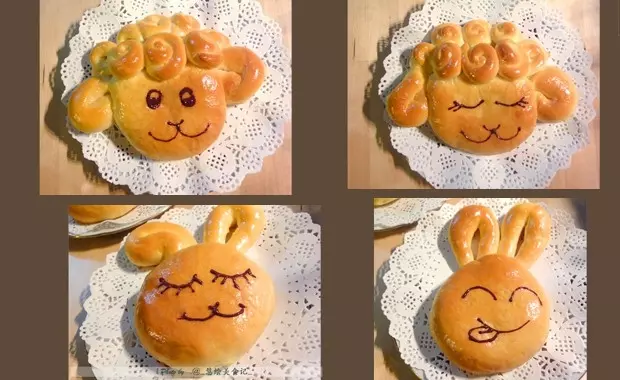
我俩都喜欢吃豆沙包,又不想老做重复的,各种搜索,发现了爱和自由的顽兔面包,觉得挺好玩,做来试试。自由发挥了一下,多添了一种小绵羊的造型,附上方法,供大家参考~
*面粉会按环境的湿度而改变自身的含水量,湿度愈大,面粉含水量越大,吸水量就会降低,现在是伏天,比较潮,所以我都比原配方少加一些水。和面水少了没事,顶多硬一些,大不了再添,但是多了就麻烦了,尤其这种需要整形的,粘手的面团不好操作。而且我发现水少一些,出膜效果会更好,感觉以前加水都多了。。。
原料
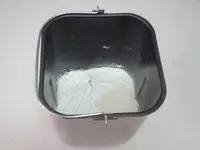
①主材料:, 高筋面粉 200g, 低筋面粉 50g, 干酵母 3g, 细砂糖 40g, 盐 3g, 奶粉 10g, 鸡蛋液 25g, 水 100g, 黄油(室温软化) 25g, ②馅料:, 豆沙馅 120g, ③表面装饰:, 鸡蛋液 少许, 黑巧克力 适量, 裱花袋 1个, ④其他, 大烤盘 1个, 油纸 适量
步骤
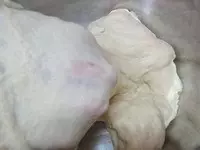
1把主材料中除黄油外的所有食材,按照底层液体、中层粉类、上层干酵母的顺序放入到面包机桶里,启动和面程序,30分钟。
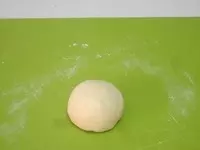
2此时面团可以抻出比较厚的一层膜,容易裂。
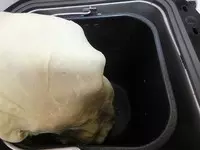
3然后加入软化的黄油,继续启动和面程序,15分钟。
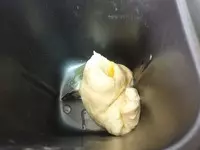
4揉至可以抻出薄膜的扩展阶段。
5然后放入盆里,盖上湿布,进行发酵。
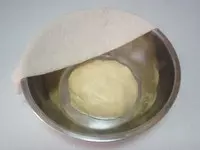
6我是放到了烤箱里,选择发酵功能,1个小时左右。
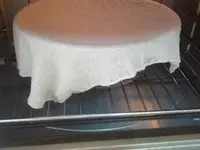
7发至2.5倍大。
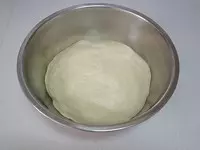
8然后把面团在面板上按揉几下,排出气体。
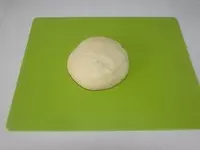
9接着分成4个60g(小绵羊和小兔子的脑袋)、8个15g(他们的耳朵)、16个5g(小绵羊头部卷卷)的小面团,然后盖上保鲜膜,松弛15分钟。 *发好的面团重量约为440g,我根据自己想要的造型分配的,后来做出来,感觉大小还行,你们也可以自行调配,做出喜欢的造型~

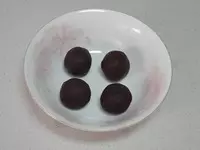
10等待的时间,把豆沙馅平均分成4个,每个30g,备用。 *也可以多放点,能包起来就行。
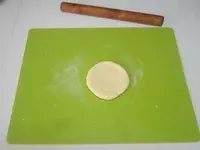
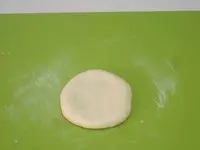
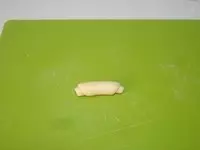
11取一个60个的面团,擀成圆形。
12然后把豆沙放在上面,包起来。
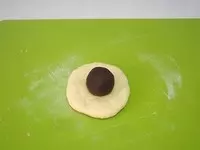
13收口向下,整理一下形状。
14然后用手按扁。
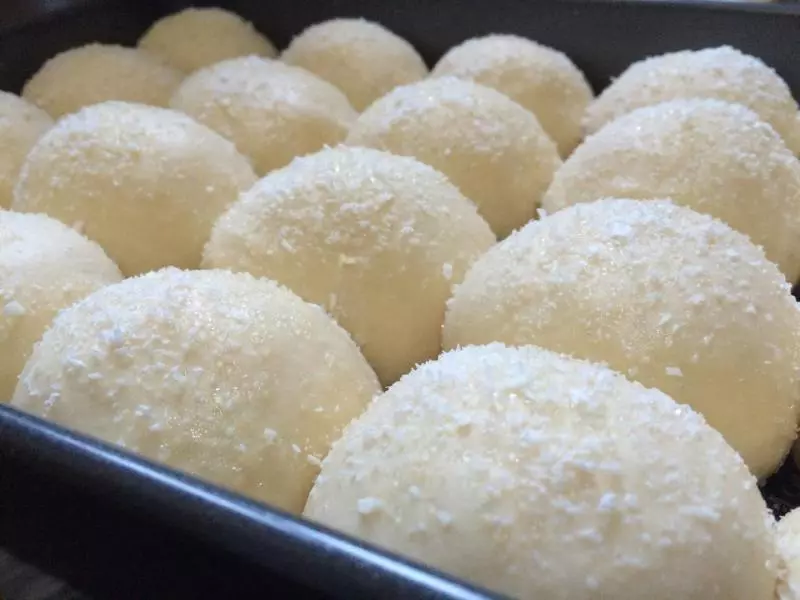
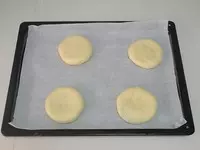
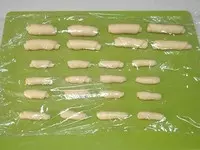
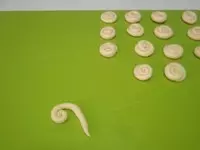
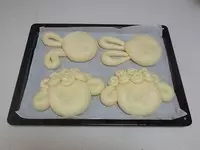
154个60g的面团全部做好,摆在烤盘上,记得留出耳朵的位置,自己分配好空间。
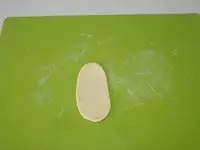
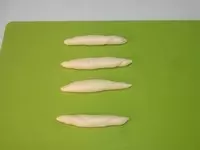
16下面开始做其他部位,取一个面团,擀成椭圆形。
17然后由下往上卷起来。
18所有剩下的面团全部都这样操作,做好之后,盖上保鲜膜松弛10分钟。
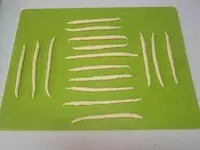
19下面开始做小兔子的耳朵,取4个15g的面卷,搓成长条,两头略细。
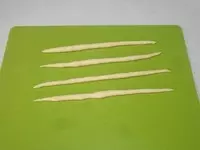
20对折后摆到豆沙面饼下做成兔子耳朵的形状,记得压住一小部分,别压太多,耳朵发酵后会变短。
21开始做小绵羊的耳朵,还是取4个15g的面卷,搓成圆柱形,两头比中间细一些。
22然后对折,放到豆沙面饼下做成小绵羊的耳朵。

23接着做绵羊头部的卷卷毛,把剩余的16个5g的面卷,全部搓成长条状。
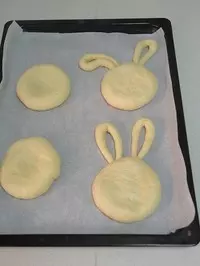
24然后盘旋着卷起来。
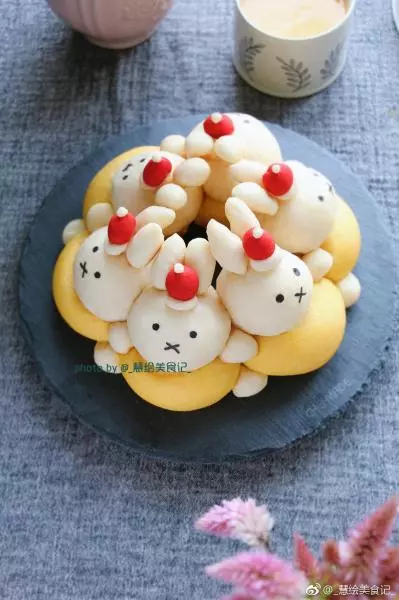
25放到相应的部位,如图所示。然后进行最后的发酵,半个小时左右,烤盘地方有限,我没发酵时间太久。
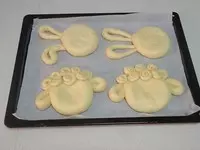
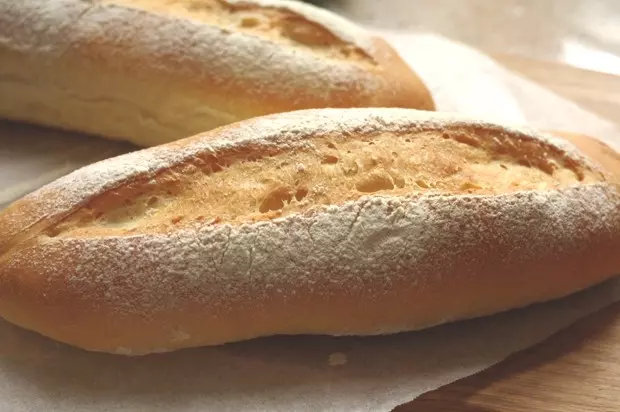
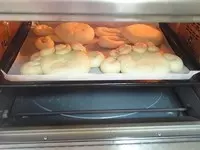
26然后刷上鸡蛋液。 *开始预热烤箱,上下火180度。
27预热好之后,放入烤箱,上下火160度,烤20分钟左右,至表面金黄色即可。
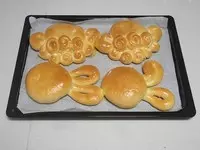
28烤好之后拿出来放凉备用。
29等待的时间,把黑巧放入裱花袋里,放到蒸锅上加热一下。
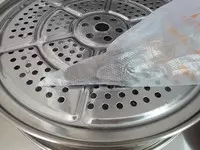
30黑巧融化之后,把裱花袋前段剪一个小口。
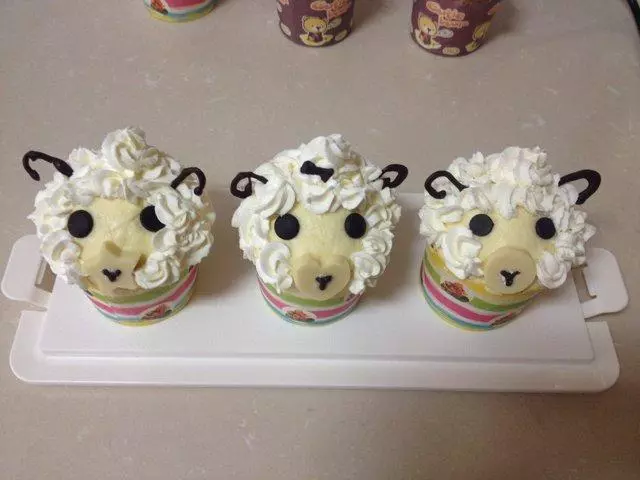
31在面包上画出自己想要的图案即可。
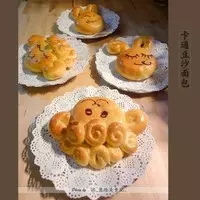
32是不是很可爱^_^

33做给小朋友,他们一定会喜欢的~