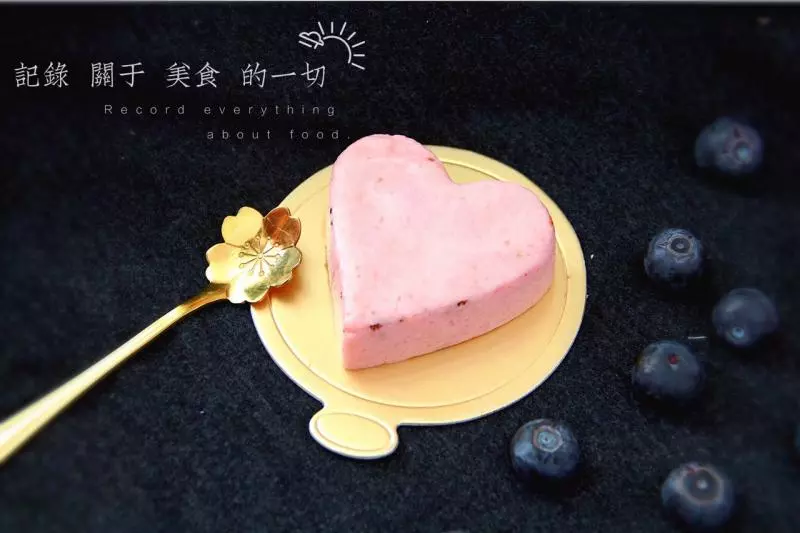
原料
戚風蛋糕坯: 1個, 淡奶油: 350g, 魚膠片: 10g, 草莓: 250g, 砂糖(慕斯用): 30g, 糖粉(裱花奶油): 10g, 奶粉(裱花奶油): 5g, 玫瑰花碎: 適量
步驟
1準備一個蛋糕坯晾涼(可提早一晚準備好)

2藉助蛋糕分割器均勻分割成兩片蛋糕片備用,並在活底模具里舖好一片

3取180g草莓洗凈切丁(切丁後留少許待會混合慕斯用)用料理機或擀麵杖套保鮮袋把草莓粘成汁水狀

4成糊糊狀即可,如圖

5將泡軟的魚膠片加入奶鍋一同倒入碾好的草莓汁

6加入砂糖

7用小火煮並不停的攪拌至魚膠片融化後關火晾涼

8加入糖粉奶粉到奶油打發至7分(還可以流動狀)

9把晾涼的草莓慕思液倒入打發好的奶油中進行攪拌再加入之前留下的草莓丁

10把剩餘整顆的草莓均勻切成三片(我買的草莓個頭大)把切面貼在模具壁保證草莓間無間隙

11倒入拌好的慕斯液一般的量

12鋪一片蛋糕片 (需要根據已倒進慕斯實際的大小進行修改哦)

13倒入剩餘一半的慕斯液並用刮刀把表面刮平。

14用錫紙包好進冰箱冷藏一夜定型

15我用的是活底蛋糕模 脫模時用吹風機熱風吹一圈外壁後模具下面用罐子輕輕往上頂出即可成功脫模

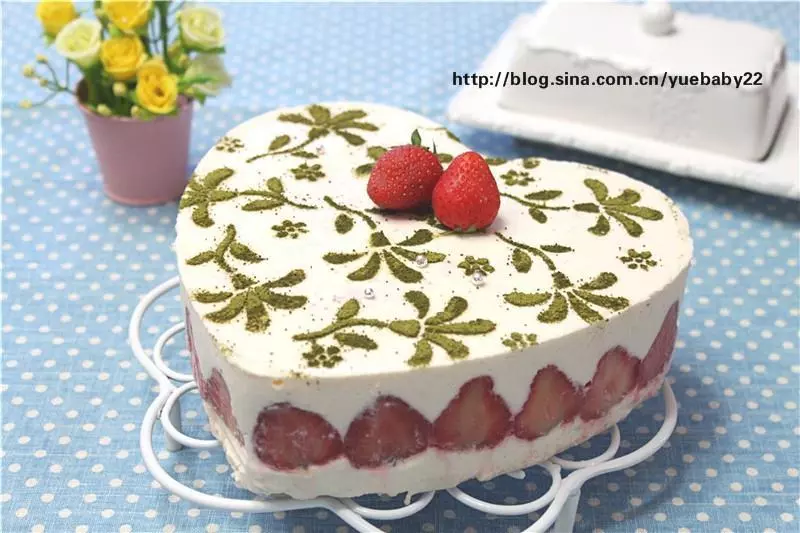
16取100g淡奶油打發裝飾奶油時先把慕斯放進冷藏

17根據自己的喜好進行裱。我用的是花邊的裱花嘴 感覺比較小清新,呵呵。

18取兩顆草莓進行裝飾 最後撒上玫瑰碎起到畫龍點睛的作用哦。

19可以包裝起來了。適合閨蜜下午茶 生日派對蛋糕,活脫脫的高大上 白富美!

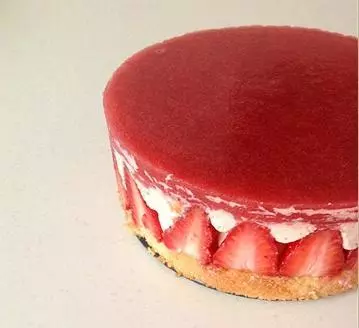
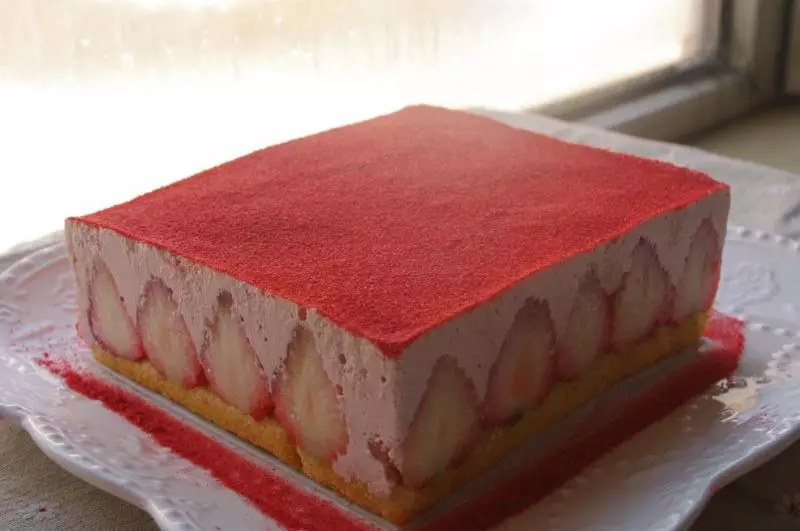
20切開的層次
21分塊送朋友下午茶!

小技巧
挑選草莓要大 紅 這樣做起造型比較美也比較甜呢!