原料
雞蛋: 1隻, 白砂糖: 25g, 低筋麵粉: 35g
步驟
1準備好原料,25g白砂糖15g是放入蛋白中,10g是放入蛋黃中,如果你拿捏不准,可以分開稱

2蛋白蛋黃分離,打發蛋白,蛋白魚眼泡狀態時加入5g砂糖。

3繼續打發,蛋白泡沫變細時加入5g砂糖

4繼續打發,蛋白變的非常細膩濃稠,加5g砂糖,然後一直打發到硬性發泡,也就是圖中打蛋器上的蛋白是一個短小直立尖角。

5蛋黃加剩餘砂糖,用打蛋器攪拌均遠,可多攪打一會兒,到蛋黃顏色變淺,烤出來的餅乾會更酥鬆

6把蛋黃放到蛋白中,用刮刀翻拌均勻

7篩入低粉,攪拌均勻

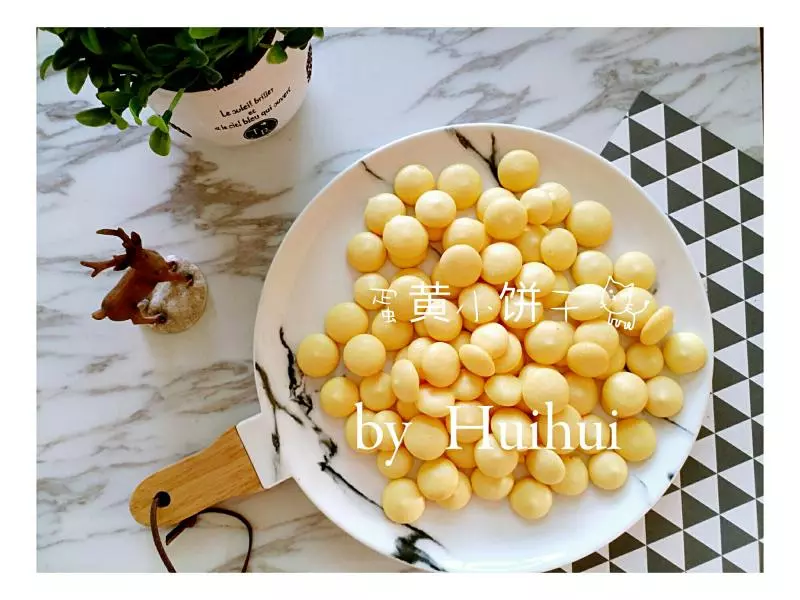
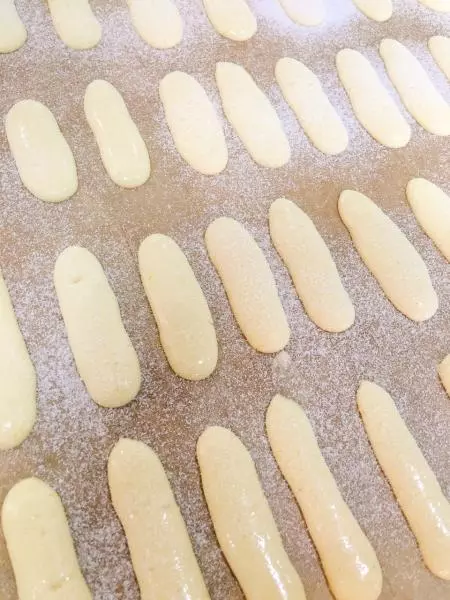
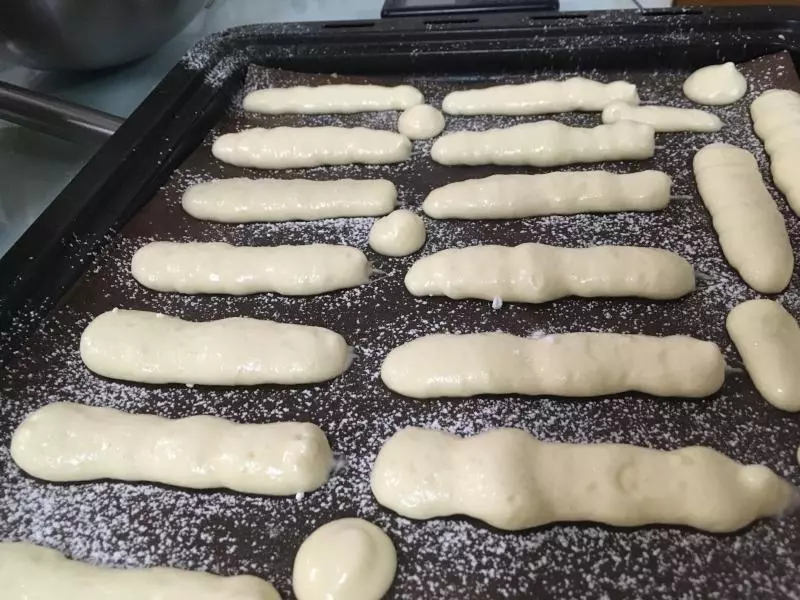
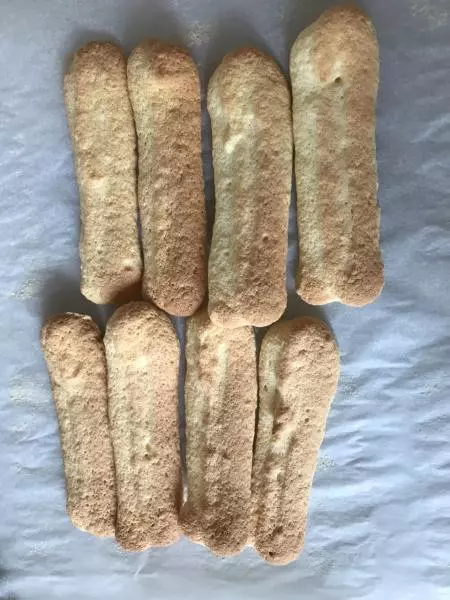
8烤箱預熱190度,麵糊裝入保鮮袋或者裱花袋,如果是保鮮袋就用剪子在邊角剪個洞。烤盤墊油紙或錫紙,將麵糊擠在油紙上,最後剩了一點捨不得扔,我就擠在了烤盤中間。

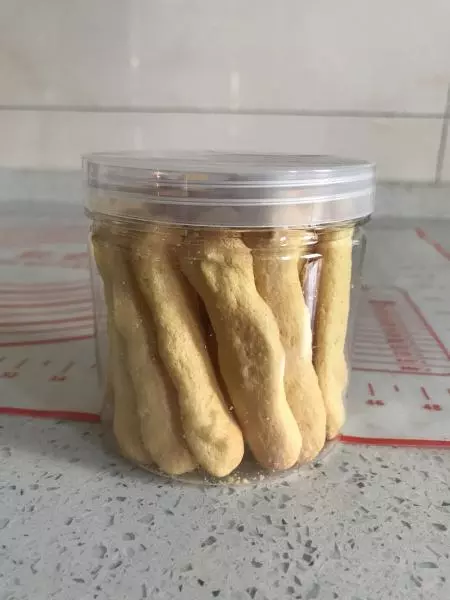
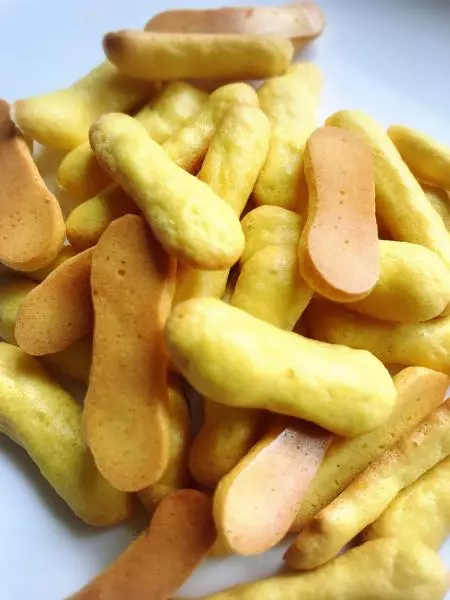
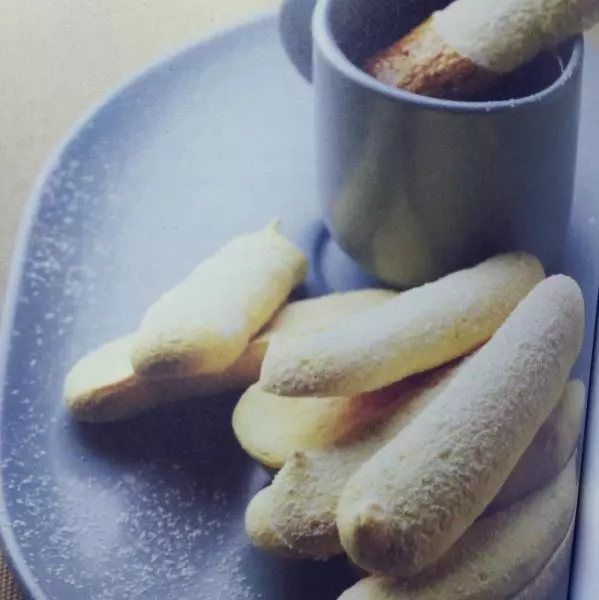
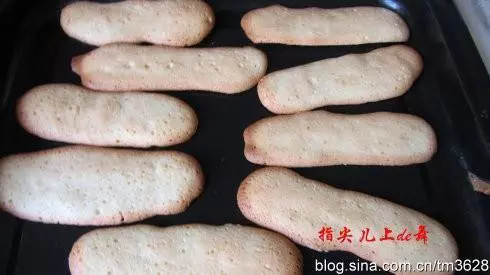
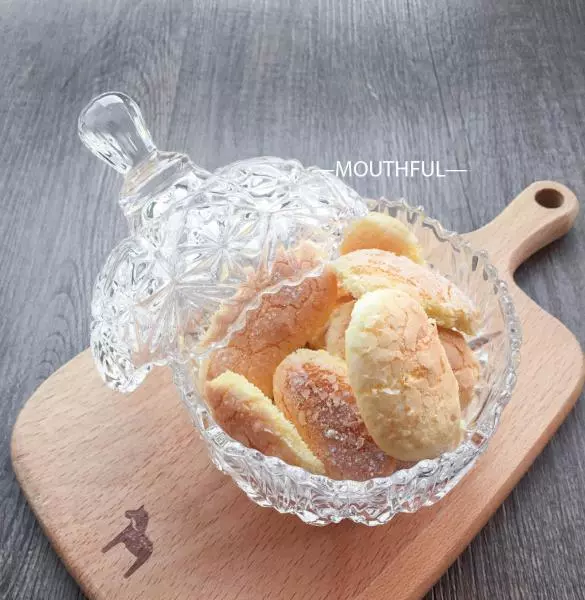
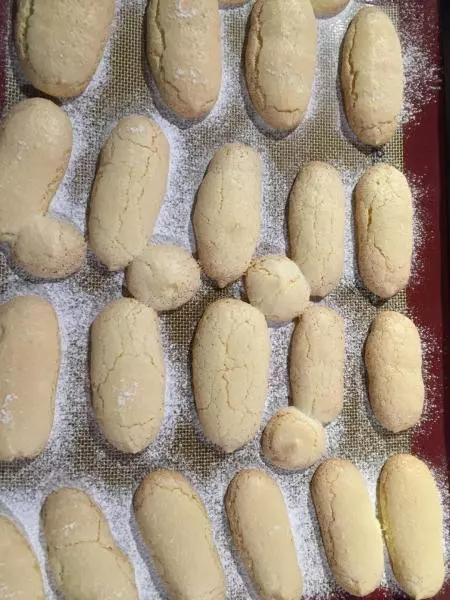
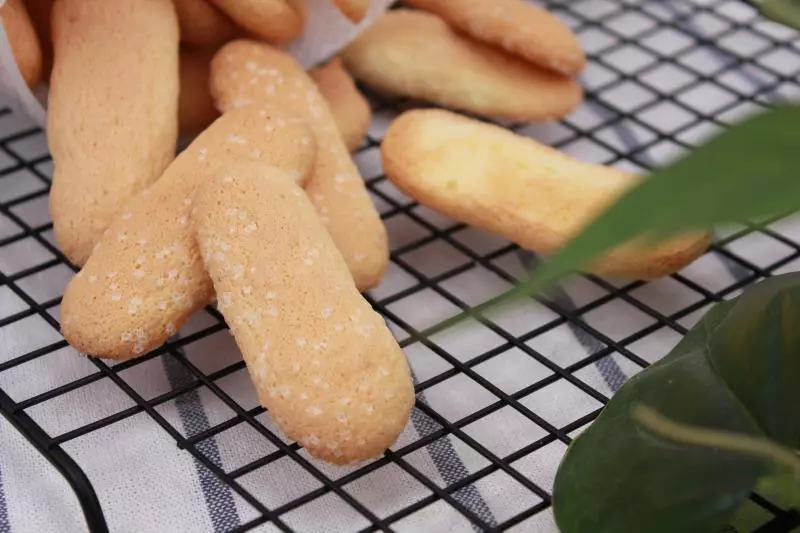
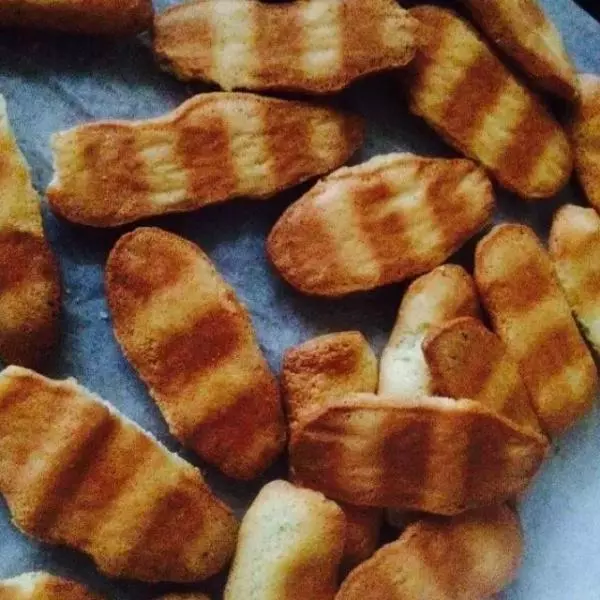
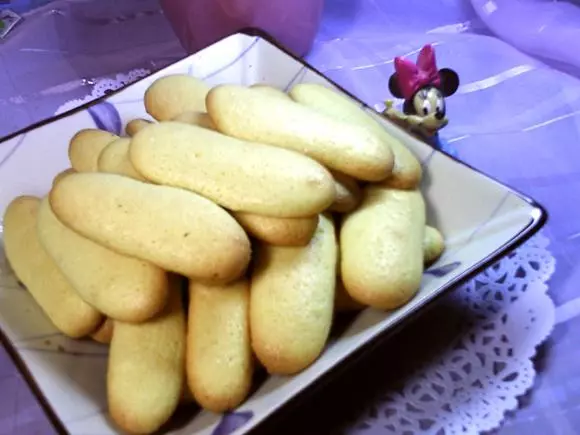
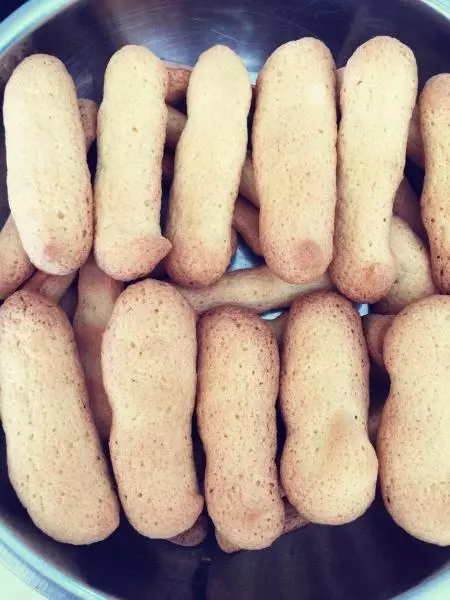
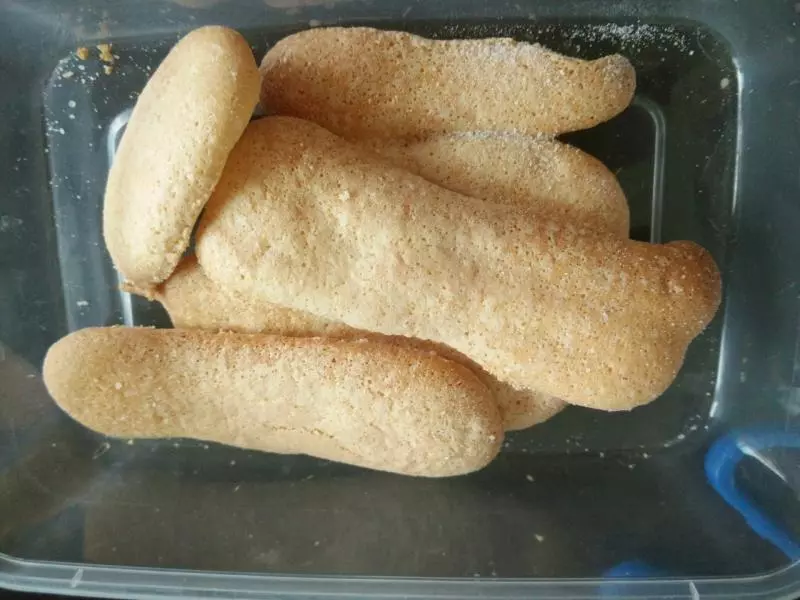
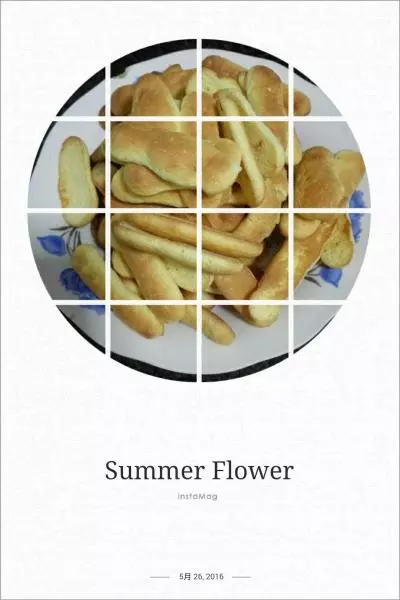
9190度,烤十分鐘。晾涼就可以裝起來吃啦。

小技巧
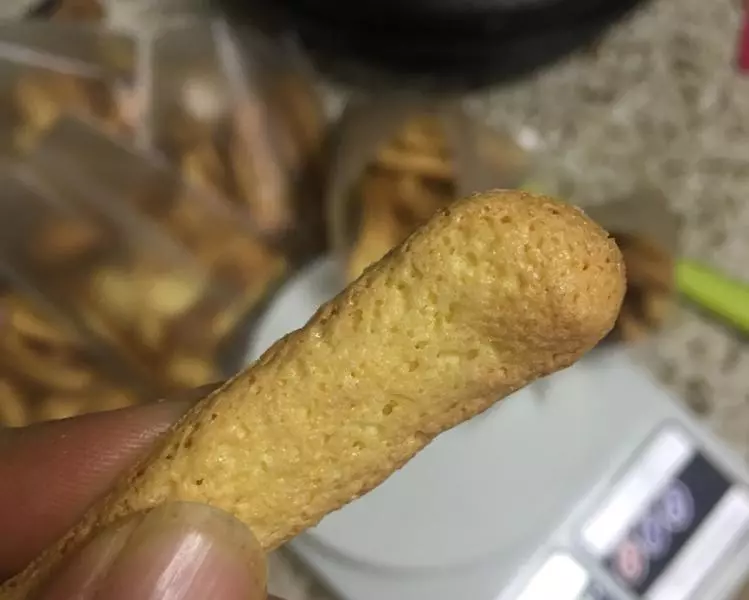
很多手指餅乾不打發蛋黃,但是我覺得打發蛋黃會使餅乾更酥鬆哦,很適合給小寶寶吃。