原料
榴槤果肉: 200克, 雞蛋: 300克, 細糖: 60克, 高筋麵粉: 120克, 澱粉: 2克, 花生油: 35克, 牛奶: 350克
步驟
1首先為了讓榴槤千層形狀看起來更加好看我這邊會先烘烤一個蛋糕胚,蛋糕胚的製作步驟分為4步: 1. 把雞蛋分別打在無油無水的盆里 2.把麵粉,牛奶,調和油加在蛋黃里拌勻 3. 蛋清里分三次把白糖加入打發 4.把三分之一的蛋清加入蛋黃里,拌勻後,再把剩下的加入拌勻,放入烤箱150度四十分鐘,涼冷就可以脫模啦!
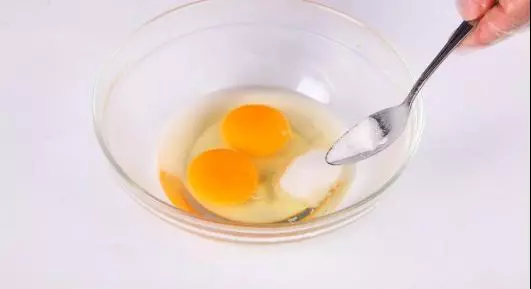
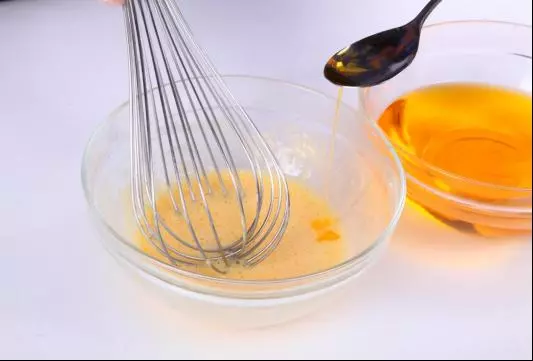
2在等待蛋糕胚中我們還可以利用時間來製作班戟皮和奶油細砂糖跟雞蛋混合,雞蛋兩個打出來的重量在100g左右就夠了,別多也別少了,誤差在1g內最好!用蛋抽打至有均勻細膩的小泡即可,我是左手抱盆,右手逆時針快速攪打,打奶油方法也一樣,但是打奶油要輕點,不然會飛濺!
3加入色拉油混合均勻,色拉油就是無色無味的植物油
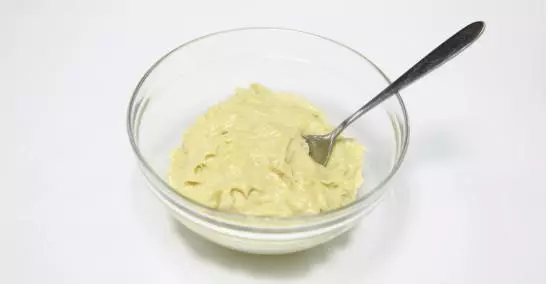
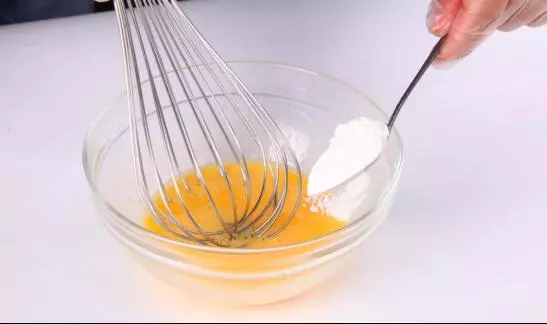
4加入低筋麵粉,拌勻,如果之前雞蛋打到位這步混合起來是不難的!拌勻的時候不用擔心麵粉會起筋,放心大膽拌!
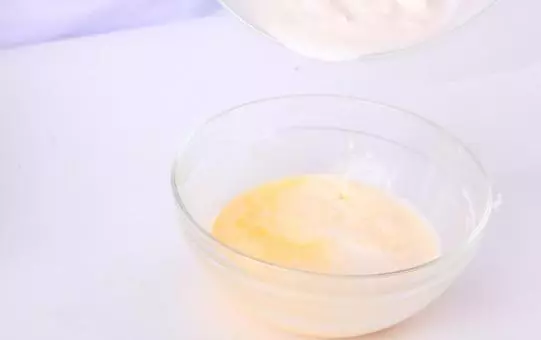
5拌好之後加入牛奶,加了牛奶你就知道為什麼不用擔心麵粉起筋了!混合均勻後過篩一遍!這樣麵糊就完成了,可以開始烙皮了!
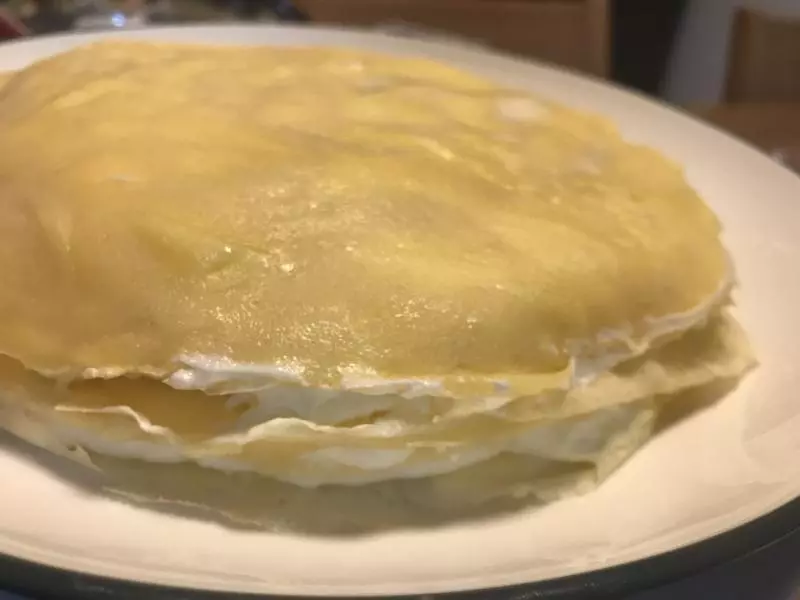
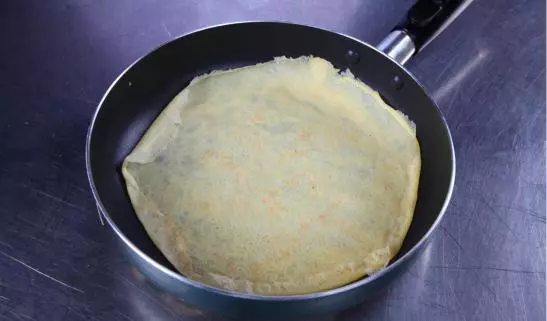
6選擇底部圓形較小的平底不粘鍋,用湯勺舀約30ml麵糊,晃動鍋子攤勻,開小火煎10餘秒,麵皮可脫鍋即可。只需煎單面,如此反覆直到用完麵糊
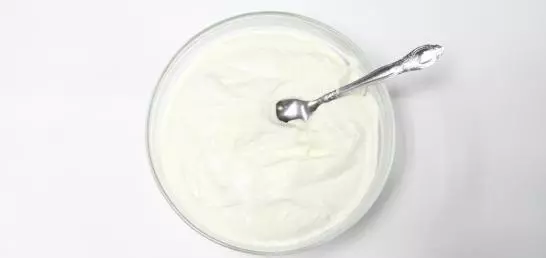
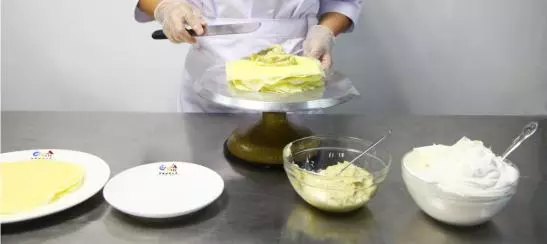
7做完班戟皮可以打發奶油啦! 打發奶油分為4步: 1.白糖一次性都放入較深的無油無水的打蛋盆 2.剛開始是牛奶樣,泡泡很大幾分鐘後變濃,泡泡變小。 3.慢慢初現紋路紋路逐漸清晰,打蛋器行進時感到阻力 4.紋路更加清晰,阻力越來越大,呈現非常清晰的花紋,晃動打蛋盆也不會消失。
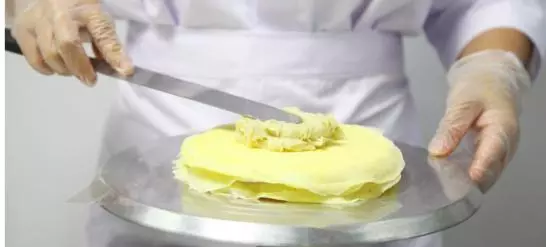
8首先會在蛋糕胚上面抹一層奶油再鋪第一層班戟皮在第一層班戟皮上面抹一層奶油後鋪第二層班戟皮!

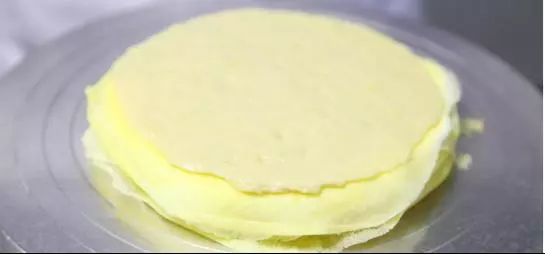
9鋪好第二層班戟皮後我這邊開始抹第一層榴槤果肉
10看著抹好的榴槤果肉,口水都要流出來啦~忍住!目標是完成!
11抹好榴槤果肉鋪第三層班戟皮再抹奶油後鋪第四層班戟皮我們的榴槤果肉再次上場啦!
12抹好榴槤果肉鋪第五層班戟皮後抹奶油
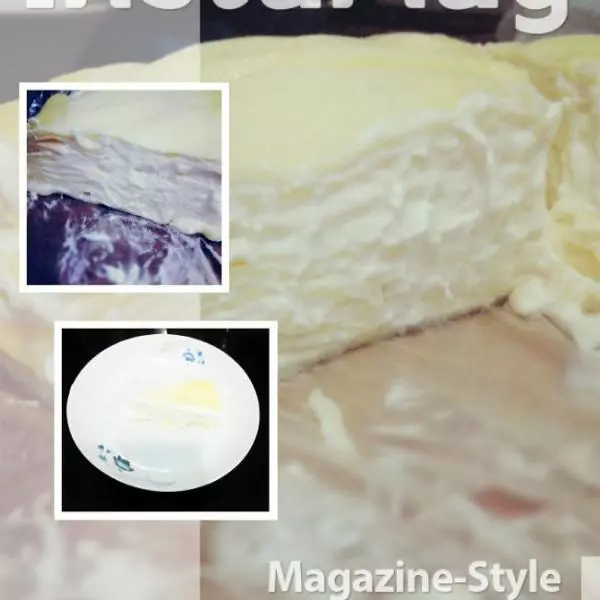
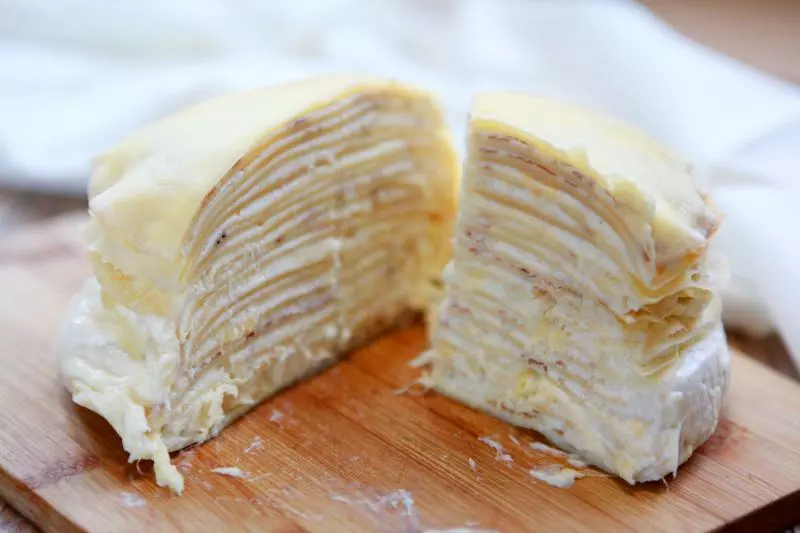
13抹好奶油後鋪第六層班戟皮!登登登我們的榴槤果肉再次上場! 關於榴槤果肉這個量的因人而異,我個人比較喜歡每一口都是濃郁的榴槤香味所以我選擇抹三層榴槤果肉,當然你製作的時候自己也可以適當的加量或者是減量!
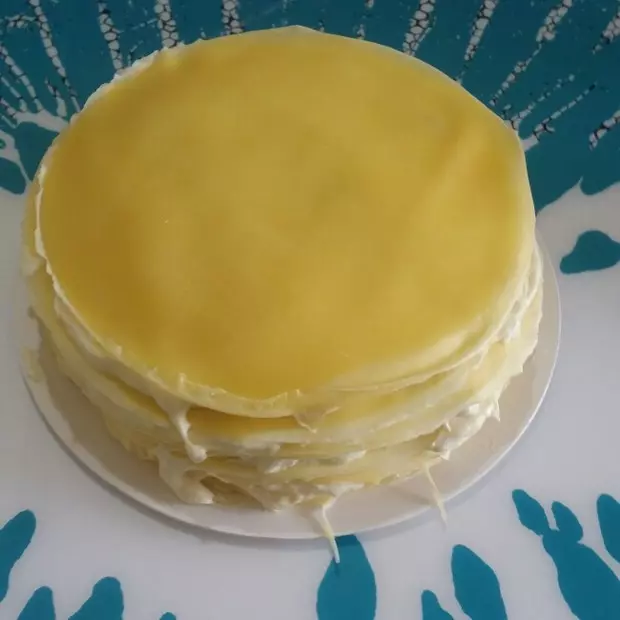
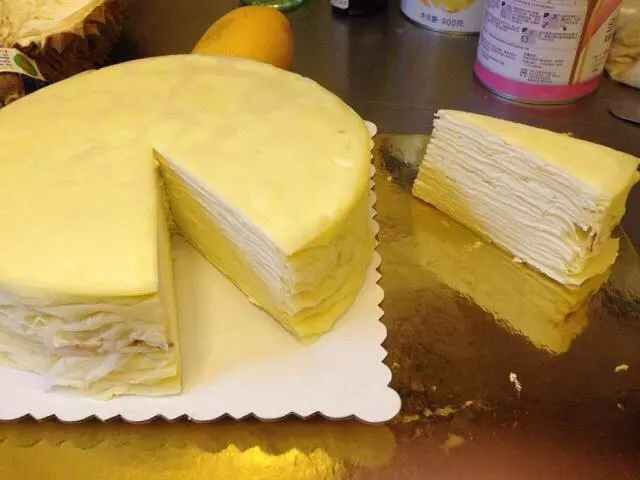
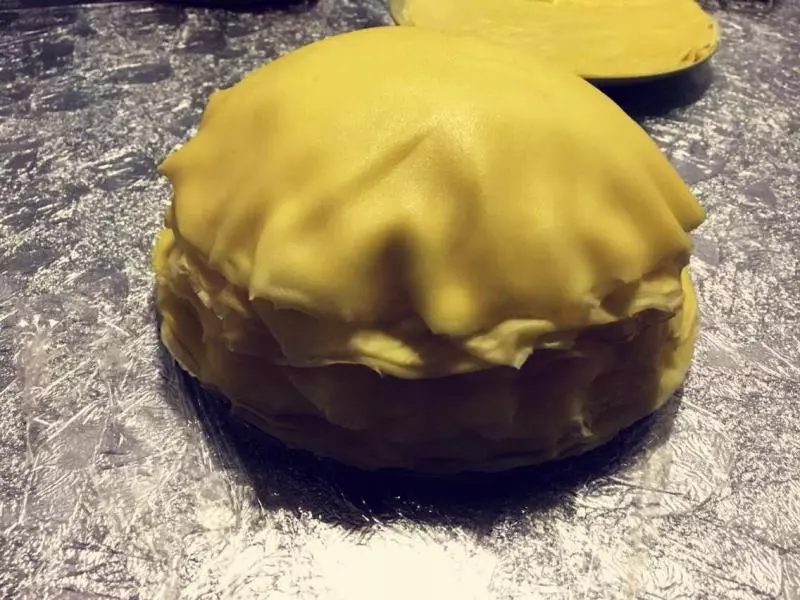
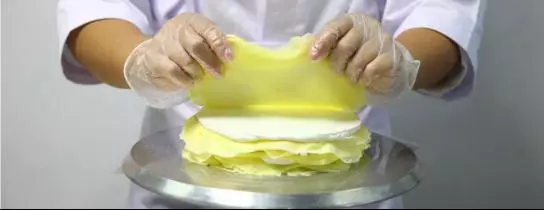
14抹好榴槤果肉鋪上第七層班戟皮後抹上奶油鋪上第八層班戟皮!大部分手工已經完成
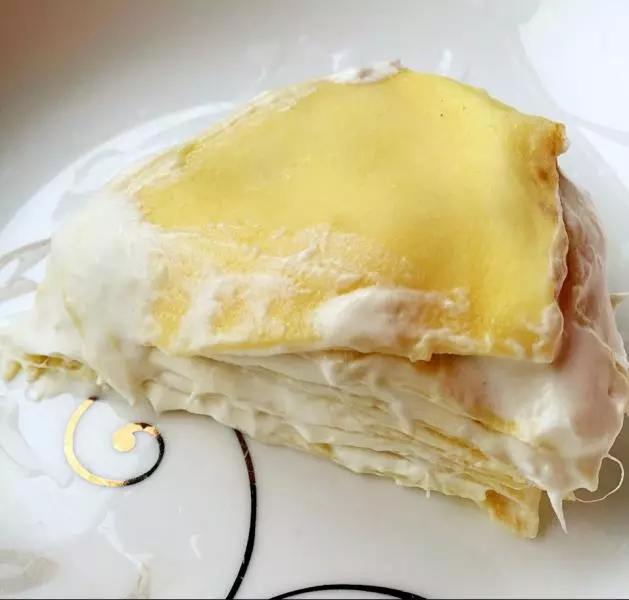
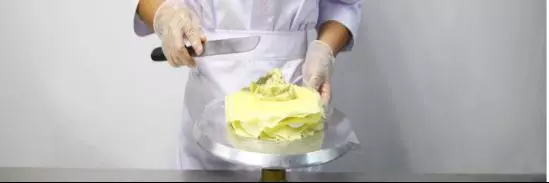
15現在我們可以拿剪刀修剪一下多餘出來的班戟皮

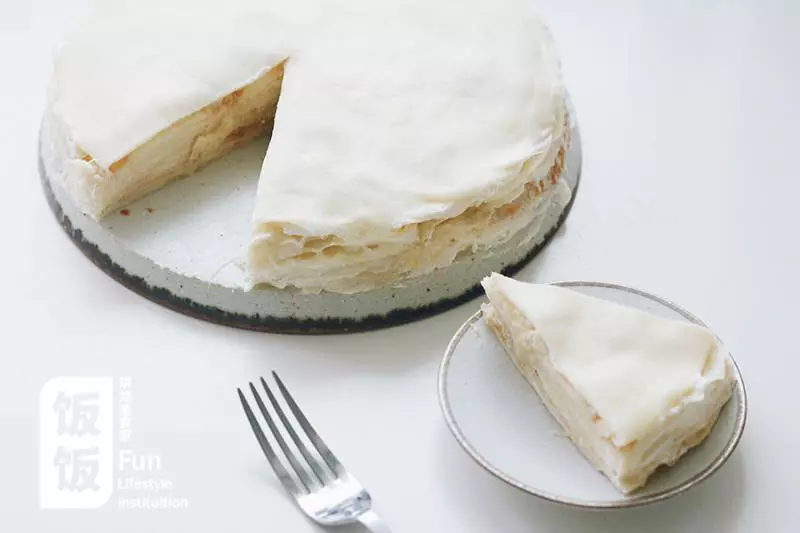
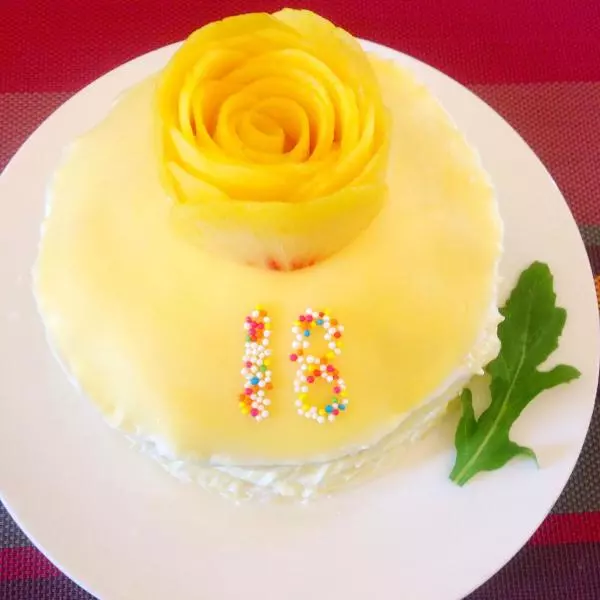
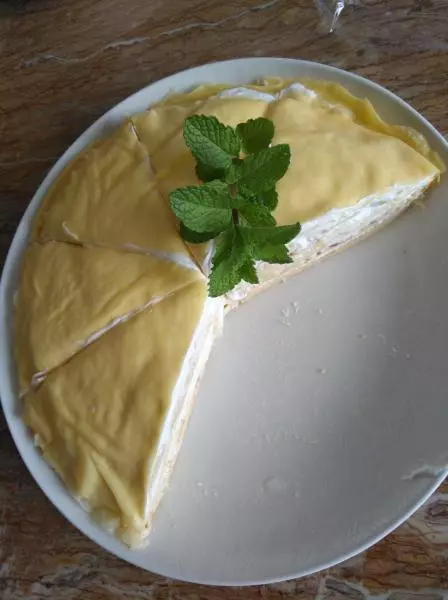
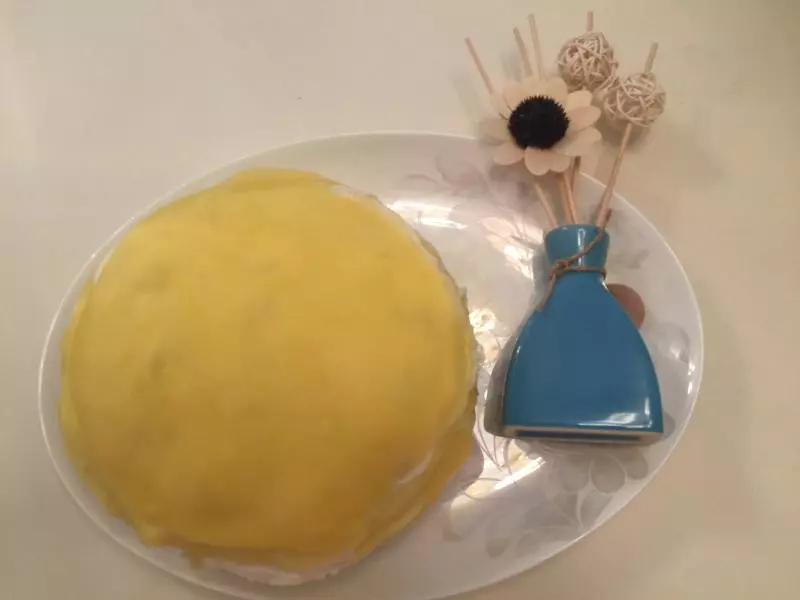
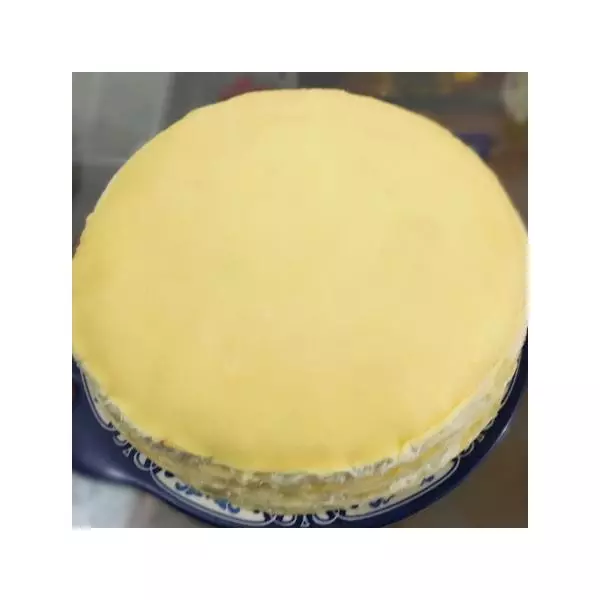
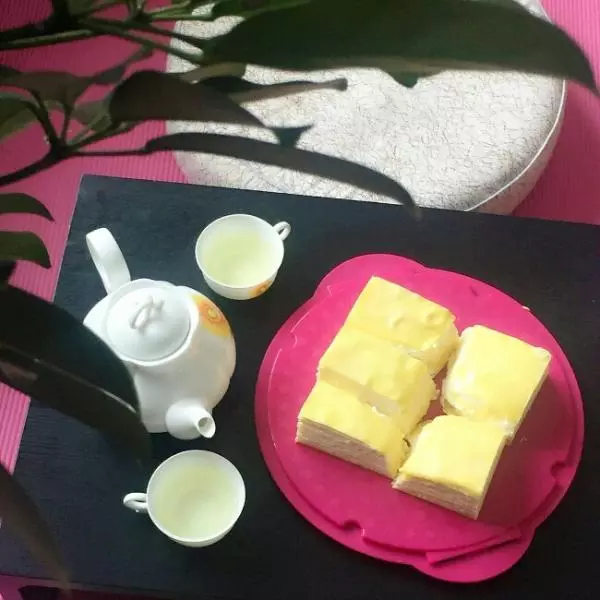
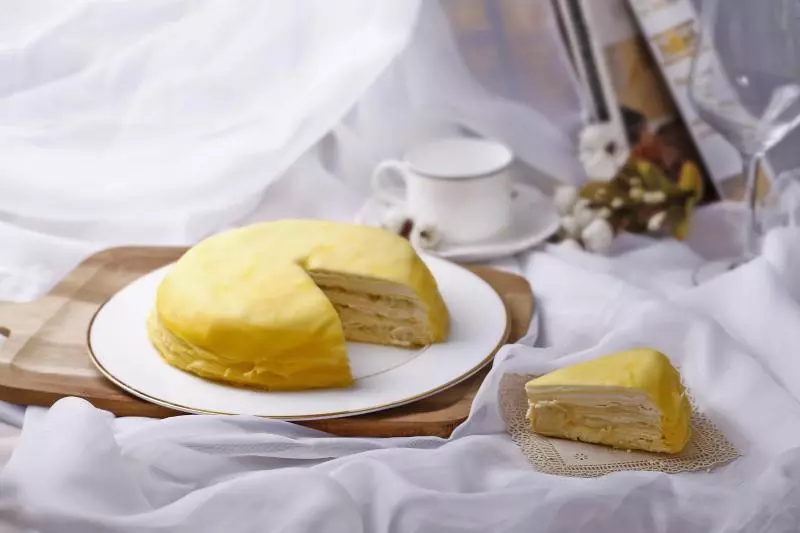
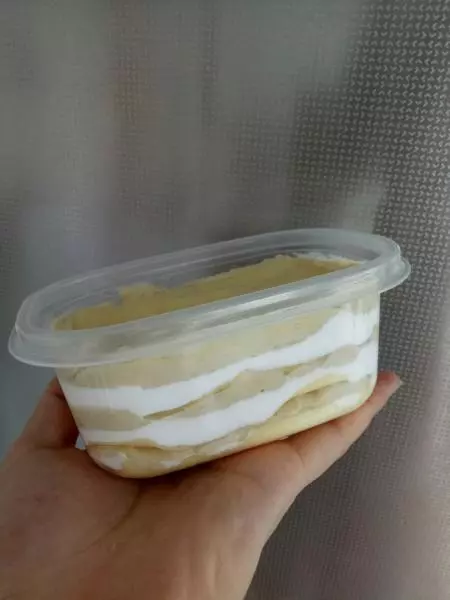
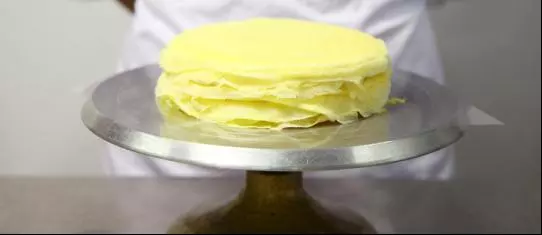
16完成啦!溫馨提醒:做好之後最好不要馬上吃,因為奶油溫室放置時間有點長,需要放回冰箱冷藏定型,否則會不好切!
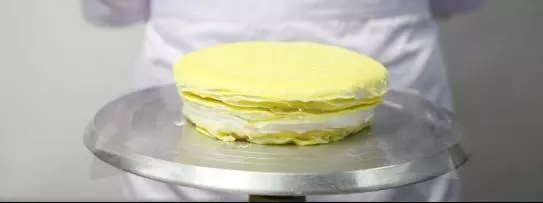
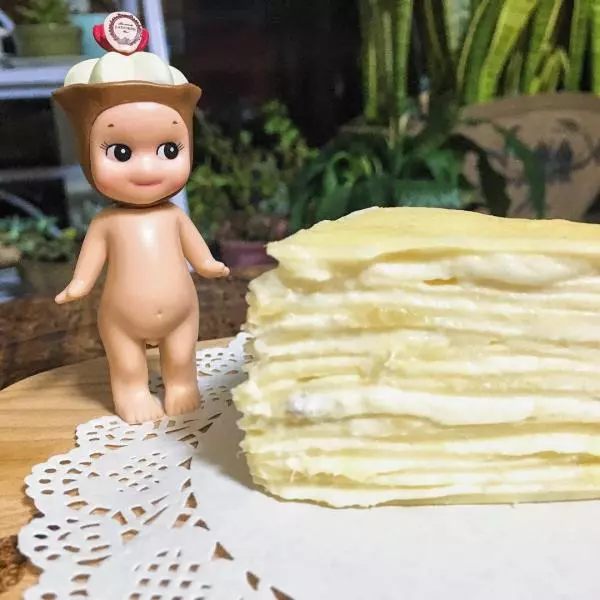
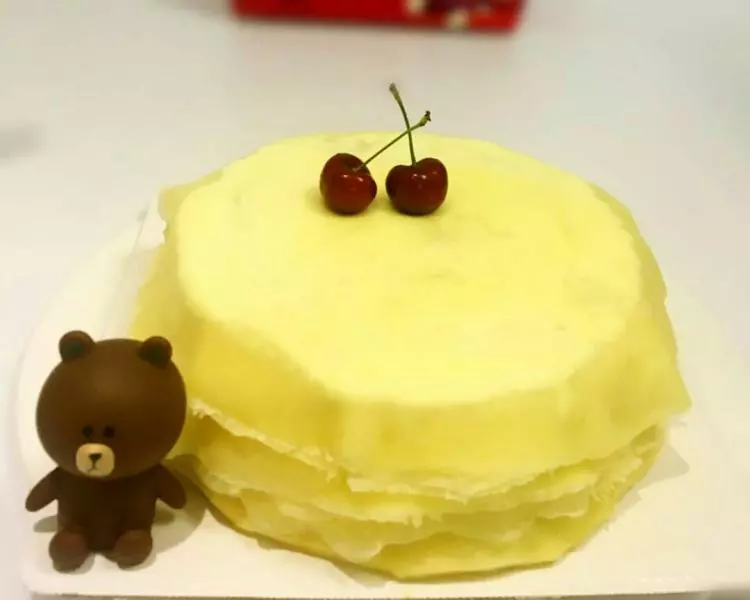
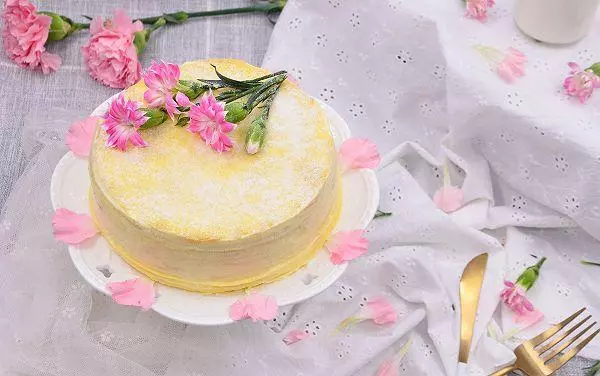
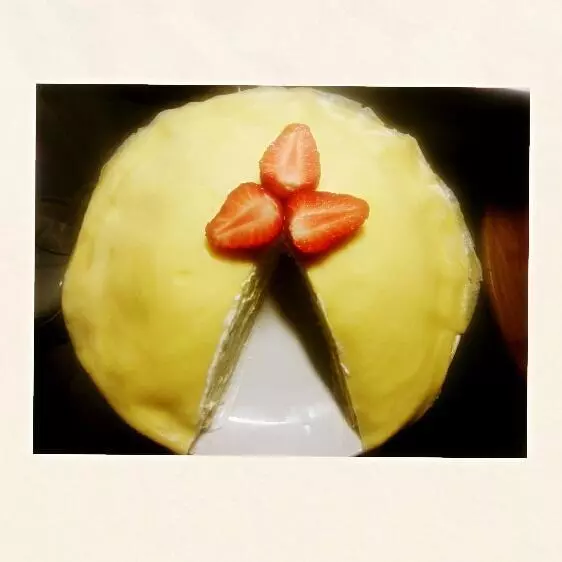
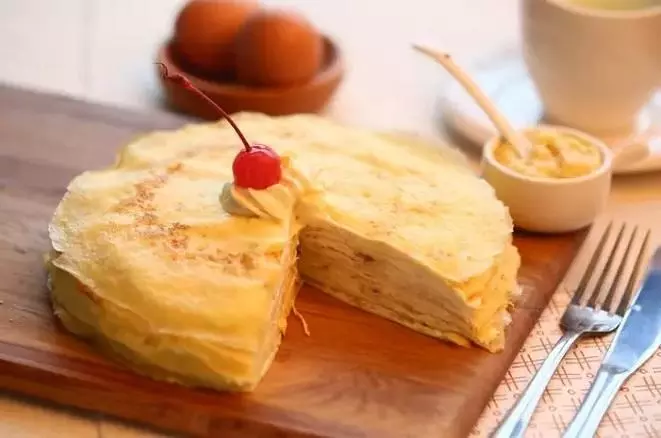
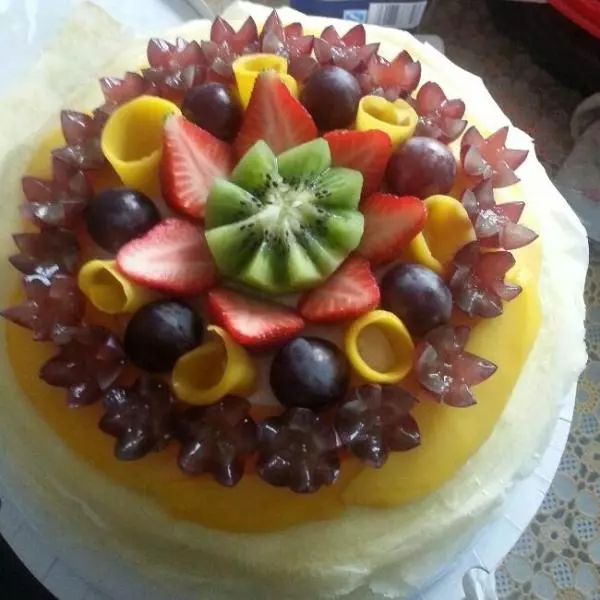
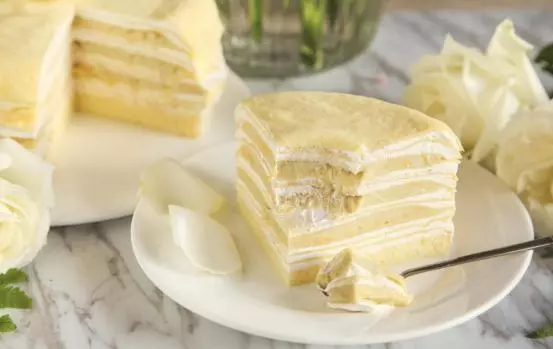
17現在就是美美的擺盤開動啦!