原料
鸡蛋: 1个, 牛奶: 50ml, 炼乳: 一小勺, 细砂糖: 10g, 全蛋: 1个, 雀巢淡奶油: 125ml, 蛋挞皮: 6只
步骤
1蛋挞皮提前化冻。

2牛奶、淡奶油、细砂糖、炼乳倒入量杯中混合,隔水搅拌至砂糖融化。

3一只全蛋手动搅匀,用筛子过筛两遍至无泡沫。再过筛倒入上一步的奶油溶液中,轻柔搅拌均匀。挞水制作完成✅

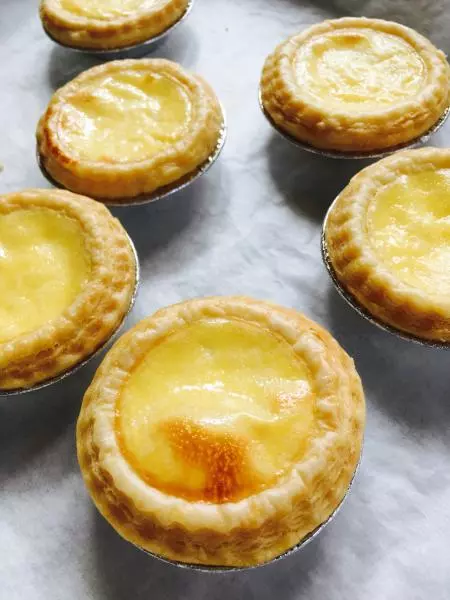
4蛋挞皮放在烤盘上,用量杯将挞水倒入至九分满。

5烤箱210度预热十分钟。

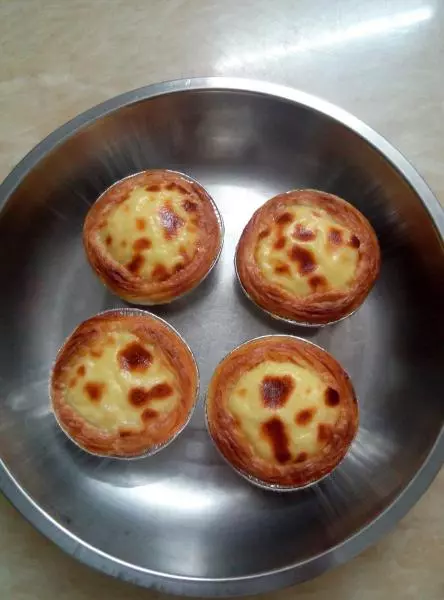
6上火210度,下火220度,中下层烤制20分钟。然后下火再单独烤5分钟。这么做避免上面烤焦,但底部却软软的。

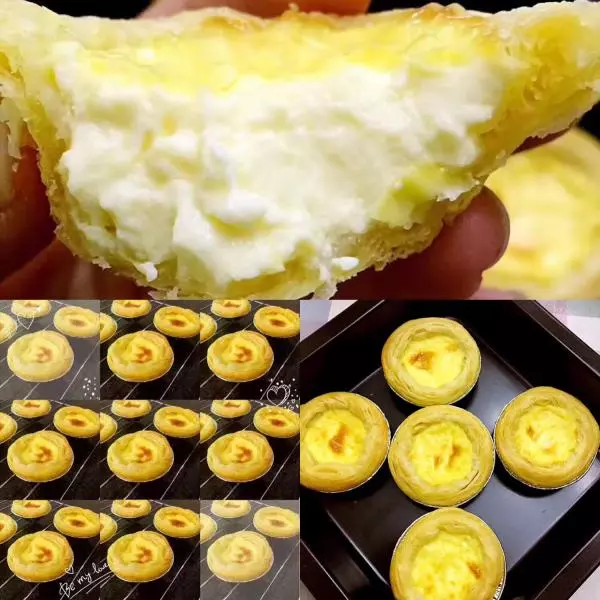
7每个烤箱温度不同,随时观察斑点上色情况,避免蛋挞顶部烤焦。

8这个配方甜度不高,喜欢甜的可以加上草莓酱一起吃哦 也相当美味!

9嫩滑满分!?

小技巧
- 最好用细砂糖,要充分溶解。 2. 蛋液过筛越好,蛋挞越细腻。 3. 烤制过程中要随时注意斑点上色情况,不要拘泥于时间。 4. 蛋挞烤好后放凉一段时间再吃,口感更好哦 5. 我用的是维德蛋挞皮,口感酥脆无酸味,推荐。