原料
6吋圆模: 1个, A。乳酪面糊: , 奶油奶酪: 100克, 无盐黄油: 20克, 细砂糖: 15克, 牛奶: 85克, 蛋黄: 2粒, 玉米淀粉: 10克, 低筋面粉: 22克, 抹茶粉/绿茶粉: 5克, B。蛋白: , 蛋白: 2个, 柠檬汁: 1/2茶匙, 细砂糖: 40克
步骤
1事前准备: 模具扫油然后铺上烘焙纸备用 蛋白和蛋黄分开 奶油奶酪切小块回温 蛋白打至湿性发泡备用
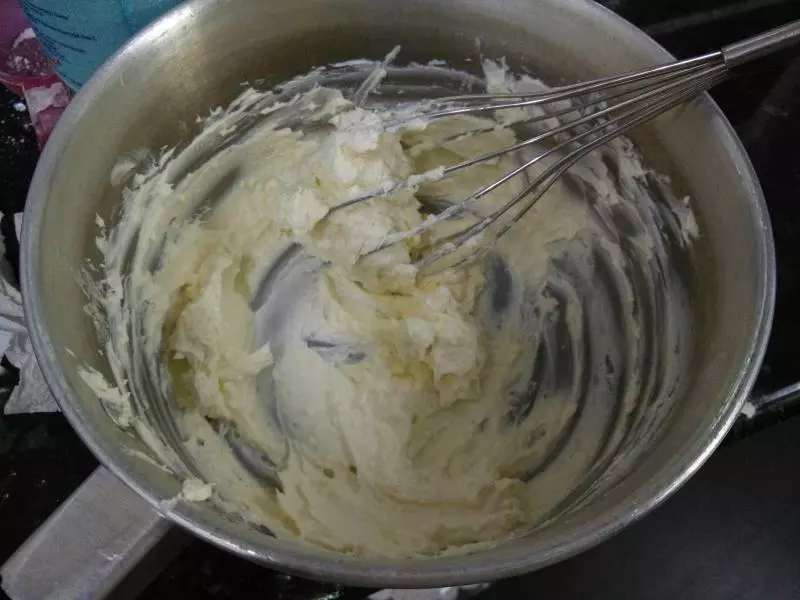
2奶油奶酪拌均成乳霜状
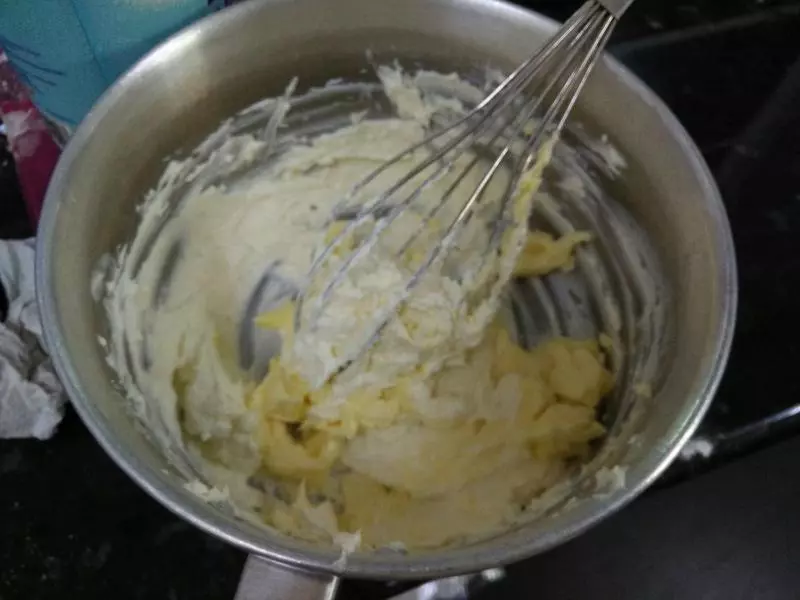
3加入黄油混合均匀,再加入细砂糖拌均
4加入牛奶混合均匀
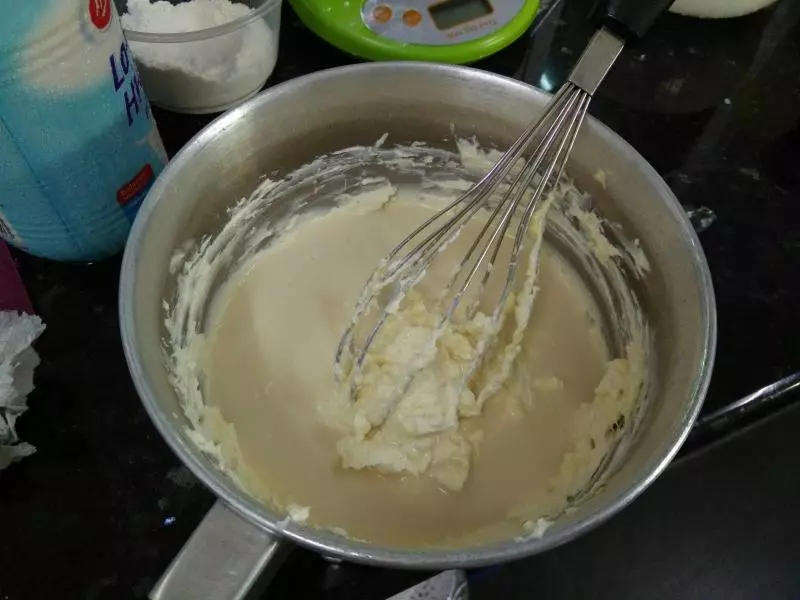
5加入牛奶混合均匀后加温至约50度C关火(不需要沸腾)
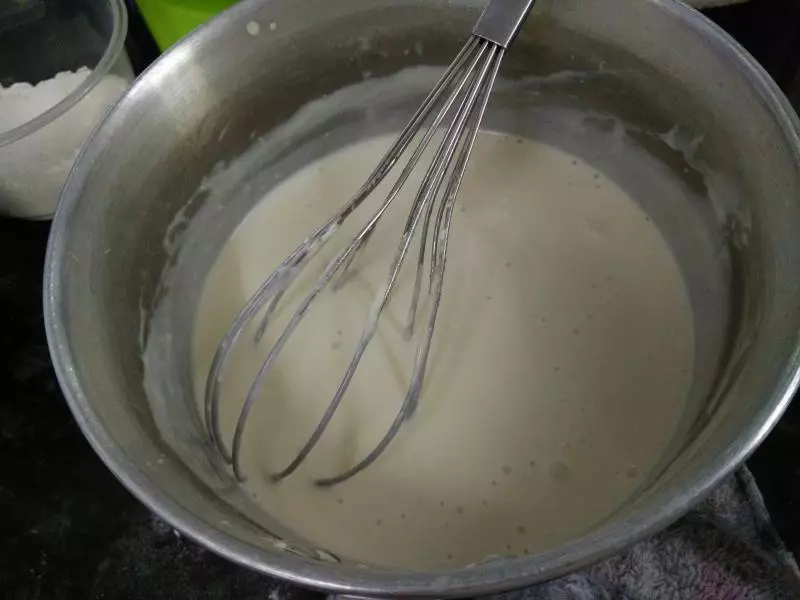
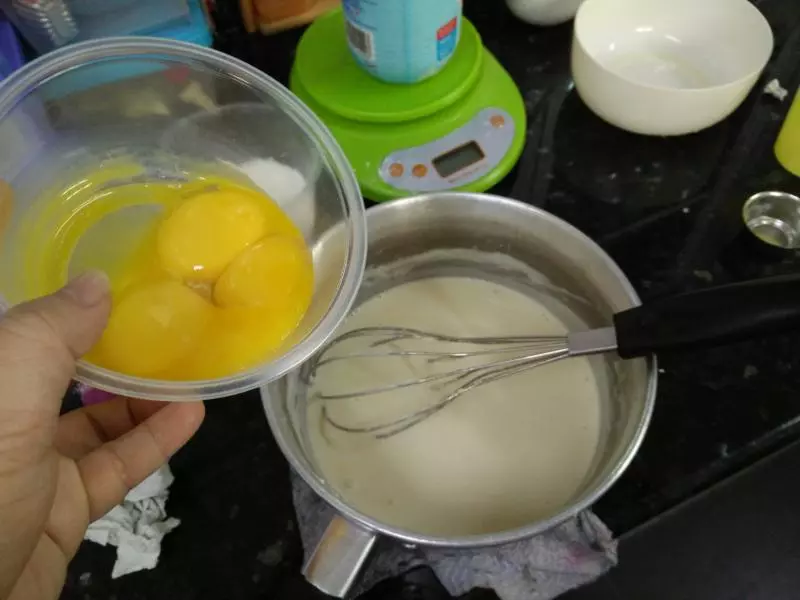
6加入蛋黄混合均匀
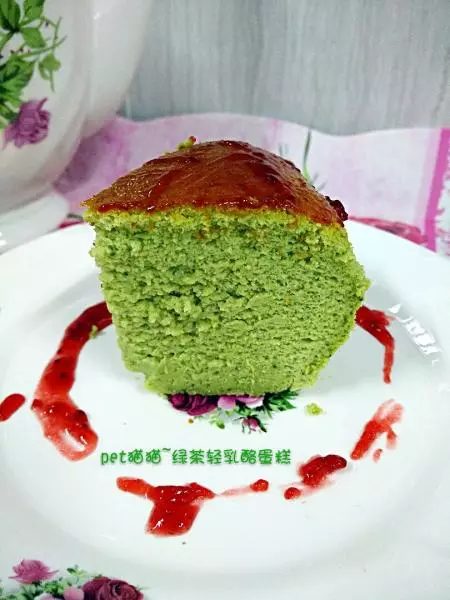
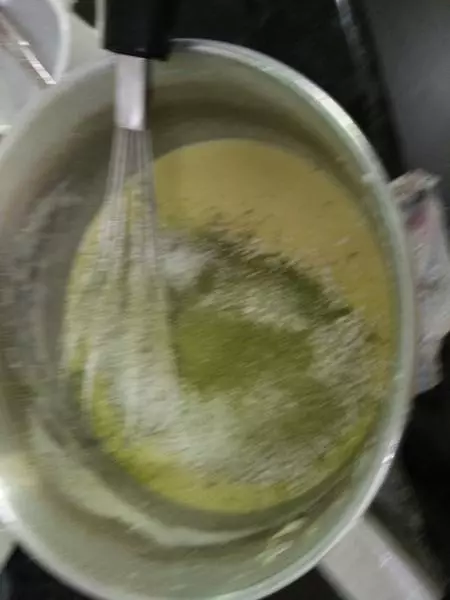
7再加入筛过的绿茶粉,低筋面粉和玉米淀粉混合均匀
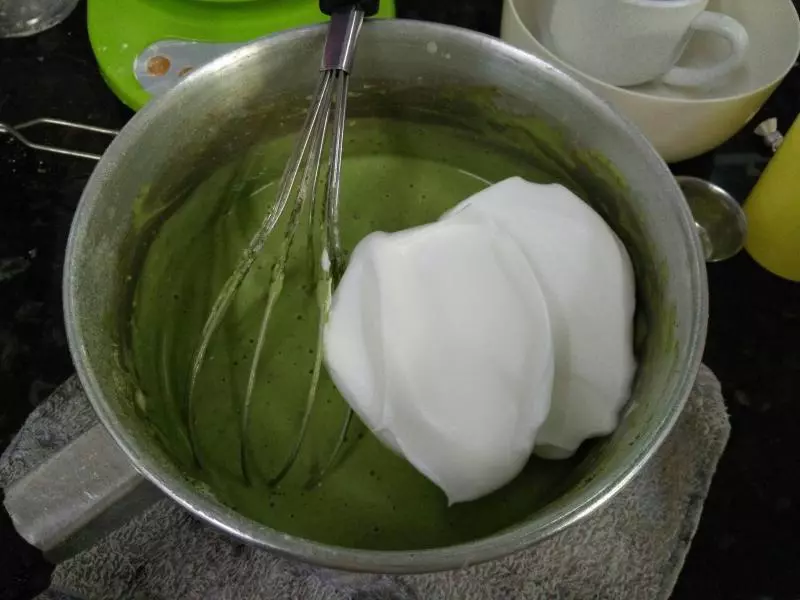
8倒入1/3的蛋白霜拌均
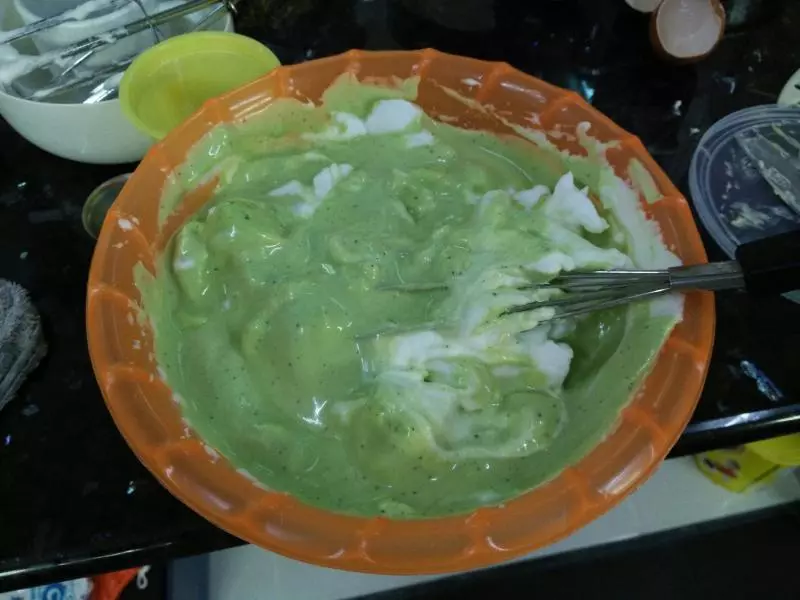
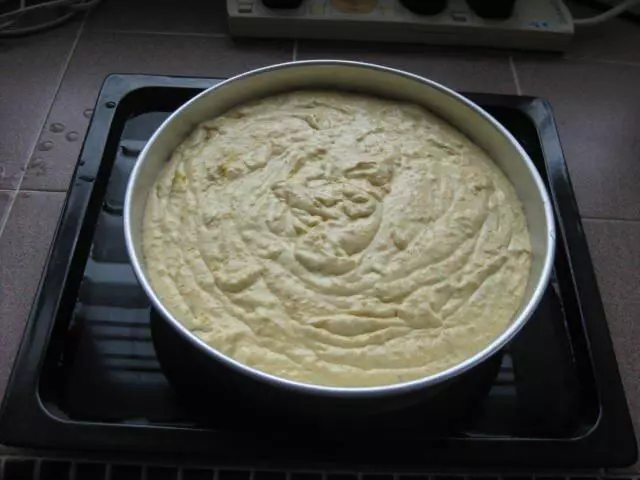
9拌均的(8)倒入其余的蛋白霜轻轻拌均,把面糊倒入铺上烘焙纸的模,在桌上轻敲几下
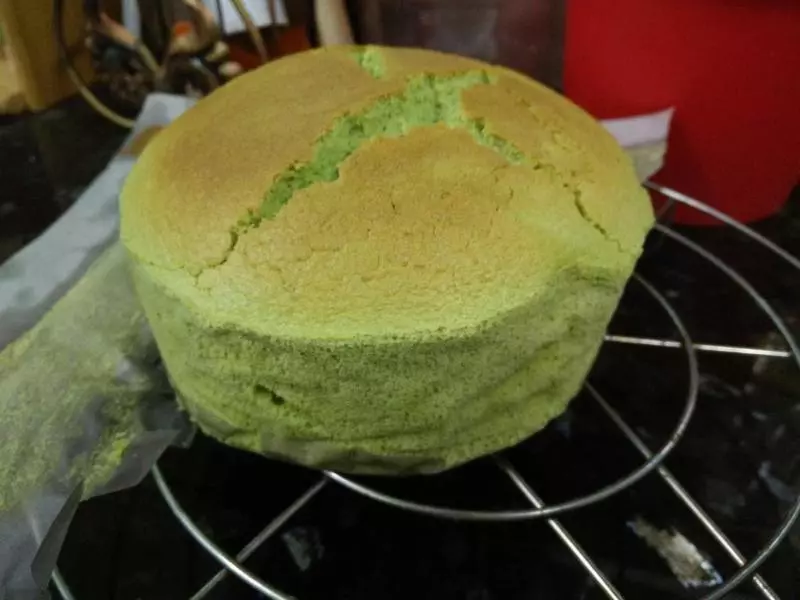
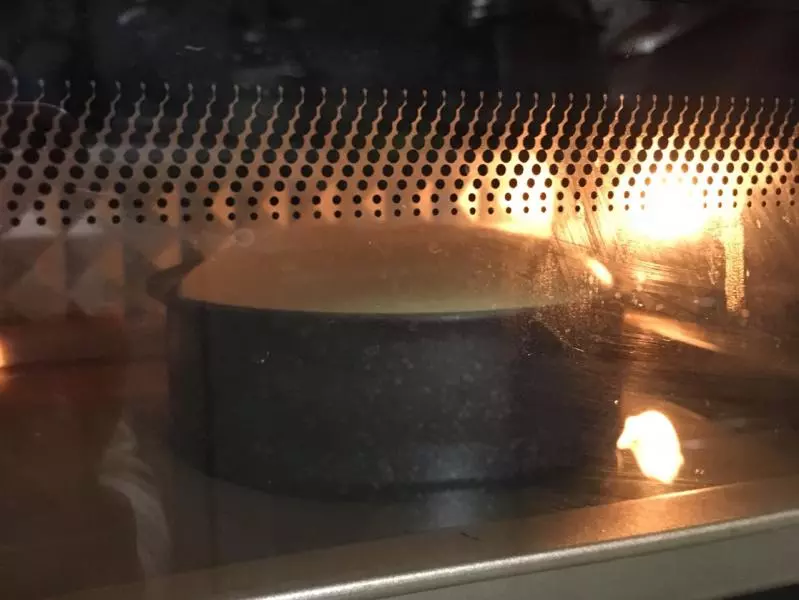
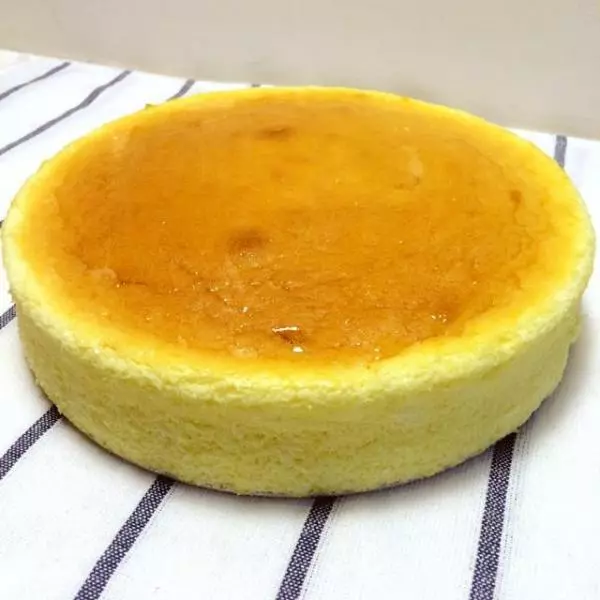
10把面糊放入预热烤箱180度C,以蒸烤法烤15分钟到表面上色,就将温度调到120度C继续烤大约 32-35分钟
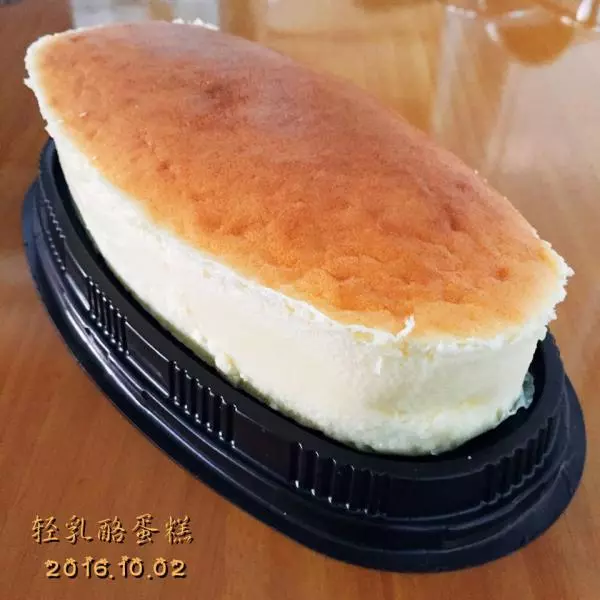
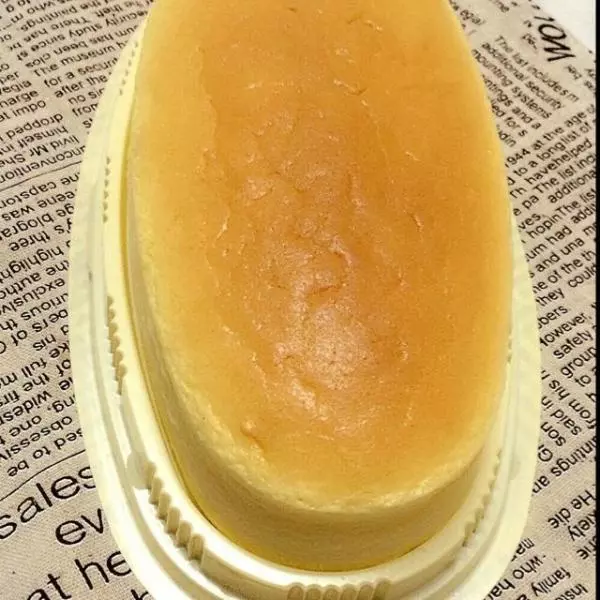
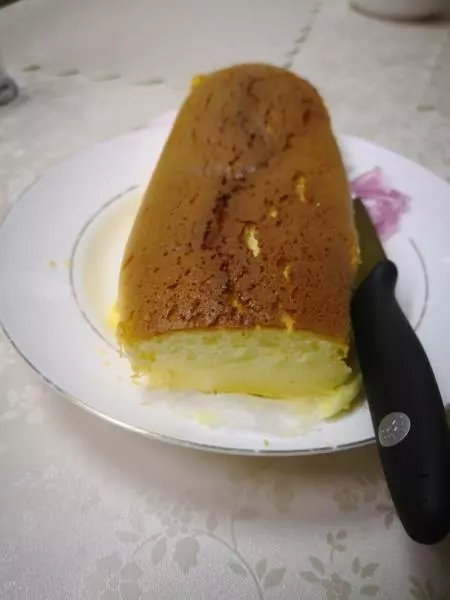
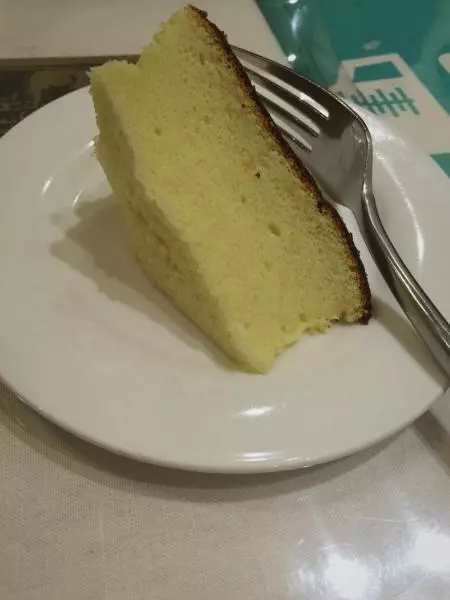
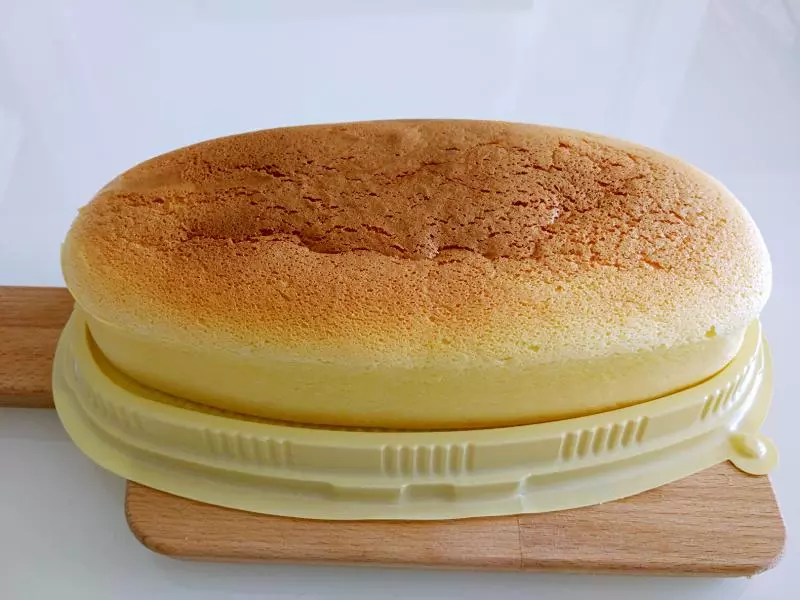
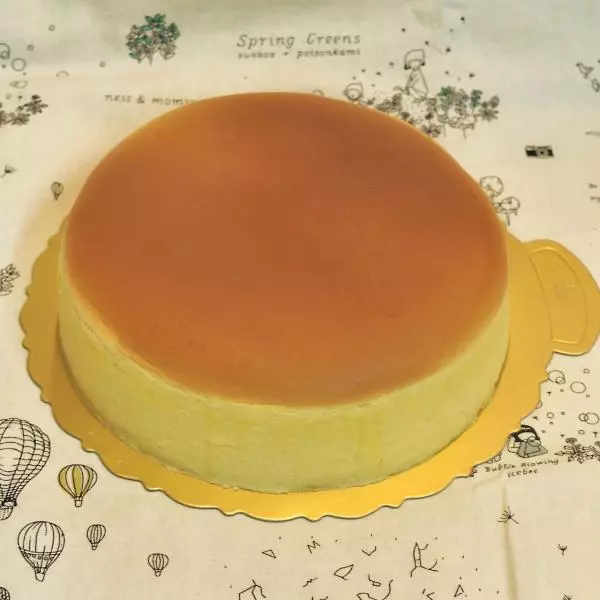
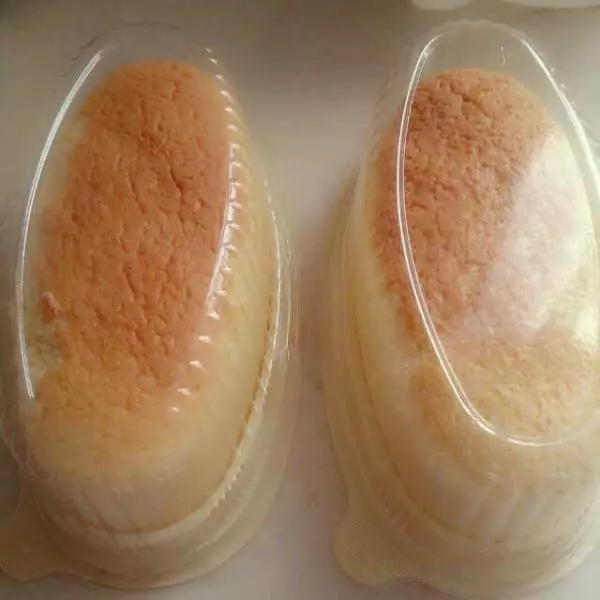
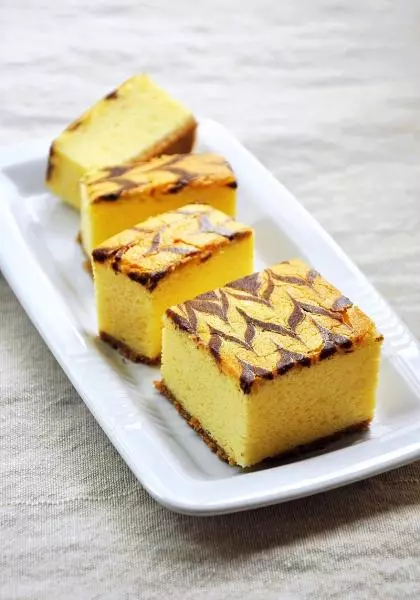
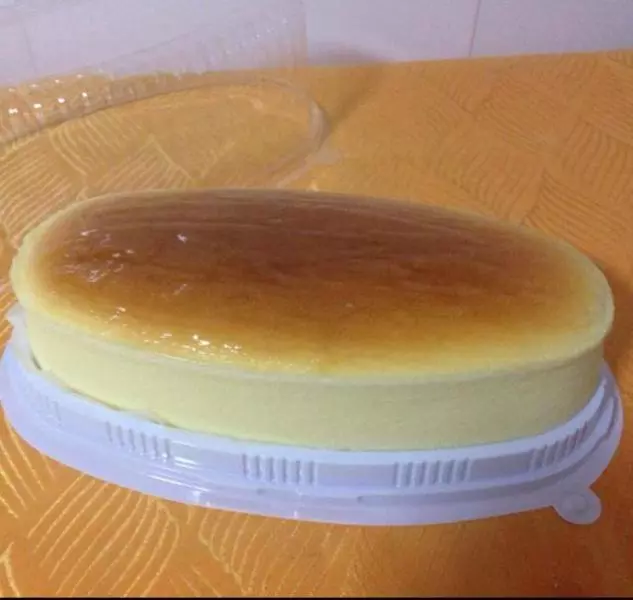
11出炉后把蛋糕移出烤模,撕开纸放至冷却,密封冷藏,冷藏后才吃