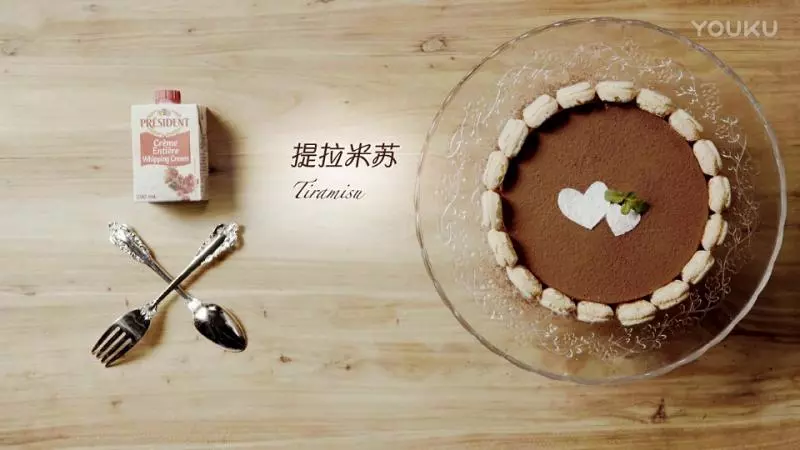
原料
鸡蛋: 1只, 白砂糖: 25g, 低筋面粉: 35g
步骤
1准备好原料,25g白砂糖15g是放入蛋白中,10g是放入蛋黄中,如果你拿捏不准,可以分开称

2蛋白蛋黄分离,打发蛋白,蛋白鱼眼泡状态时加入5g砂糖。

3继续打发,蛋白泡沫变细时加入5g砂糖

4继续打发,蛋白变的非常细腻浓稠,加5g砂糖,然后一直打发到硬性发泡,也就是图中打蛋器上的蛋白是一个短小直立尖角。

5蛋黄加剩余砂糖,用打蛋器搅拌均远,可多搅打一会儿,到蛋黄颜色变浅,烤出来的饼干会更酥松

6把蛋黄放到蛋白中,用刮刀翻拌均匀

7筛入低粉,搅拌均匀

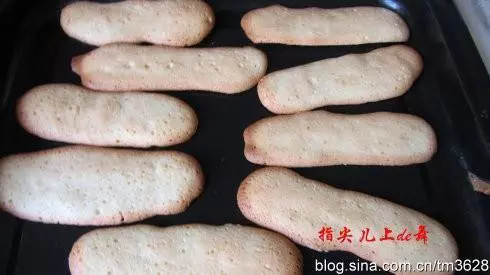
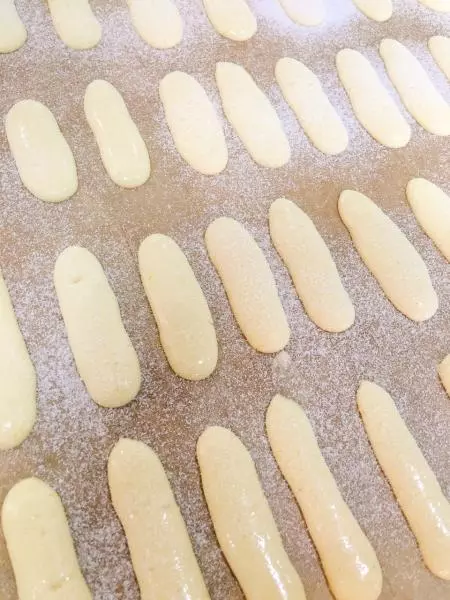
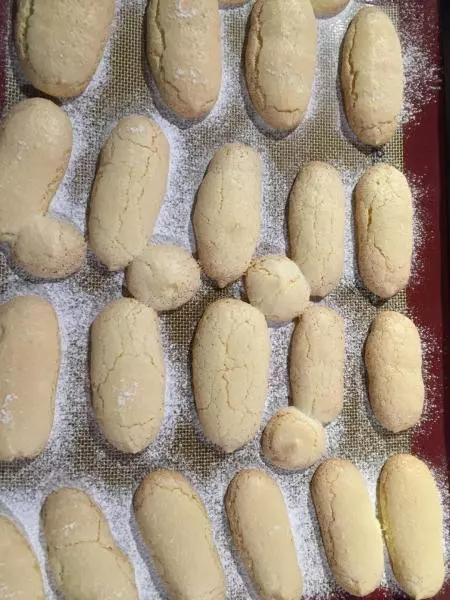
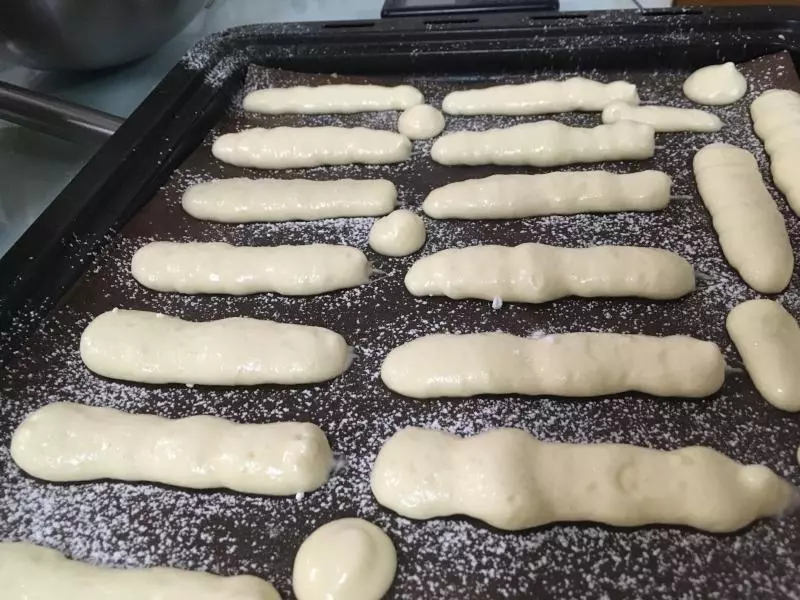
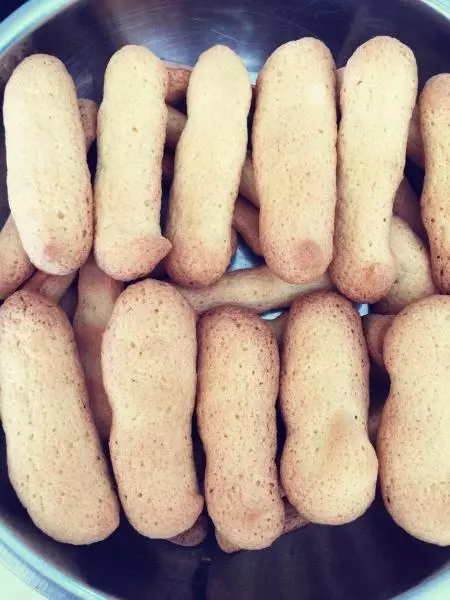
8烤箱预热190度,面糊装入保鲜袋或者裱花袋,如果是保鲜袋就用剪子在边角剪个洞。烤盘垫油纸或锡纸,将面糊挤在油纸上,最后剩了一点舍不得扔,我就挤在了烤盘中间。

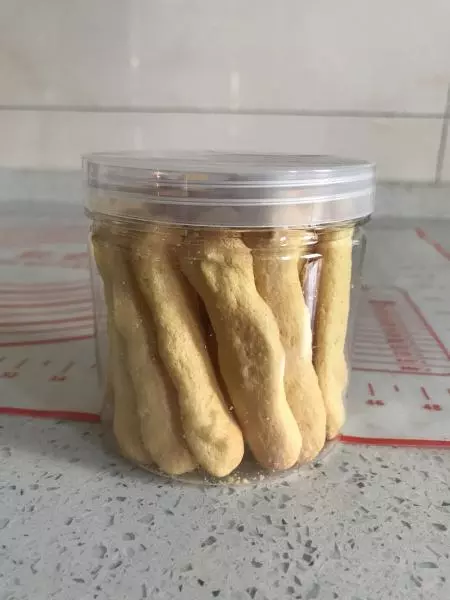
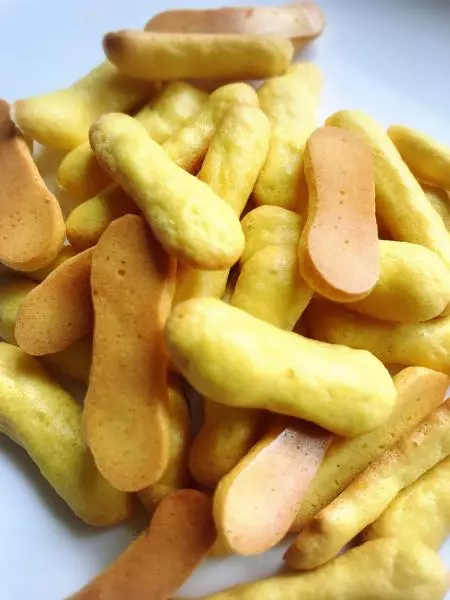
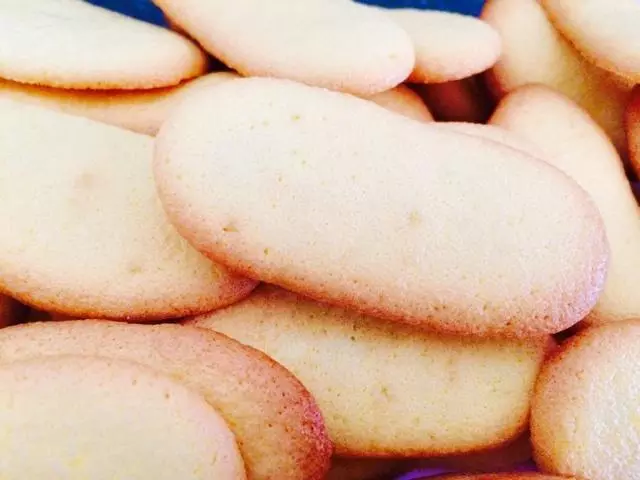
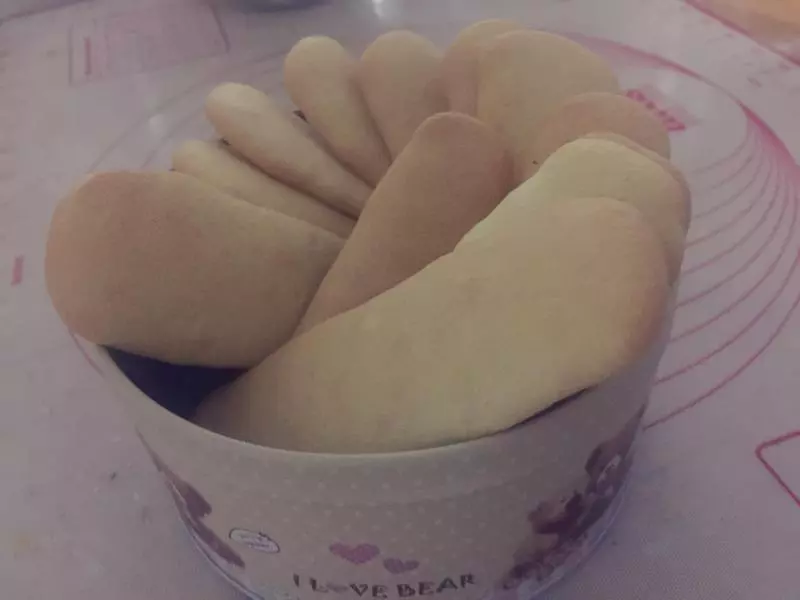
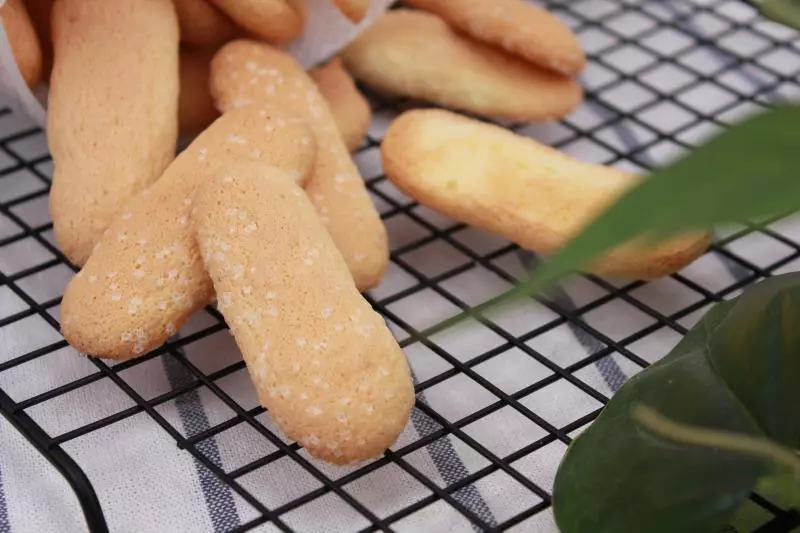
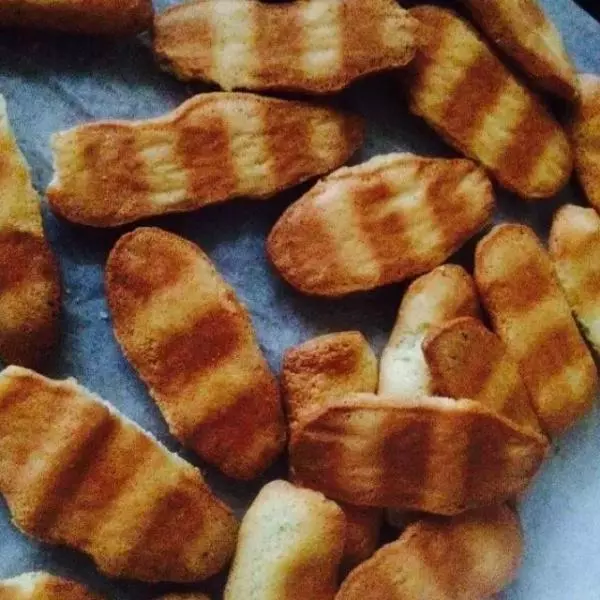
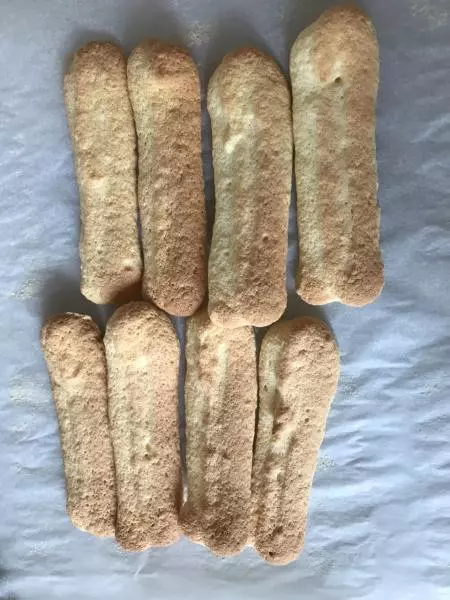
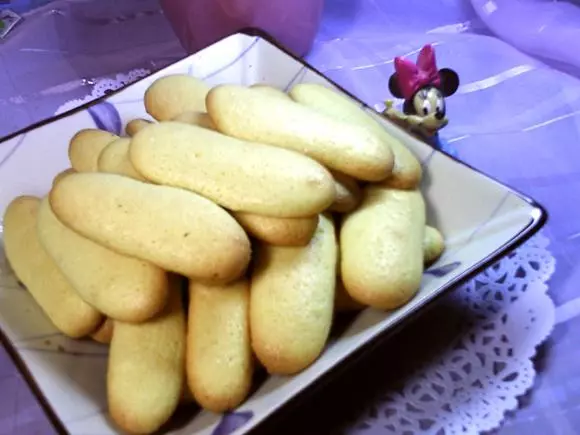
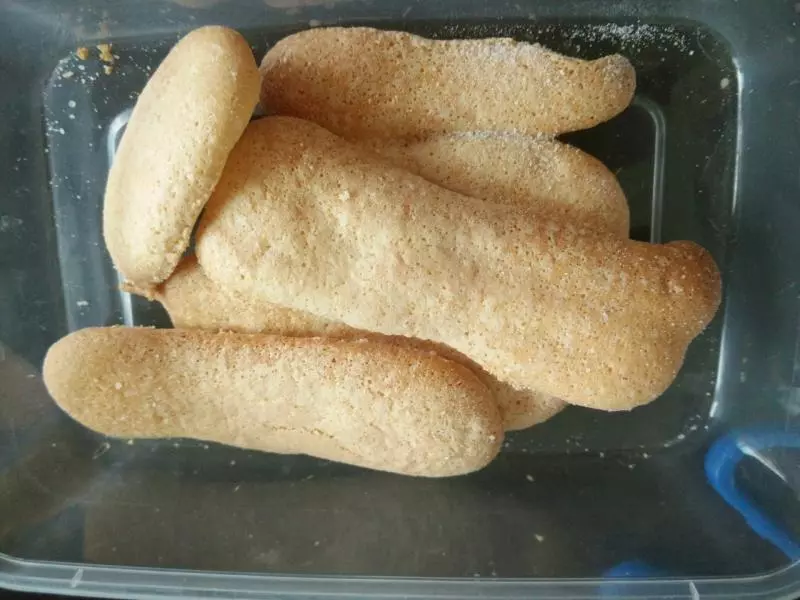
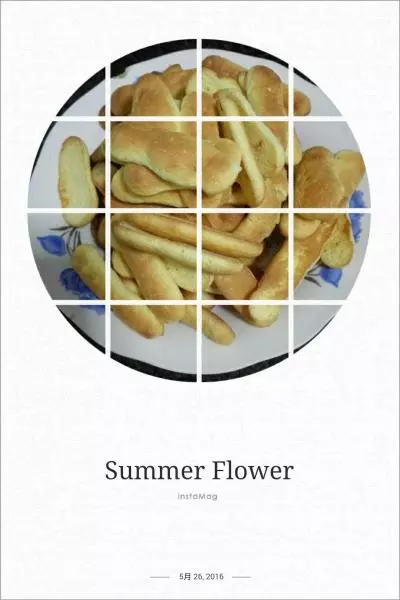
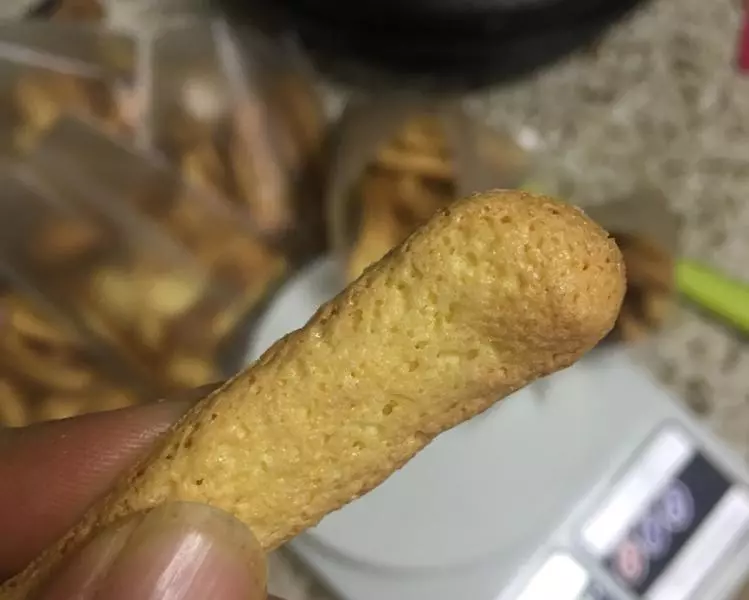
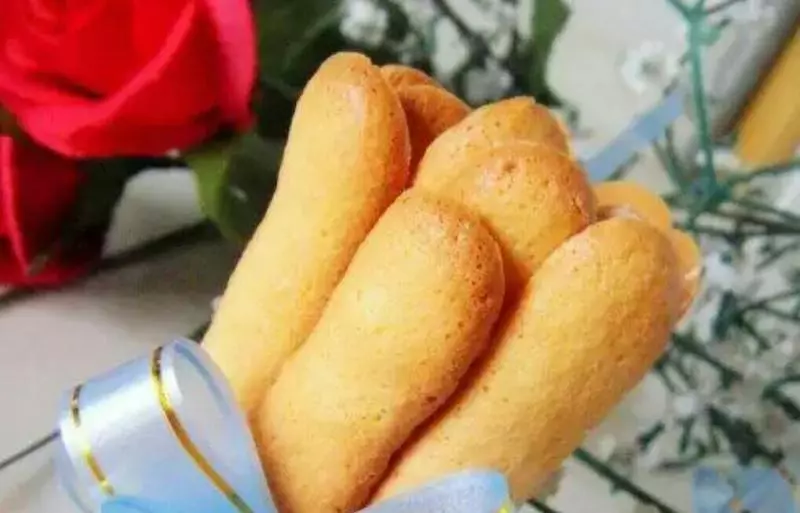
9190度,烤十分钟。晾凉就可以装起来吃啦。

小技巧
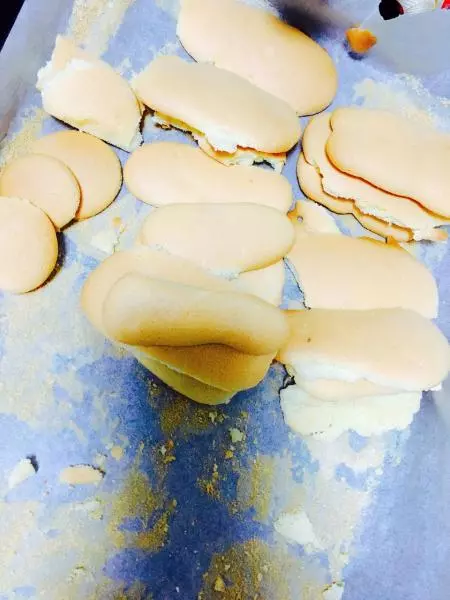
很多手指饼干不打发蛋黄,但是我觉得打发蛋黄会使饼干更酥松哦,很适合给小宝宝吃。