原料
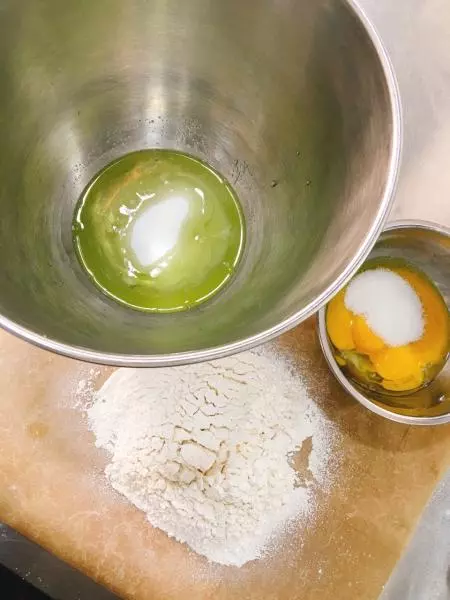
鸡蛋: 4只, 白糖: 120g, 低粉: 130g
步骤
1备好材料 低粉过筛 蛋黄和蛋白分离 蛋白里加入80g糖 蛋黄里加入40g
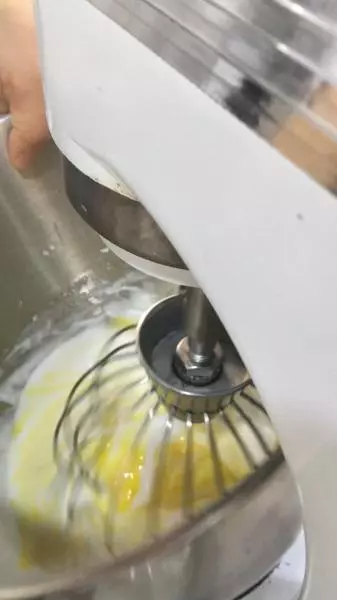
2蛋黄和白糖用手动打蛋器搅至糖溶化备用

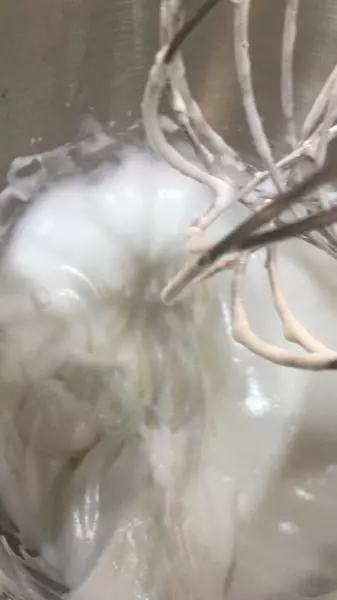
3因为量少 蛋白快速打发至稠状 打蛋头提起滴落有纹路 湿性发泡 6成状态 这样的口感是脆的 如果想要口感软一点 可以多搅拌一会到7成 打蛋头抬起不会滴落 有一个弯的弧度
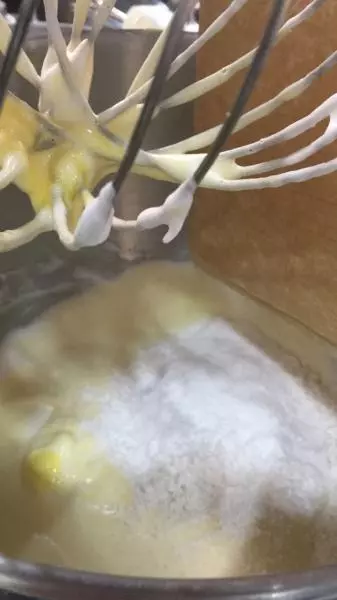
4加入蛋黄慢速搅拌几下 也不要搅拌的很均匀
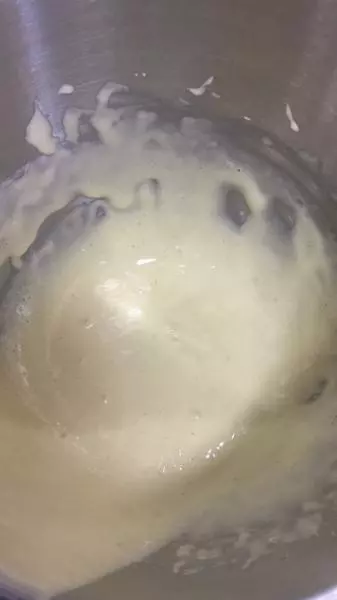
5接着加入低粉 稍微慢速搅拌 然后停机 用打蛋头手动把面糊拌均匀
6搬好的无蛋黄和干粉
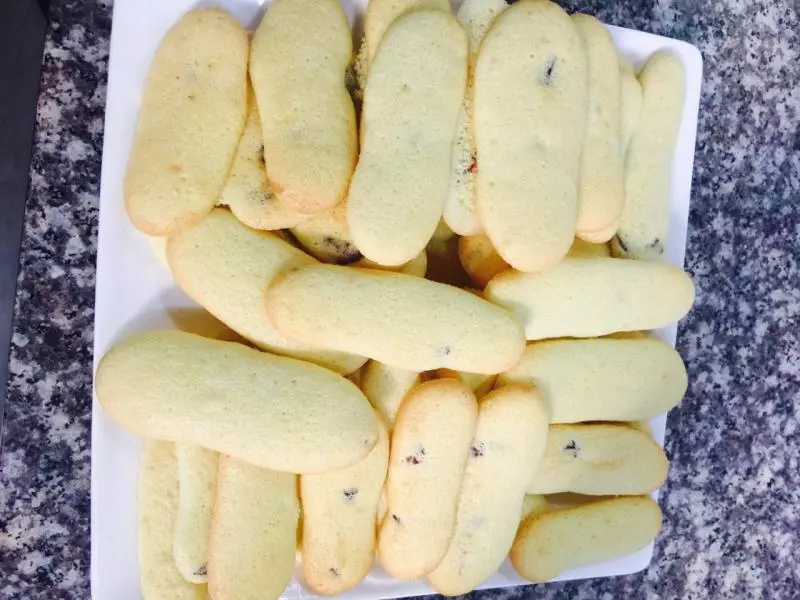
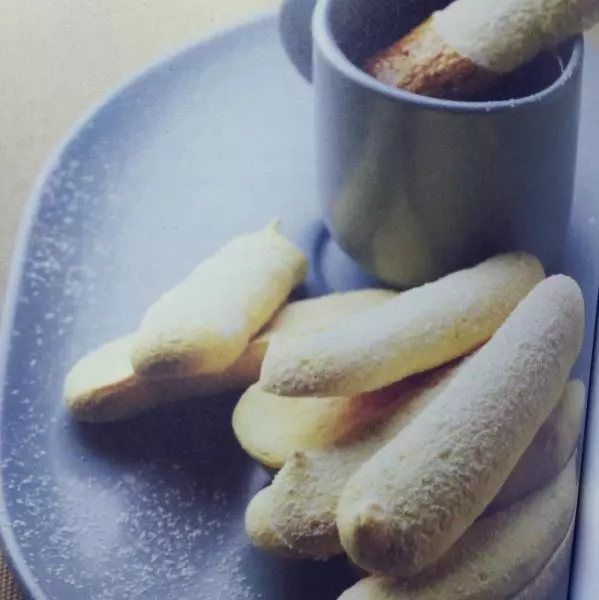
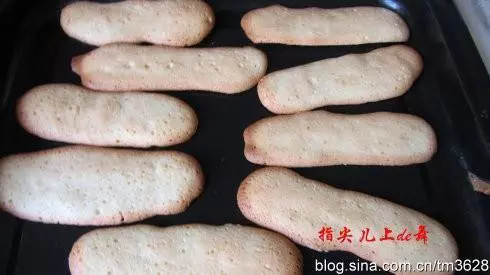
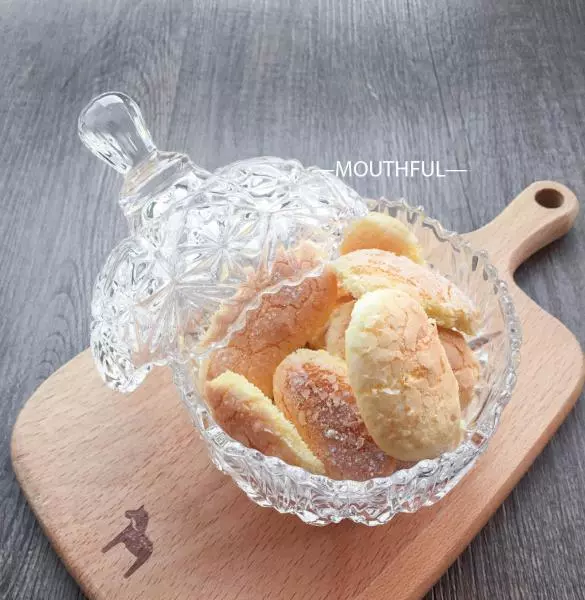
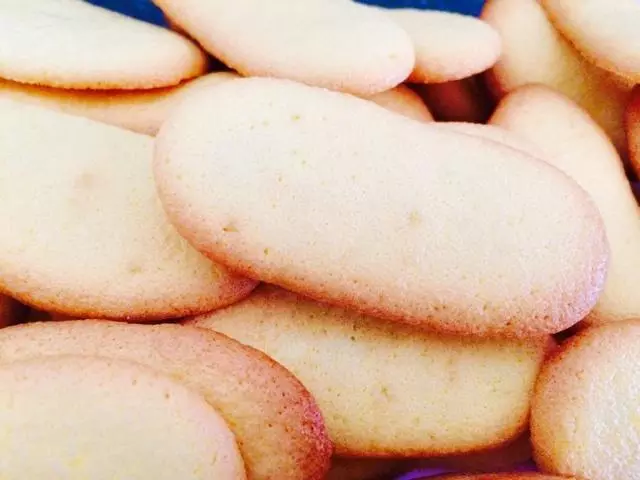
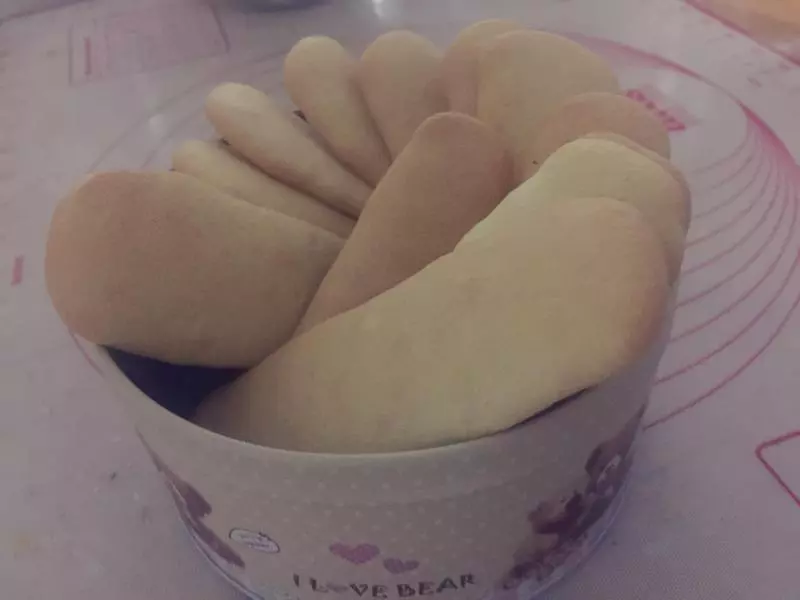
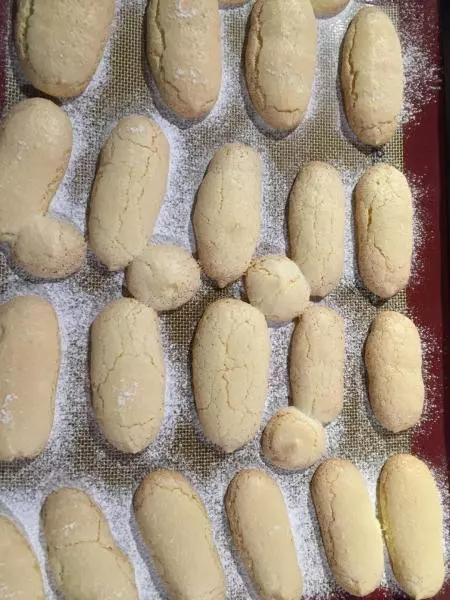
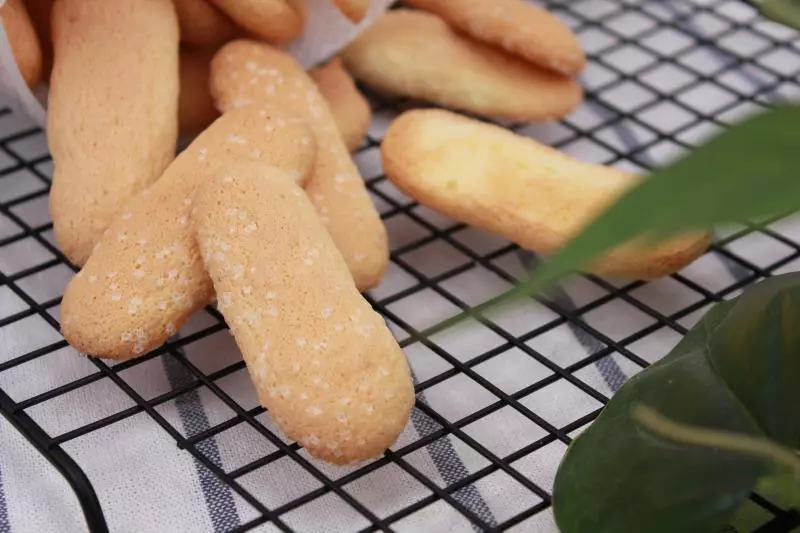
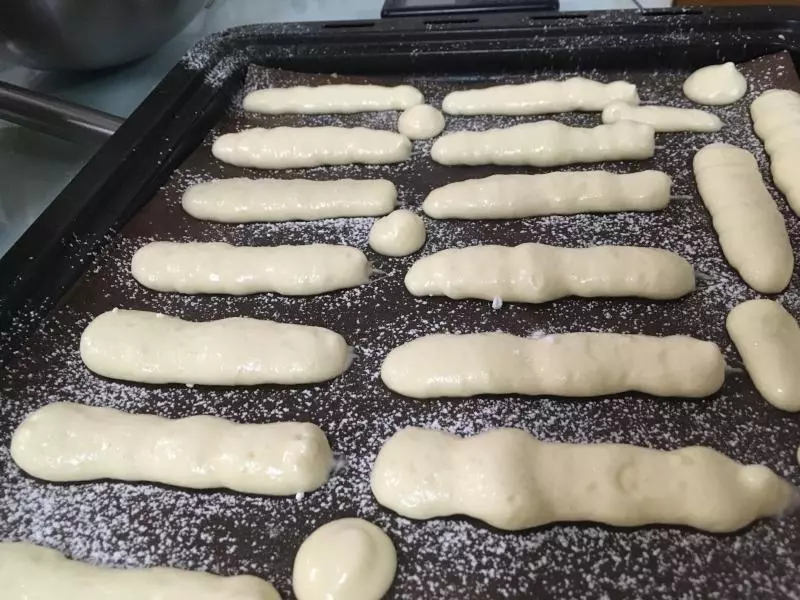
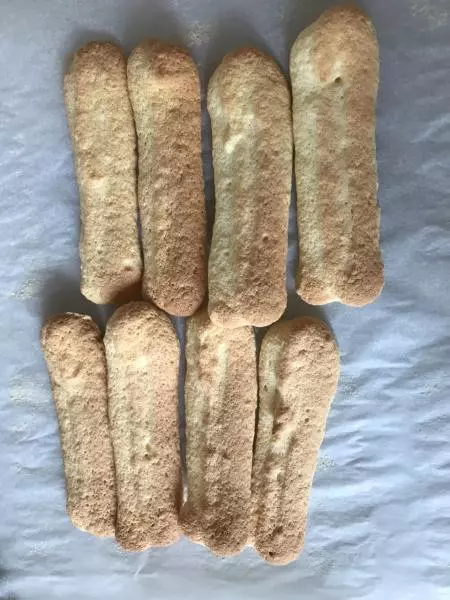
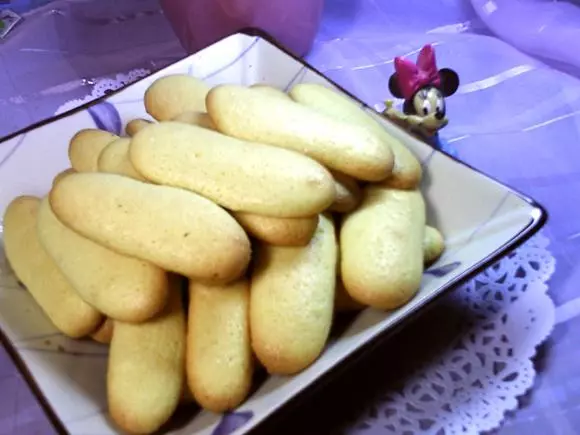
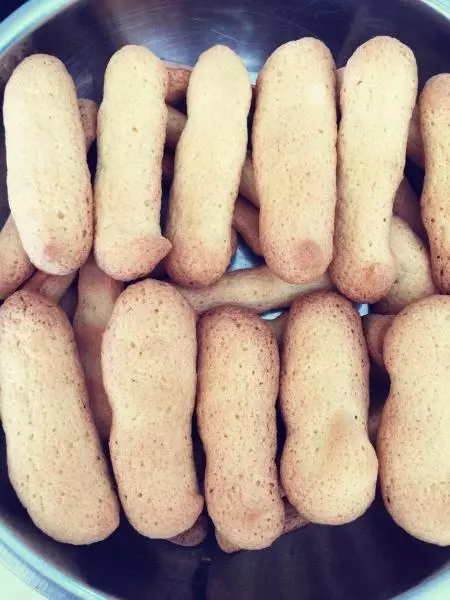
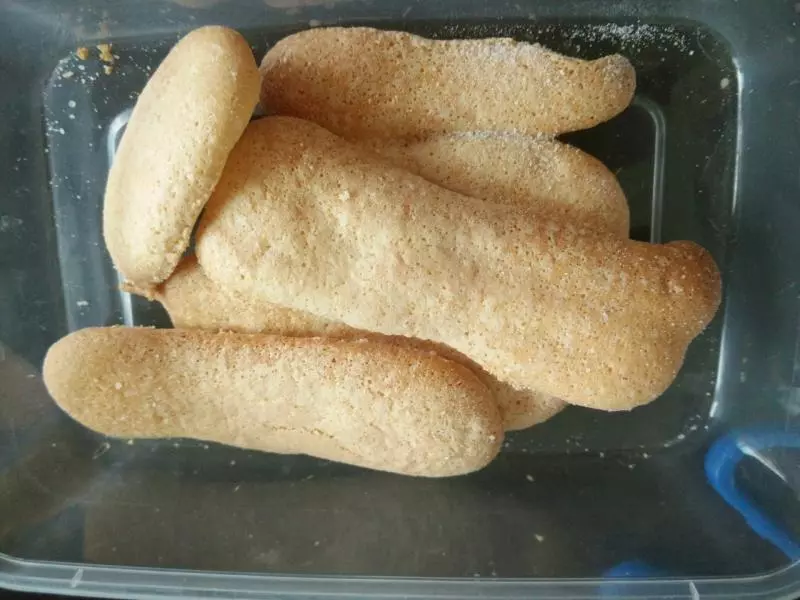
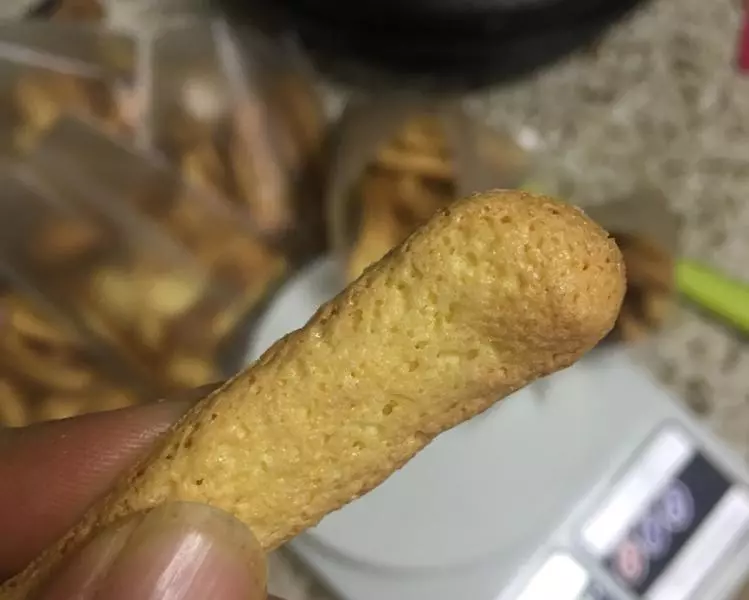
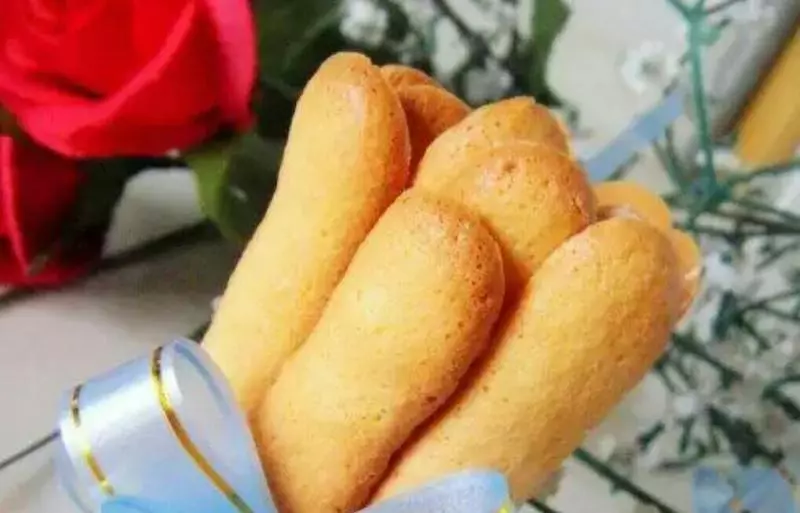
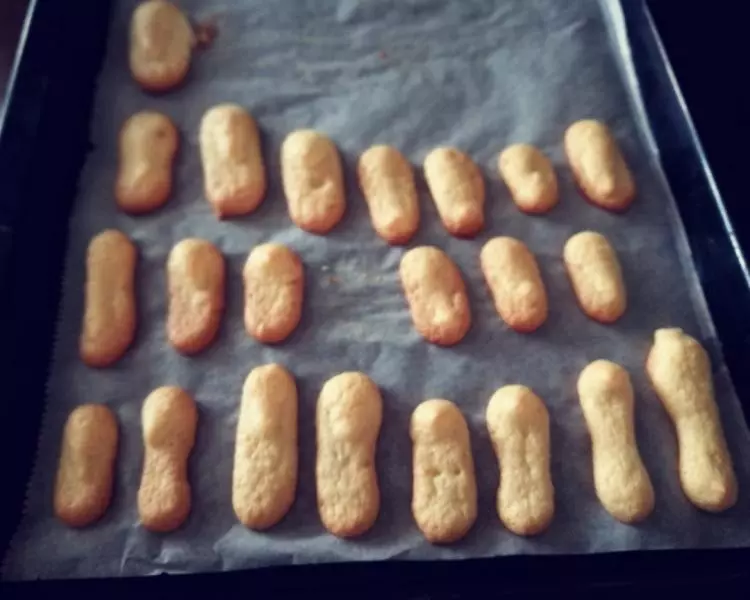
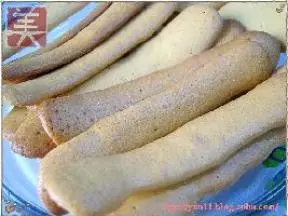
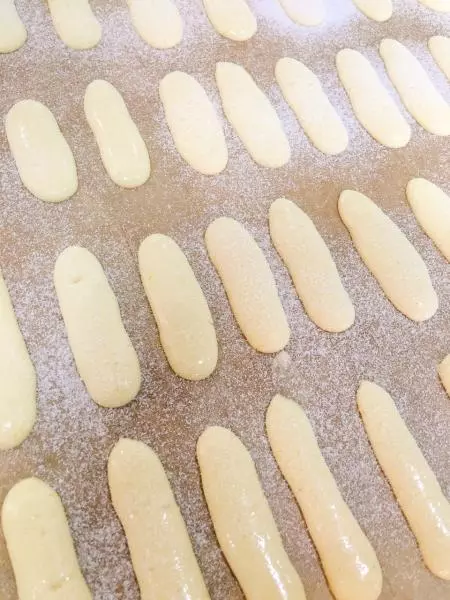
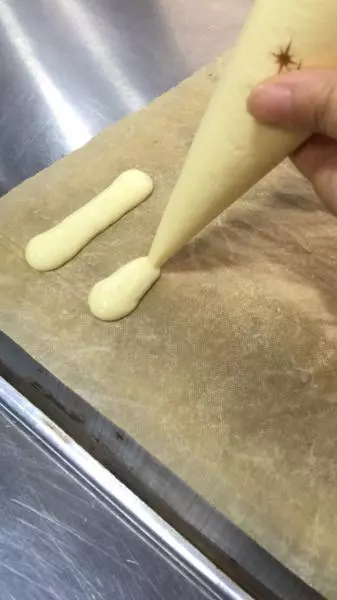
7装入裱花袋 剪5mm的口 挤出手指形状
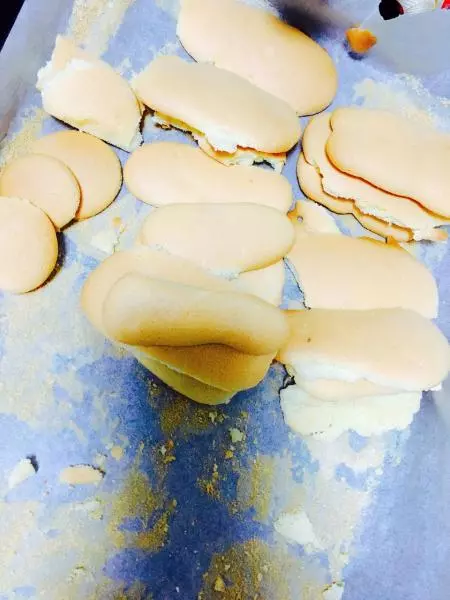
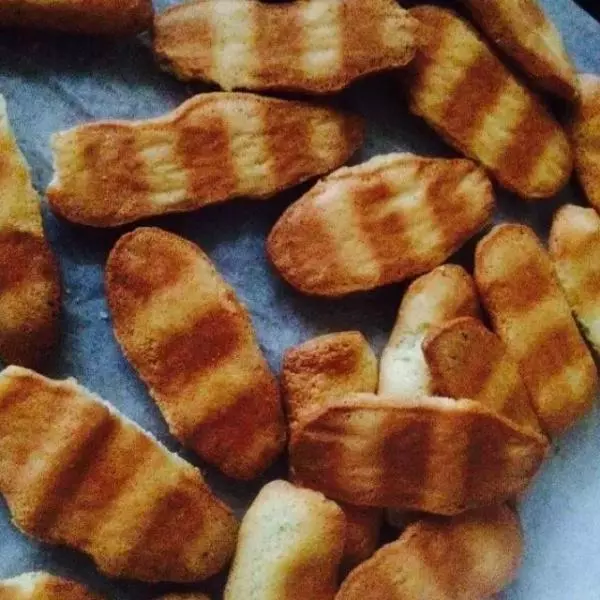
8进炉烘烤 上火180 下火140 烤至表面上色后转盘8分钟,然后再继续烘烤3分钟左右即可 出炉不需要震盘
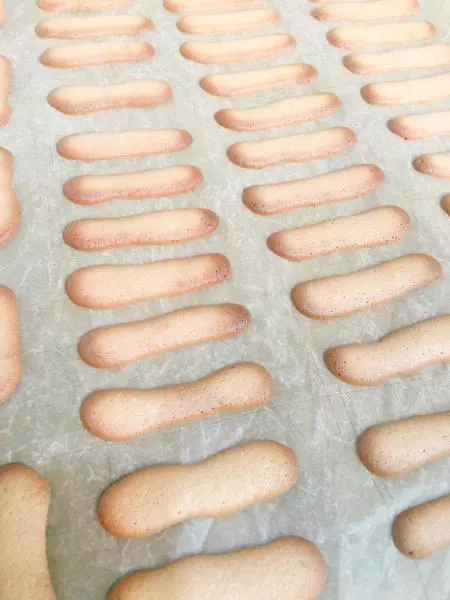
9这张图是蛋白打发到7成的手指饼干 口感会软 适合宝宝吃