原料
冰皮:: , 糯米粉: 55g, 粘米粉: 45g, 澄粉: 25g, 低筋面粉: 25g, 细砂糖: 45g, 全脂牛奶(也可用纯牛奶): 250g, 炼乳: 35g, 玉米油: 40g, 手粉(炒熟的糯米粉): 适量, 奶黄粟子馅:: , 黄油: 100g, 细砂糖: 55g, 鸡蛋: 4个, 奶粉: 80g, 澄粉: 40g, 粟子: 120g
步骤
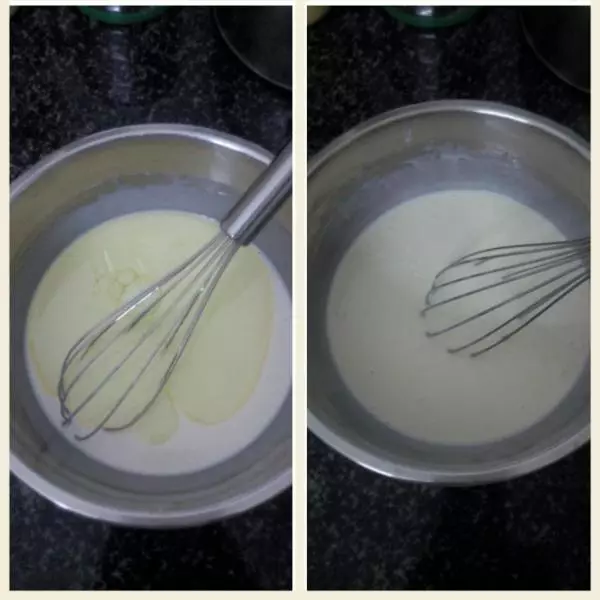
1先制作冰皮,把糯米粉、粘米粉、澄粉、低粉混合过筛,加入糖混合均匀倒入牛奶搅拌至无干粉无颗粒。
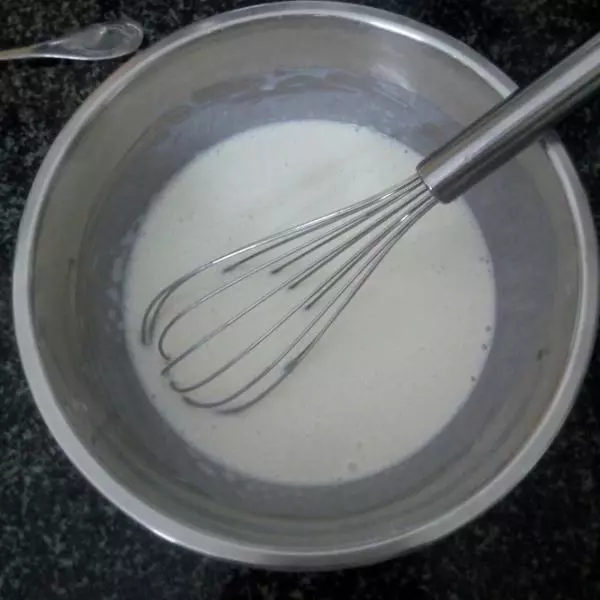
2再加入炼乳拌匀后再加入玉米油搅拌混合均匀。
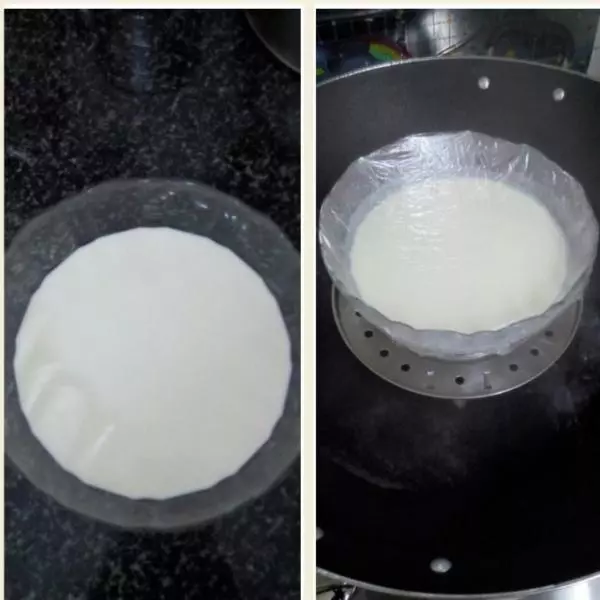
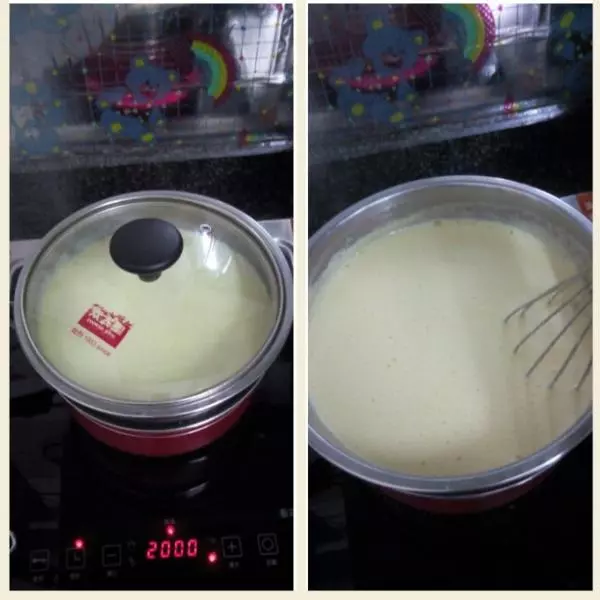
3把面糊过筛一次,倒入瓷碗或玻璃碗盖上保鲜膜静置20~30分钟,水开上锅蒸25分钟左右,把面糊完全蒸熟。
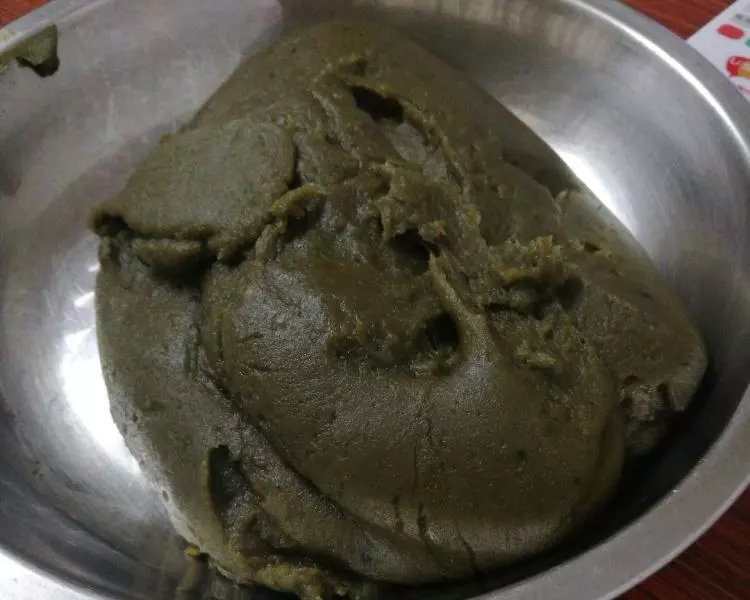
4蒸熟的冰皮用筷子搓开(散热快)晾凉至余温, 戴上手套(防粘手)揉成光滑的面团,用保鲜膜包住放一旁备用。,糯米粉中小火炒熟至微黄待用(手粉就做好了)。

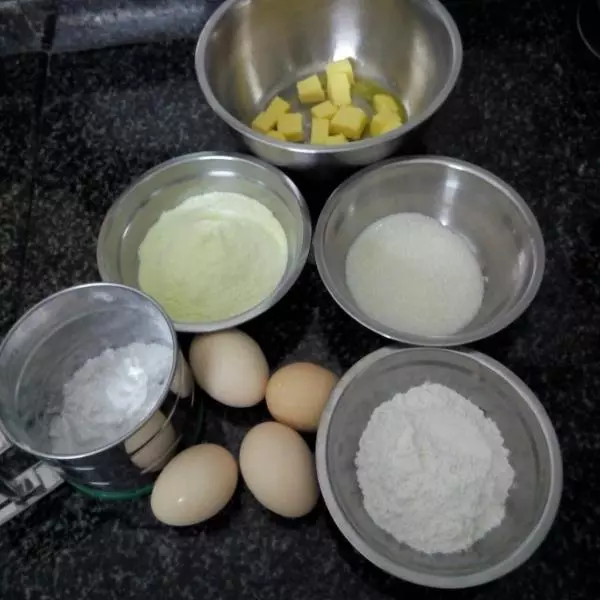
5晾凉冰皮时就来做奶黄馅,准备好所有的材料,黄油提前从冰箱拿出软化,粟子煮熟剥壳除衣待用(也可买市售的熟粟子)。
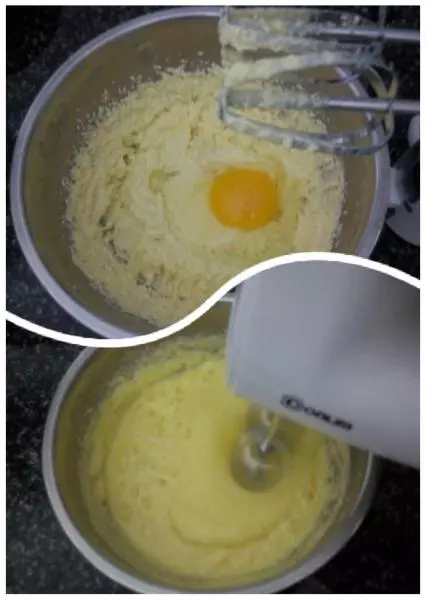
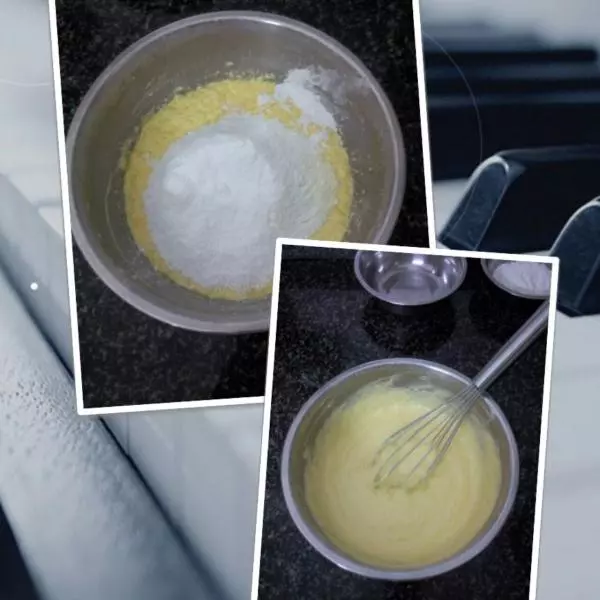
6软化的黄油加入糖打发, 鸡蛋逐个加入,充分混合均匀后再加下一个。
7加入奶粉和澄粉, 用手动打蛋器搅拌均匀,直到无干粉无颗粒。
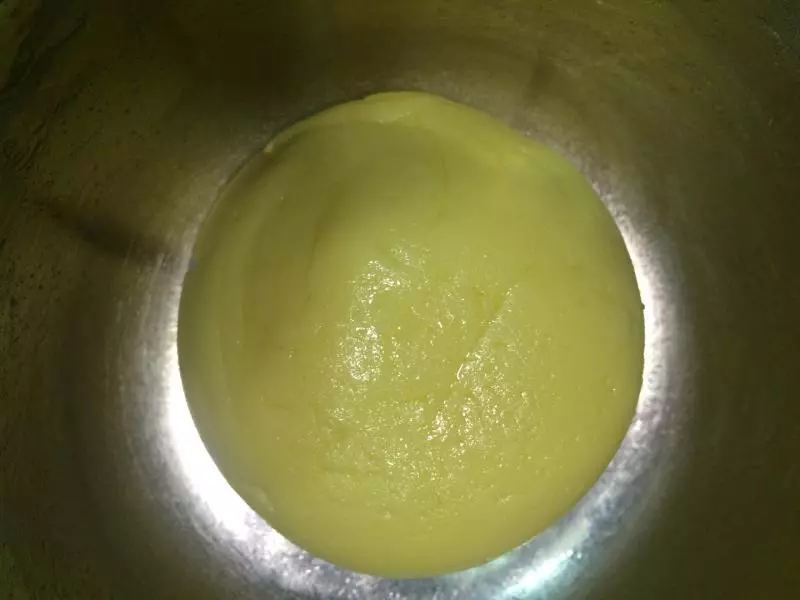
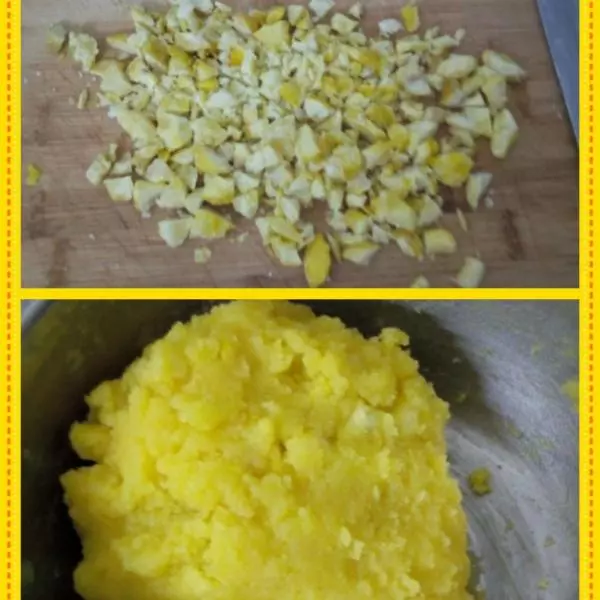
8水开后上锅蒸5分钟后打开用刮刀把边上凝固的刮入面糊里拌匀后再盖上蒸5分钟,打开翻拌均匀,面糊巳变稠,不用再盖上盖子一直翻拌,直到奶黄馅能成团即可离锅。
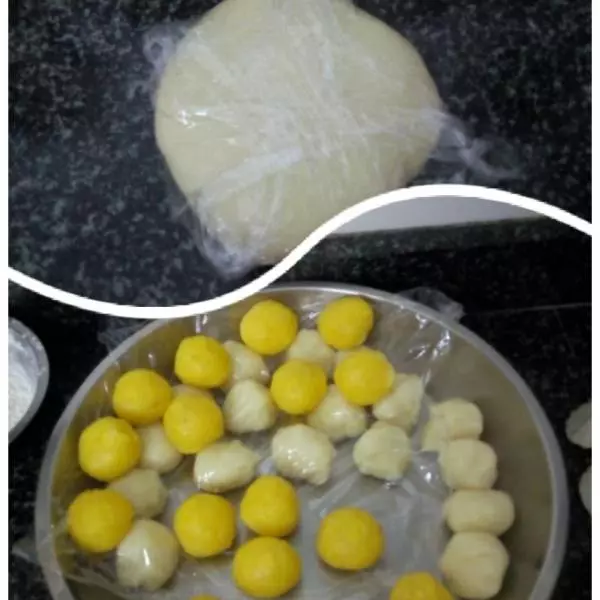
9粟子切成小颗粒加入做好的奶黄馅里拌均匀揉成团。
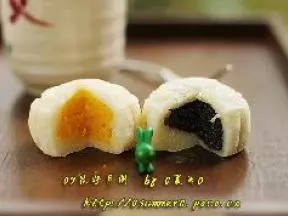
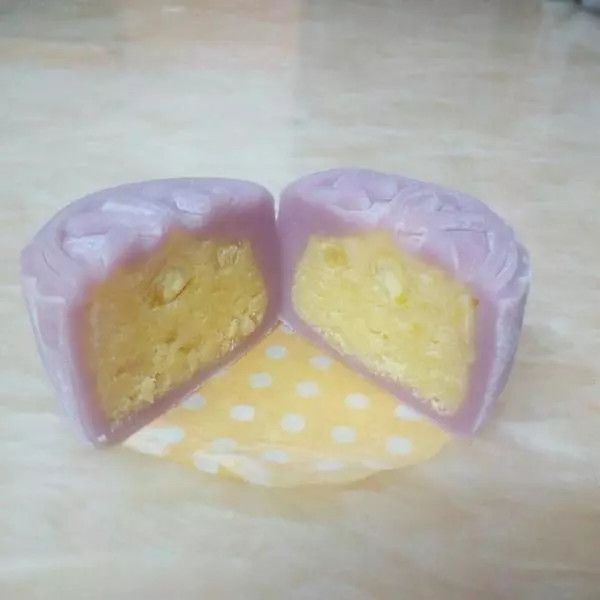
10加入其它自己喜欢的干果,蓝莓、蔓越莓或葡萄干做成多种口味的奶黄馅,也可什么都不加纯奶黄馅已很美味,我就加了蔓越莓。
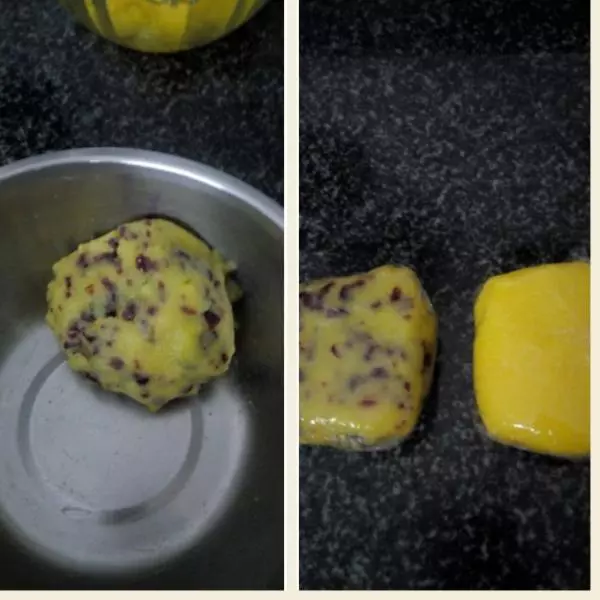
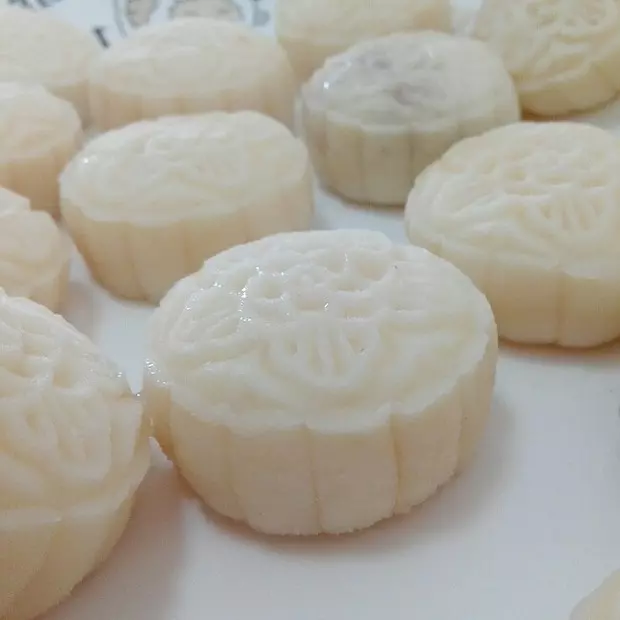
11把冰皮和馅料各分成25克一个搓圆待用,50克的模具皮25克馅料25克加起来50克。
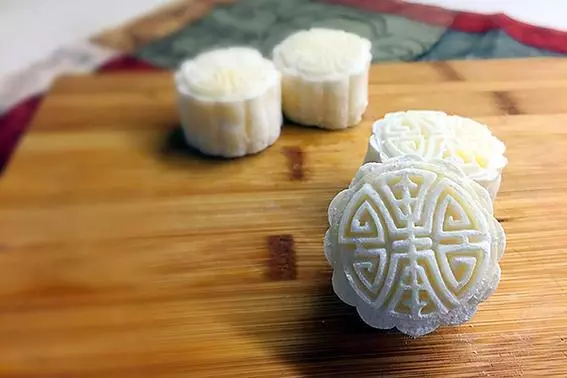
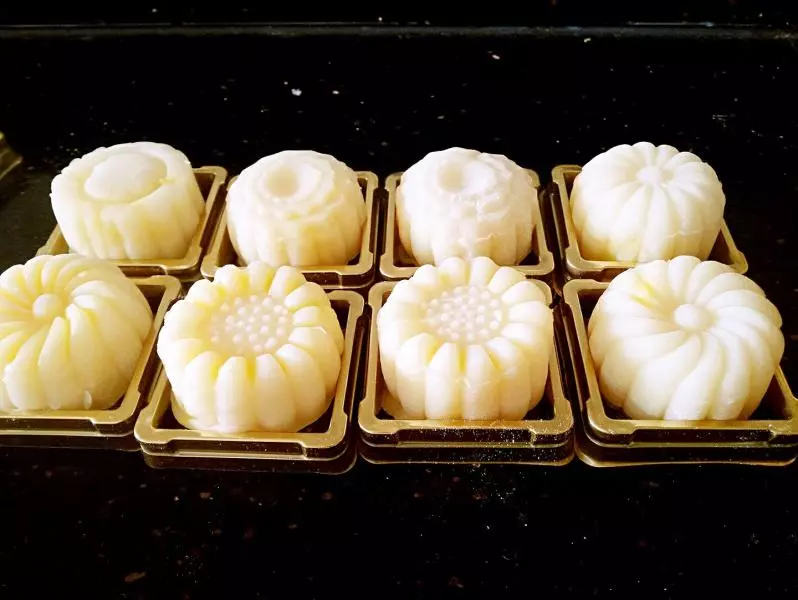
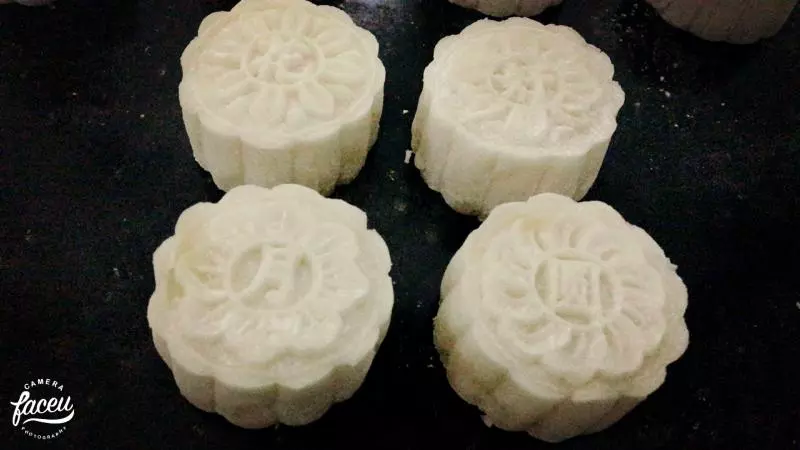
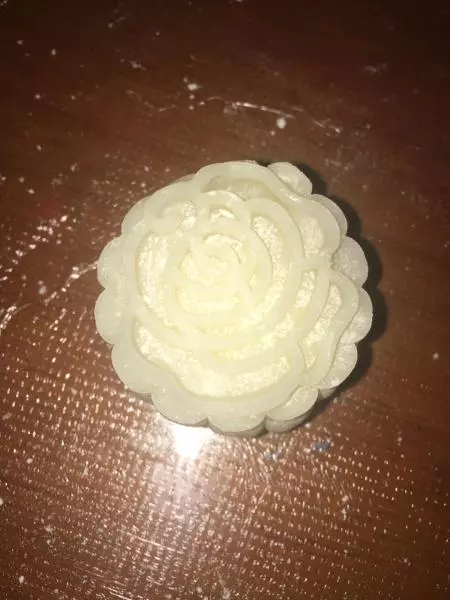
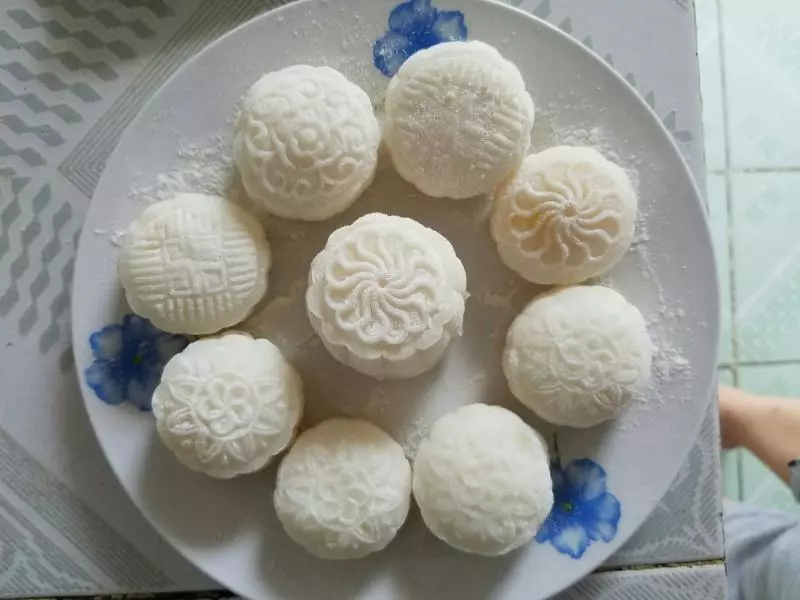
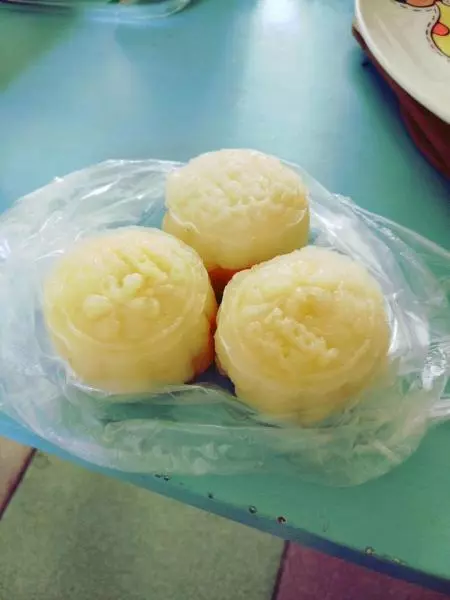
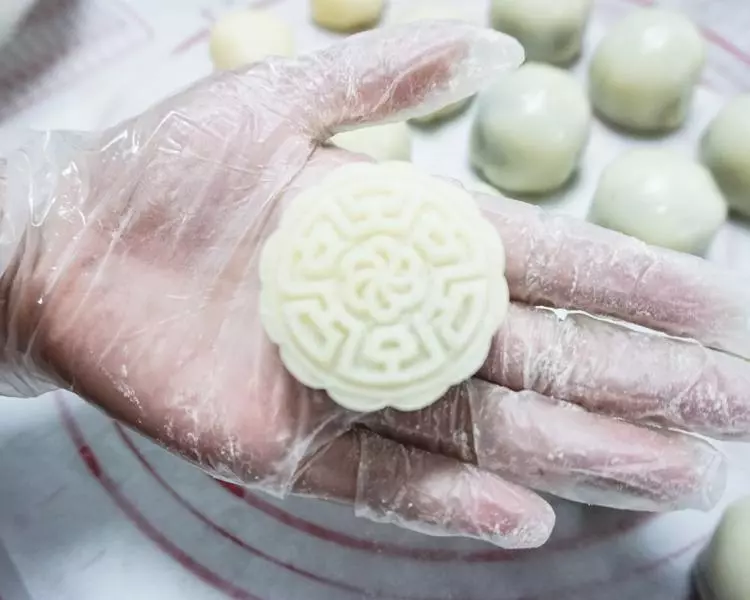
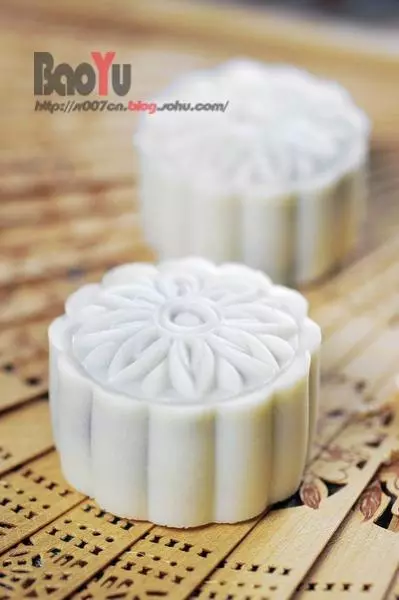
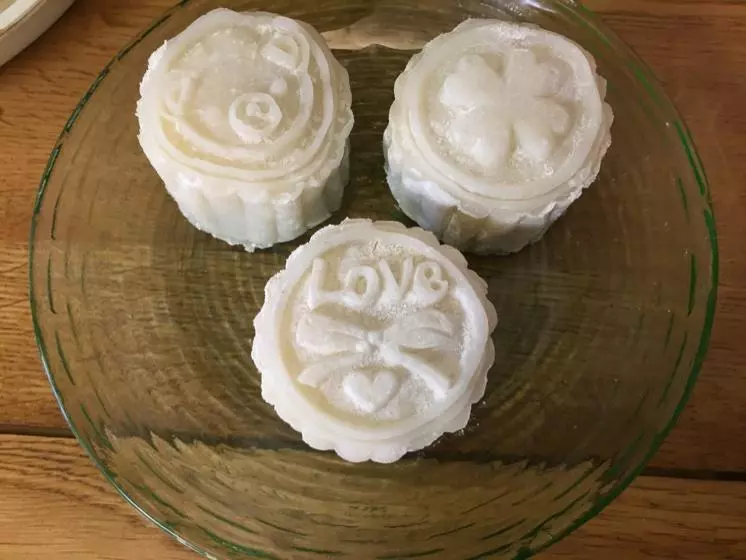
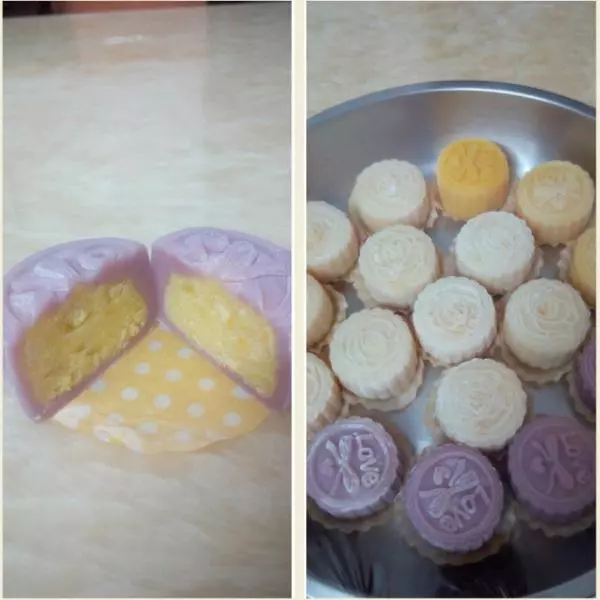
12取一份冰皮压扁包入馅料收口搓圆,在手粉里滚一圈拍掉多余的手粉,入模具压出即可。

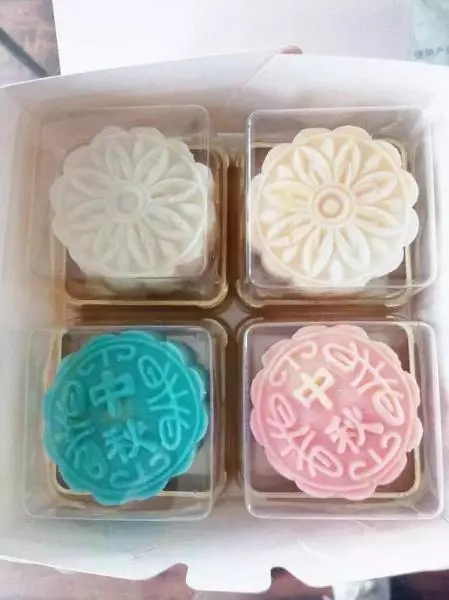
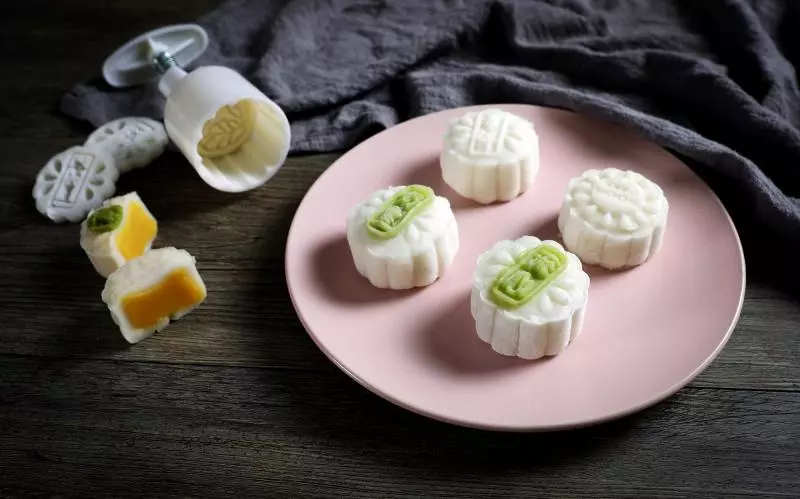
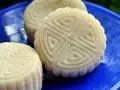
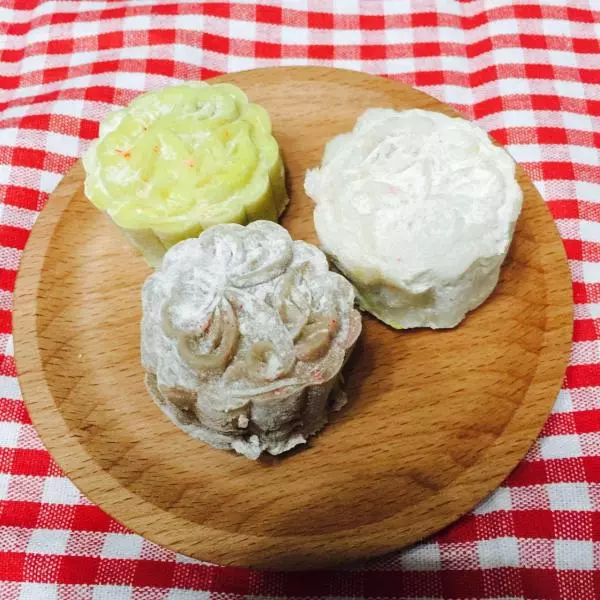
13在冰皮里加入各种口味的果味粉就可做出不同颜色不同口味的冰皮,做好后入冰箱冷藏2小时后再吃口感更好,也可不冰马上吃。
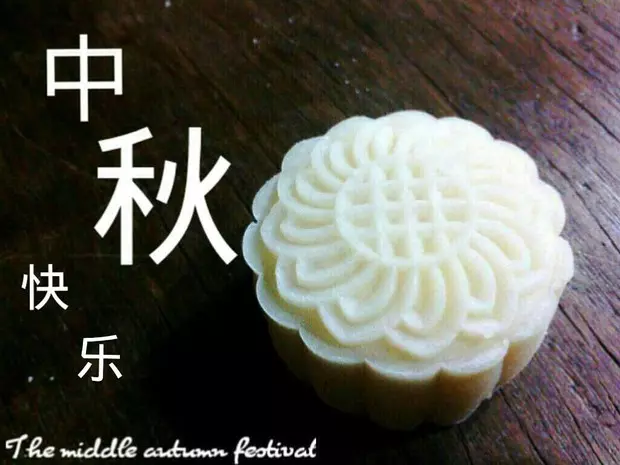
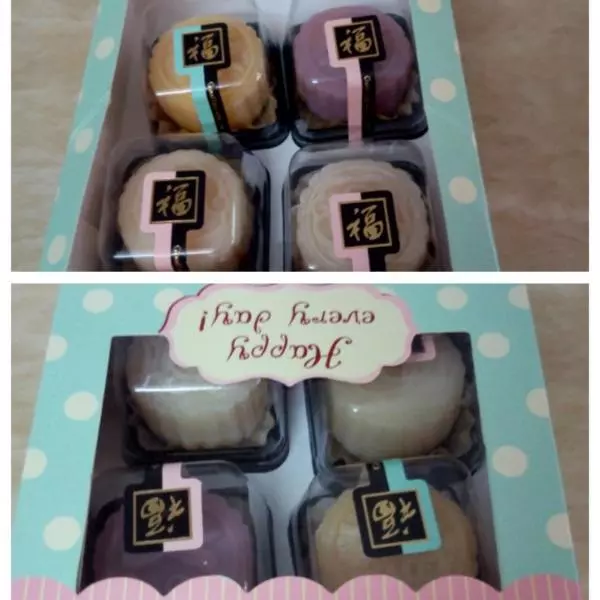
14自制的没加任何添加剂最好三天内吃完,包装好很漂亮就可送人了✌
小技巧
黄油加入第4个鸡蛋时会从固体慢慢变成浓稠的糊状,会有点油水分离的状况出现,这是正常现象(但如果在加入第3个鸡蛋时就出现这种情况,就是因为加入第2个鸡蛋时没充分混匀这要注意哦,所以每次加入鸡蛋都要充分混匀再加下一个),加入奶粉和澄粉搅拌后就会变成光滑的面糊,但一定要搅拌均匀,直到无干粉颗粒。