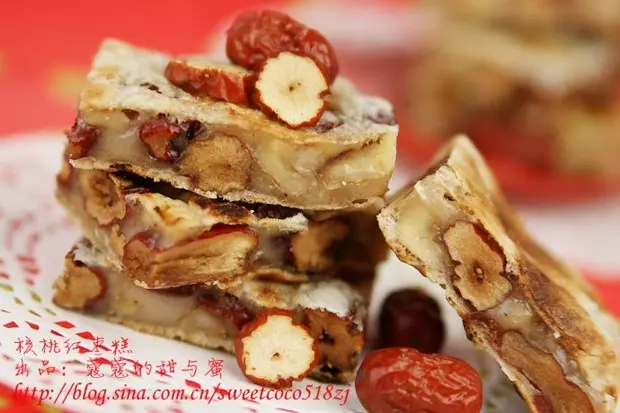
简介
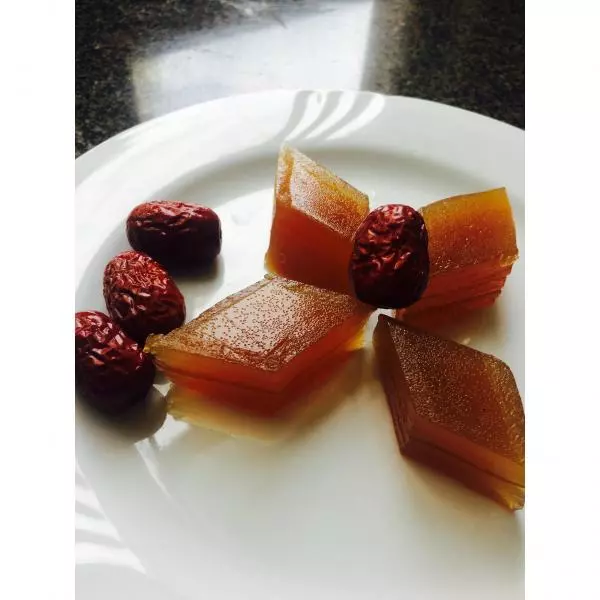
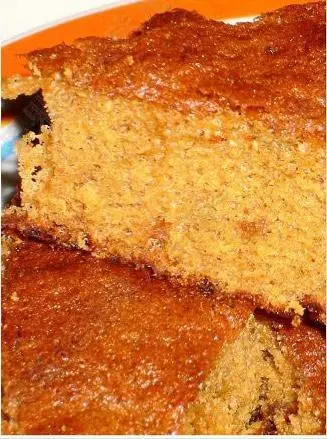
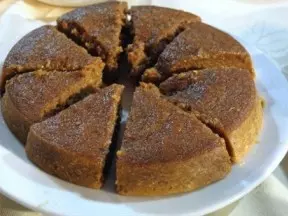
节日里我用来待客的必备点心,我喜欢用红糖来做,那样更健康也更能吊出红枣特有的香甜。
原料
干红枣 70克,去核, 低粉 110克, 鸡蛋 5个, 红糖 70克, 蜂蜜 3茶匙, 植物油 85克, 泡打粉 1/2茶匙
步骤
1烤盘铺油纸备用。低粉和泡打粉混合后过筛1~2次

2干红枣去核后用和枣齐平的水浸泡2小时左右,让红枣吸饱水分,至表面无明显皱纹

3然后取出沥干(沥出的红枣水留着)

4放入搅拌机内,加入约一半(或以上)植物油搅拌成泥
5红糖容易结块,先用手把红糖捏散,不然打发蛋白时会结块沉底

6搅拌好后的枣泥,加入3茶匙蜂蜜搅拌均匀
7再加入剩下的植物油搅拌至均匀,至无油浮在表面备用

8蛋黄用蛋抽搅匀

9加入打好的枣泥

10搅匀

11加入筛好的粉粉(低粉+泡打粉)

12用橡皮铲搅匀,【拌好的蛋黄糊应该是略微还能流动的样子,若感觉太稠的话可适当添加前面泡枣时沥出的红枣水来进行调整】

13蛋白加入全部的红糖打发至硬性

14取1/3打好的蛋白霜加入到加了枣泥的蛋黄糊里拌匀

15然后把拌好的糊糊全部回倒入剩余的蛋白霜中切拌均匀

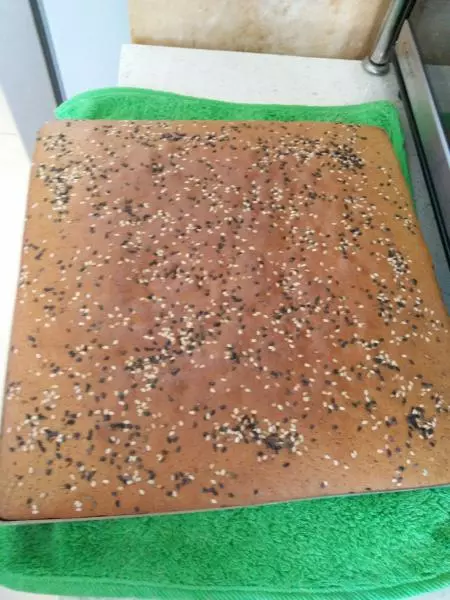
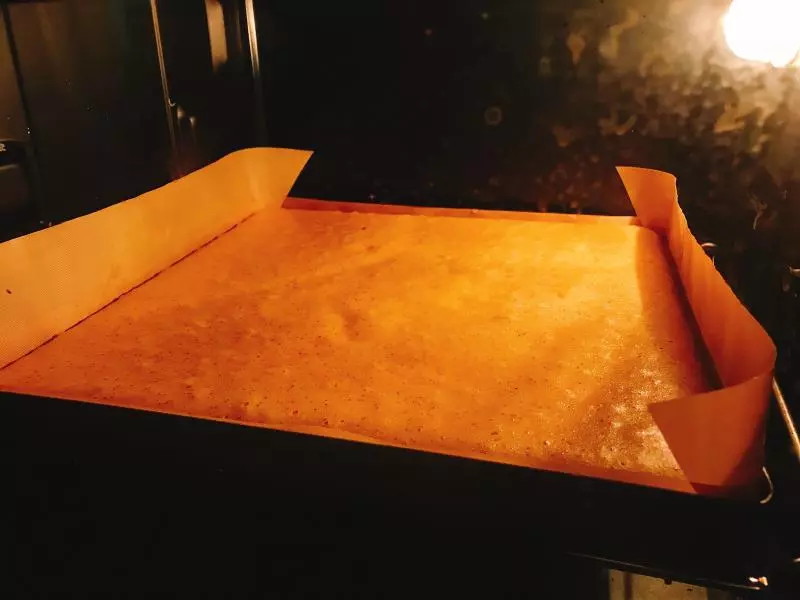
16拌好的蛋糕糊倒入铺了油纸的烤盘中,轻震几下去掉些大气泡

17烤箱预热150~160度,中层,烤时为60分钟左右

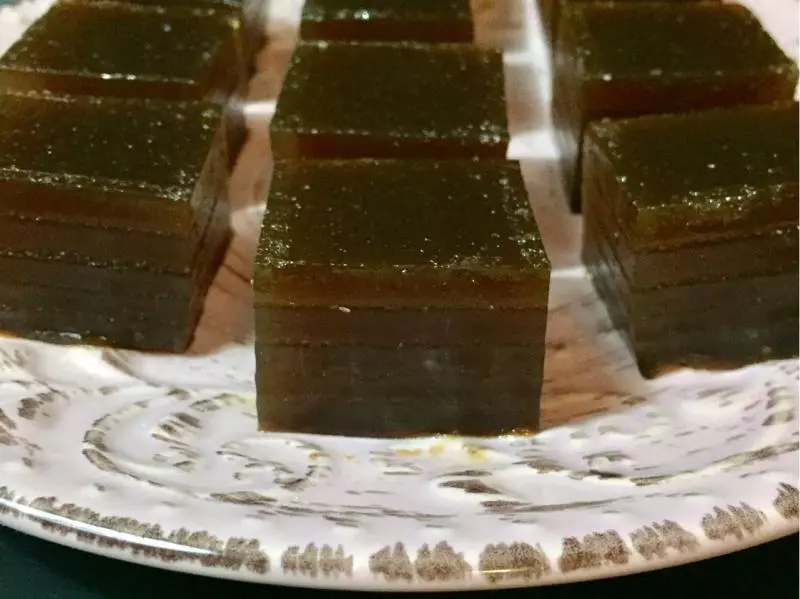
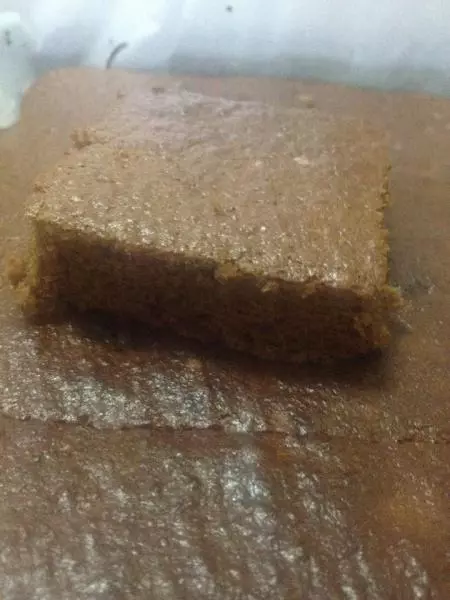
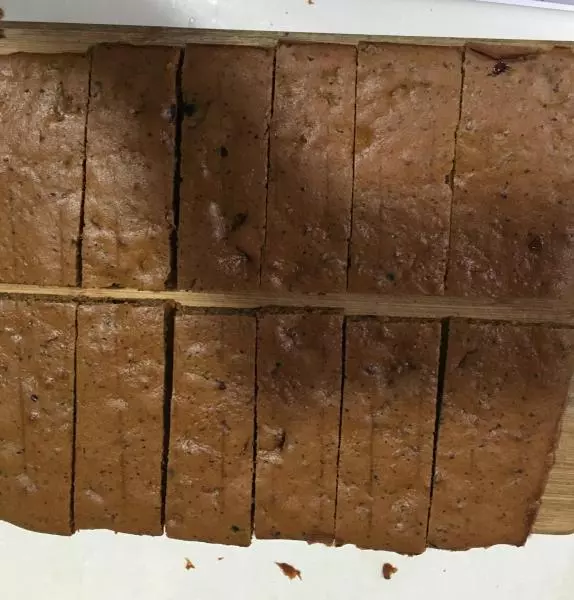
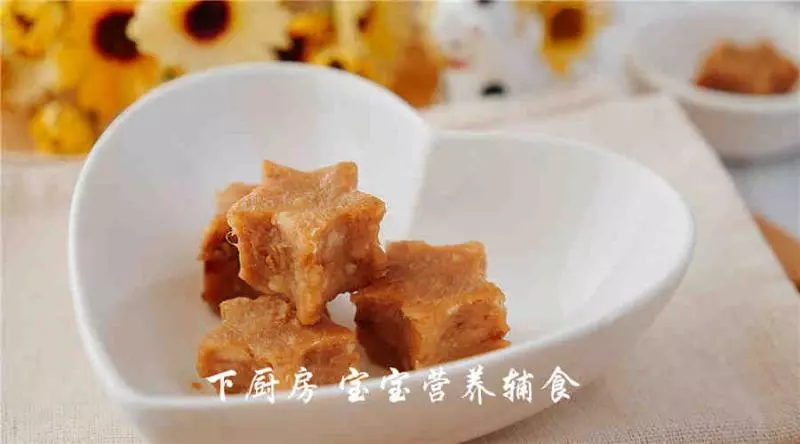
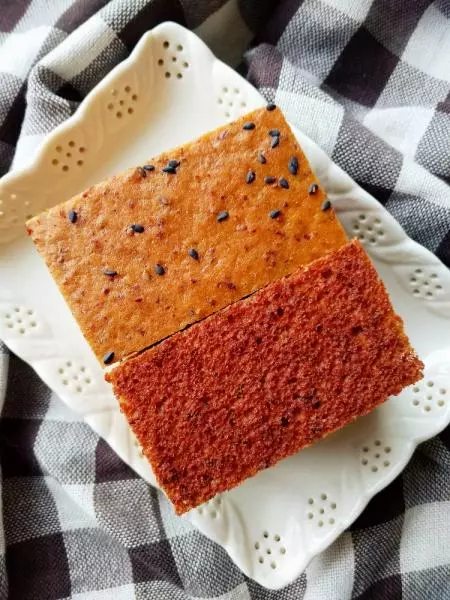
18取出后倒扣放凉,切块食用