原料
低筋麵粉: 90克, 雞蛋: 5個, 牛奶: 50克, 色拉油: 50克, 細砂糖: 70克, 黑芝麻: 少許, 抹茶粉: 1克, 紅曲粉: 1克, 泡打粉: 1克, 檸檬汁: 5滴
步驟
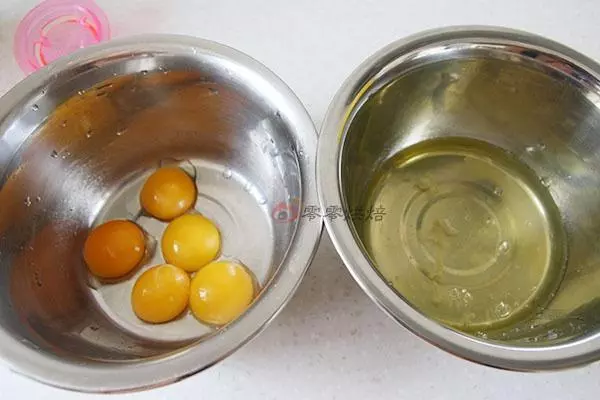
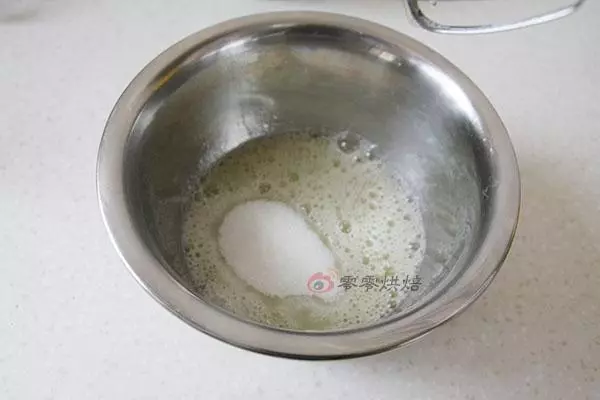
1分離蛋黃蛋白,分別放入兩個打蛋盆中,蛋白盆必須是無油無水。
2蛋黃盆加入20克細砂糖,用手動打蛋器打至糖溶化。
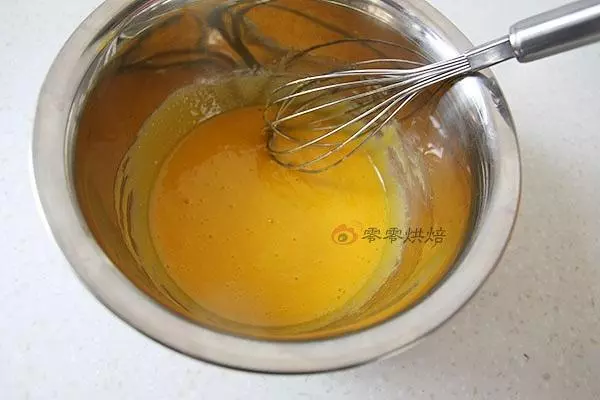
3加入牛奶和色拉油打至油水混合。
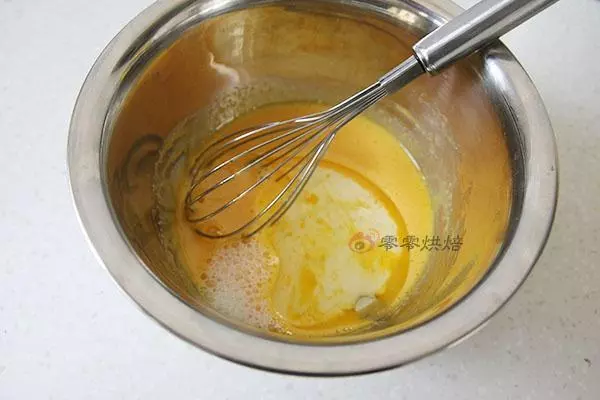
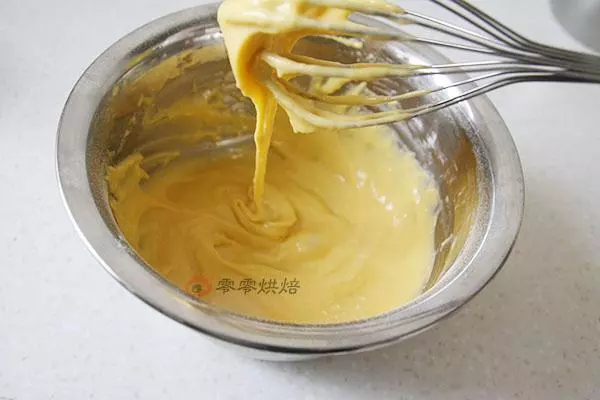
4低筋麵粉和泡打粉(沒有可不加)放入面目篩中,把粉類篩入到蛋黃盆中,用手動打蛋器打勻。(不要打太久,麵粉會起筋)
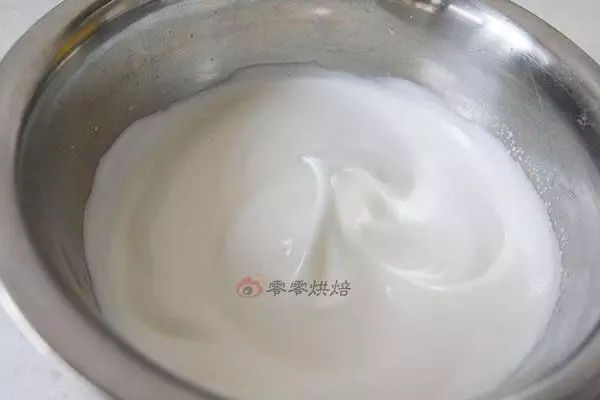
5蛋白盆中加入檸檬汁(沒有可不加)用電動打蛋器打至粗泡後加入剩下的50克細砂糖。
6繼續打至濕性發泡,輕輕提起打蛋器的打蛋頭呈彎曲的角。
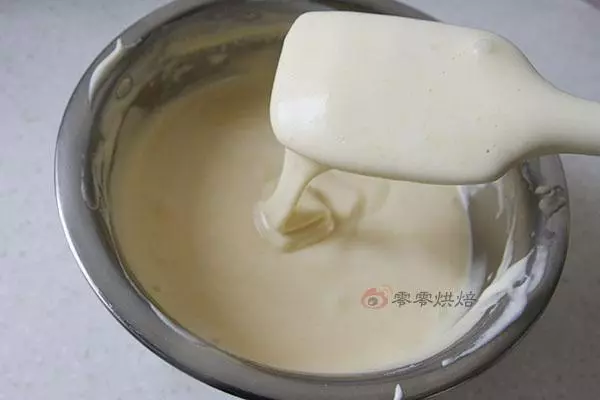
7用橡皮刮刀挖兩勺打好的蛋白霜到蛋黃糊的盆中,翻拌均勻。
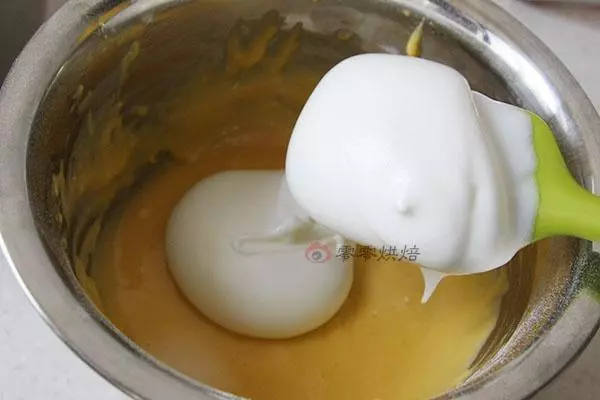
8然後把翻拌好的蛋黃糊倒入到蛋白霜的盆中。
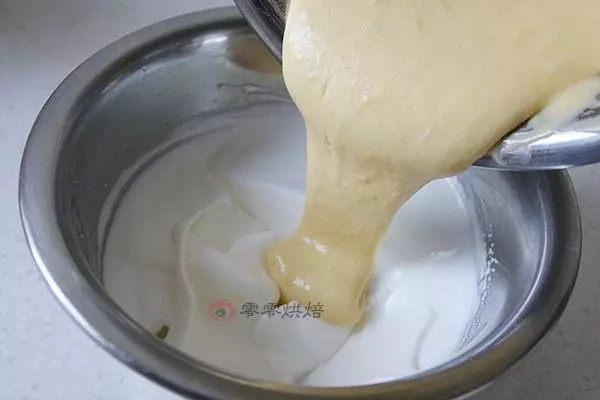
9翻拌均勻即可,蛋糕糊就做好了。打開烤箱140度中層上下火預熱。
10另取兩個小碗,分別加入抹茶粉和紅曲粉。
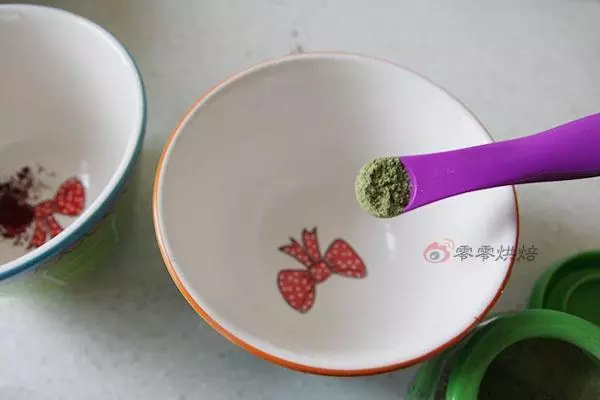
11用橡皮刮刀挖一點蛋糕糊到兩個小碗中翻拌均勻。(蛋糕糊不用太多了,一點點就夠了)
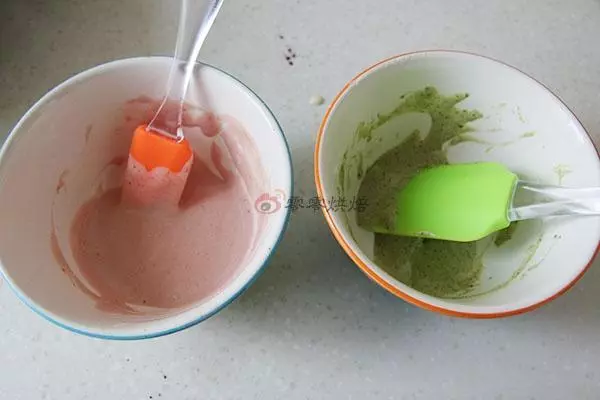
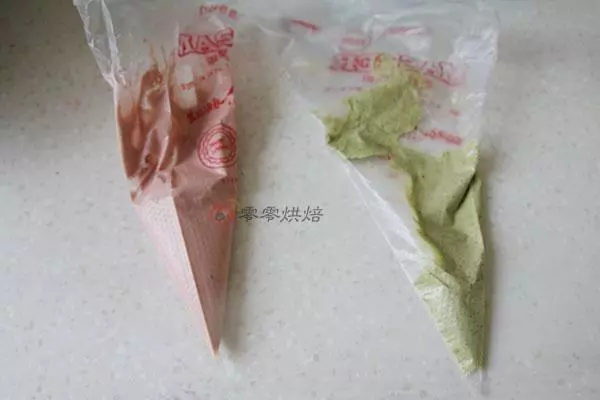
12拌好的兩個顏色的蛋糕糊裝入裱花袋中待用。
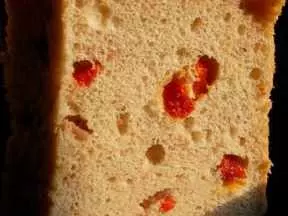
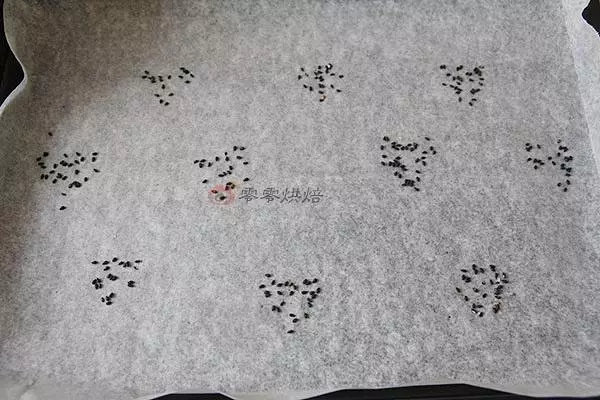
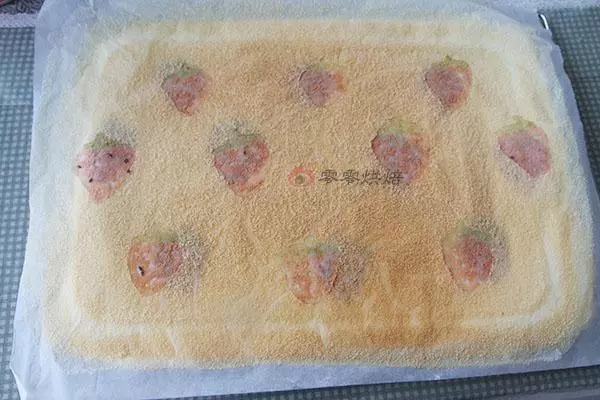
13烤盤鋪上油紙,然後用黑芝麻鋪成草莓的形狀,黑芝麻就是草莓身上的黑點,形狀大至相似就可以了。(這一步其實最好是在做蛋糕糊之前做好待用,黑芝麻太小有點不好掌握,不然時間耗的太多的話蛋糕糊容易消泡)
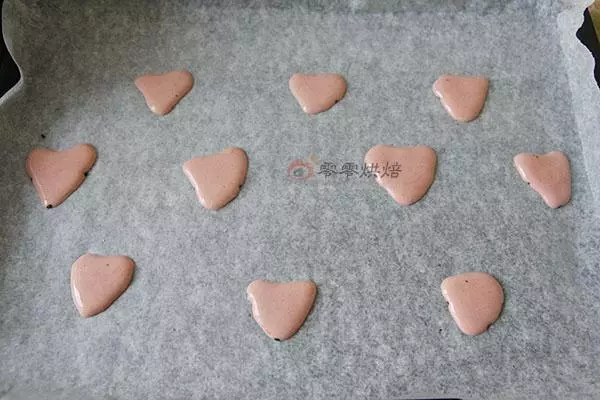
14然後取紅色的蛋糕糊,裱花袋底部剪個小口子,在黑芝麻上面擠上一層草莓的形狀,放入烤箱140度中層上下火烤一兩分鐘取出。
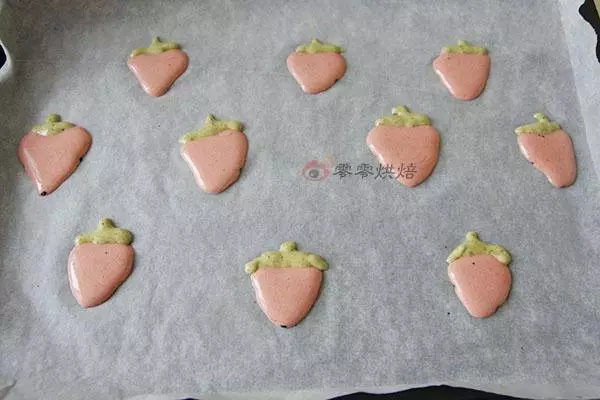
15然後用綠色的蛋糕糊再擠出上面的葉子,再送入烤箱烤兩分鐘取出。
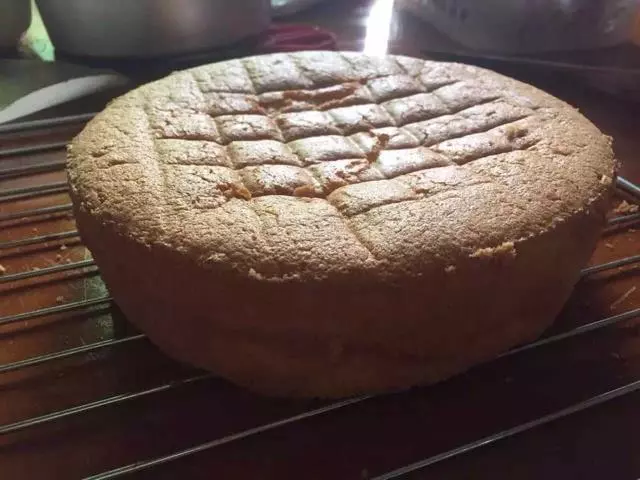
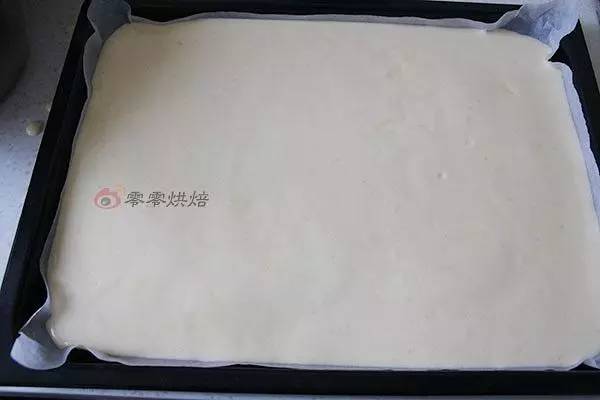
16取出後把蛋糕糊全部倒入到烤盤中,雙手拿起烤盤在檯面上輕摔幾下震出大氣泡。放入烤箱中層上下火140度烤20分鐘取出。(倒蛋糕糊的時候需要慢慢倒,草莓沒有烤熟,力道太大容易把破壞草莓的形狀)
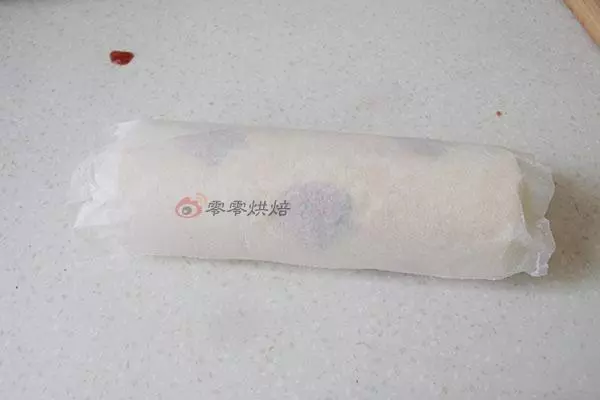
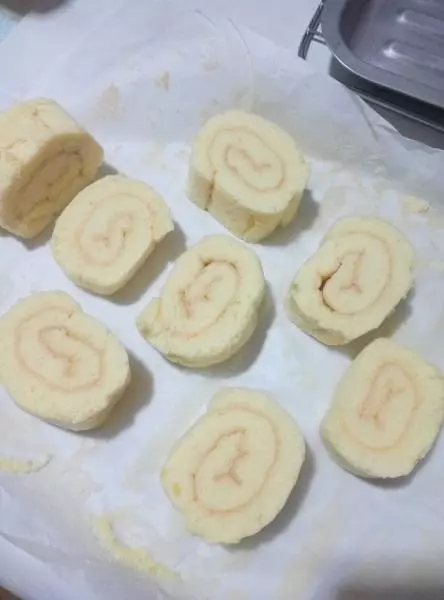
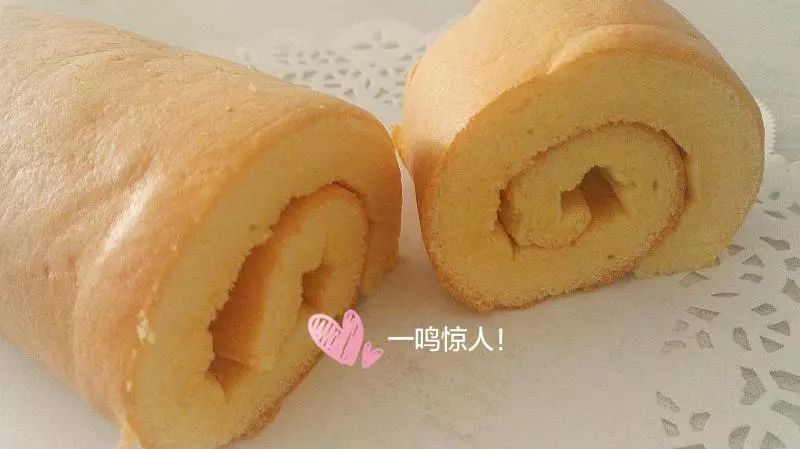
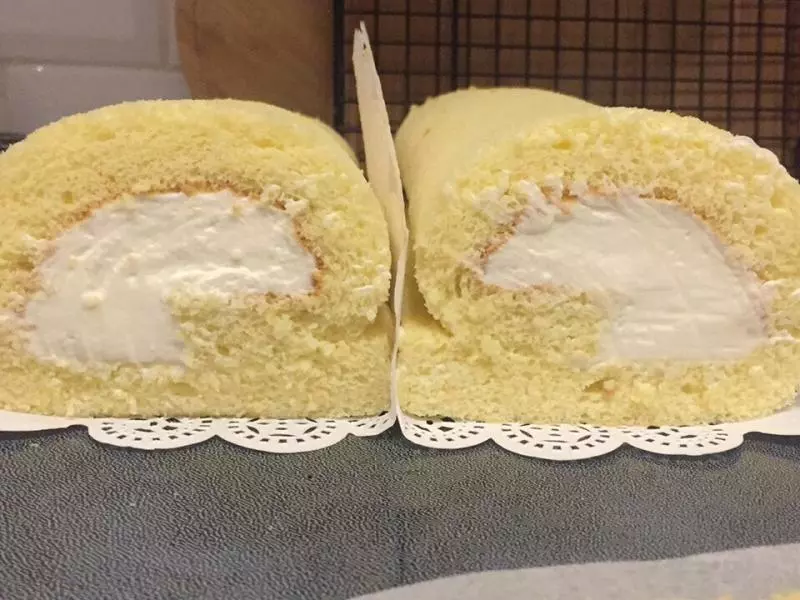
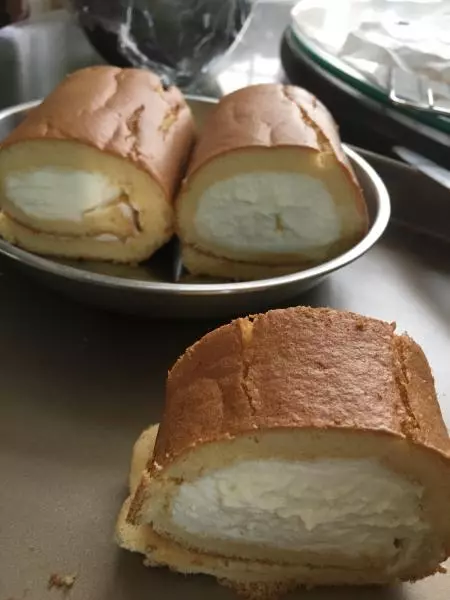
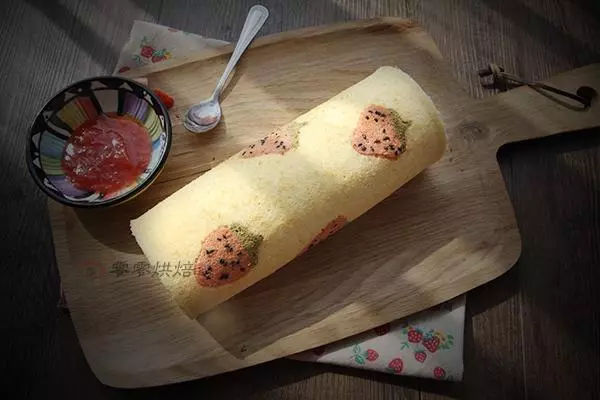
17取出後撕去四周油紙,然後倒扣在烤網上,撕去油紙,把油紙翻一面掩在蛋糕上面待涼。
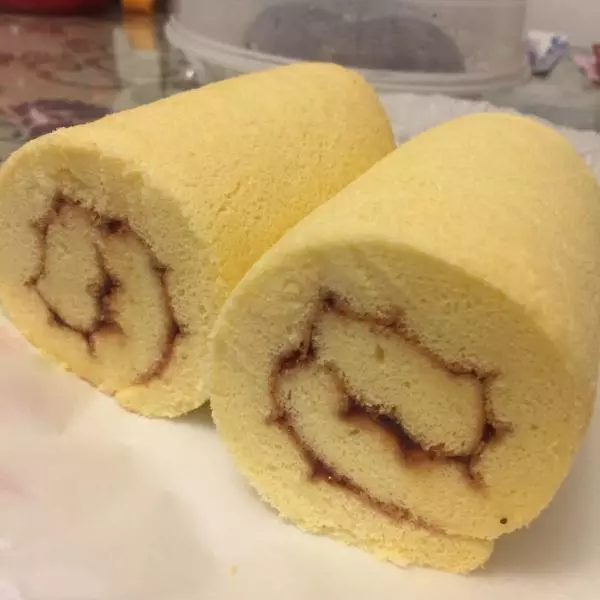
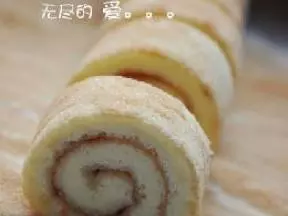
18涼透的蛋糕去掉油紙,另取一張乾淨的油紙鋪上面,再倒扣翻面過來,塗上草莓醬,四周和接口處留空。(草莓醬根據需要來塗哈,少一點比較好卷一些)

19藉助擀麵杖把蛋糕捲起來,接口朝下,兩頭用油紙包好定型半小時後即可取出切塊食用了。