原料
低筋麵粉: 50g, 雞蛋: 2, 奶油cream: 100g, 糖(for奶油): 20g, 糖(for蛋糕): 30g, 黃油: 20g, 牛奶: 20g, 煉乳: 15g, 黑芝麻: 適量, 白醋或者檸檬汁: 2g
步驟
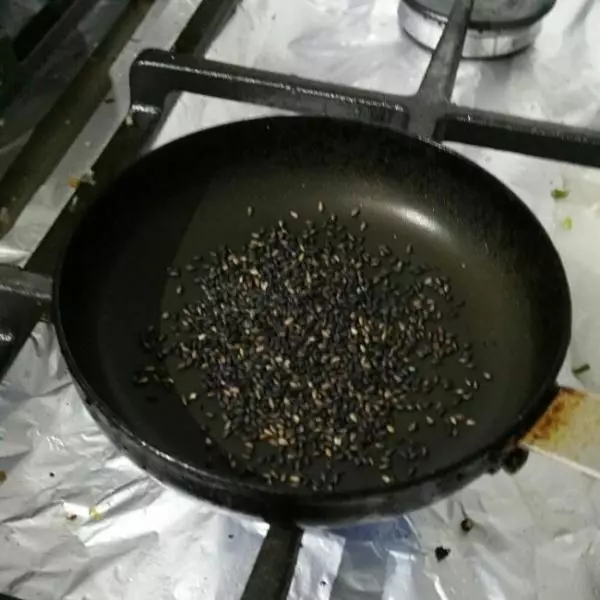
1芝麻炒熟放涼備用
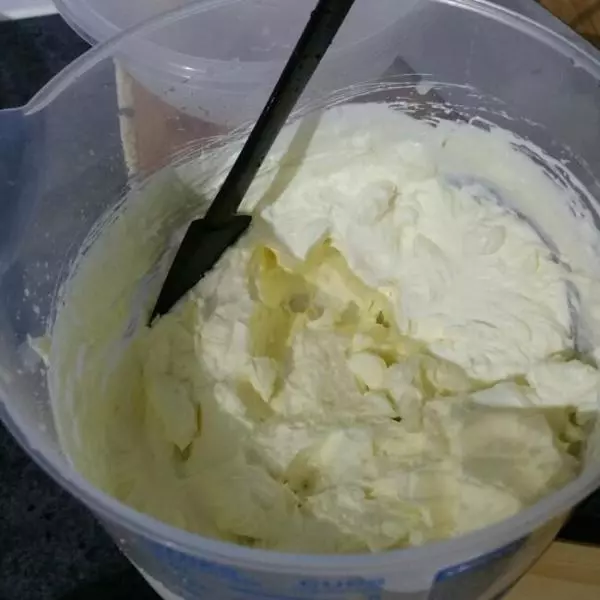
2奶油分三次加糖粉打發,放入冰箱待用
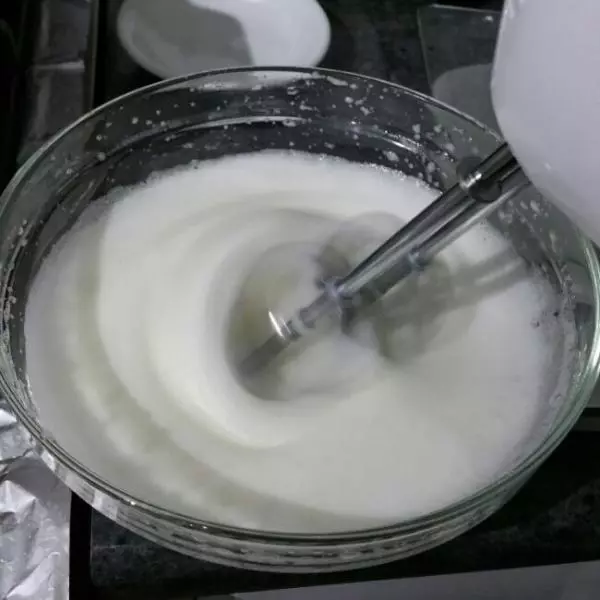
3蛋白打發,分三次加糖才比較好立起來。加上檸檬汁或白醋,去腥還可以蛋白比較好站立
4蛋黃+黃油
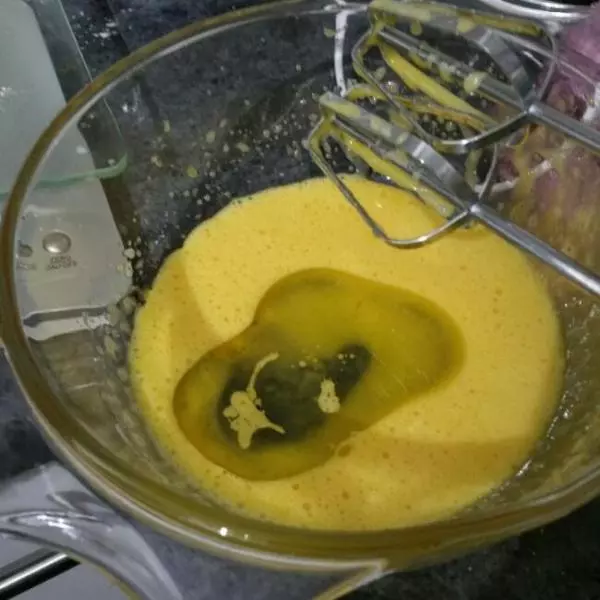
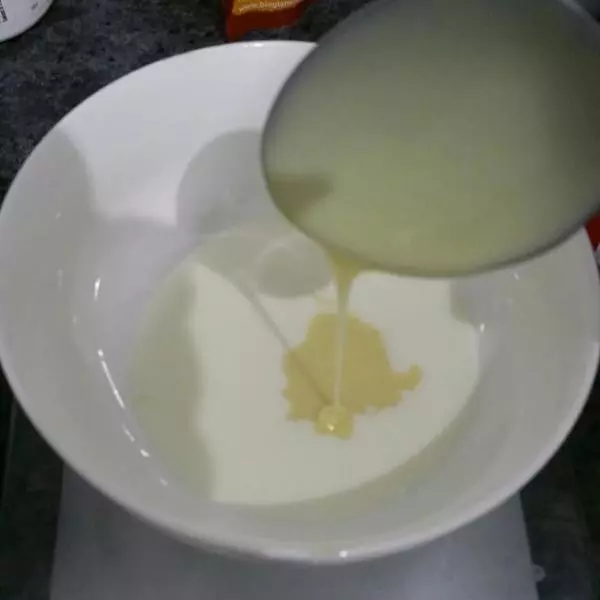
5牛奶加煉乳+蛋黃黃油混合均勻
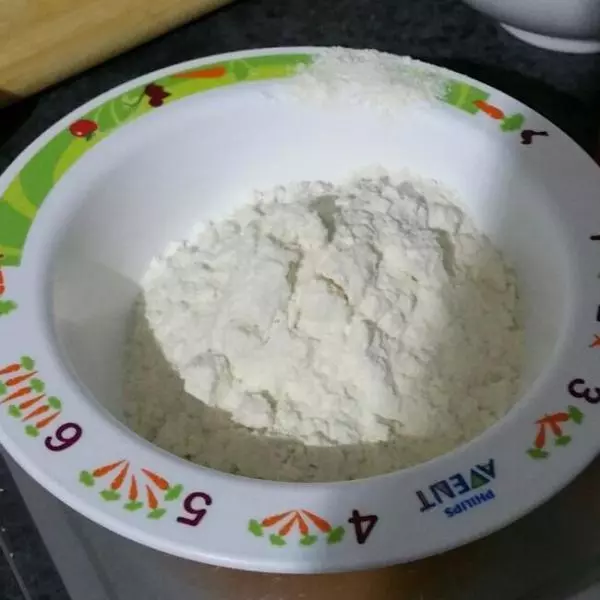
6打好的蛋白里混入篩好的麵粉,加上上一步的混合物,攪拌均勻。但是一定要小心,用儘量少的動作,儘量攪拌均勻
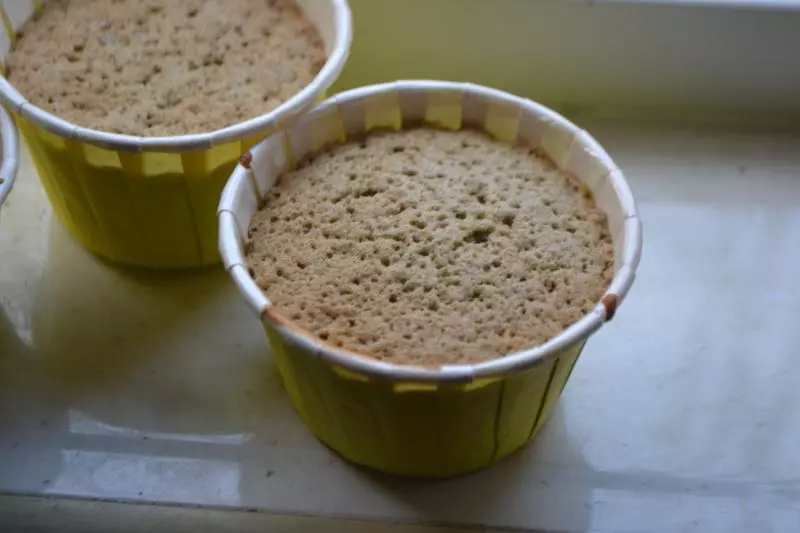
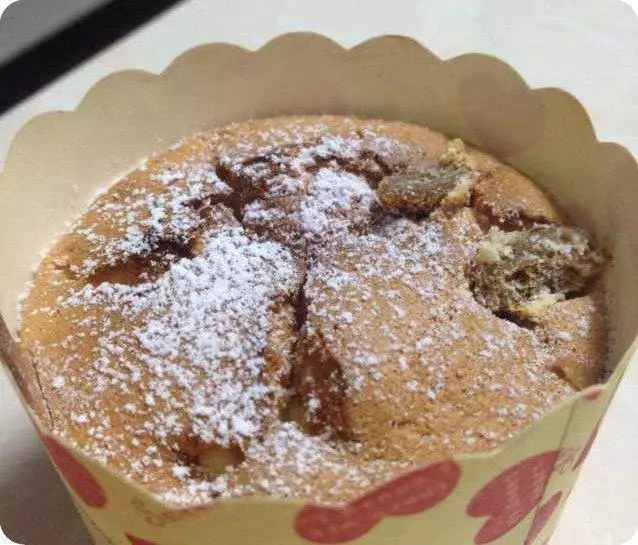
7混合均勻的麵糊放入紙杯子裡六分七分滿。面上撒上炒好的芝麻
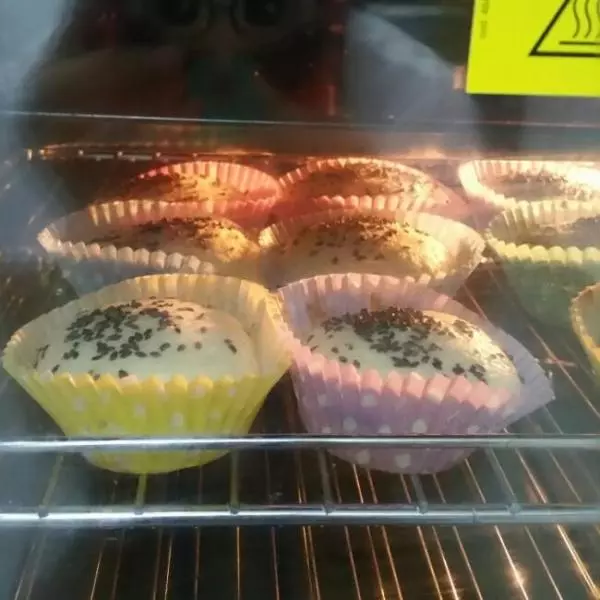
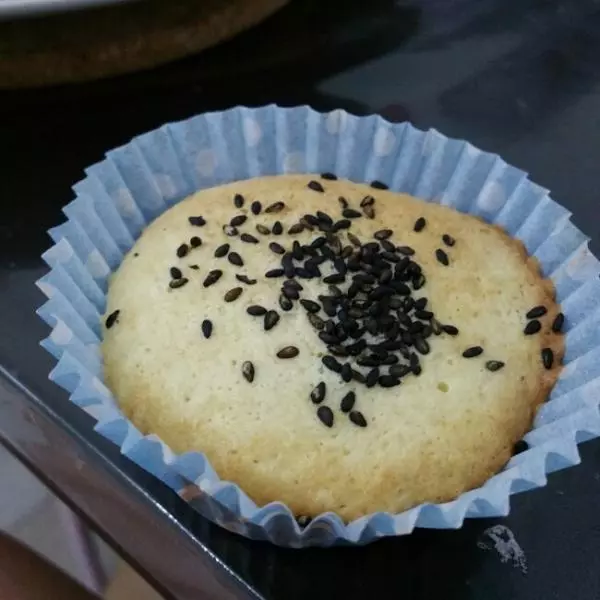
8所有步驟一開始就烤箱170度預熱,一裝好麵糊立刻放進烤箱。30分鐘左右,看面上稍微咖啡色,牙籤插進去再拔出來沒有沾麵糊就是烤好。
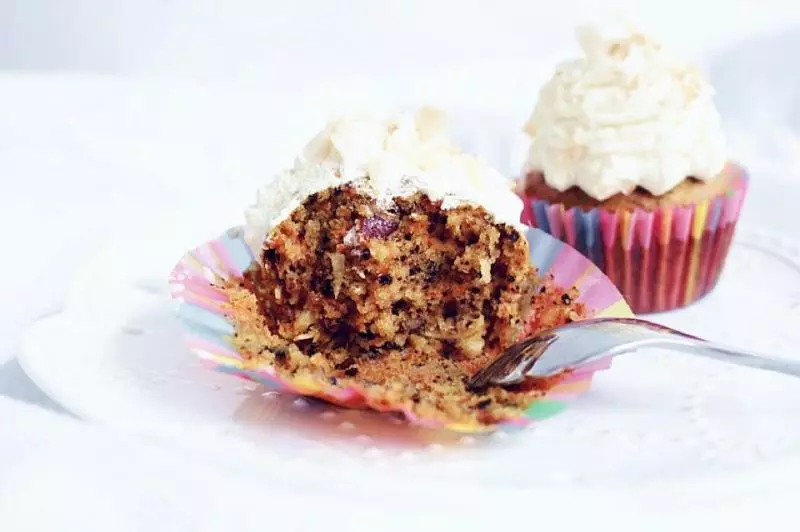
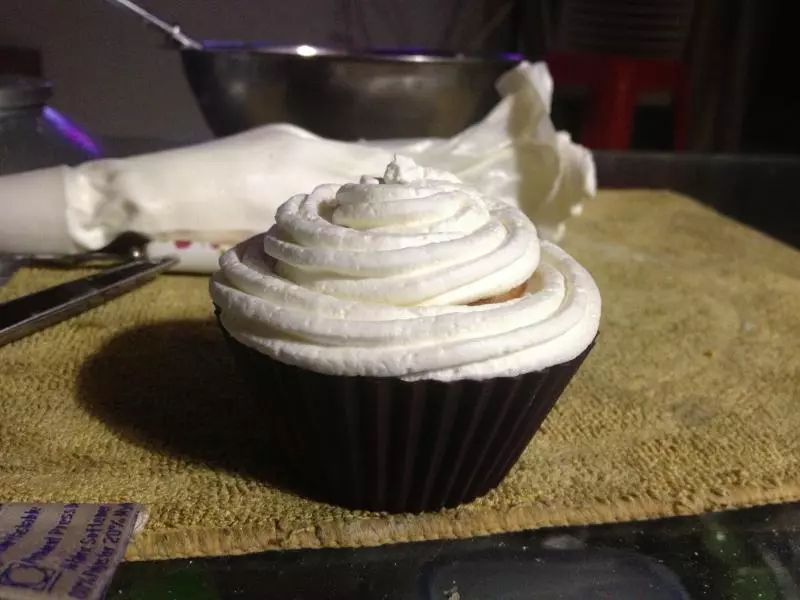
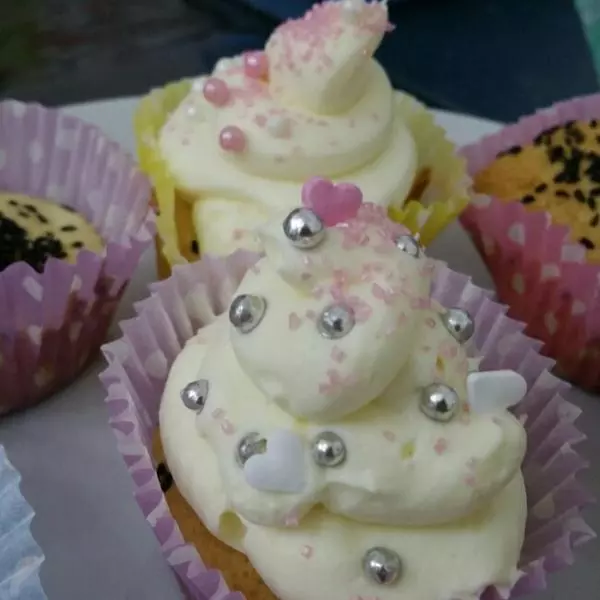
9打好的奶油裝進保鮮袋裡面,保鮮袋剪開一個口子,然後擠成圈圈在放涼的蛋糕體裡面
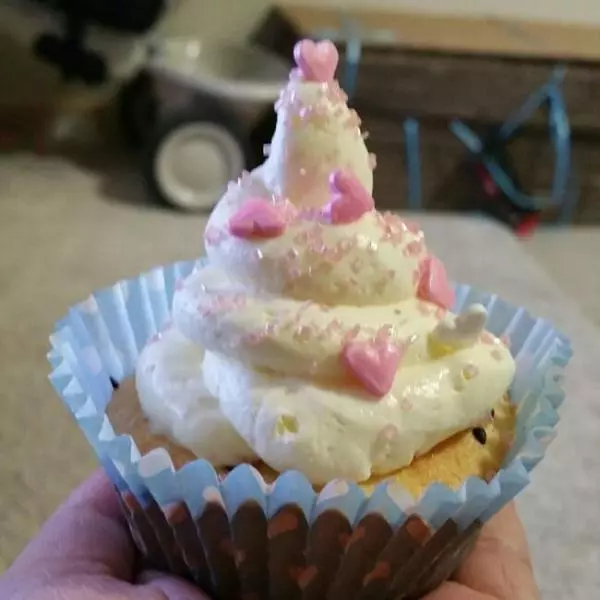
10發揮自己的創意繼續裝飾哈哈,如果喜歡可以奶油加入可可粉,變巧克力版本
小技巧
蛋黃原本兩隻,但是放入1-1.5隻蛋黃可以減少雞蛋腥味道。