原料
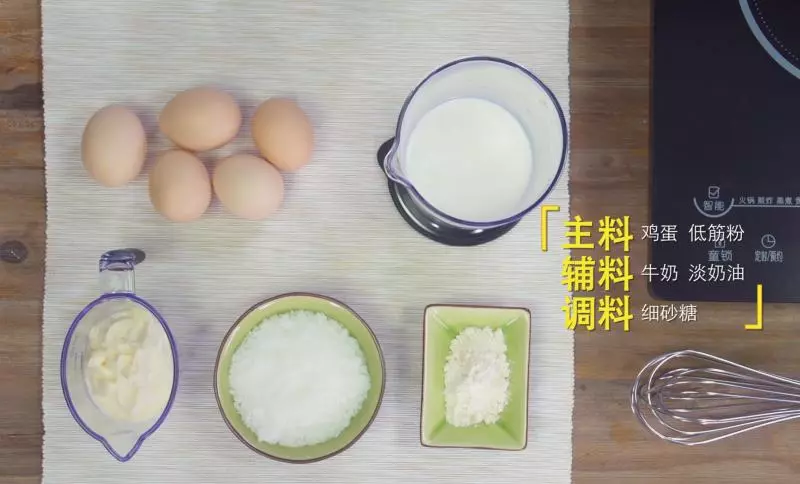
牛奶: 220g, 砂糖: 70g, 淡奶油: 280g, 煉乳: 15g, 雞蛋: 4個, 蛋撻皮: 4個, 漢美馳智能電烤箱: 1台
步驟
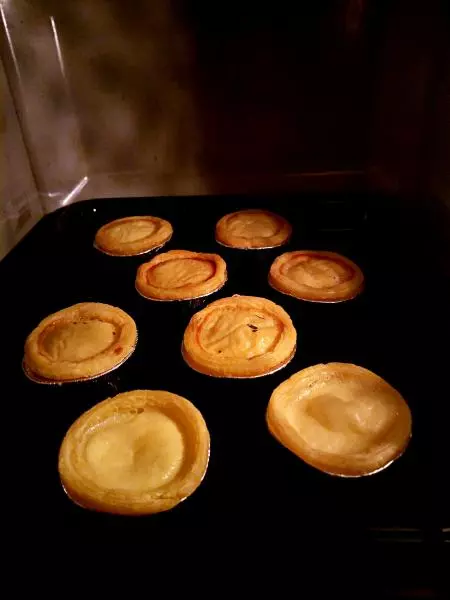
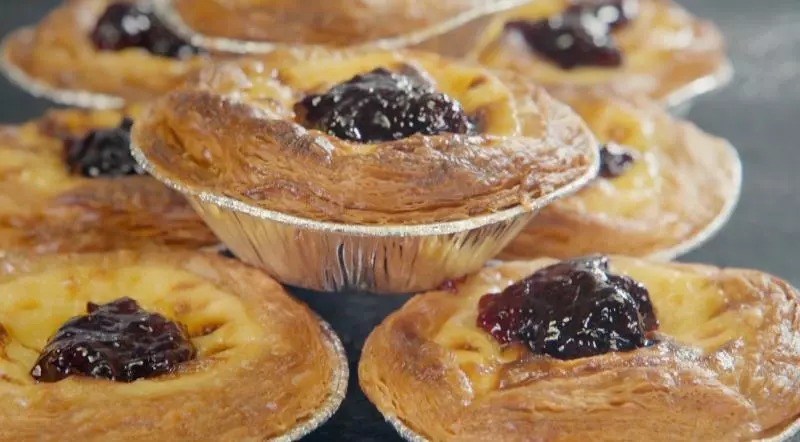
1蛋撻成品圖

2美國漢美馳家用智能迷你電烤箱1台

3備好的食材
4110g的牛奶倒入鍋中

570g的砂糖倒入鍋中,一起和牛奶加熱

6開火融化砂糖

7砂糖融化後,關火,冷卻備用

8拿一個空碗,淡奶油280g

9牛奶110g

10煉乳15g

11攪拌均勻,倒入剛才備好的溫牛奶中。

12取四個雞蛋的蛋黃,均勻攪拌...
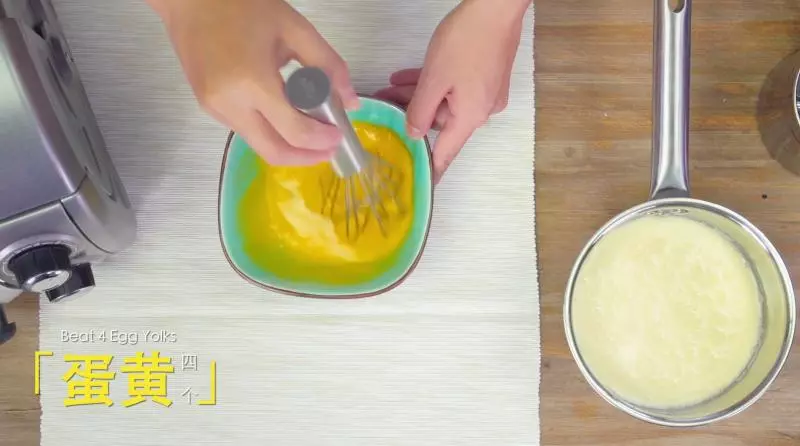
13將攪拌好的蛋黃加入剛才的溫牛奶中。

14將鍋內的液體攪拌均勻,然後取一個篩子,將鍋中的液體篩一遍,篩出來的液體為蛋撻原液。

15烤箱溫度旋轉至220℃

16時間旋鈕旋轉至5分鐘,進行烤箱預熱工作。

17在烤箱預熱的五分鐘里,將剛才篩出來的蛋撻原液倒入蛋撻皮中,準備製作蛋撻。

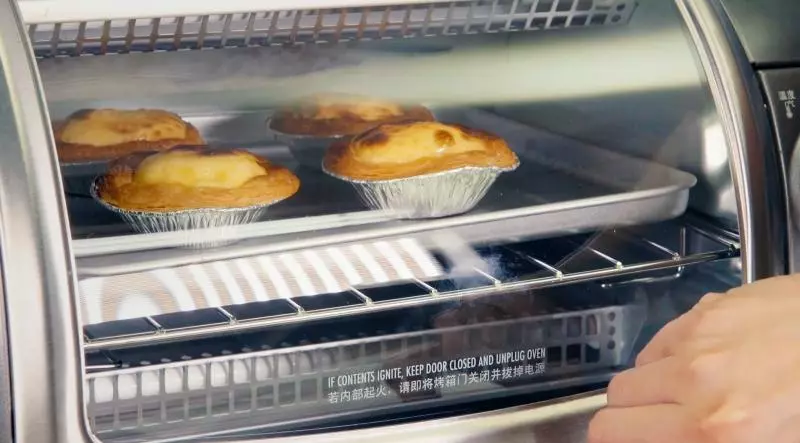
18烤箱預熱完成,將蛋撻放入烤箱中烘焙20分鐘。
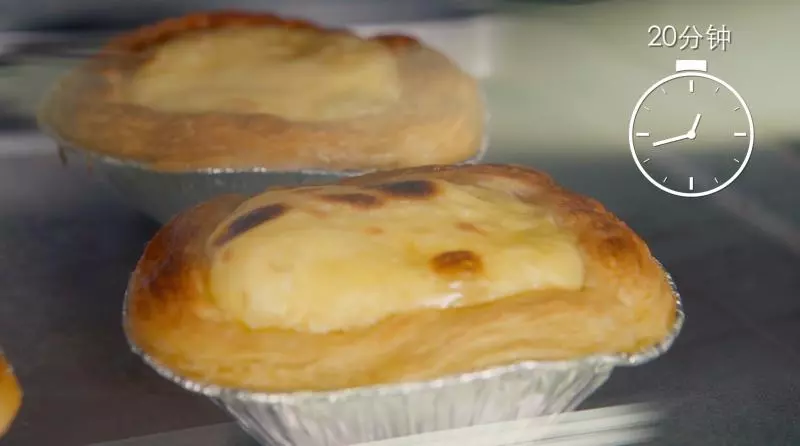
1920分鐘烘焙時間完成,取出烘焙好的蛋撻。
20在蛋撻上加一些藍莓醬,及美觀又美味。get~
小技巧
大家有什麼疑問可以留言諮詢哦。 食譜使用電烤箱