原料
雞蛋: 3個, 細砂糖: 40克, 低筋麵粉: 31克, 牛奶: 30克, 蔓越莓: 適量, 玉米油: 30克
步驟
11、蛋白蛋黃分開,稱好牛奶和玉米油(兩個加一起)
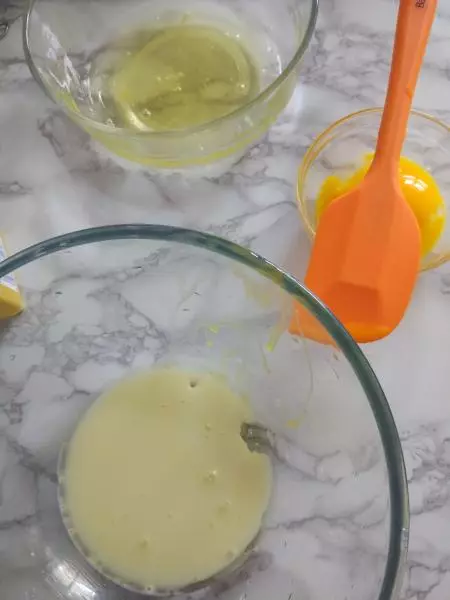
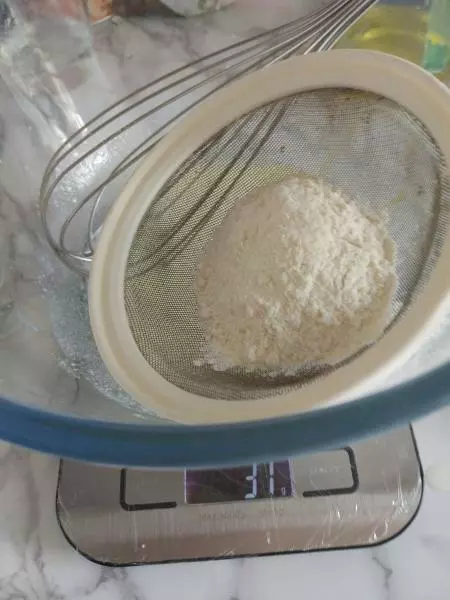
2牛奶和玉米油拌勻至乳白色,篩入低粉
3畫Z攪拌均勻
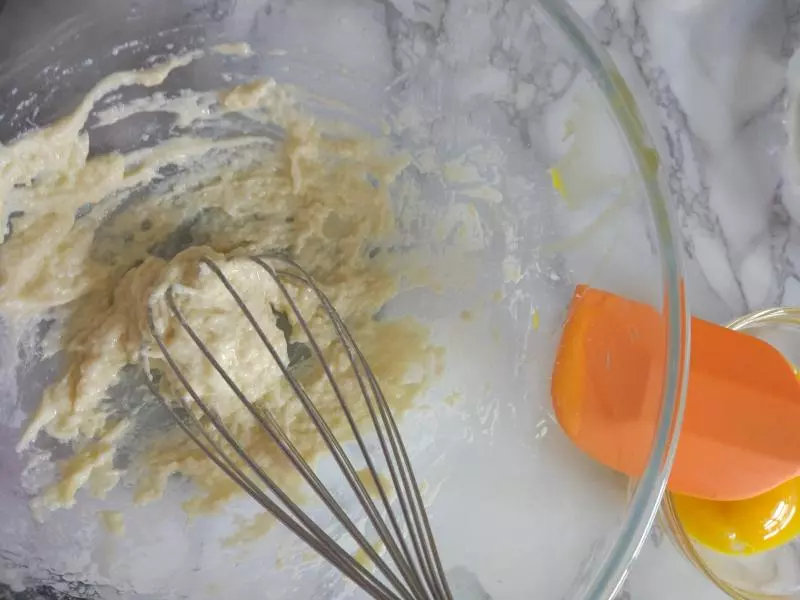
4加入蛋黃畫Z字攪拌均勻
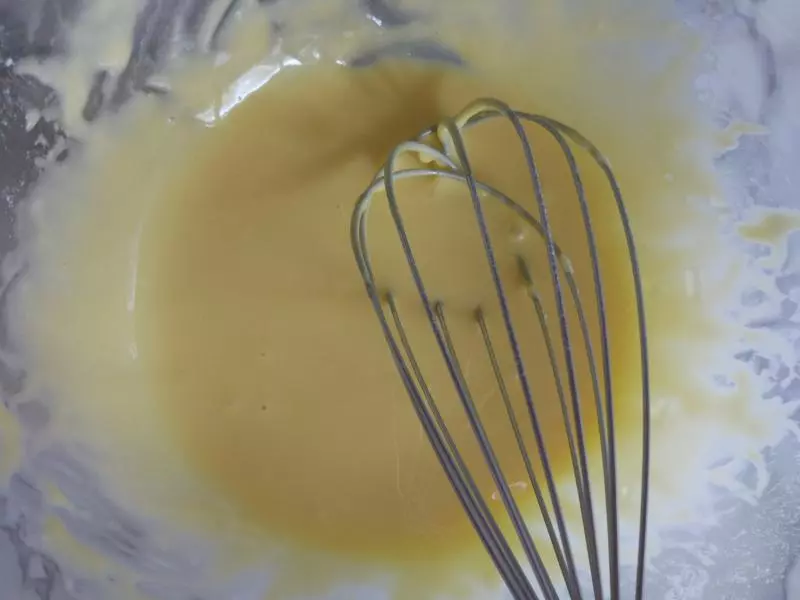
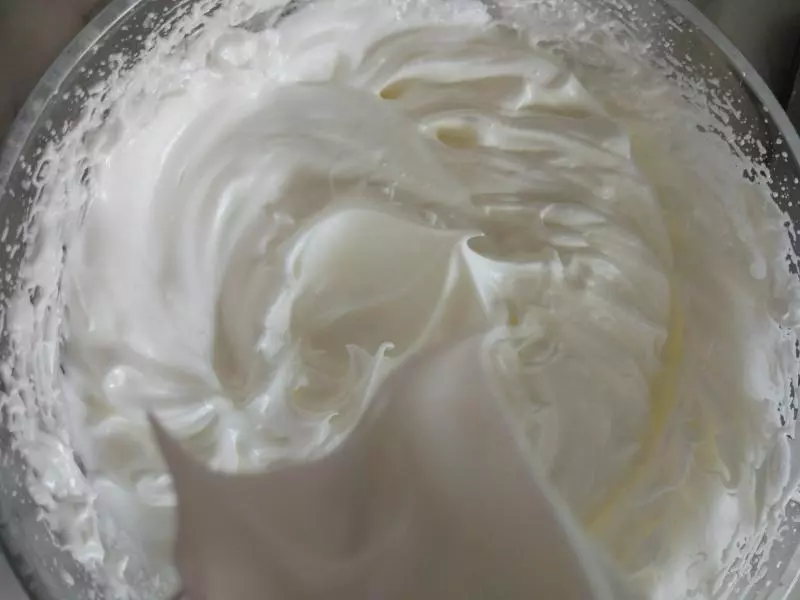
5白糖加入蛋白,低速打發至小彎鉤
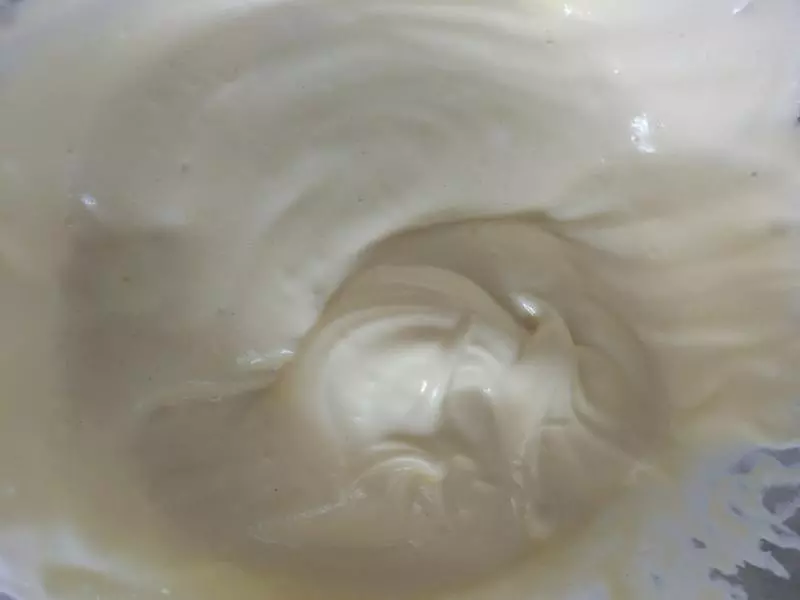
6蛋白分三次加入蛋黃糊,畫Z字攪拌均勻
7蔓越莓滾上低粉
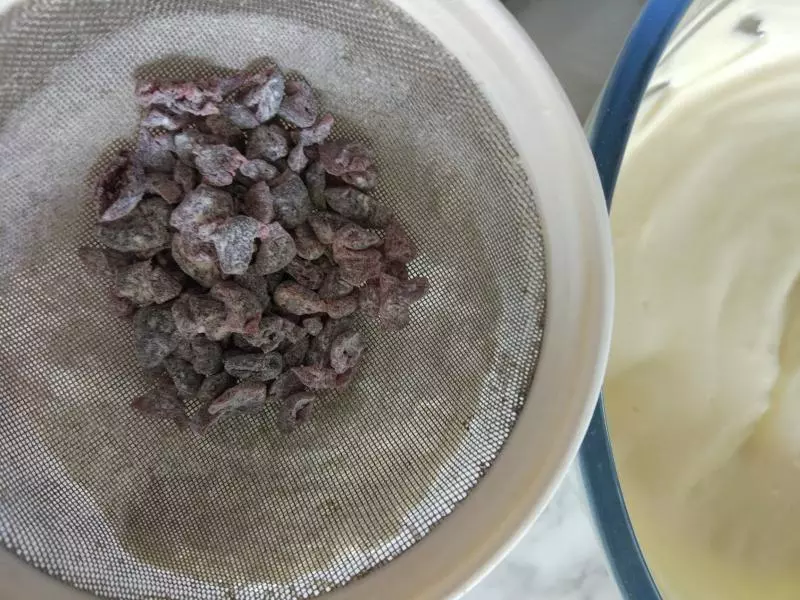
8蔓越莓加入麵糊,稍微搬2-3下就可以了

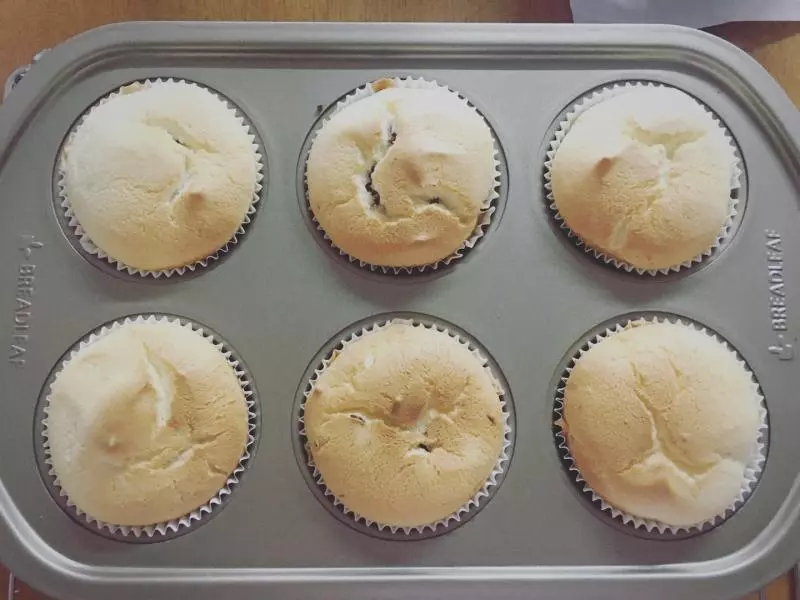
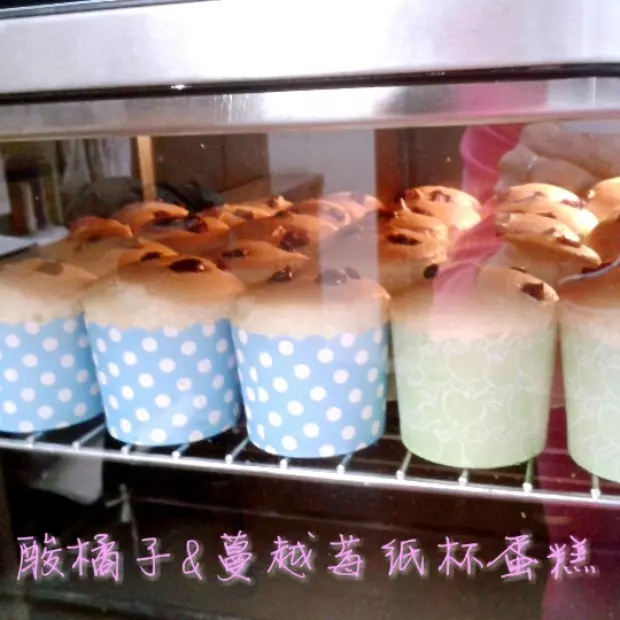
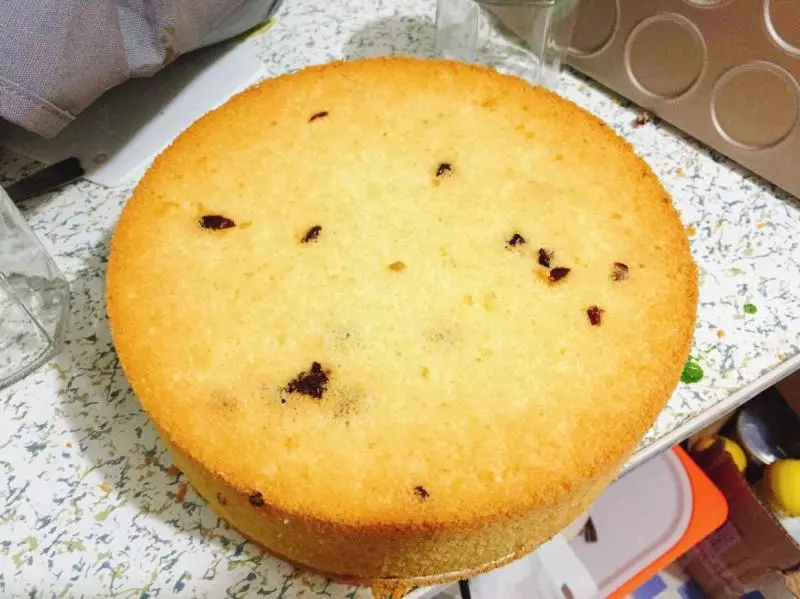
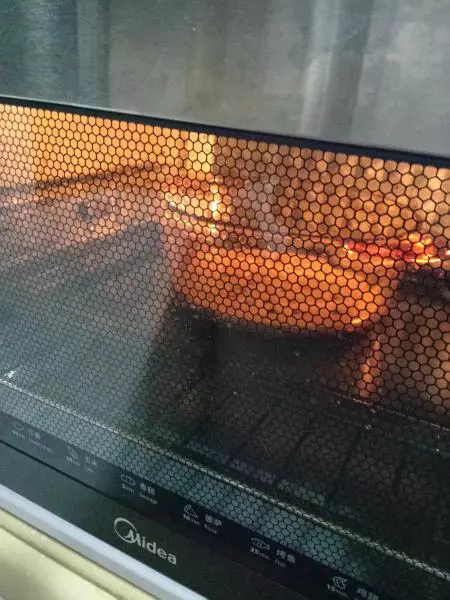
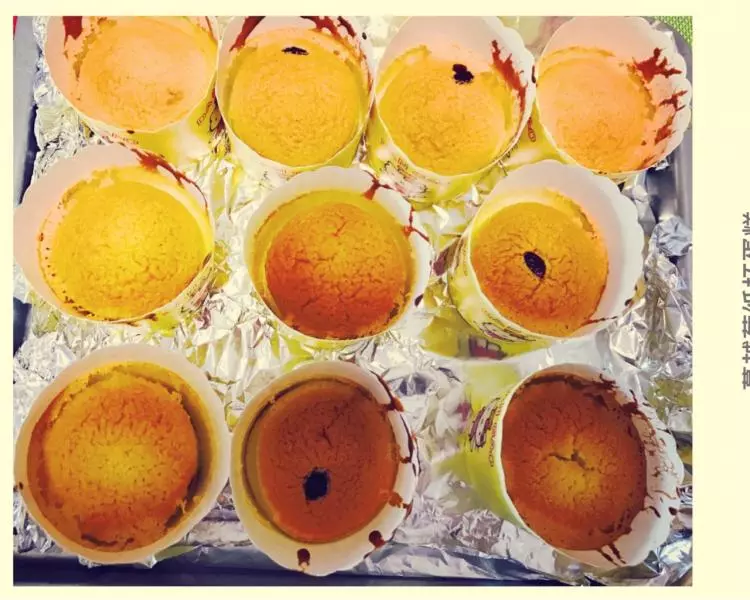
9中層,上火170℃,下火165℃,28分鐘(烤箱是柏翠pe5459,不同烤箱根據自身烤箱脾氣來)

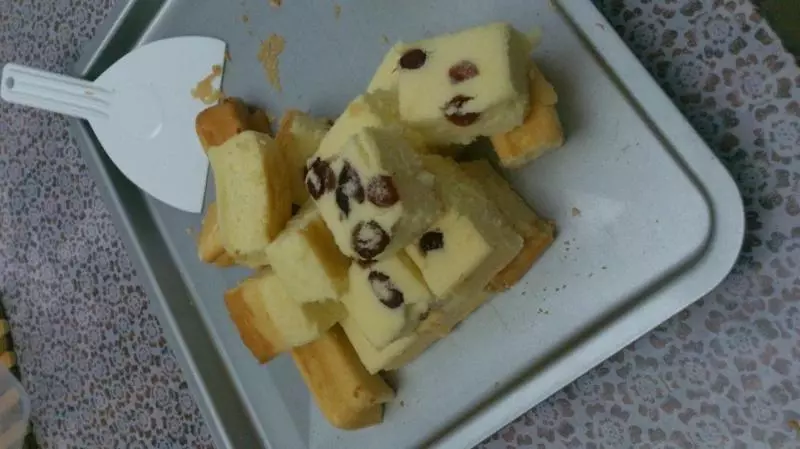
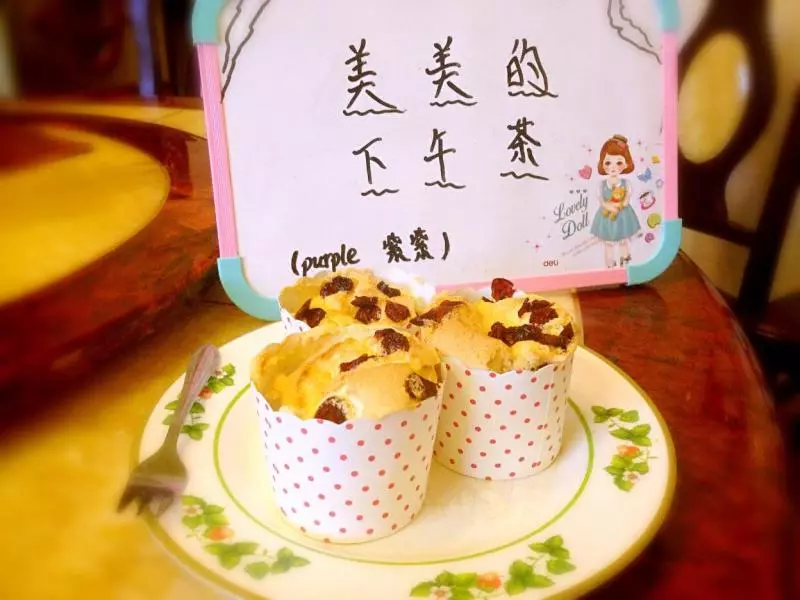
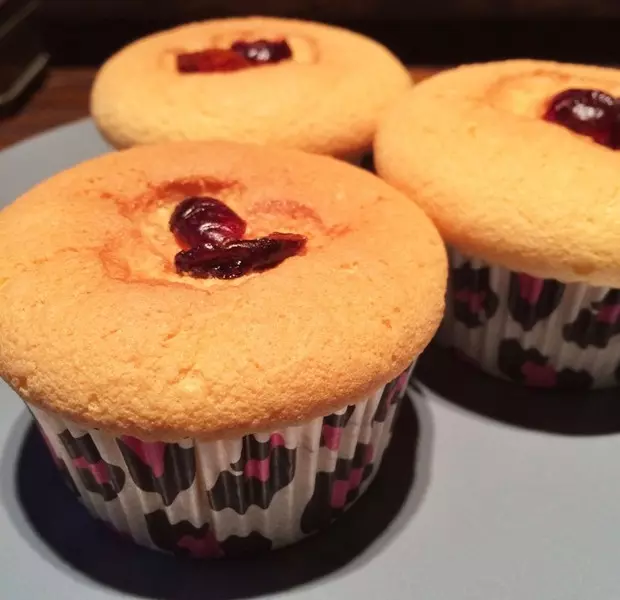
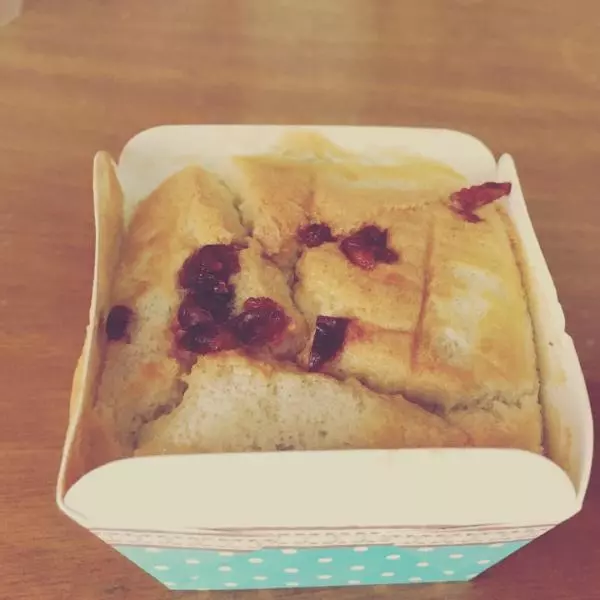
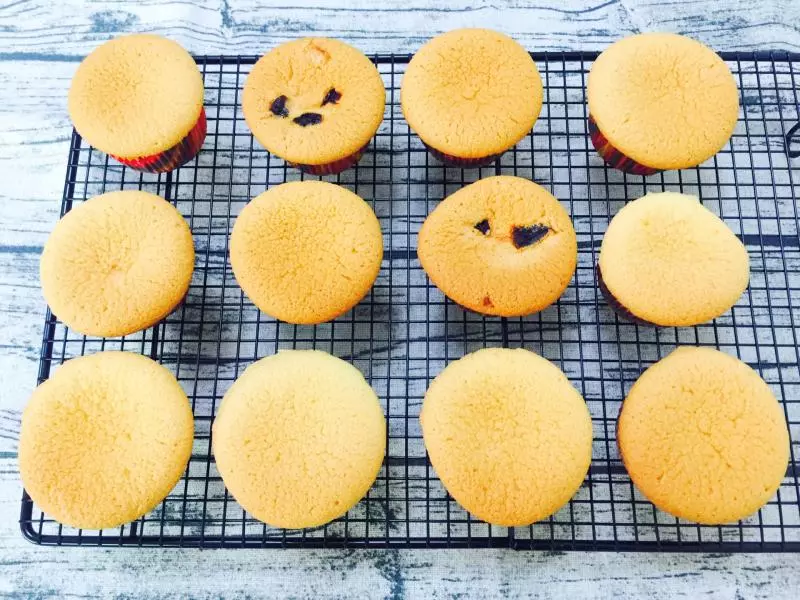
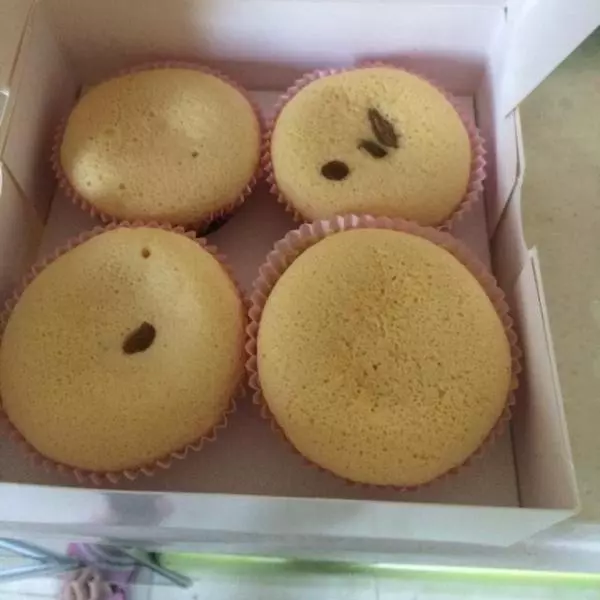
10小寶貝忍不住要拿去吃

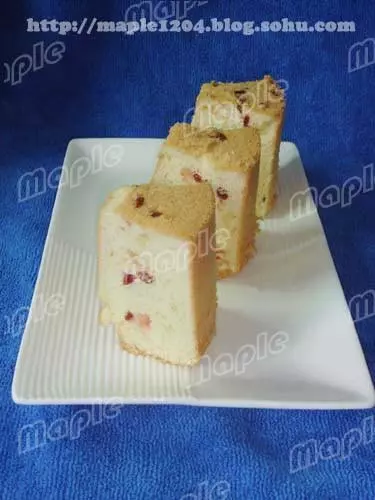
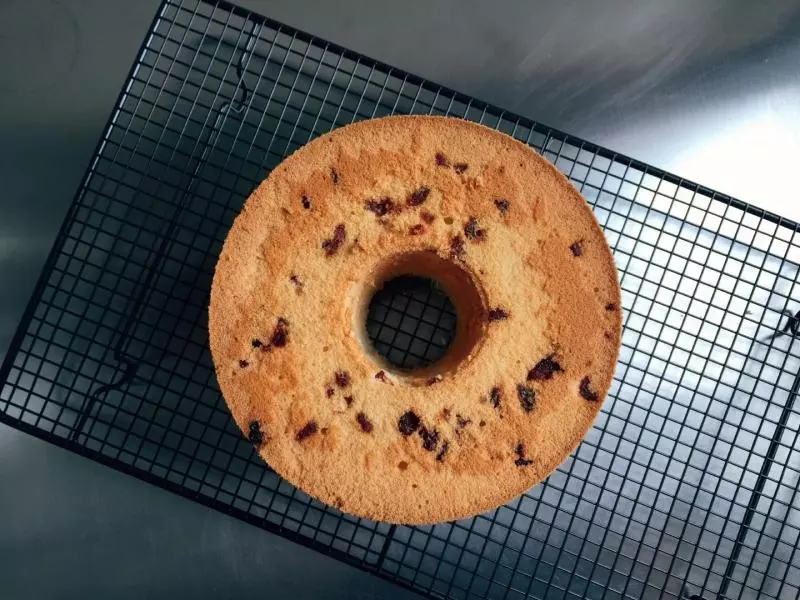
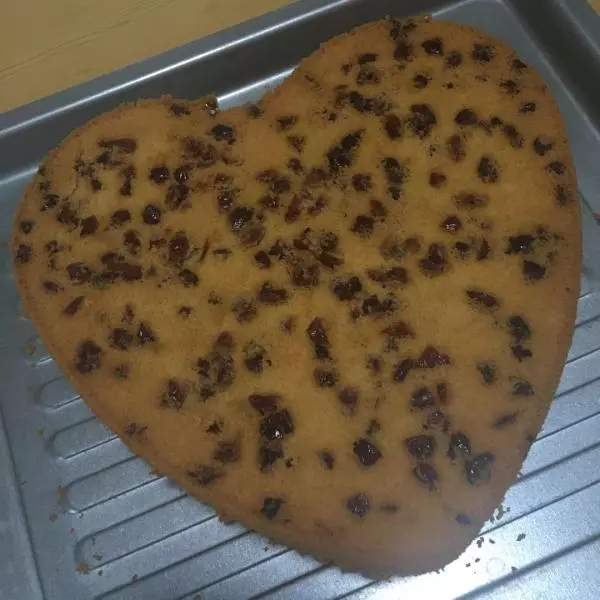
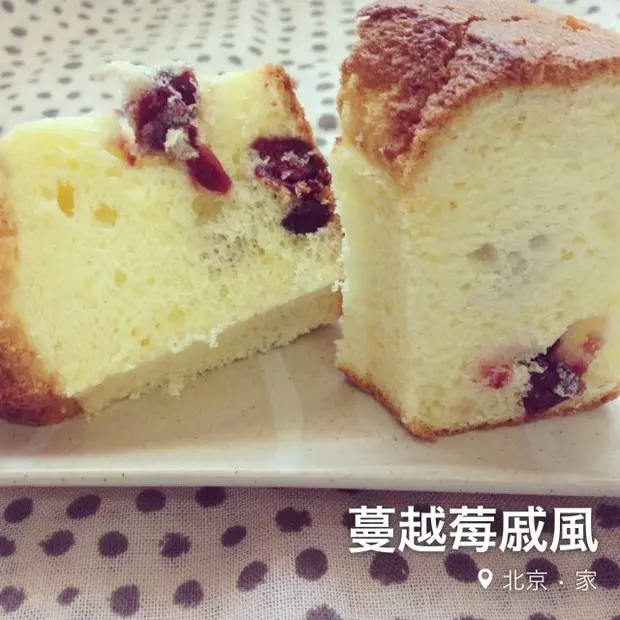
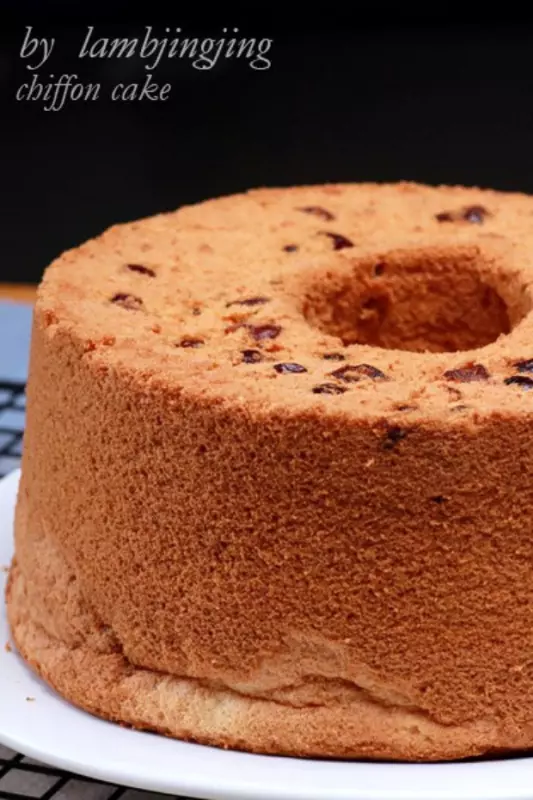
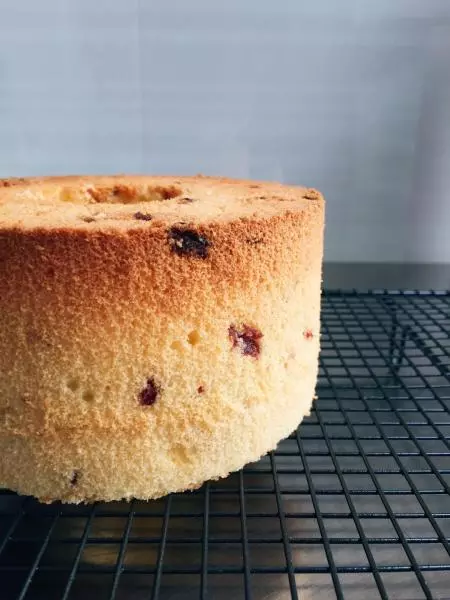
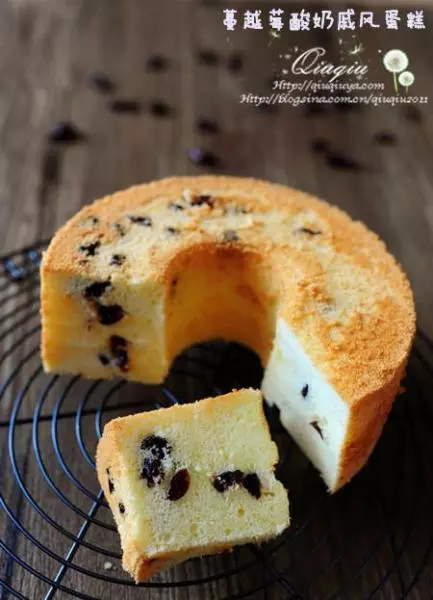
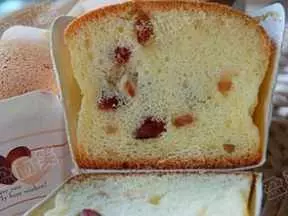
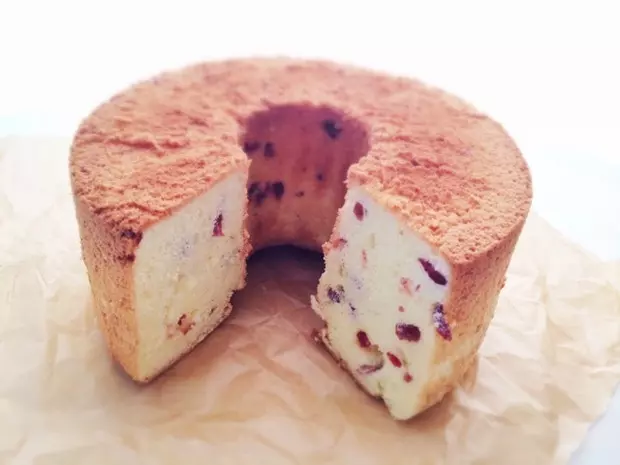
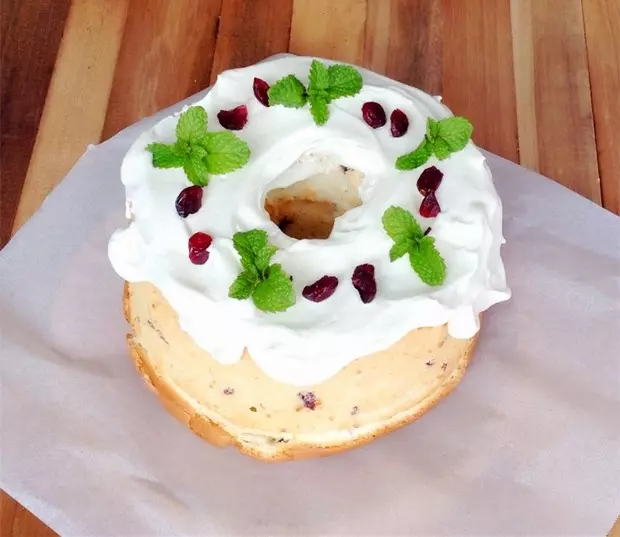
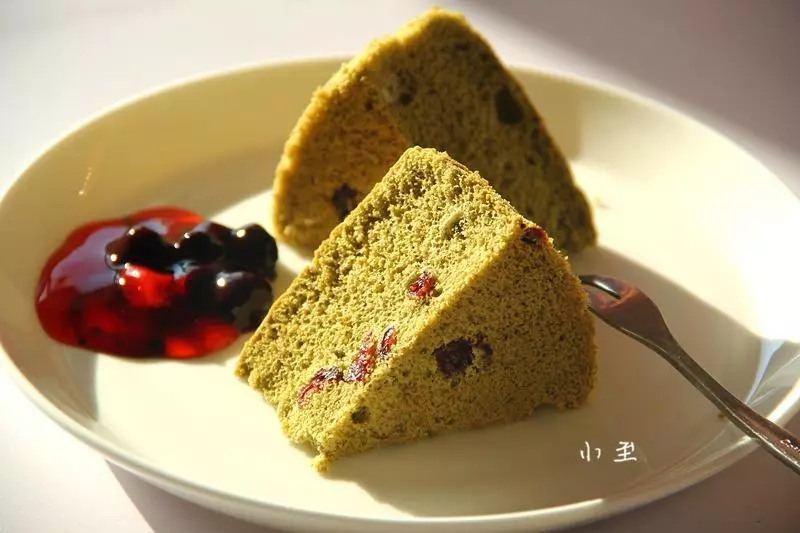
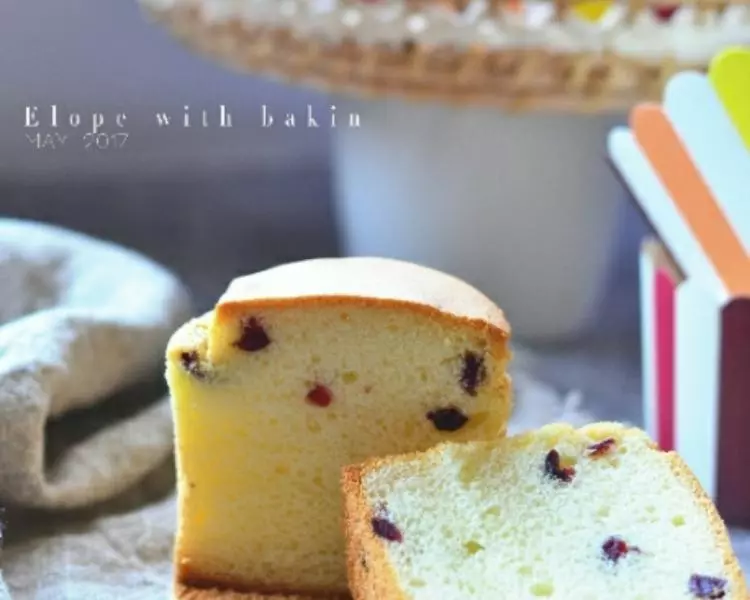
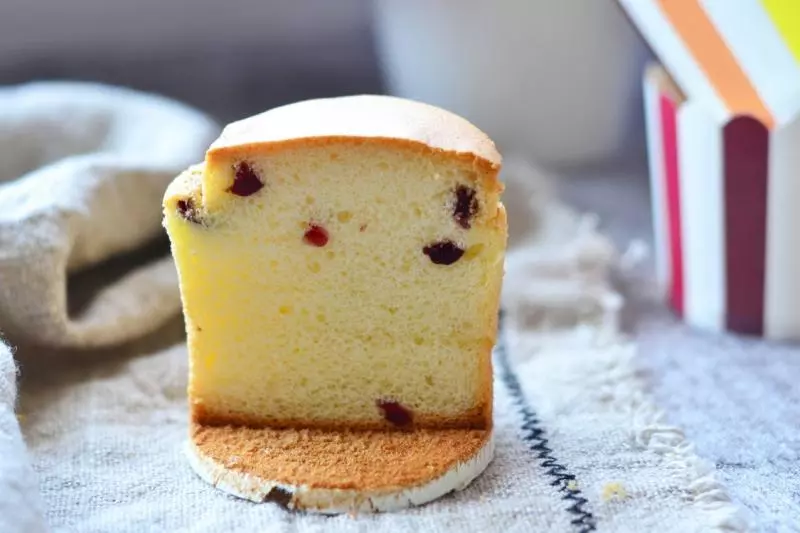
11成品切面,不拍了,開吃
小技巧
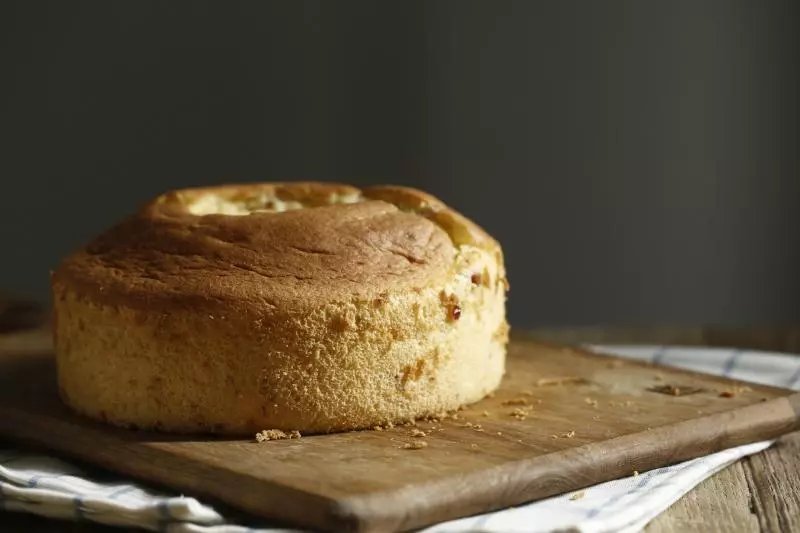
蛋白我是一次性加糖低速打發的,你也可以分三次加,雞蛋不大,大約50克,大雞蛋兩個就夠了,紙杯沒有回縮,我出爐的時候鎮了兩下