原料
雞蛋: 3個, 牛奶: 50克, 低粉: 45克, 細砂糖: 40克, 鹽: 1克, 玉米澱粉: 5克, 芝士粉: 8.5克, 檸檬汁: 幾滴, 玉米油: 30克, 黑芝麻: 12克
步驟
1稱量好所有的材料

2模具提前抹油

3分離蛋白與蛋黃!分別滴入幾滴檸檬汁!碗必須無水無油!

4加入油!牛奶!鹽!15克的糖!芝士粉!

5攪拌均勻!無顆粒!無油水分離!

6倒入過篩的低粉!

7用蛋抽Z字形攪拌均勻無乾粉!

8攪拌好的麵糊里加入蛋黃!

9蛋抽用Z字形翻拌均勻!提前預熱烤箱150度!

10蛋白打到發泡!加第一次糖!

11蛋白打到有彎鉤加第二次糖

12加入第三次糖和玉米澱粉打到硬性發泡!有尖尖的直角!

13翻拌好的麵糊里加入3分之一的蛋白!

14蛋黃糊與蛋白糊翻拌均勻!

15翻拌好的麵糊倒入剩餘的蛋白糊里!翻拌均勻!

16翻拌好的麵糊倒入分料器!

17用分料器把麵糊倒入模具!震出空氣!

18把模具放入預熱好的烤箱第二層!上下管150度烤25分鐘!

19成品出爐了!出爐後!兩手拿著模具兩邊!桌子上墊塊抹茶!豎著多震幾下!就脫模了!

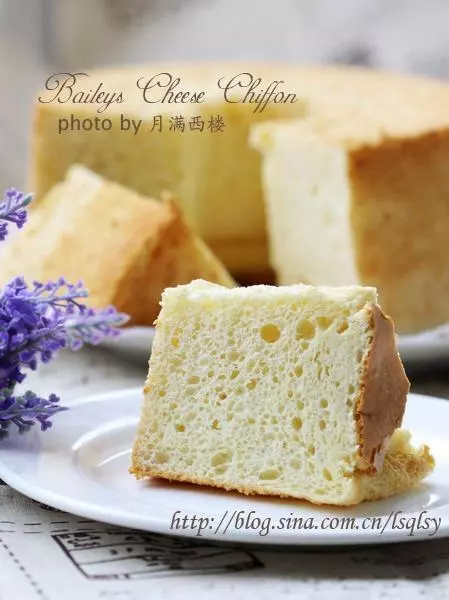
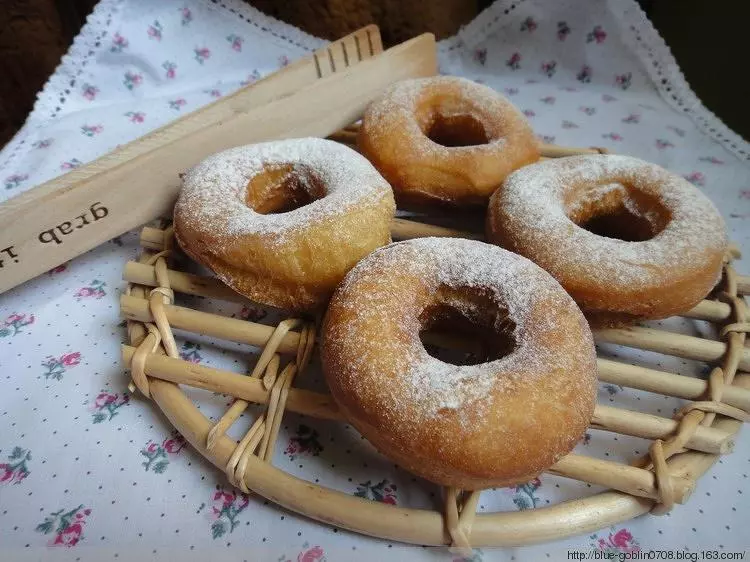
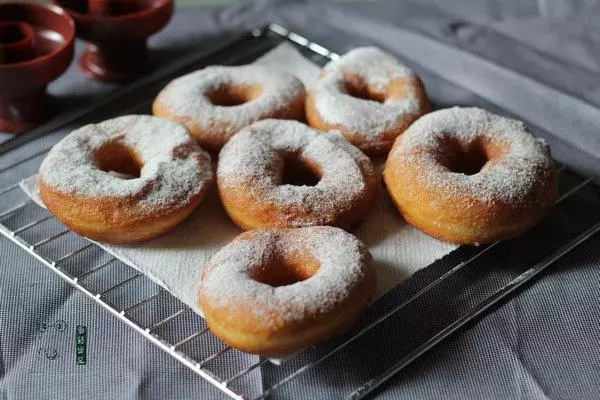
20成品圖!

21成品圖!

22成品圖!

小技巧
我做甜甜圈的做法和戚風的做法是一樣的!只是模具不同而己!模具提前要抹油!脫模的時候!模具底部多敲桌面幾下就出來了!有可能有的模具會敲不出來!你可以用手把蛋糕沿著四周輕輕按下去!然後拿著中間部位就可以脫模了!