原料
蛋黃: 4顆, 砂糖: 26-30克, 水(牛奶): 40克, 調和油(別用花生油,別問為什麼): 40克, 低筋麵粉: 60-70克, 蛋清: 4顆, 砂糖: 60克, 沙拉醬: 我用的是自己做的,外面買的不喜歡, 番茄醬: 適量, 肉鬆: 適量, 椰蓉: 適量
步驟
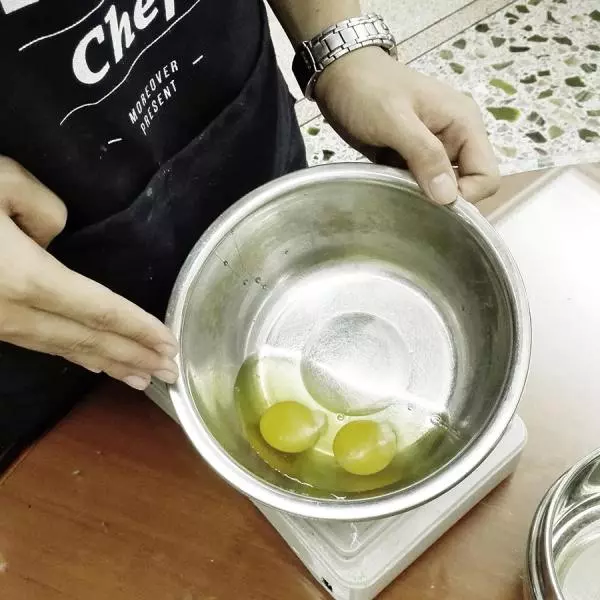
1兩顆雞蛋,進行蛋清分離
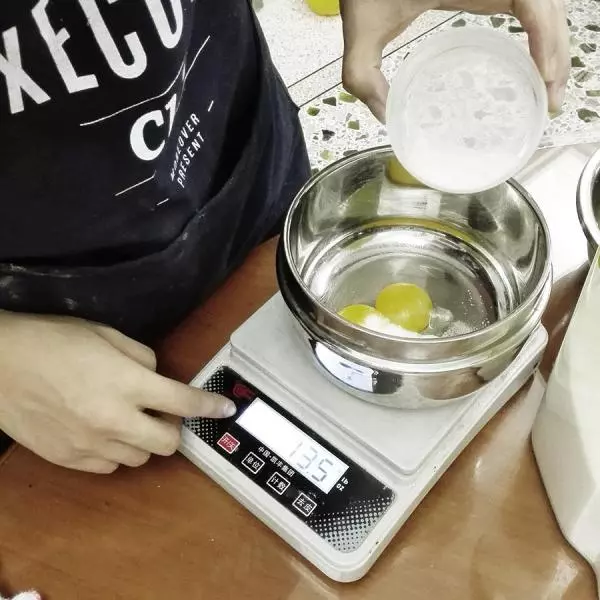
2蛋黃加入砂糖攪拌均勻
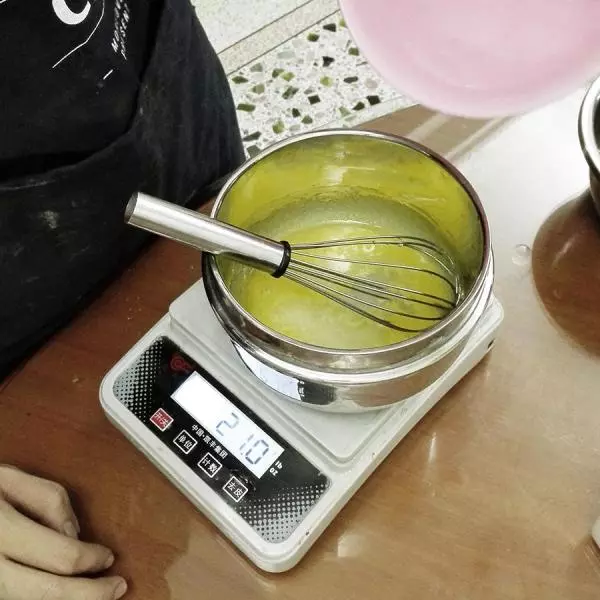
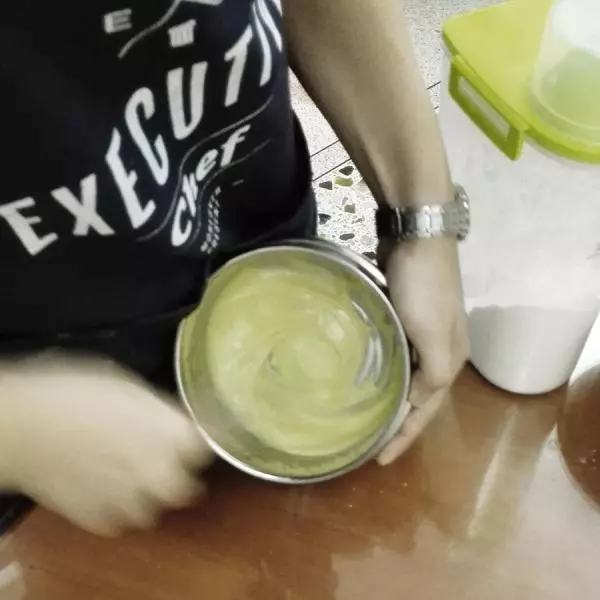
3加水加油,攪拌至乳化(意思就是有點稠的狀態)
4加入低筋麵粉
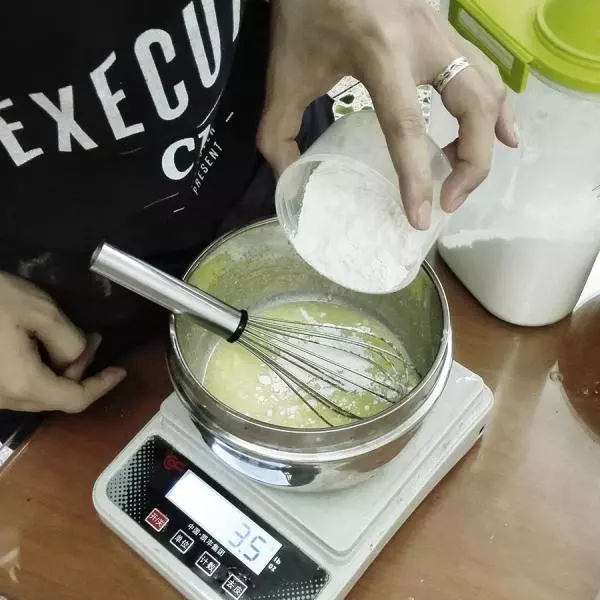
5攪拌均勻,任何手法都可以,不要轉圈圈就好,什麼十字法,摺疊法,即使你想用手去攪拌都可以的!( •̀∀•́ )
6稱好33克砂糖,準備打發蛋白
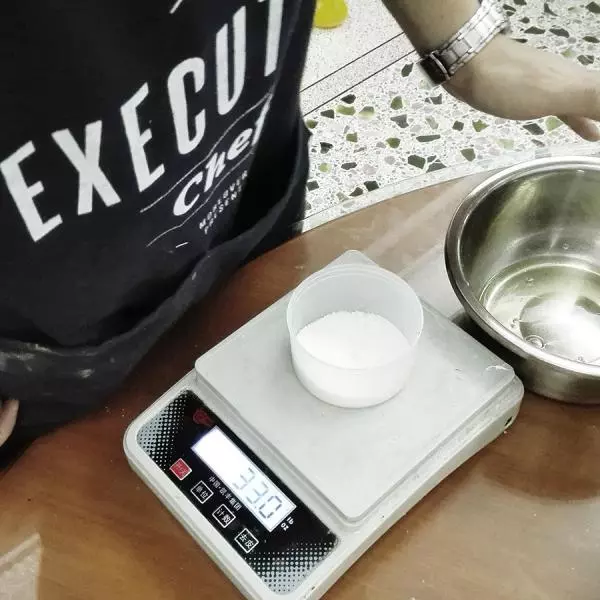
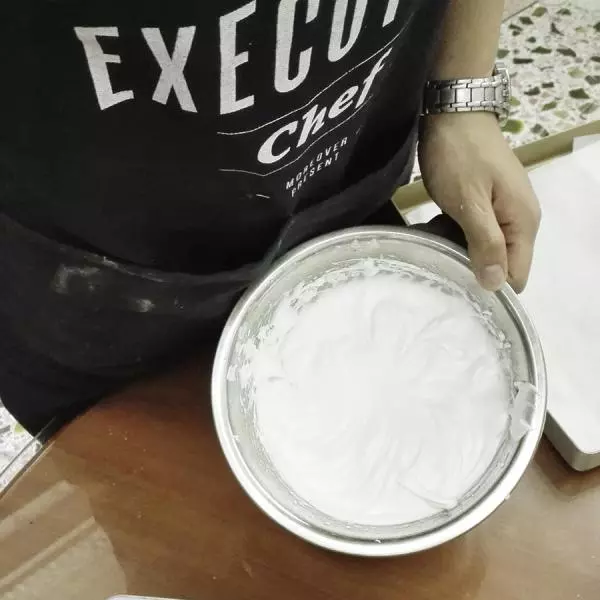
7分三次打發,打至硬性發泡。 如果你對你的技術有信心,在魚眼泡之後,大泡變小泡的時候全加入砂糖都可以。
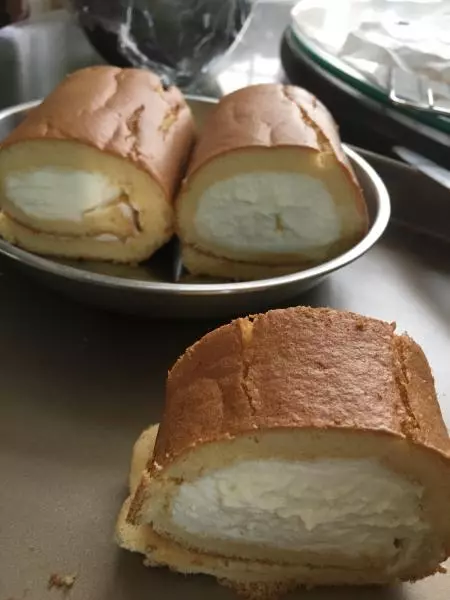
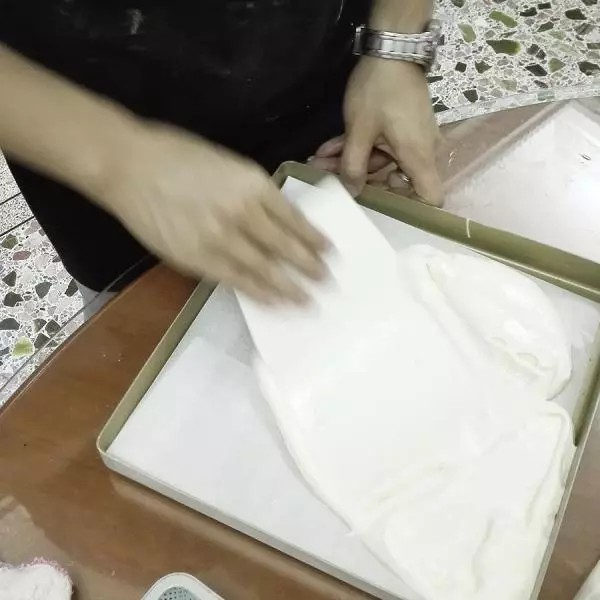
8抹平
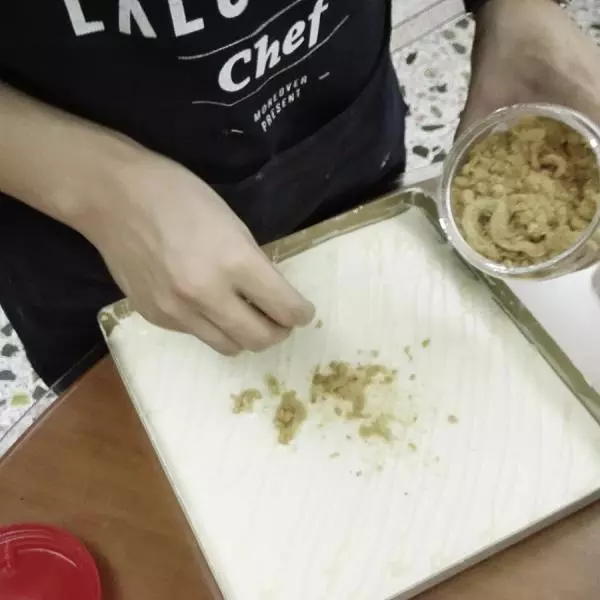
9放上肉鬆
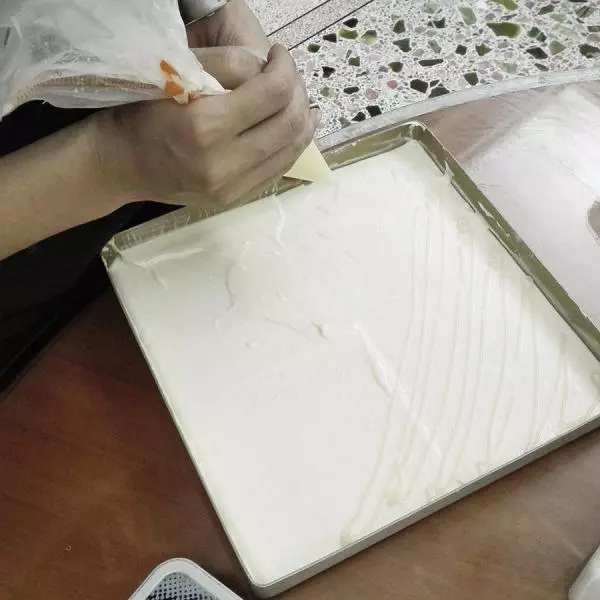
10擠上沙拉醬
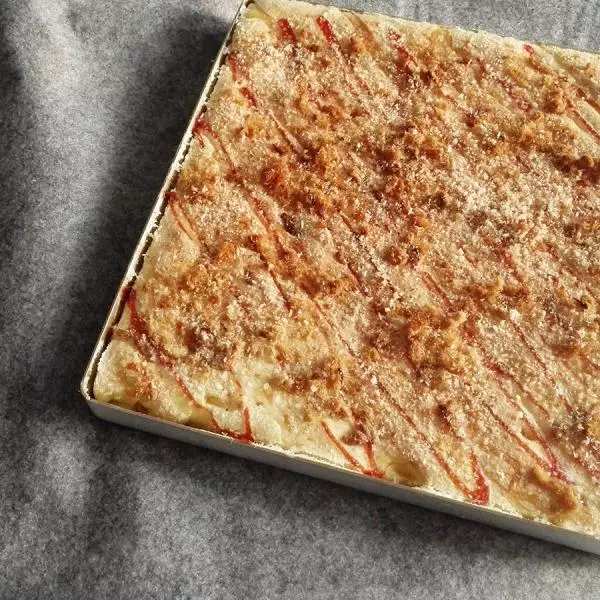
11擠上番茄醬

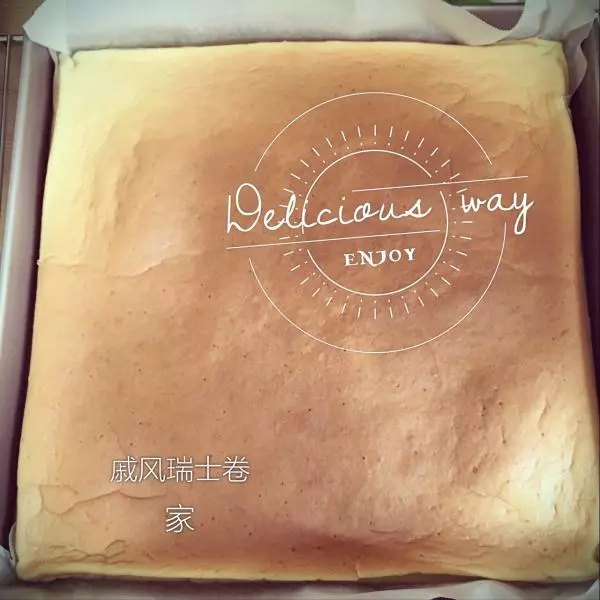
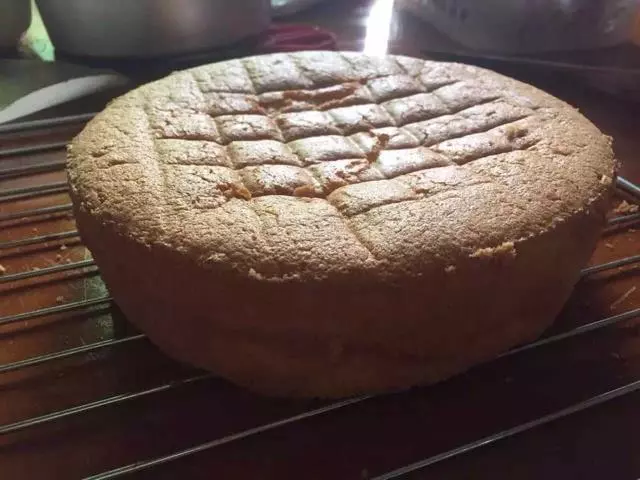
12上火170°,下火200°,烤至表面金黃,按壓不易塌陷即可 (出爐是震一下,涼涼脫模)
13抹沙拉醬
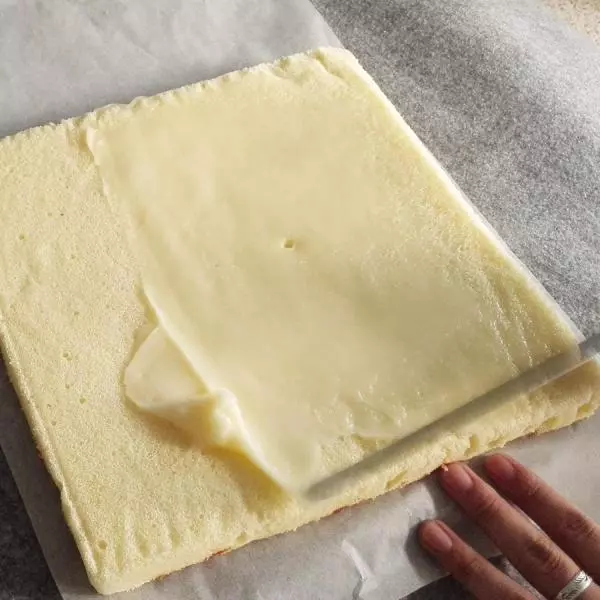
14放肉鬆
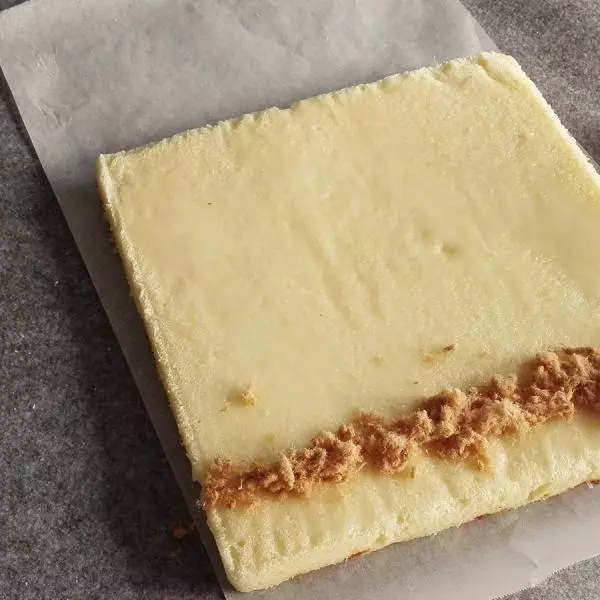
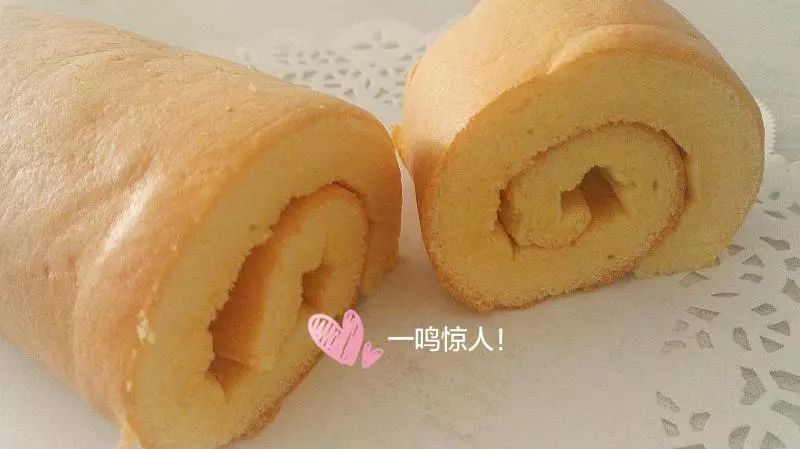
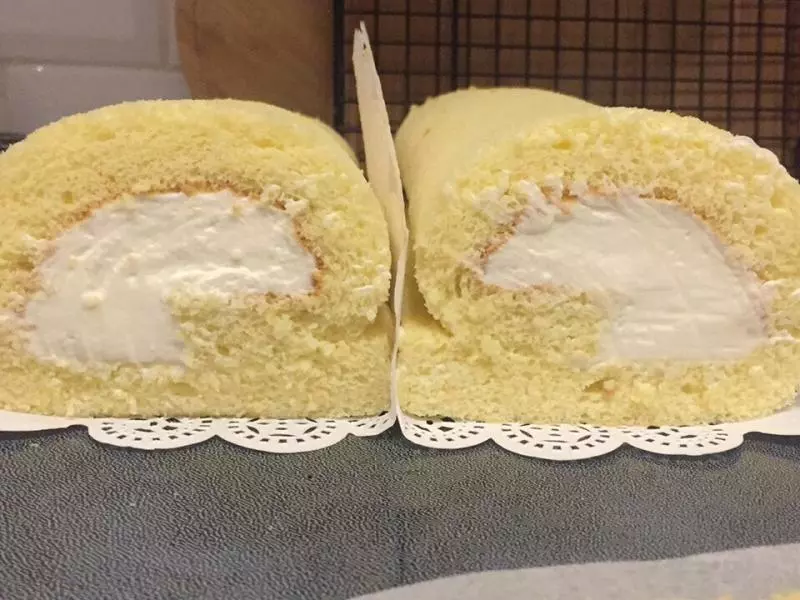
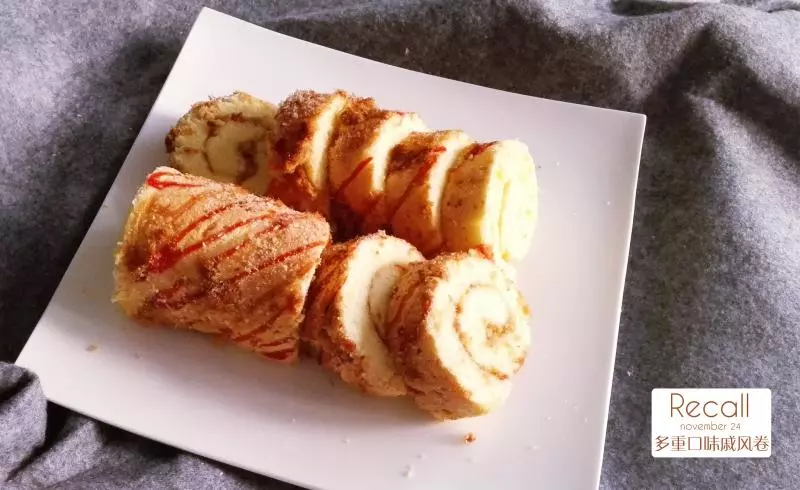
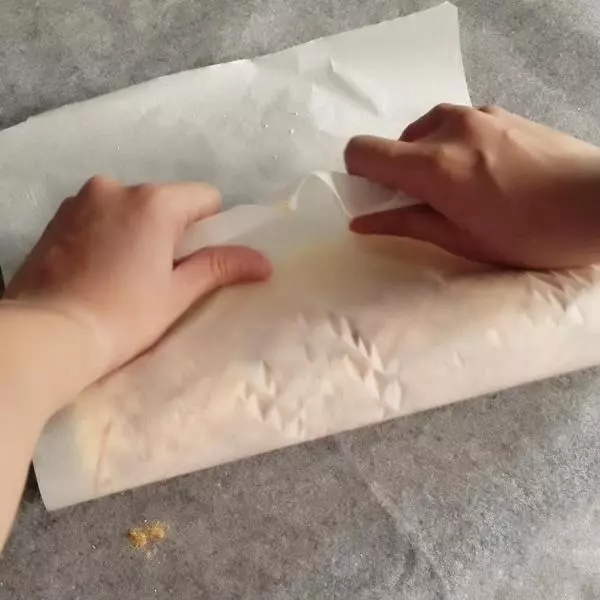
15卷吧卷吧的
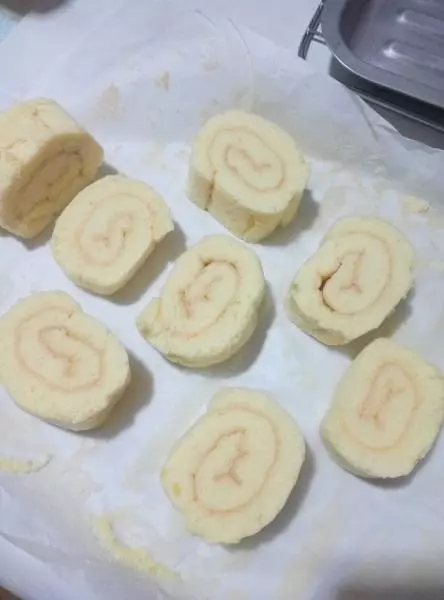
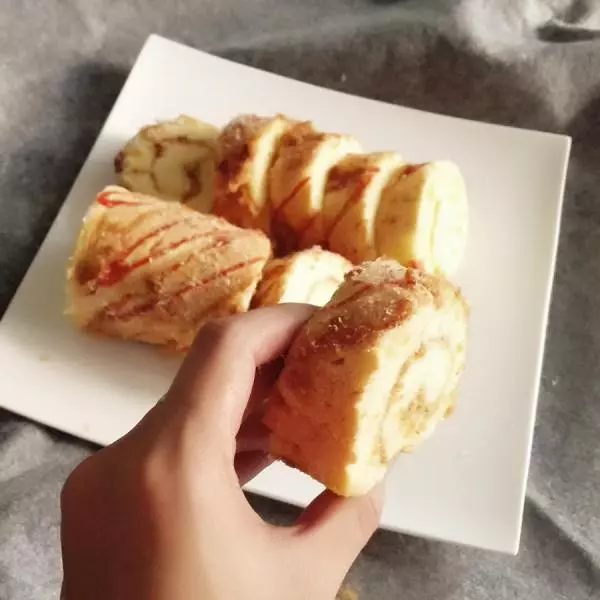
16切吧切吧的

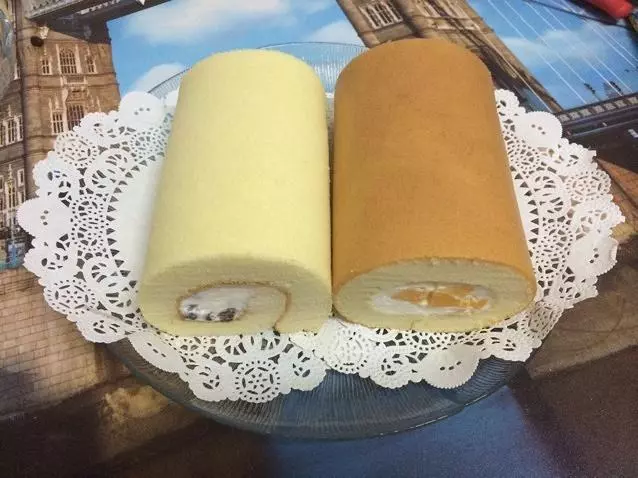
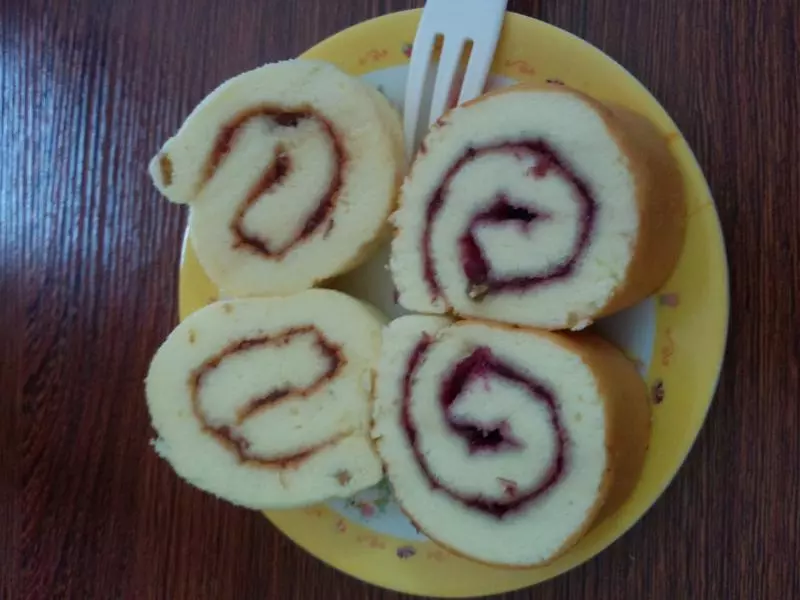
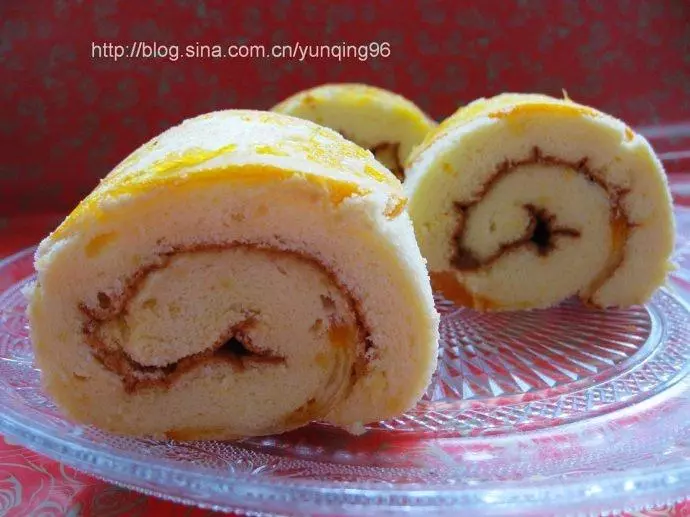
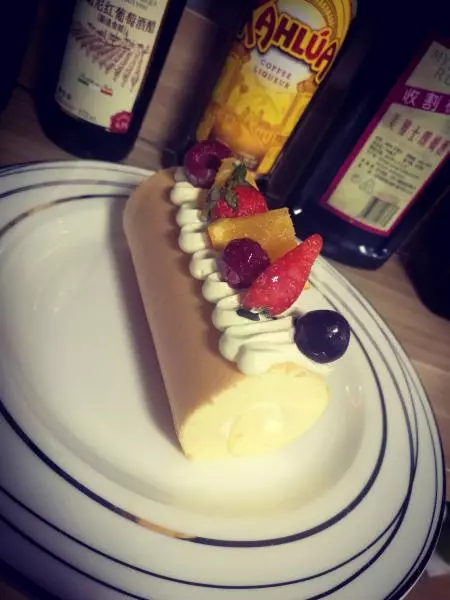
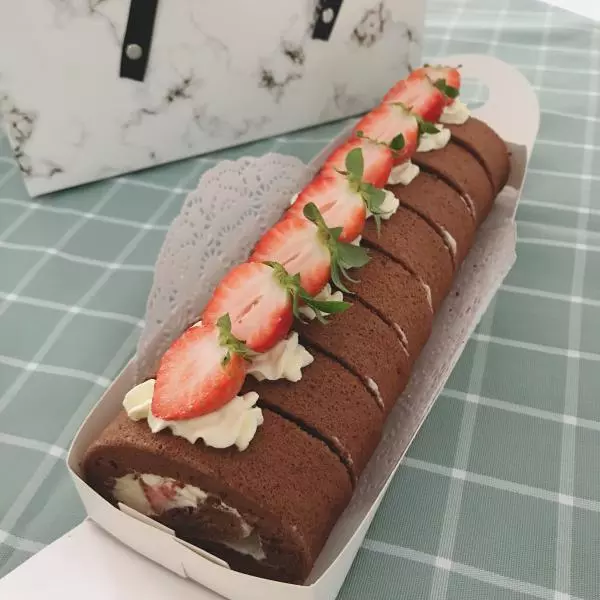
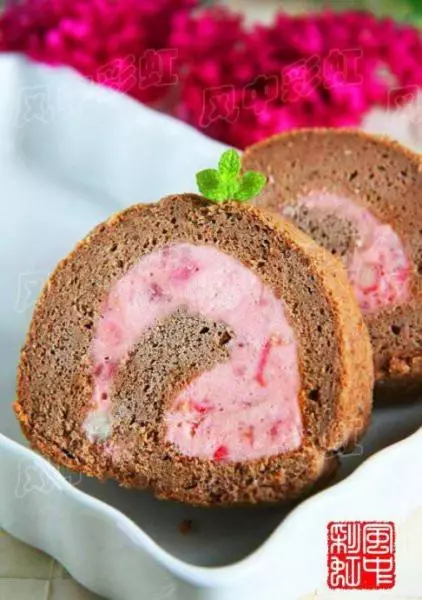
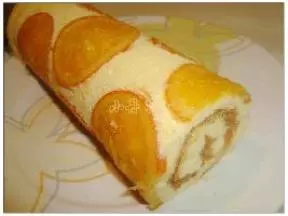
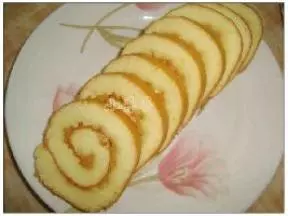
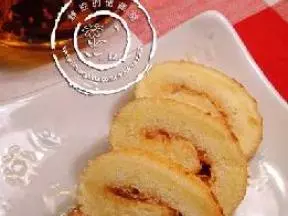
17收工,一張畢業照,然後就美美的去享受吧。
小技巧
1.打蛋白時別打過,這是戚風柔軟的關鍵 2.關鍵的關鍵就是蛋黃液混合蛋白時的手法,不要轉圈!不要轉圈!不要轉圈! 應從下撈起摺疊放下,重複以上動作至均勻。 麵糊的狀態應是略有形狀,不應是糊糊狀的。