原料
山楂: 500克, 冰糖碎: 随意, 水: 少许
步骤
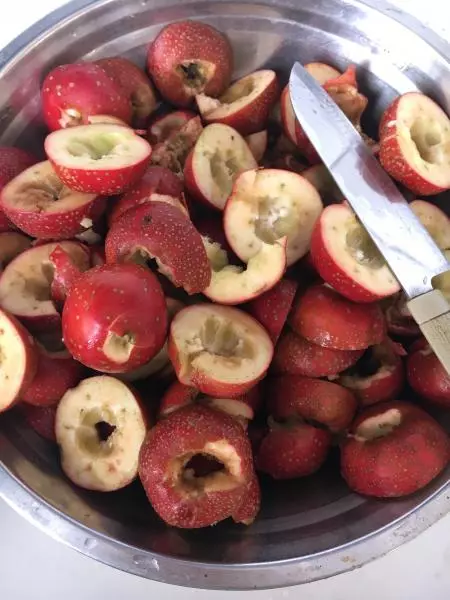
11.山楂去蒂洗净,入锅加一点点水,大火加热3分钟关火,倒入料理机
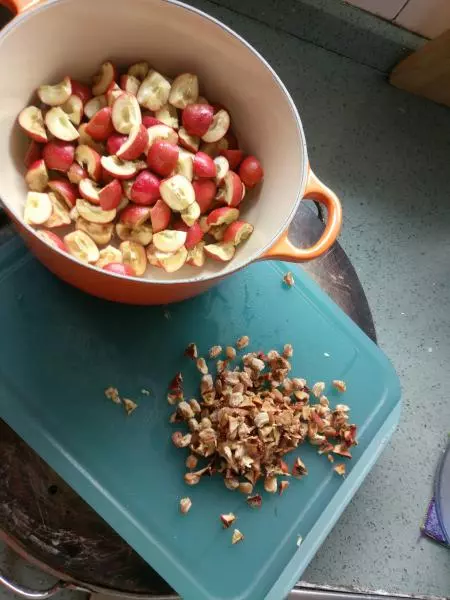
22.山楂一定要先加热了再入料理机,就更易打碎
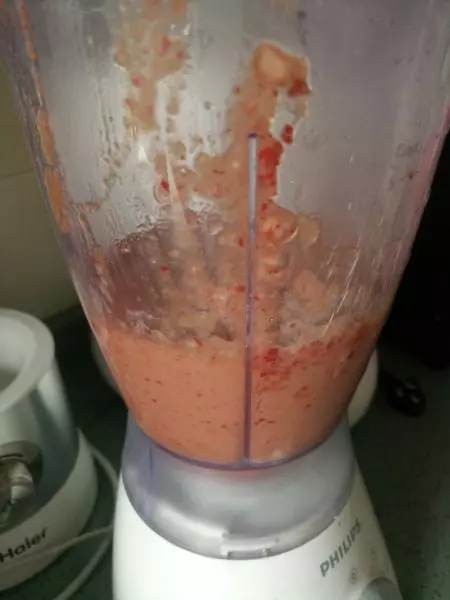
33.山楂入料理机打碎成这种状态
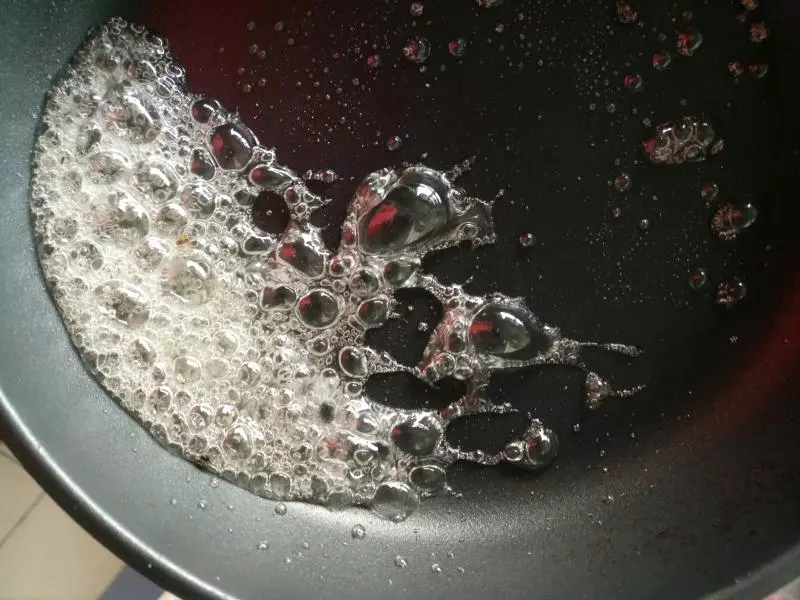
44.冰糖碎加一点点水大火熬开,转小火
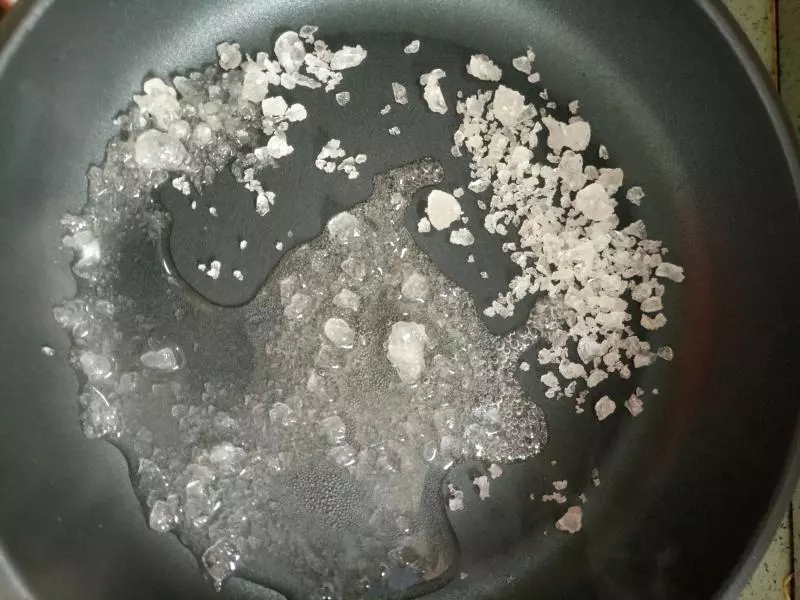
55.熬成这种状态关火
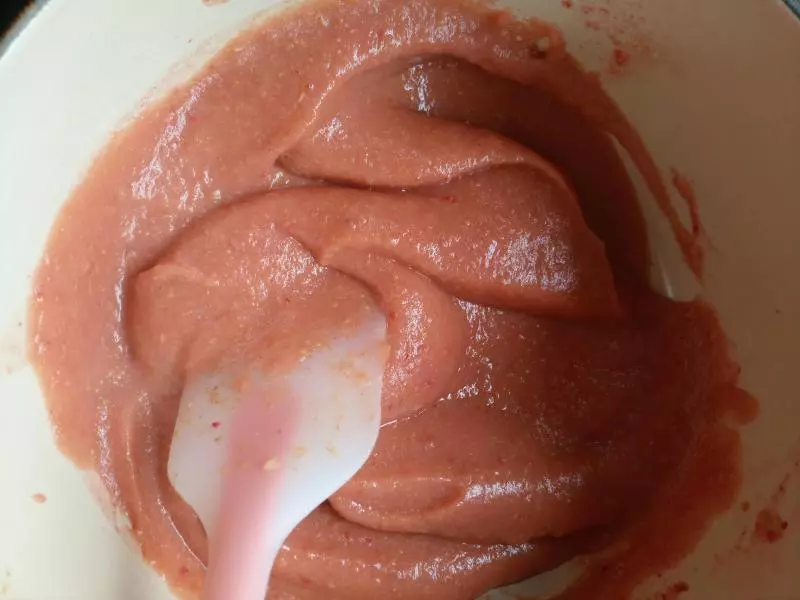
66.将熬好的糖和山楂混一起,中火加热
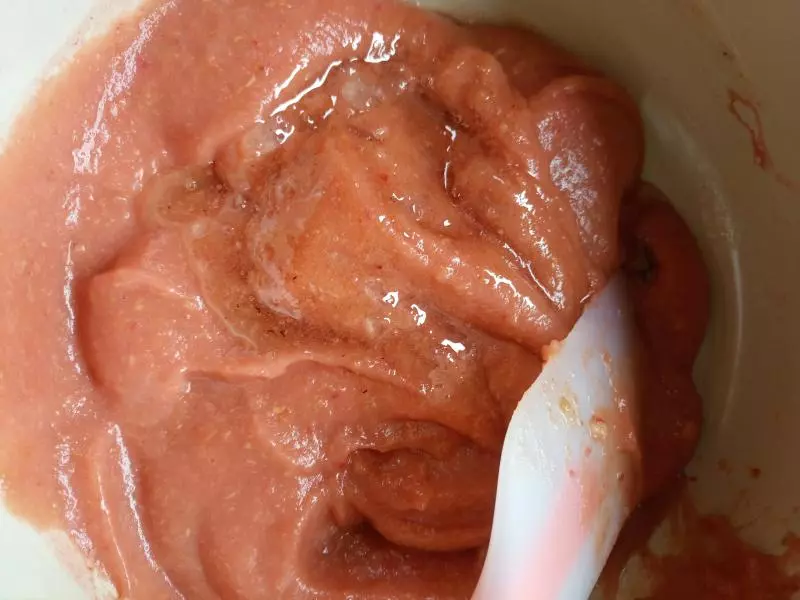
77.加热时不停搅动山楂酱,因为山楂自带很强的果胶,不停搅拌,以免粘锅
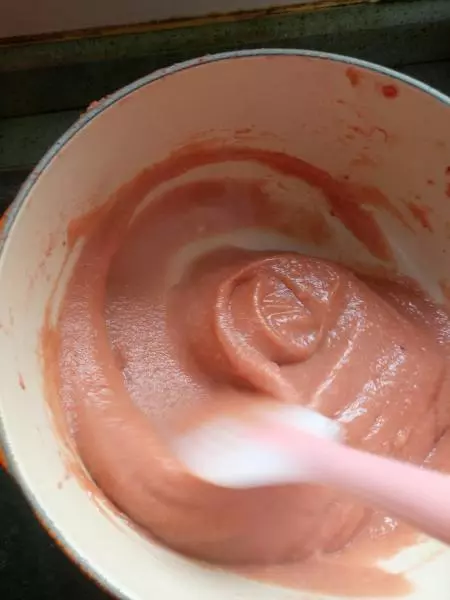
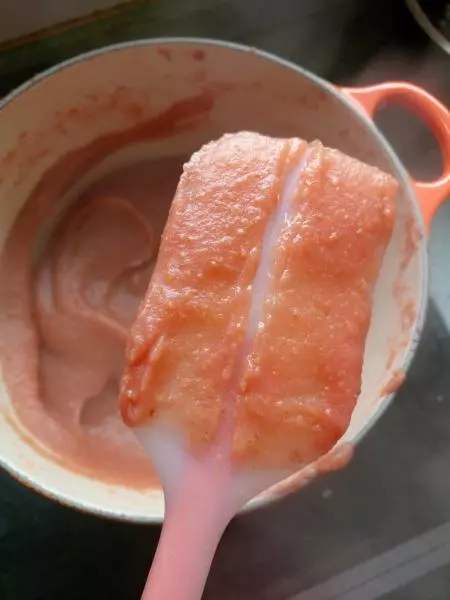
88.中火搅拌10分钟左右转小火,熬至图7状态,刮刀上划开,不会流动汇合,关火
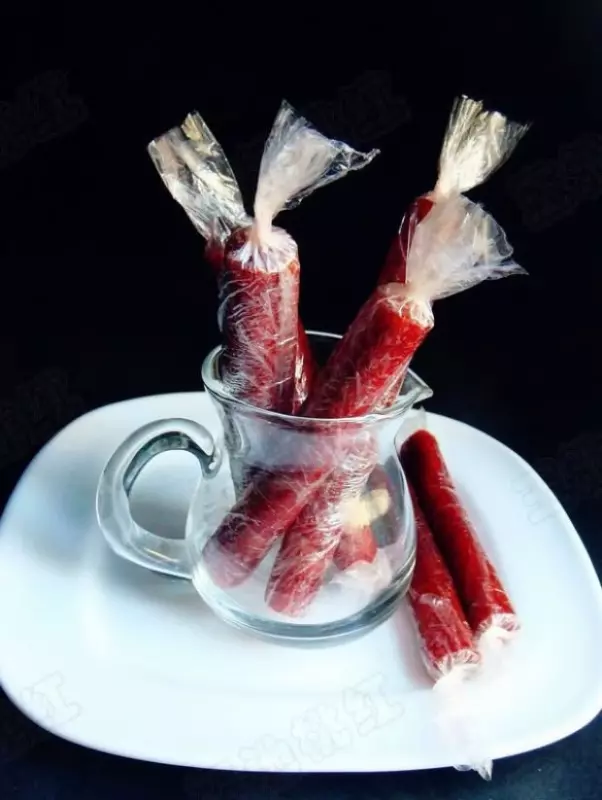
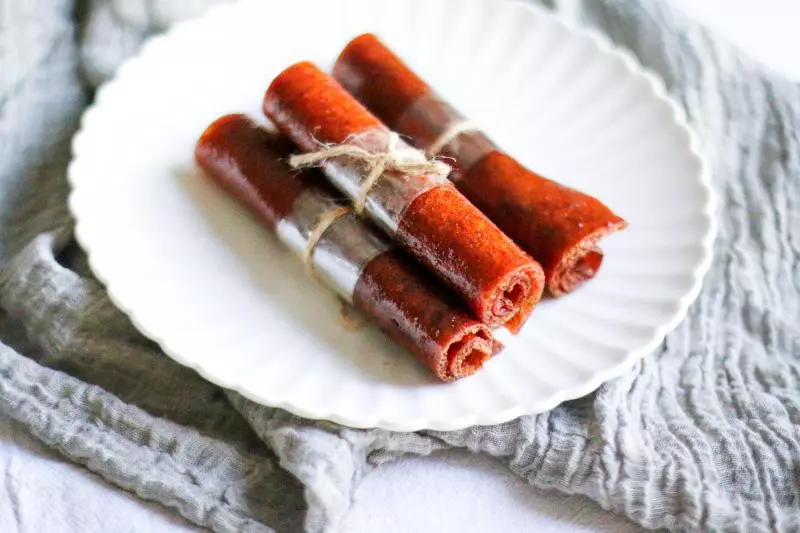
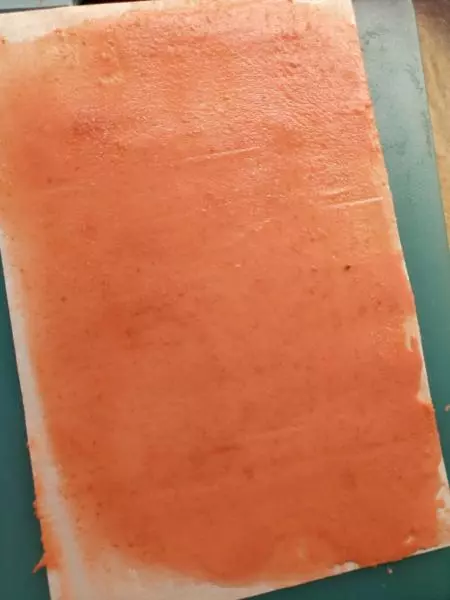
910.平抹在油布上,不要太薄,不然容易烤太干,大概6毫米左右是最合适的,烤箱上下火150度,40分钟左右,中间稍微留意看一下(每家烤箱功率都不相同,温度和时间要根据自家烤箱进行调整)
小技巧
1.一定要去蒂,这样口感比较好。 2.熬糖尽量用不粘锅,不要用铁锅,不然会发黑。 3.山楂先加热再入料理机更容易打碎。 4.山楂和糖混合后尽量延长翻炒时间,水分蒸发越多,果丹皮就更易成型。 5.山楂和糖里面加的水越少越好!这样就缩短翻炒时间!