简介
省掉了第一层奶皮的步骤,对口感影响不大,就是简单粗暴、好吃易学! 材料里面给的用量可以做两小碗。
原料
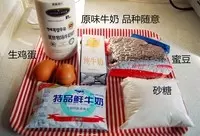
牛奶 250ml, 细砂糖(没有也可以用白糖) 20g~25g, 生鸡蛋 两个鸡蛋的蛋清, 蜜豆 随意, 葡萄干 随意
步骤
1材料如图,码了很多种牛奶,其实用一种就好啦,只是告诉大家什么牛奶都可以做,不用纠结。
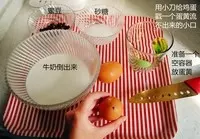
2鸡蛋扎眼儿,把其他材料按用量准备好。
3把蛋清放入牛奶里。

4所有材料准备就绪,蛋黄放一边备用。
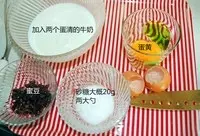
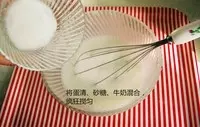
5将蛋清、砂糖、牛奶混合,疯狂搅匀。(不需要用电动打蛋器打散)
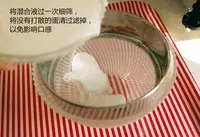
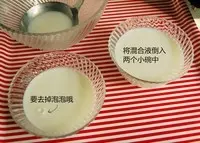
6将混合液过一次细筛(面粉筛) ,将没有打散的蛋清过滤掉,以免影响口感。(嫌麻烦这个步骤也可以省略)
7将混合液倒入两个小碗中。
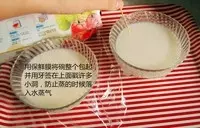
8用保鲜膜将碗整个包起,并用牙签在上面戳许多小洞,防止蒸的时候落入水蒸气。
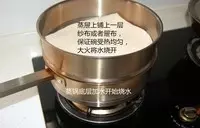
9蒸锅底层添水,蒸屉上铺一层屉布,用以保证碗受热均匀,大火将水烧开。
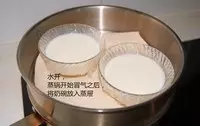
10水开后,将奶碗放入蒸屉。
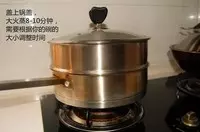
11盖上锅盖,大火蒸10分钟;蒸好后,关火、再盖着盖子闷上10分钟。
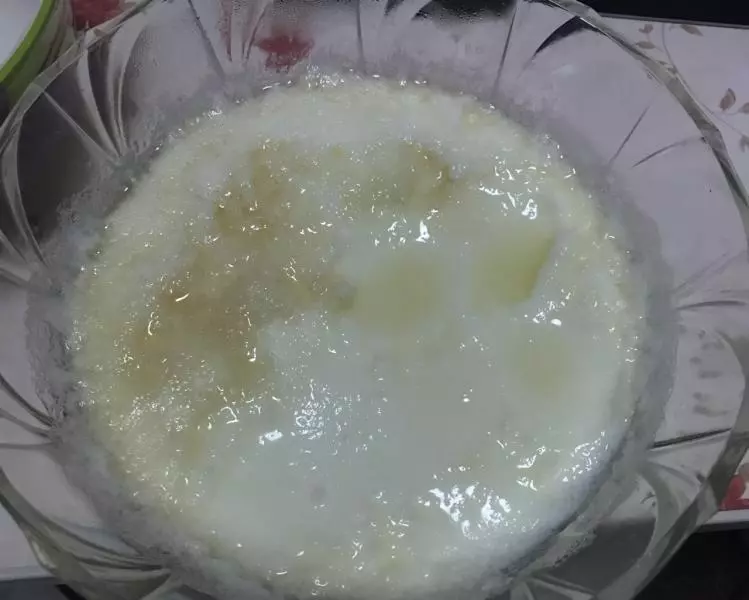
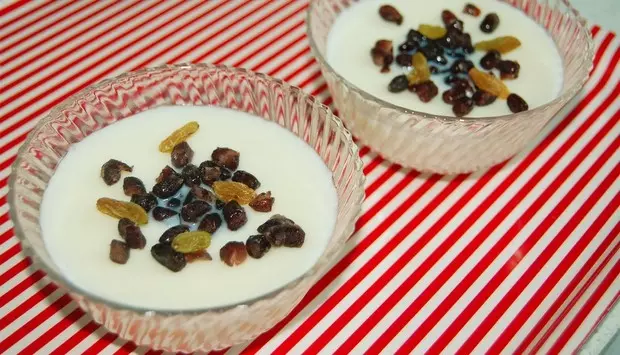
12将双皮奶拿出来,小心别烫着。

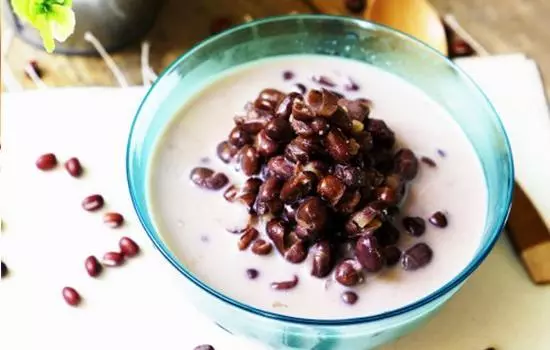
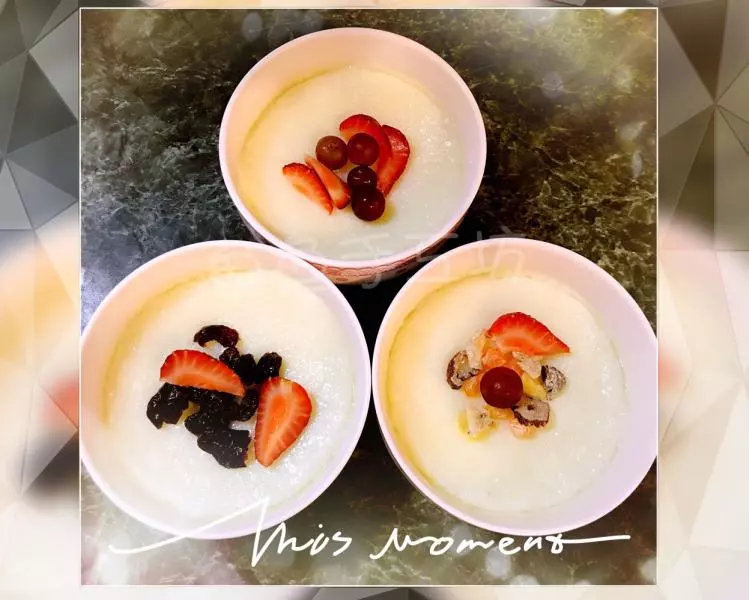
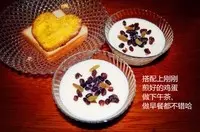
13撒上爱吃的小料——比如蜜豆、葡萄干。
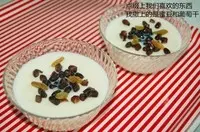
14搭配上用剩下的蛋黄做的煎蛋,作为早餐或午茶甜品都不错,也推荐大家一次多做几碗、放在冰箱里冷藏风味更佳,随时都可以拿出来吃~
小技巧
1、正宗的双皮奶应该是先将牛奶加热,然后倒入一个碗中,等牛奶凉了会在表面形成一层奶皮,此时将奶皮掀起一角,把牛奶倒出来,这样碗底就会留有一层奶皮。 将余出的牛奶与鸡蛋清、砂糖混合,重新倒入之前有奶皮的碗里,上锅蒸制。 蒸好后的牛奶混合液冷却后,会又形成一层奶皮,所以叫双皮奶。 简易版做法就是省掉了第一层奶皮。
2、鸡蛋大小差别很大,如果做出来的成品太水太稀就是因为鸡蛋太小,蛋清不够、牛奶比例太大。
3、虽说是大火蒸10分钟,但需要根据你碗的大小酌情调整时间。
4、保鲜膜大法很灵的,除了保鲜膜也可以在蒸的时候盖锡纸, 这个方法就是为了不让滚热的水汽滴进碗里破坏美观。
5、最后双皮奶上面撒什么随便,爱吃什么撒什么。 除示范以外的推荐:姜汁、芒果丁、枸杞、果酱、坚果。。。