原料
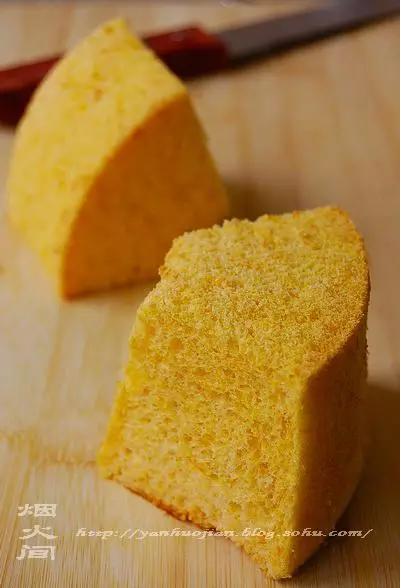
南瓜: 120g, 核桃: 1小碗,看其他是20g, 蛋黄+砂糖: 4个+20g, 蛋清+砂糖: 4个+30g, 牛奶: 50ml, 低筋粉: 80g, 菜籽油(熟的): 15ml
步骤
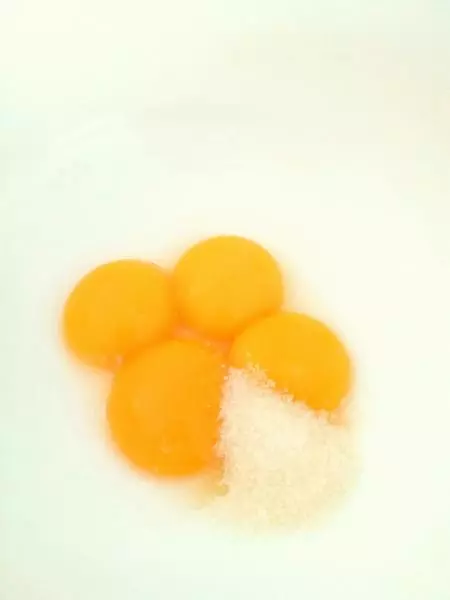
1蛋清蛋黄分离,把蛋清放冷冻室。蛋黄加砂糖搅匀
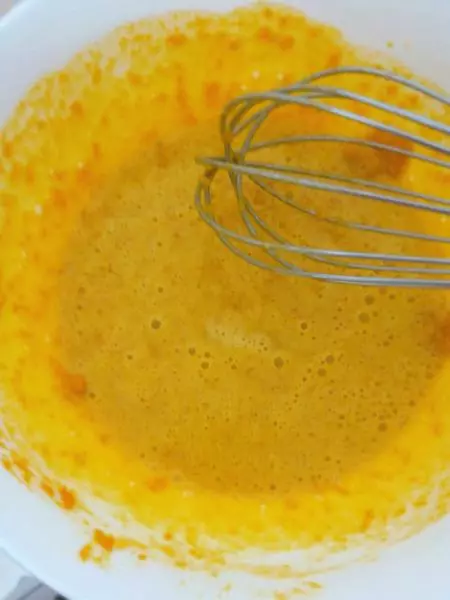
2蛋黄里面依次加菜籽油,南瓜,牛奶,每次都搅匀再加下一种
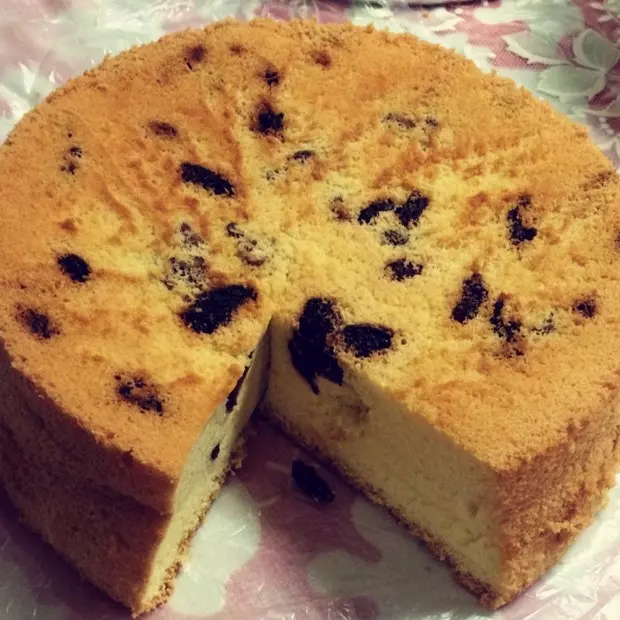
3低筋粉过筛加入,并搅拌均匀。加入核桃。核桃切小块,烤箱170度,烤了10分钟,很脆香。把蛋黄液放冰箱冷藏,备用。

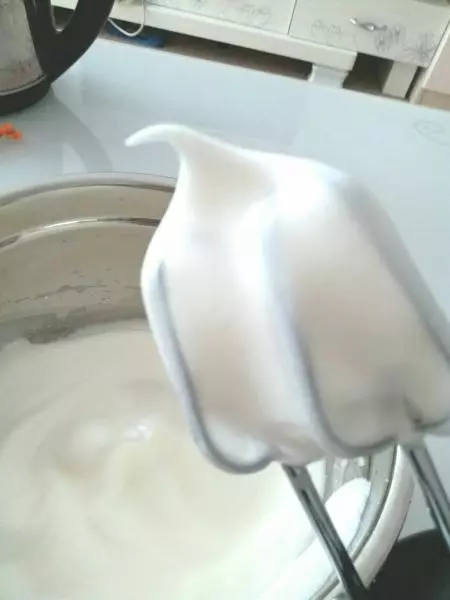
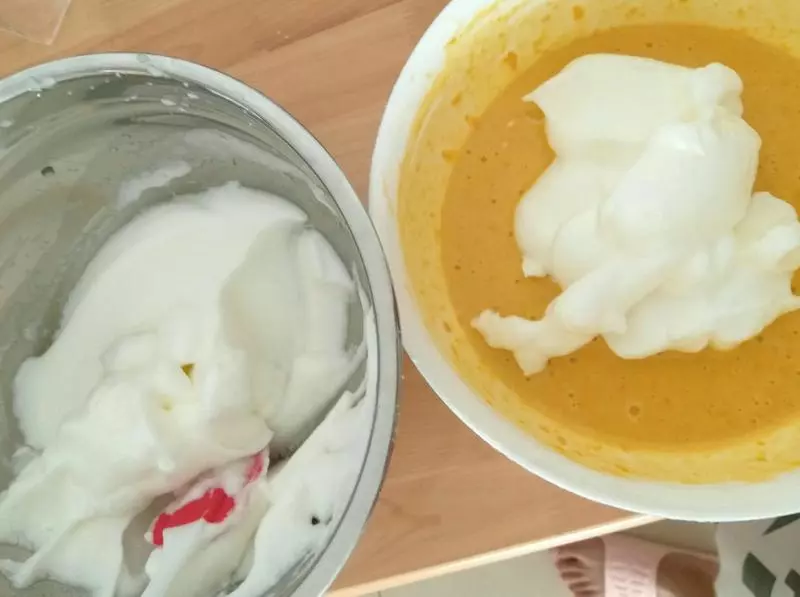
4取出蛋清,开始搅打,可以看见蛋清边缘已经凝结。估计是方便搅打。分3次加入砂糖
5到蛋清可以立起,有一个小弯就完成了
6混合蛋白糊和蛋黄糊。先挖一勺到蛋黄糊,搅匀,再把蛋黄导入蛋白糊,翻拌,防止起气泡。
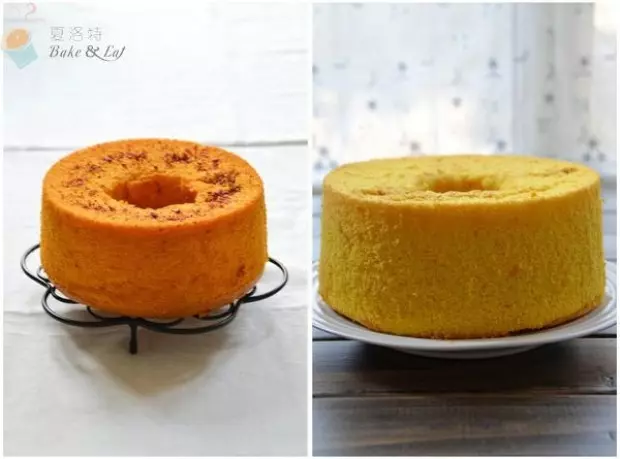
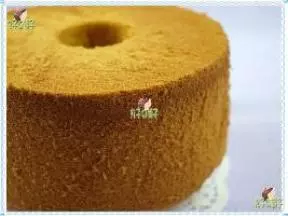
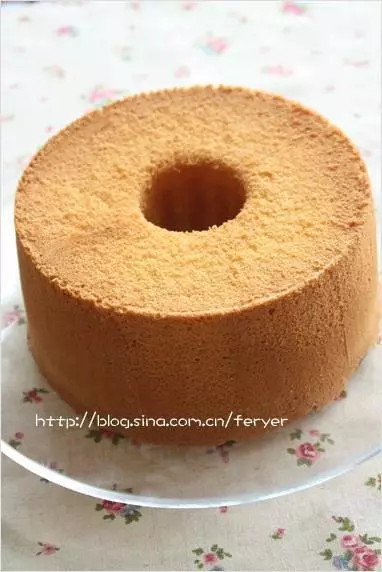
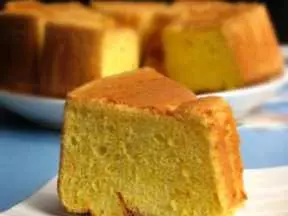
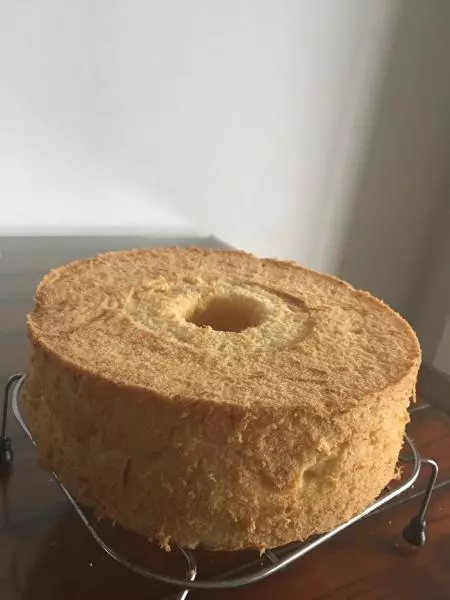
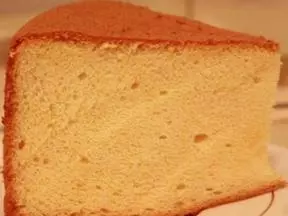
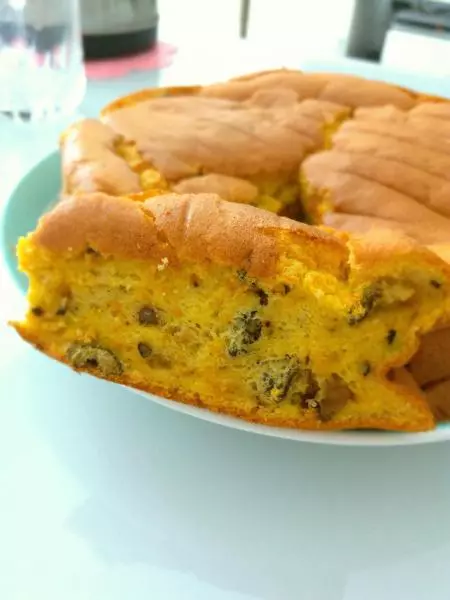
7倒入6寸活底模具,烤箱提前预热,180度,上下火,35分钟,上火可以低一点,防止上面糊了。

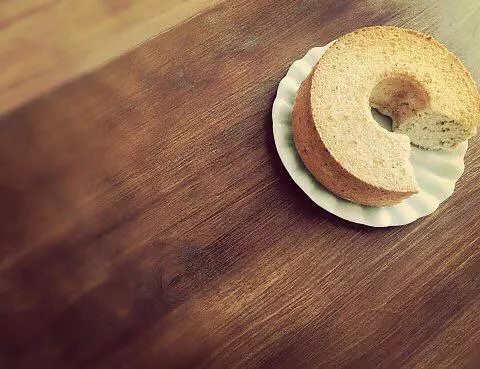
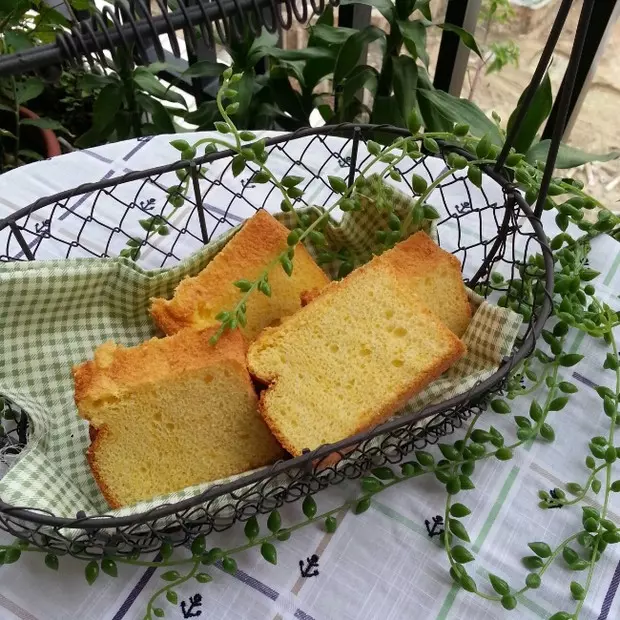
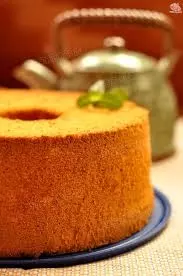
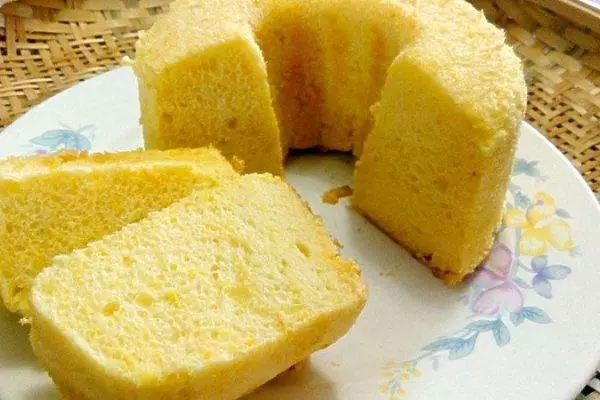
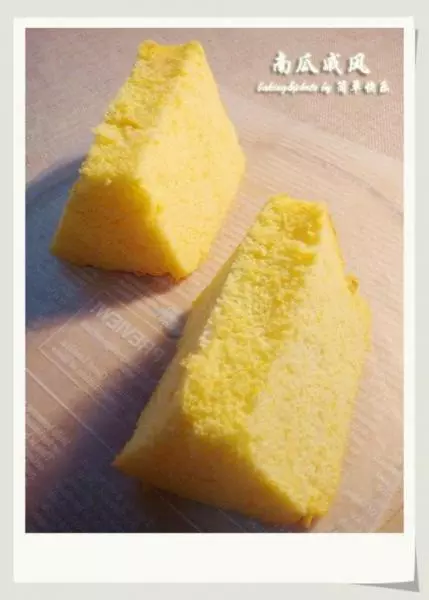
8脱模,开始吃???
小技巧
糖,核桃,南瓜的量,可以根据自己的口味,稍微调整,我自己觉得。南瓜本身就甜哦