原料
低筋面粉65克, 鸡蛋4只, 水30克, 白砂糖50克, 玉米油25克, 奶粉10克
步骤
1 准备好材料,分别称出需要的分量

2 分离蛋白和蛋黄,装蛋白的盆一定要无水无油

3 准备一只干净的小盆,依次放入水,奶粉,糖15克,植物油,用手动打蛋器快速搅拌到盆内液体完全乳化

4 这是乳化好的液体状态

5 倒入过筛的低粉

6 十字切拌手法拌匀,不要画圈搅拌,容易起筋

7 分3次加入蛋黄,拌匀后再加入另外一个蛋黄

8 蛋黄糊搅拌好,放一边备用

9 打发蛋白,35克糖分3次加入,打发到偏干性,提起打蛋头蛋白霜有小弯钩的状态

10 取三分之一蛋白霜放入蛋黄糊,2-8点钟方向手法翻拌均匀,这个时候预热烤箱上火120度,下火170度

11 把蛋黄糊倒回装有蛋白的盆里,继续同样手法翻拌均匀

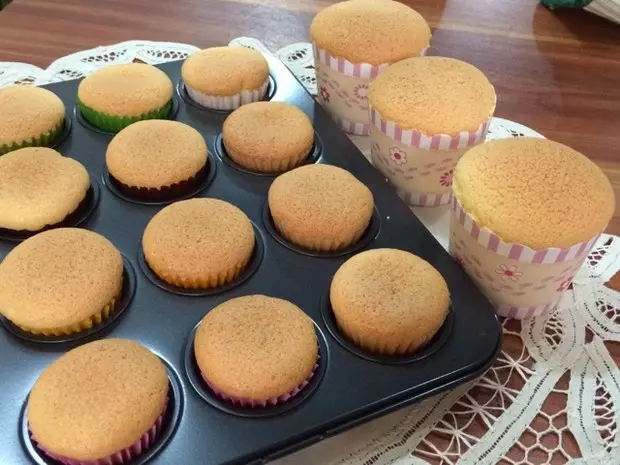
12 蛋糕糊倒入模具里轻震2下模具,表面的气泡用牙签划一下

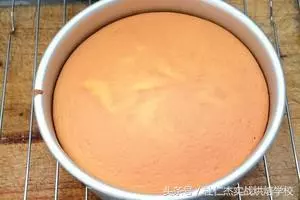
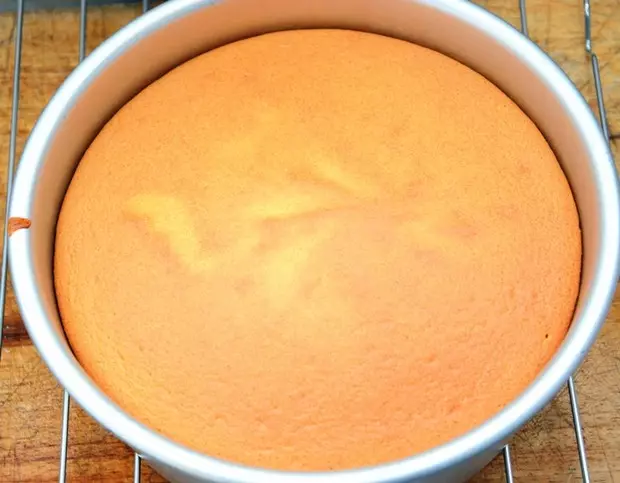
13 烤箱底层,上火120度,下火170度,60分钟,一定放底层,我当时脑抽,放了中层,结果有一点点塌陷(补充一下,我用的东菱烤立方烤箱是要放底层的,其他品牌烤箱可以放中下层或者根据平时的使用习惯来烤戚风)

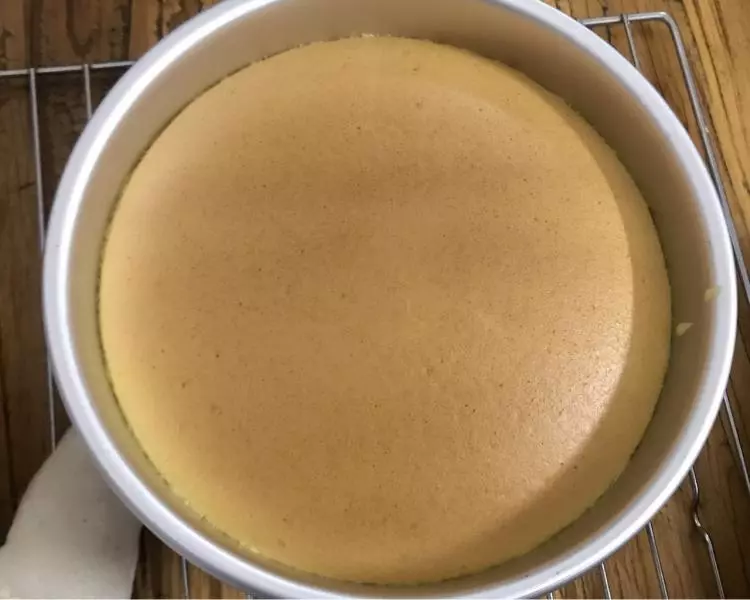
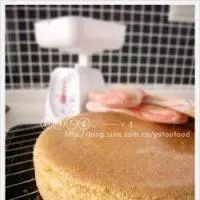
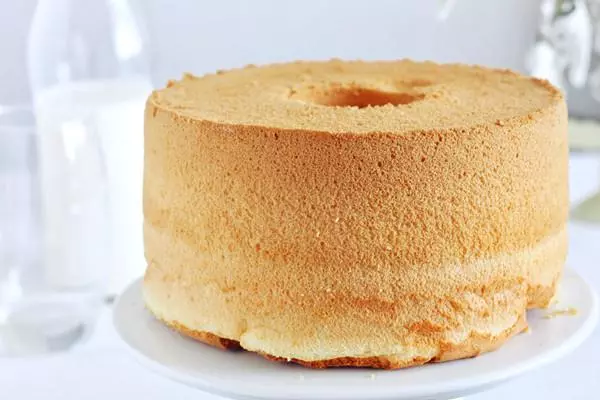
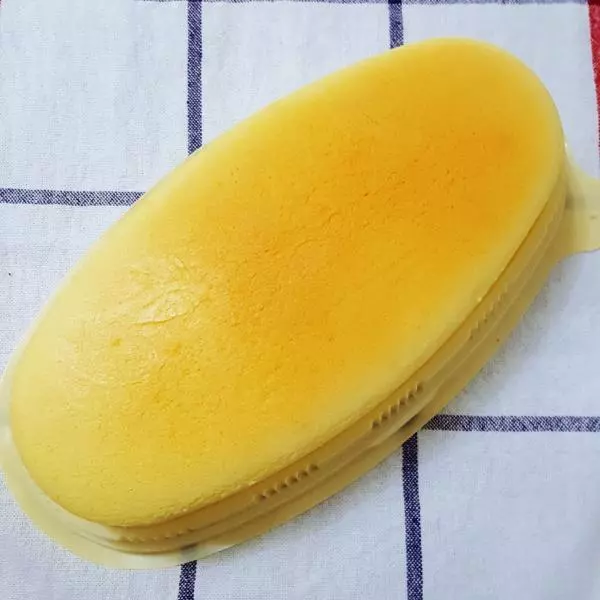
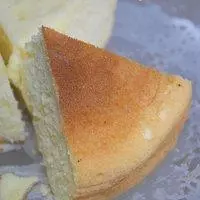
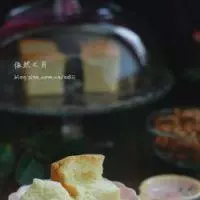
14 烤熟后取出蛋糕模具倒扣放凉

15 因为是送人的,就没切开蛋糕了

小技巧
1.戚风烤的时候一定要放底层或者中下层 2.烤戚风的温度和时间根据各自使用的烤箱调整 3.为了混合蛋黄糊的时候不消泡,我打发蛋白霜是打到偏干性,也可以参照其他食谱打到完全干性,看个人喜欢