原料
蛋黄57克, 牛奶38克, 椰浆40克, 沙拉油23克, 水磨粘米粉57克, 蛋白113克, 细砂糖48克, 盐少许
步骤
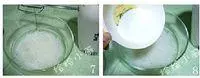
1 蛋黄用祈和打蛋器稍搅拌一下。加入沙拉油用祈和打蛋器打蛋器拌匀,加入椰浆和牛奶,用祈和打蛋器搅拌成均匀的蛋黄糊。
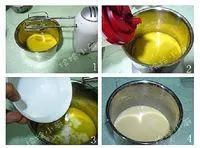
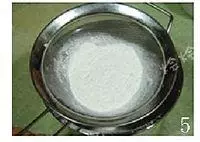
2 将粘米粉过筛进蛋黄糊内。
3 用祈和打蛋器稍搅拌一下,让米粉完全吸收成为质地均匀的米糊。

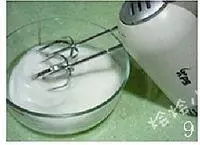
4 蛋白用祈和打蛋器打至起泡。加入1/3的细砂糖和盐。
5 继续用打蛋器搅拌,泡沫会渐渐变得越来越柔细,此时再加入1/3的细砂糖,搅拌至糖完全溶化。
6 再加入剩余的细砂糖,继续搅拌。
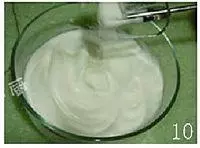
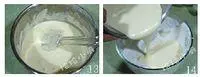
7 蛋白打发至湿性接近干性发泡状态,提起打蛋器,立起的尖稍为有些弯勾。取1/3蛋白糊放入蛋黄糊中。

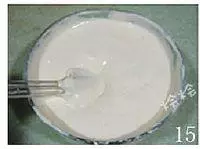
8 用橡皮刮刀搅拌均匀。再倒入剩余的蛋黄糊。
9 用橡皮刮刀轻轻的从下往上搅拌,将蛋白和蛋黄糊充分搅拌均匀。
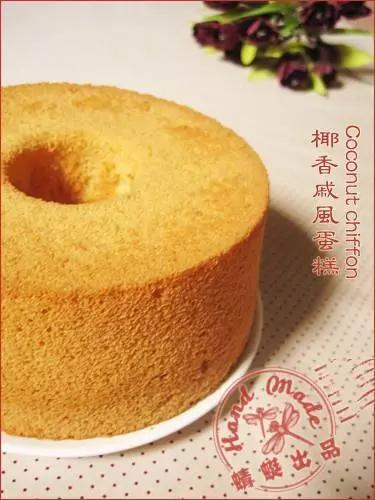
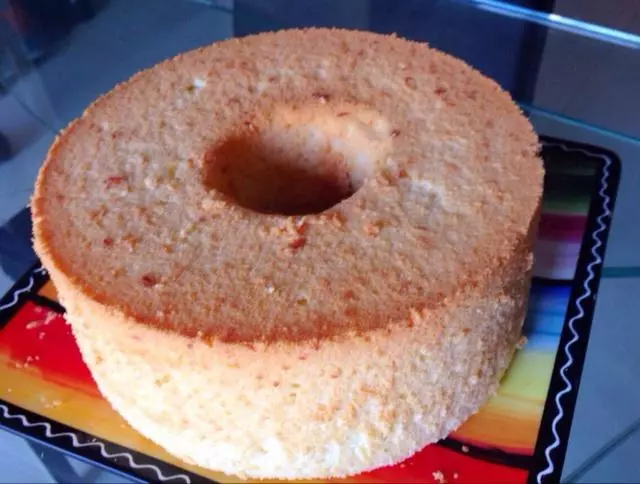
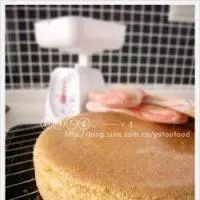
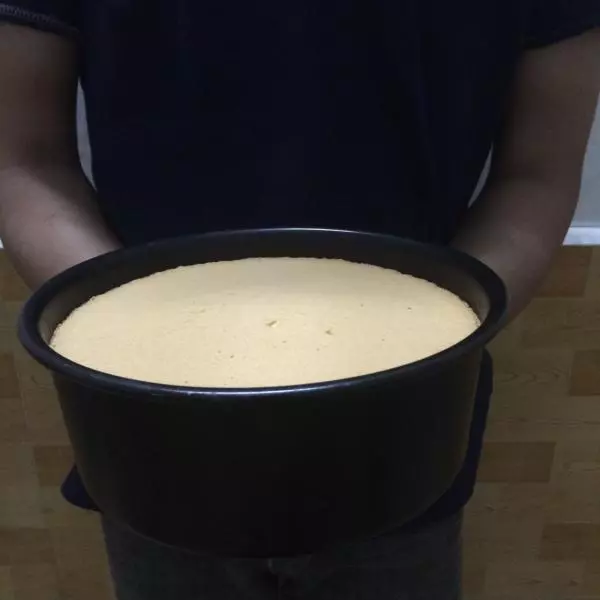
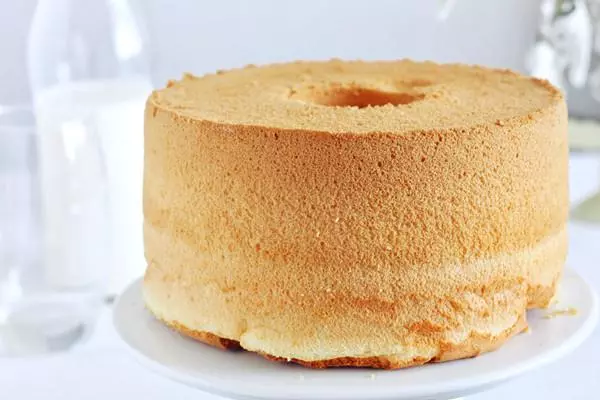
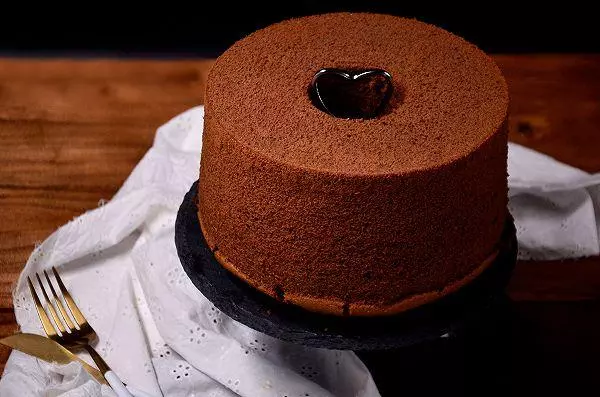
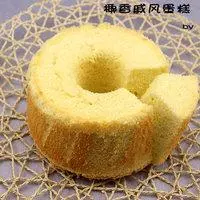
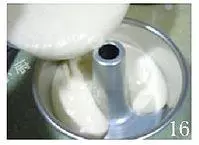
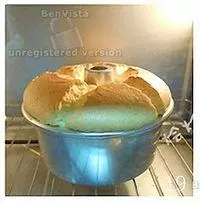
10 将拌好的蛋糕糊倒入中空的戚风模中。
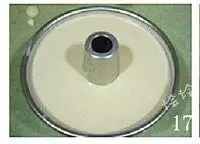
11 用两手拿住模子,拇指紧紧压住中心圆筒部分,在桌上轻轻敲两下。
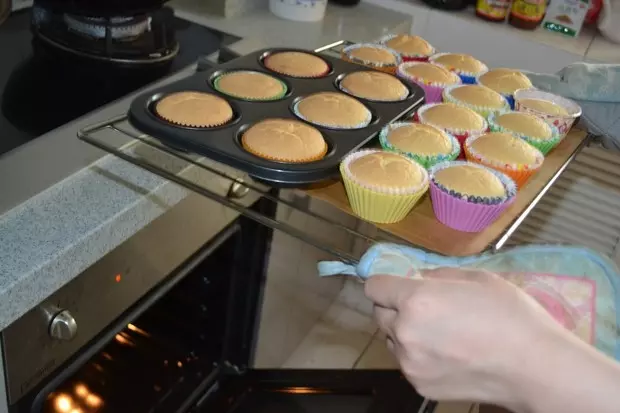
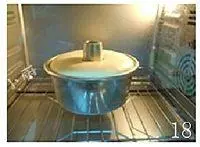
12 放时已预热好的烤箱中,上火180度/下火160度,下层,烘烤。
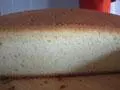
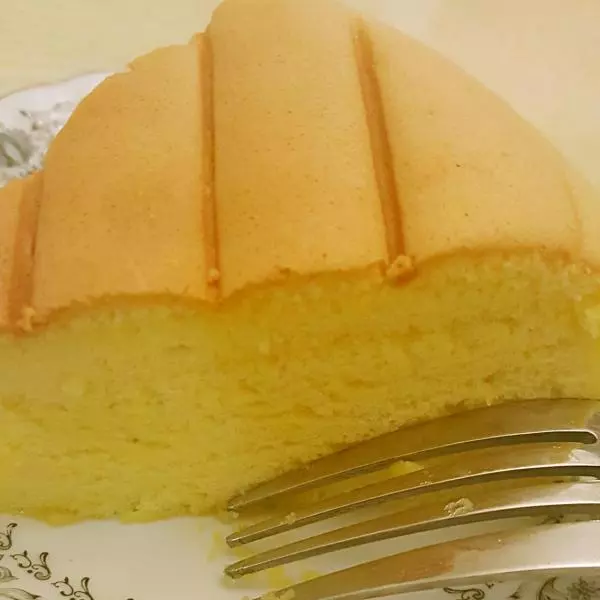
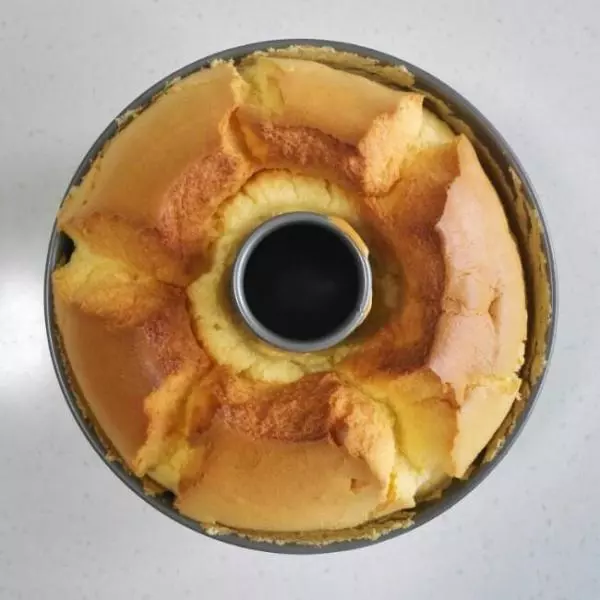
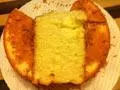
13 烘烤40分钟后,用竹签斜插入蛋糕中心内部,只要拔出来的竹签没有沾黏面糊就表示烘烤完成。
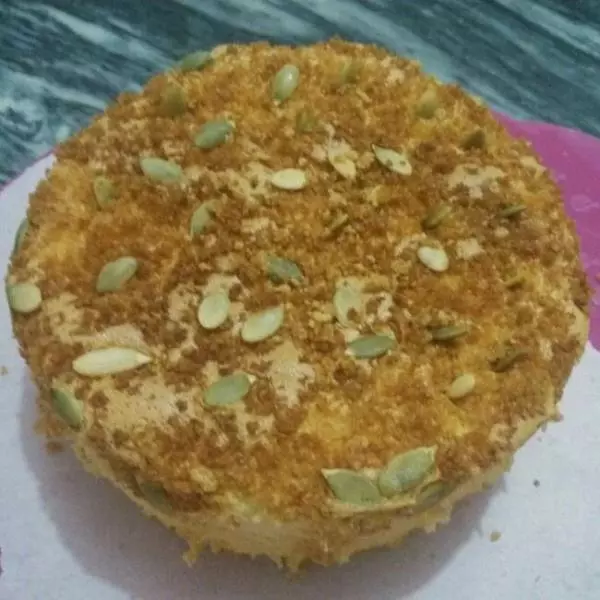
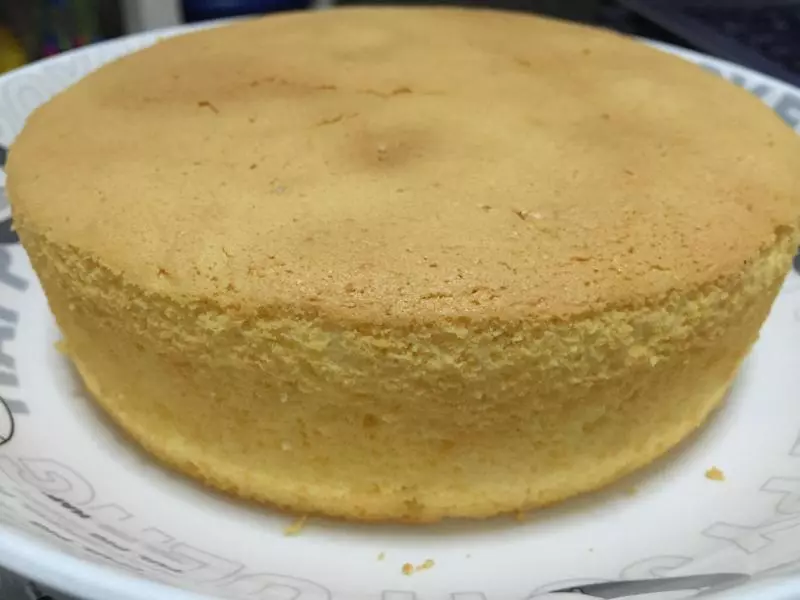
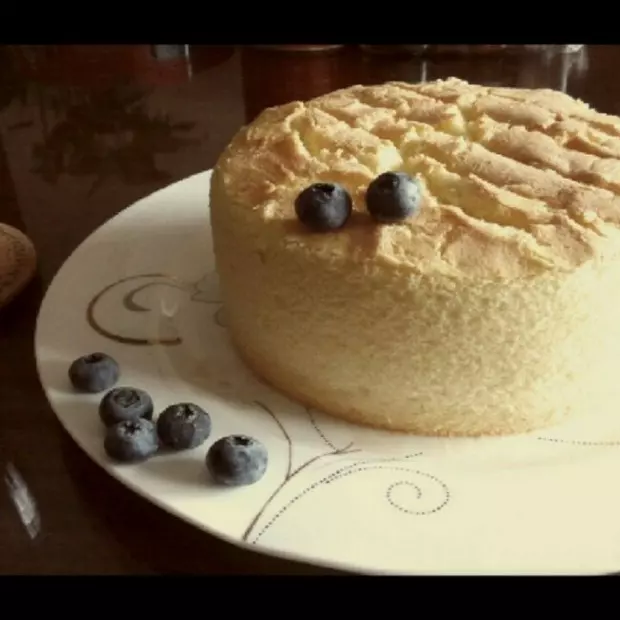
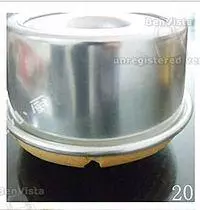
14 出炉后立刻将模子倒扣放凉。
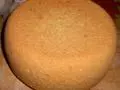
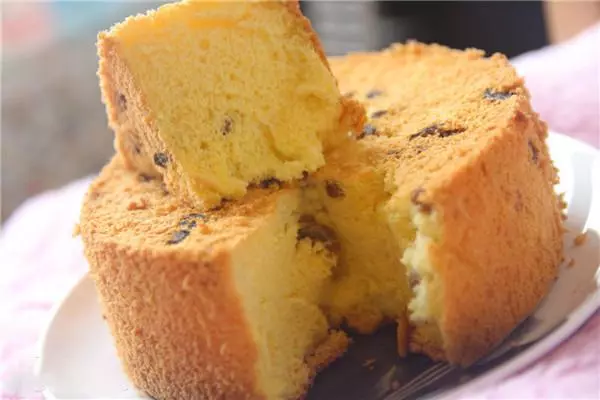
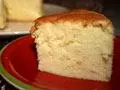
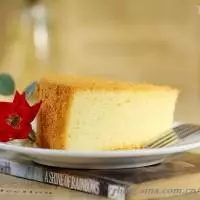
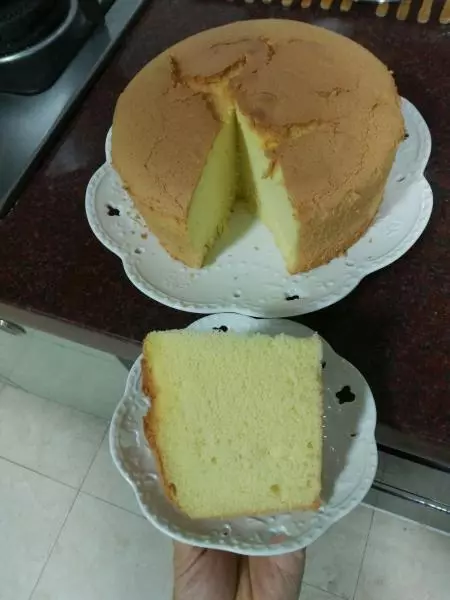
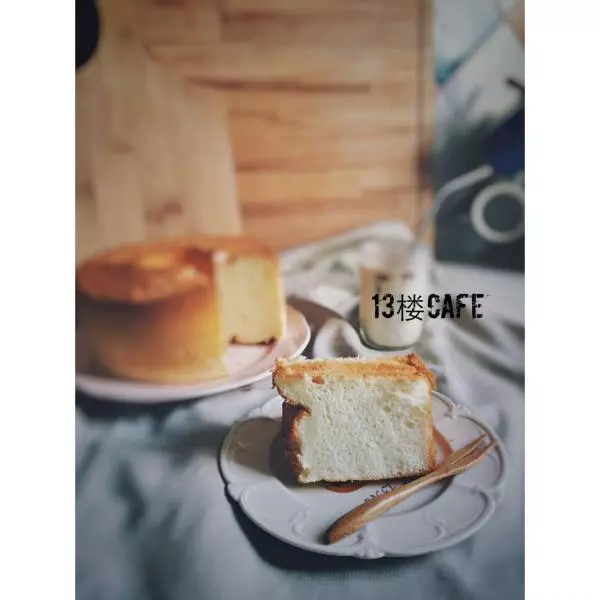
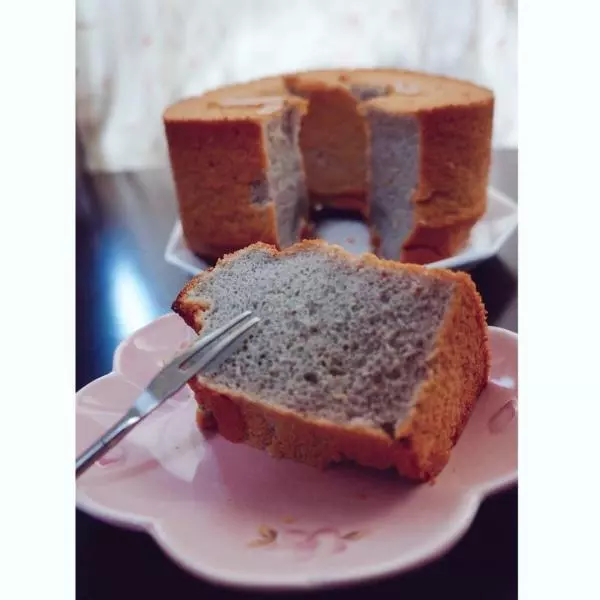
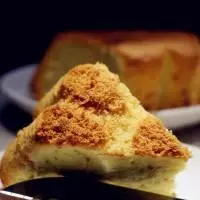
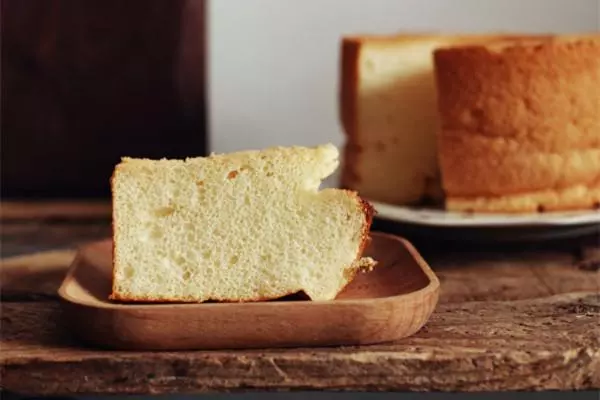
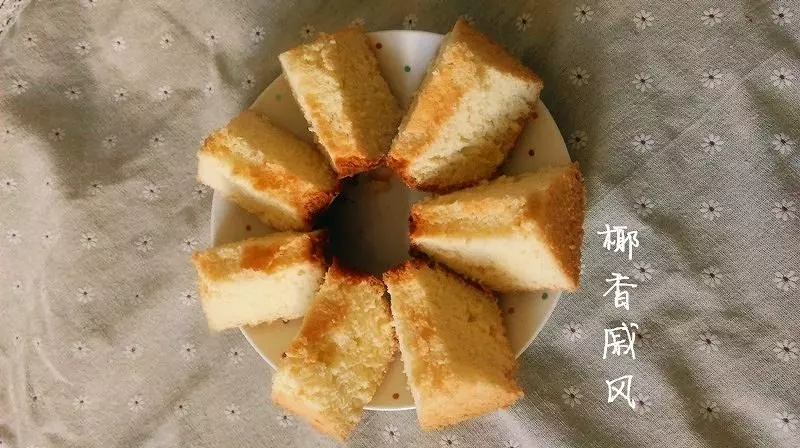
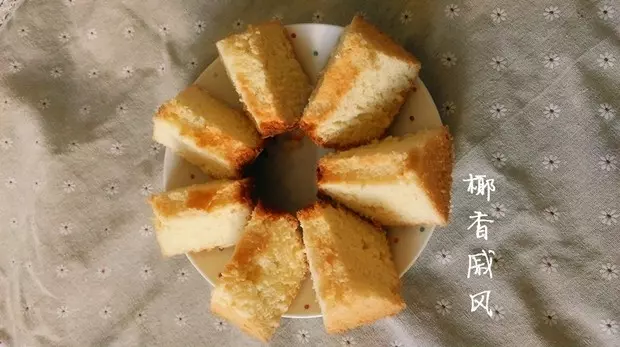
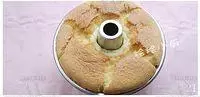
15 放凉后的蛋糕,小心的脱模切块即可。
小技巧
小贴士:用米粉做戚风蛋糕的6要点:1、米粉搅拌均匀后,一经久置就易沉底,粉与液态分离,在与蛋白糊混合前,要再用橡皮刮刀搅拌一下。2、由米研磨而成的米粉,吸水性较面粉来得高,而每一种米粉的吸水性也不尽相同,水量的控制相当重要,以免糊化效果不好。3、米粉和面粉一样,也一定要过筛。4、椰浆中含较多油脂,千万不要因喜欢椰子味就加入过多分量,也不能完全取代牛奶。 5、戚风蛋糕蛋白的打发,偏干性即可,千万不可打发过头,其实就象超Q润戚风蛋糕一样,打发到蛋白立起时前端有微微往下低垂的状态。6、蛋黄糊和蛋白糊混合的时候,也要不搅拌过头,容易让蛋白糊消泡。