原料
奶油奶酪: 80g, 椰子油: 30g, 椰浆: 30g, 牛奶: 20g, 鸡蛋: 3个, 低粉: 55g, 玉米淀粉: 5g, 细砂糖: 45g, 柠檬汁: 5滴
步骤
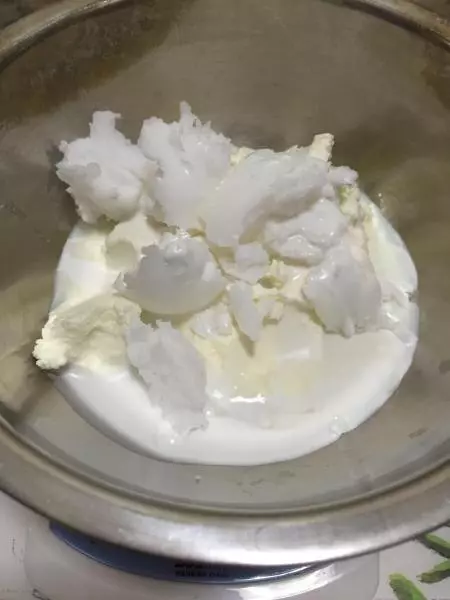
1奶油奶酪,椰子油,椰浆,牛奶分别称量后混合
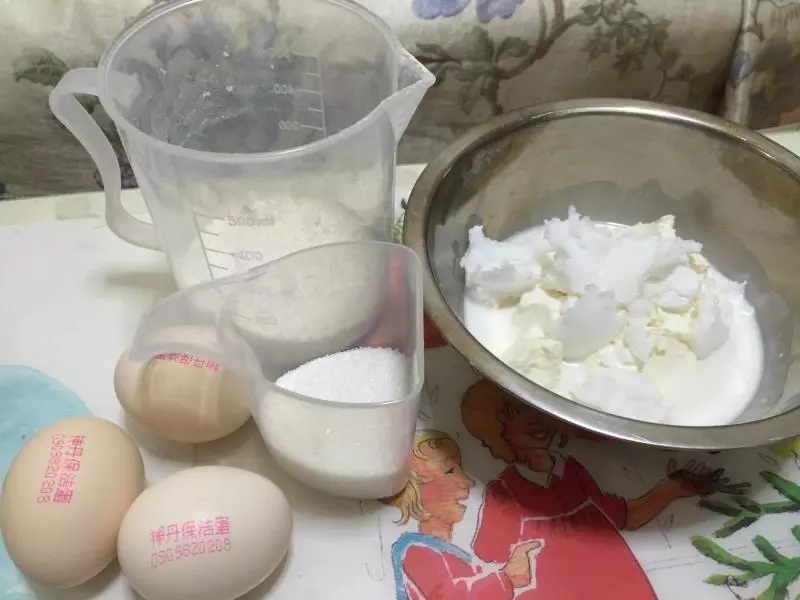
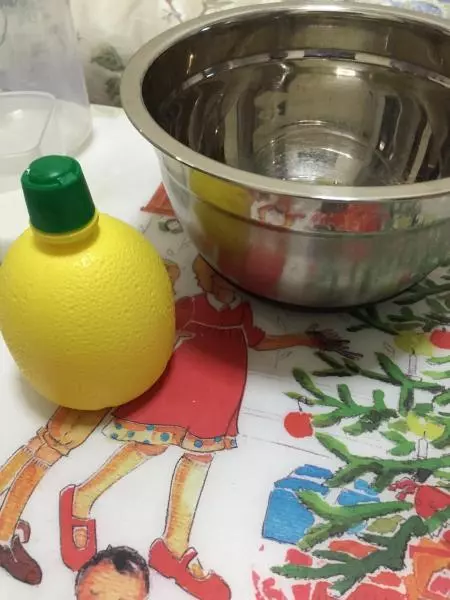
2准备好其他原料
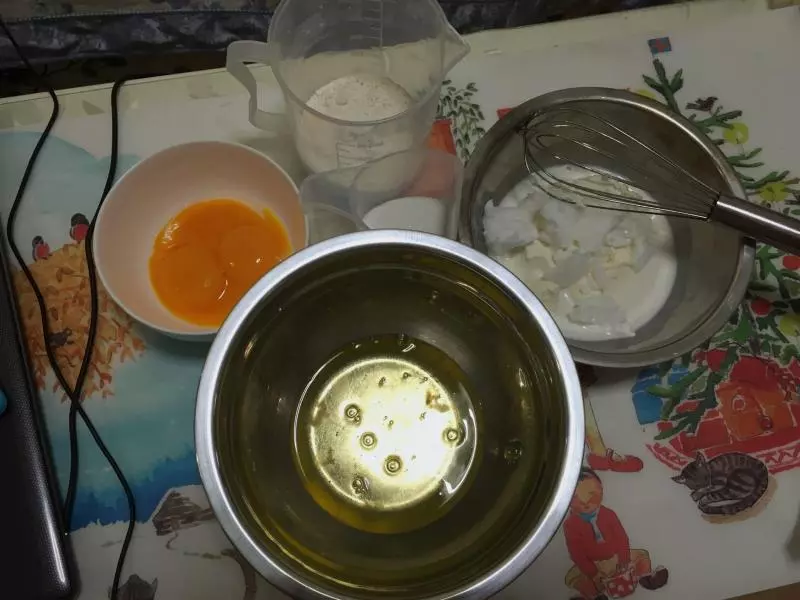
3蛋黄,蛋清分离,蛋清里不能混入任何蛋黄,水,或者油等杂物
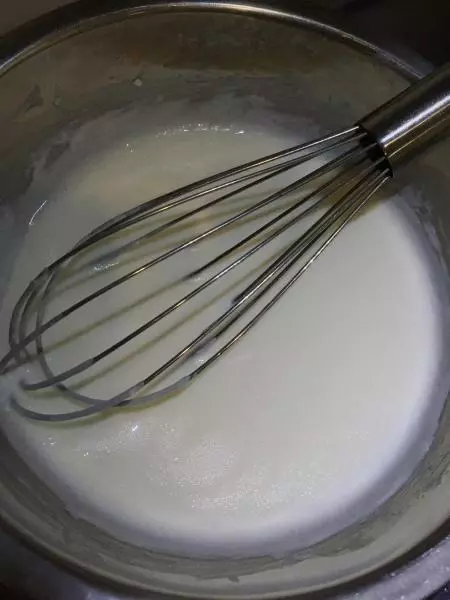
4奶油奶酪,椰子油等混合物隔水融化,混匀,成柔滑的糊状
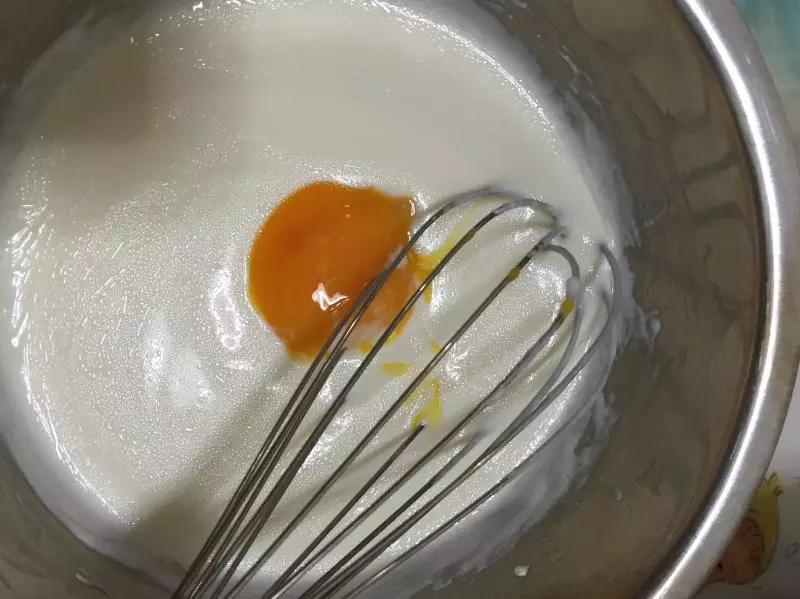
5一个一个的加入蛋黄,每加入一个蛋黄,搅拌均匀后再加下一个
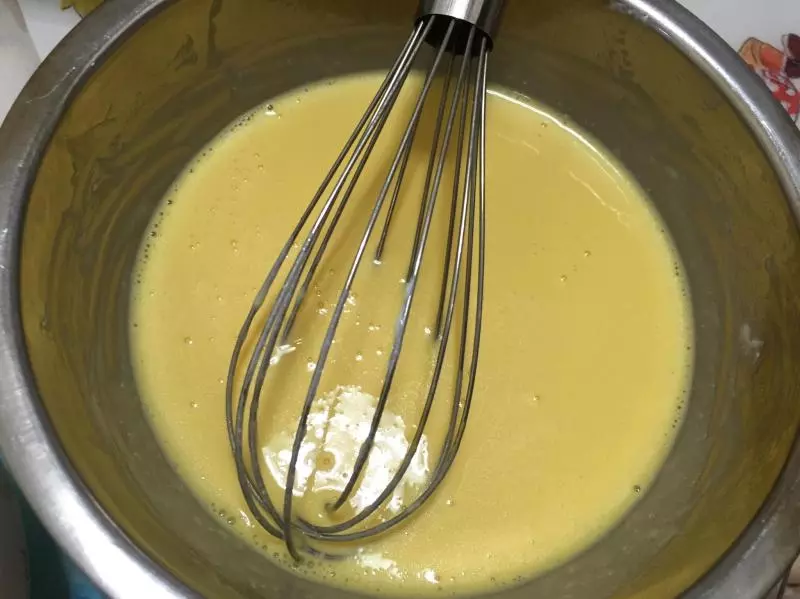
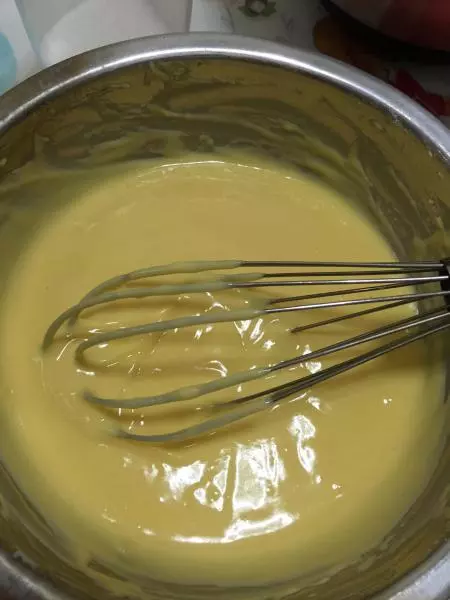
6成为黄色蛋黄奶酪糊
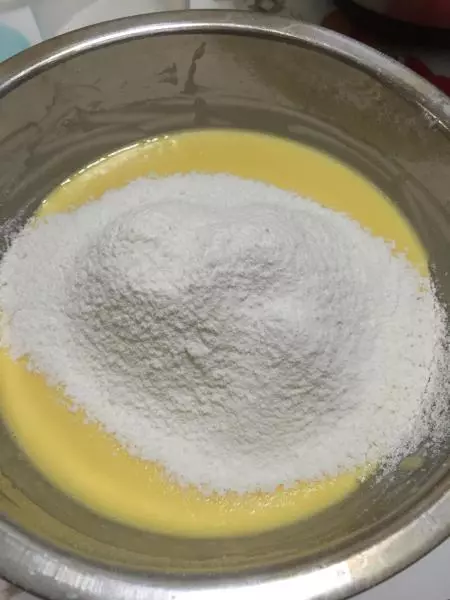
7筛入低粉和玉米淀粉
8划之字型搅拌成糊状,顺滑无颗粒即可,拌好后应该是比较浓稠的糊状
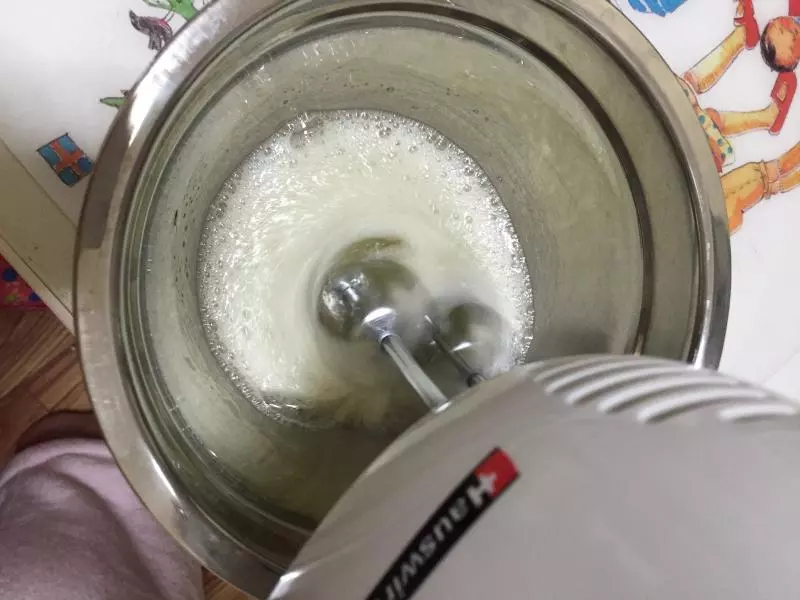
9蛋清滴入柠檬汁,用电动打蛋器低速搅打
10蛋清成粗泡时加入三分之一细砂糖,低速搅打
11蛋清成乳霜状时再加入三分之一砂糖,用中速继续搅打
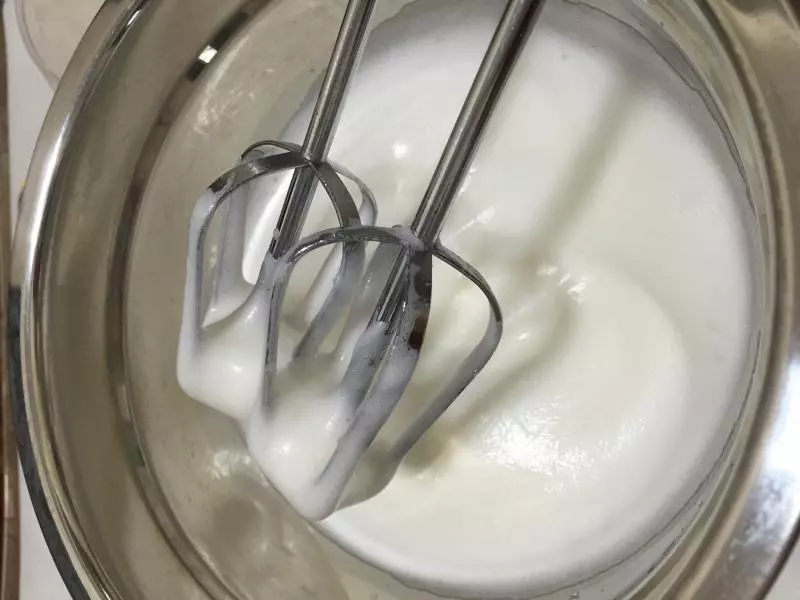
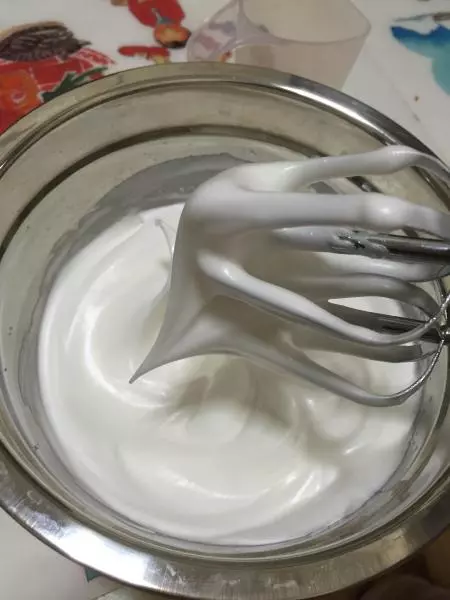
12蛋清成湿性发泡时再加入剩下的糖,高速搅打至干性发泡
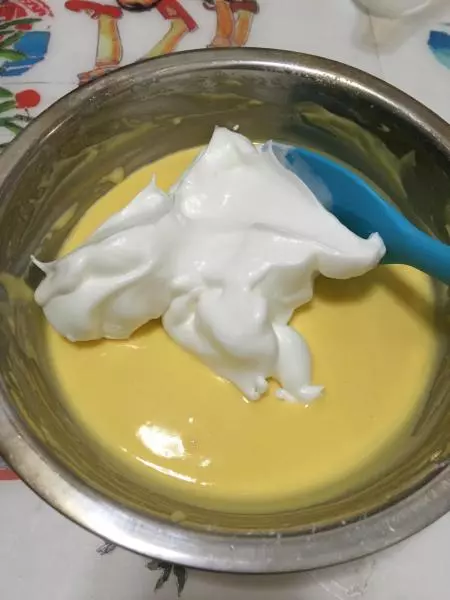
13取三分之一蛋白霜放入蛋黄糊,用刮刀翻拌均匀
14将质地变得跟蛋白霜相似的蛋黄糊倒入剩下的蛋白霜中
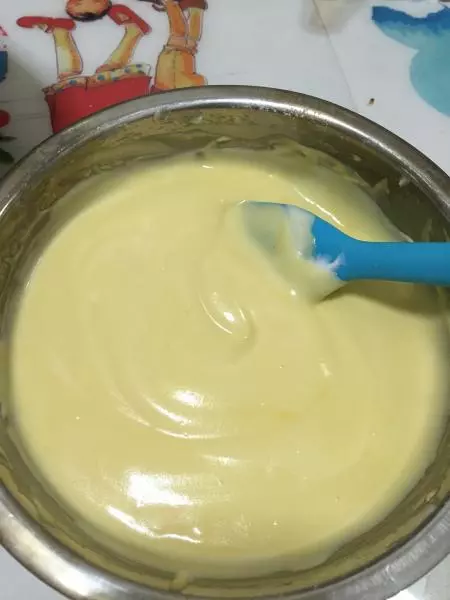
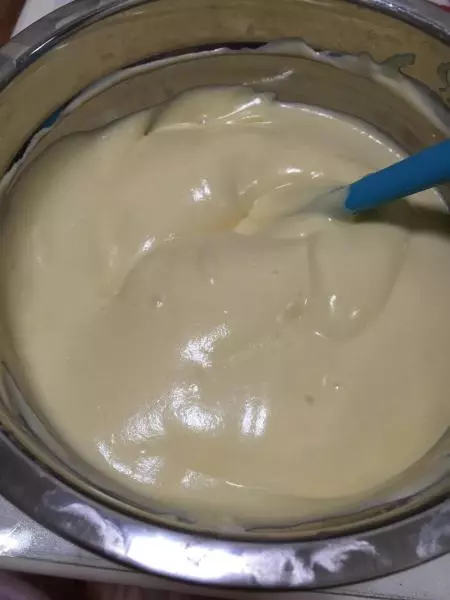
15快速翻拌均匀
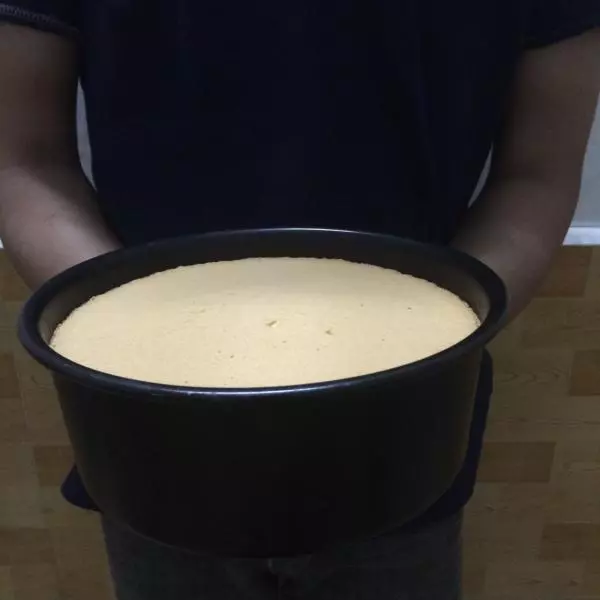
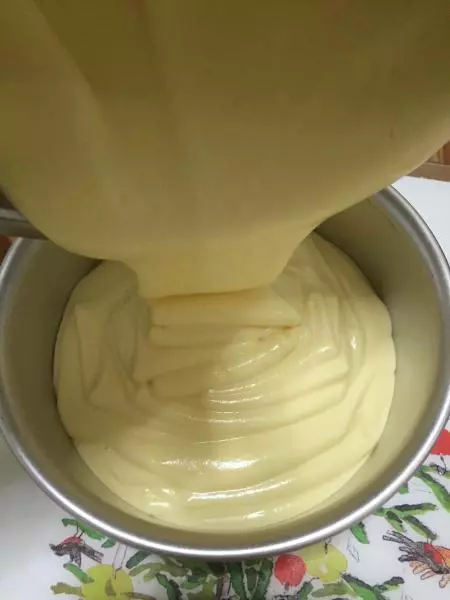
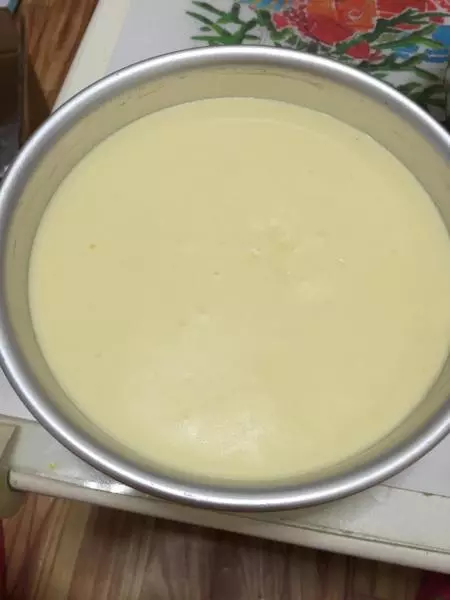
16倒入六寸活底蛋糕模中
17放在桌子上震一震,震出气泡,轻晃一下,让蛋糕糊表面平顺,入烤箱150度,60分钟。30分钟时加盖锡纸避免上色太深。
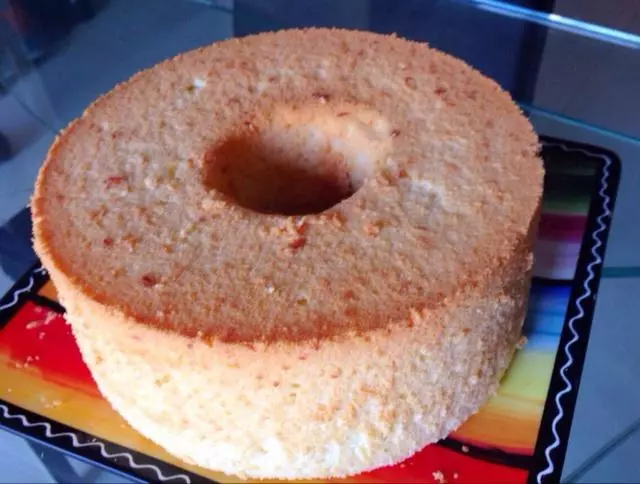
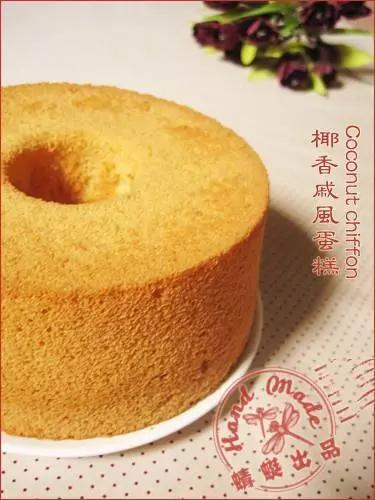
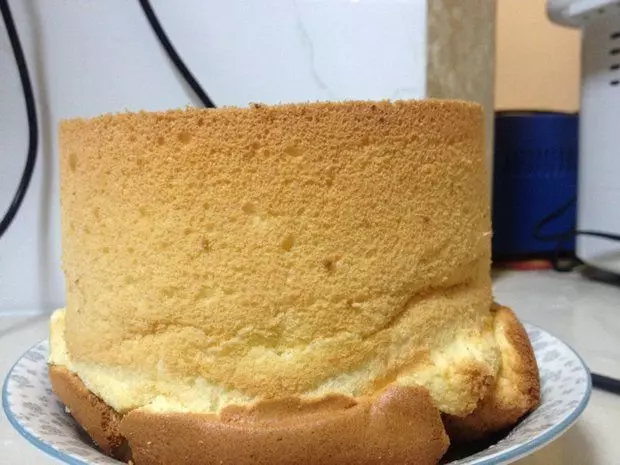
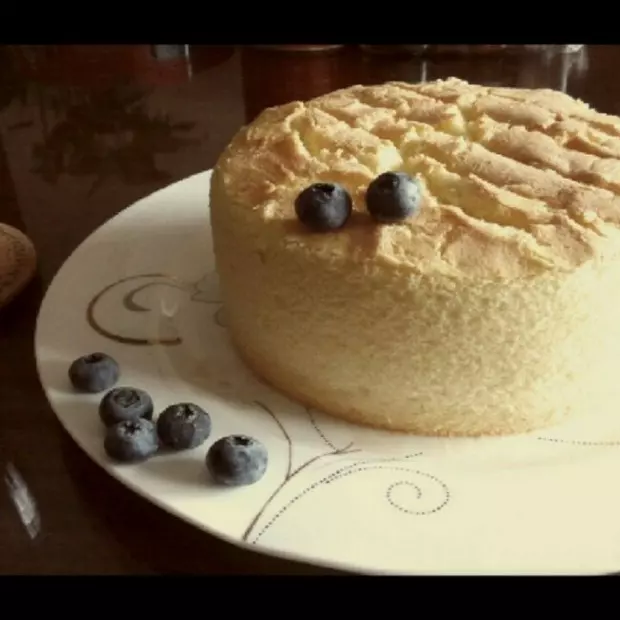
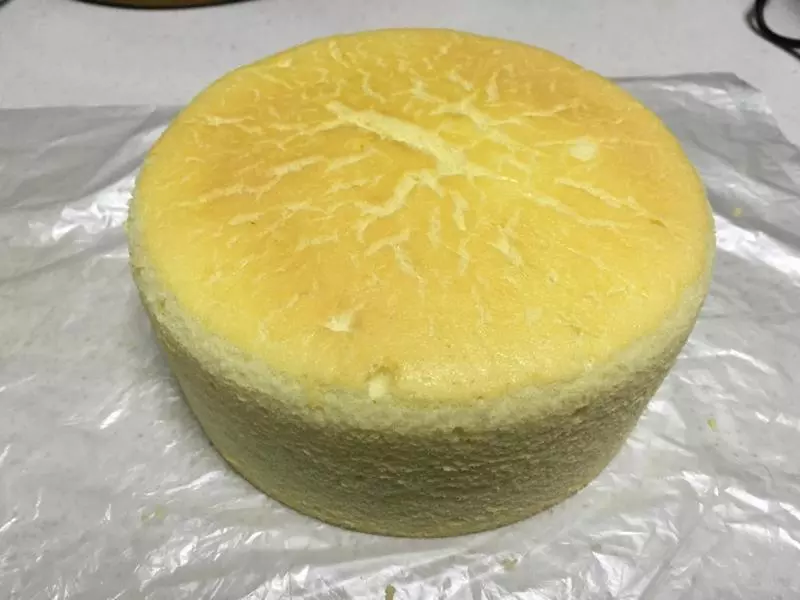
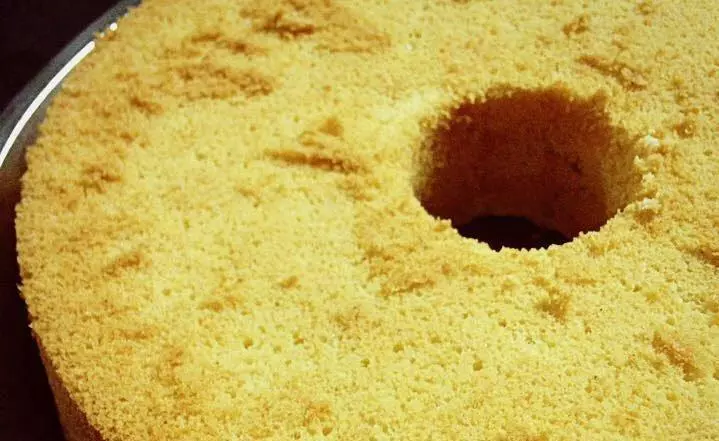
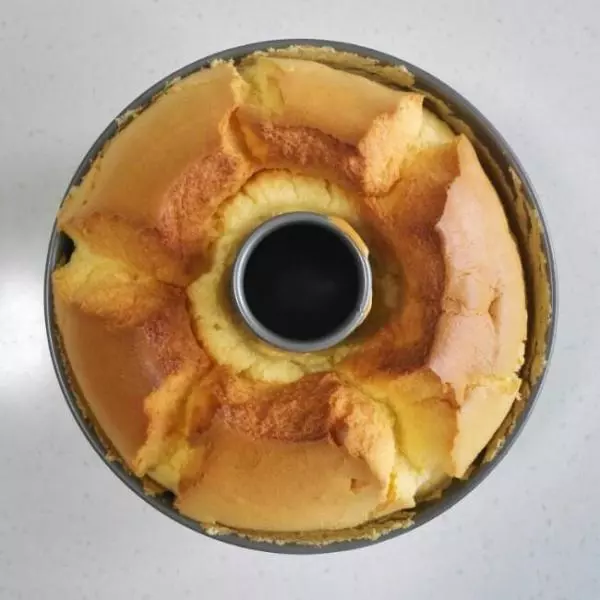
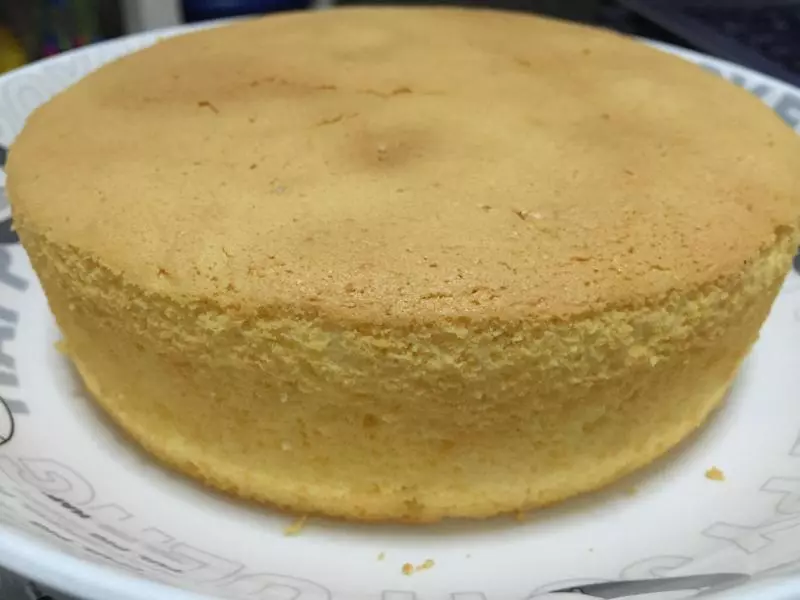
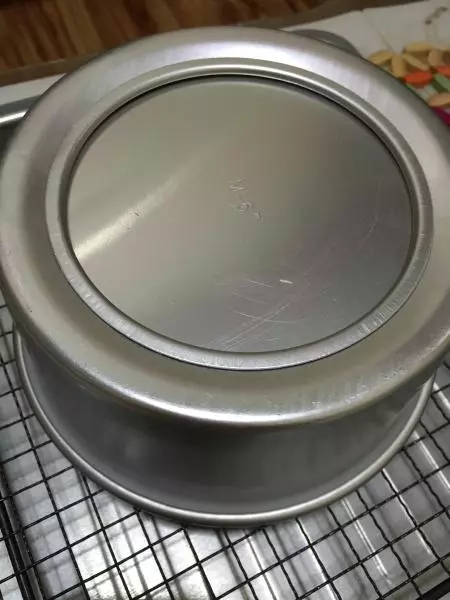
18烤好的蛋糕立刻端出来倒扣在晾网上。温热不烫手时翻回来,用手掌拍击模具侧壁,蛋糕与侧壁分离,再用手往上轻推模具底板,蛋糕即可顺利脱模
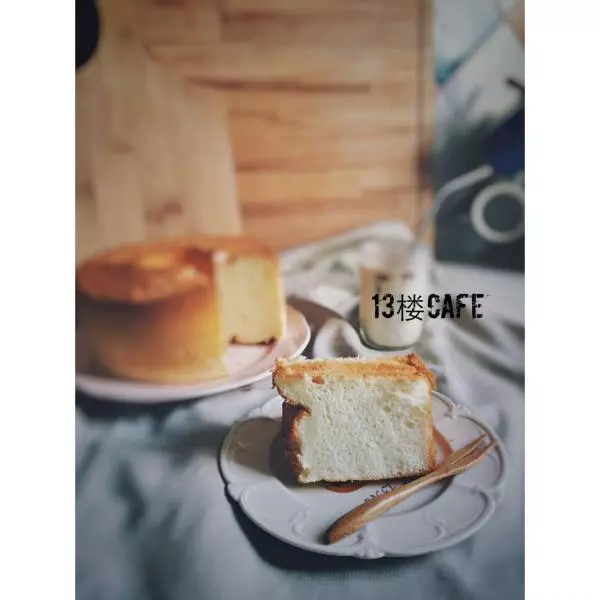
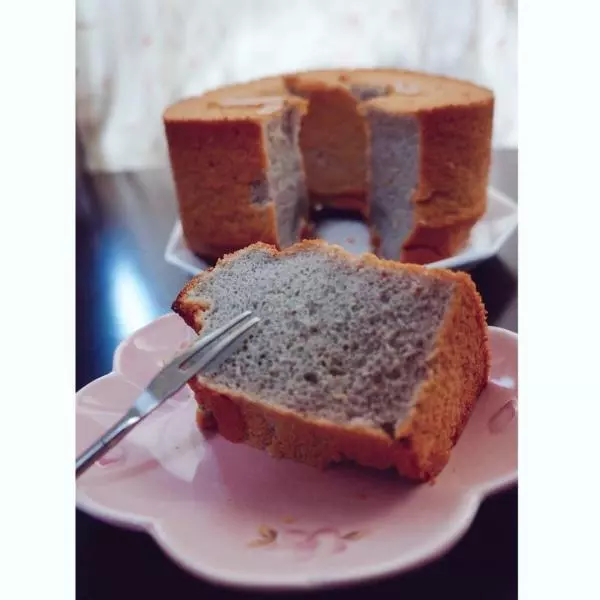
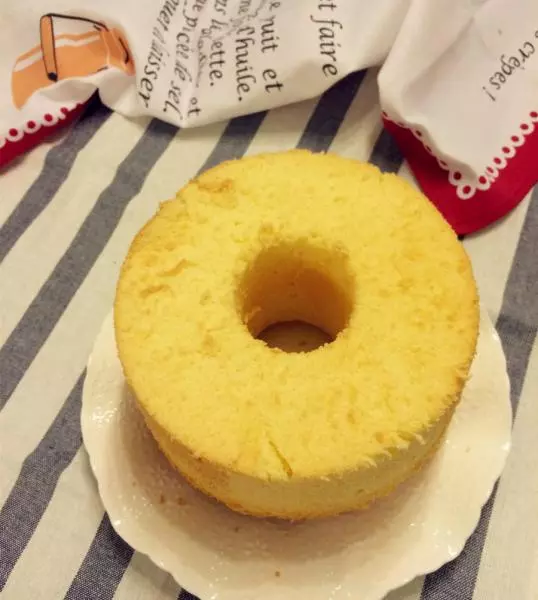
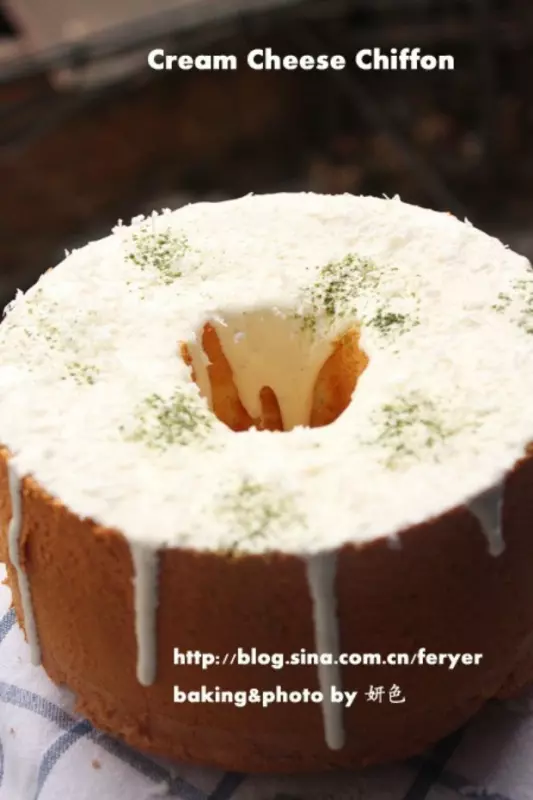
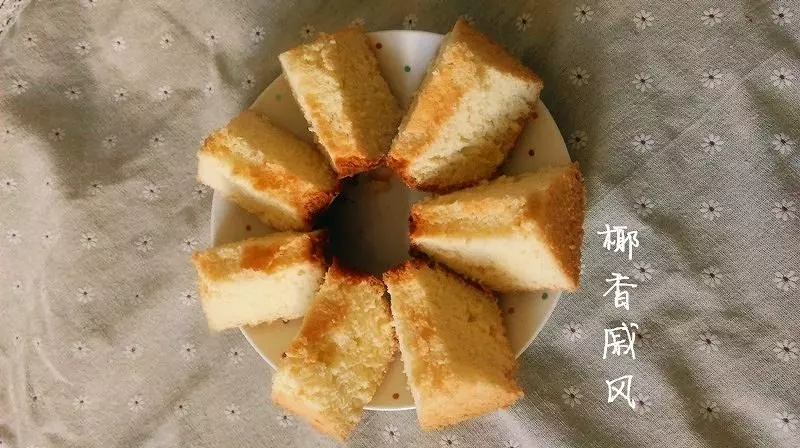
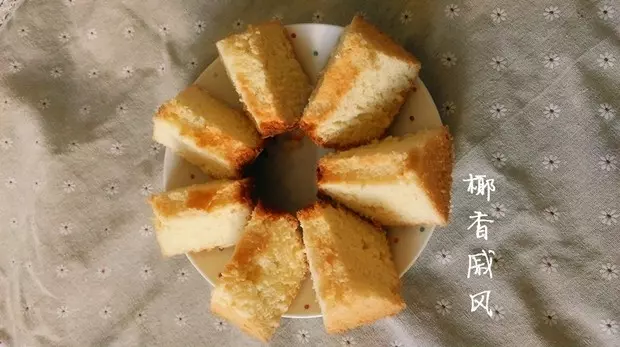
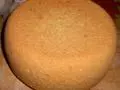
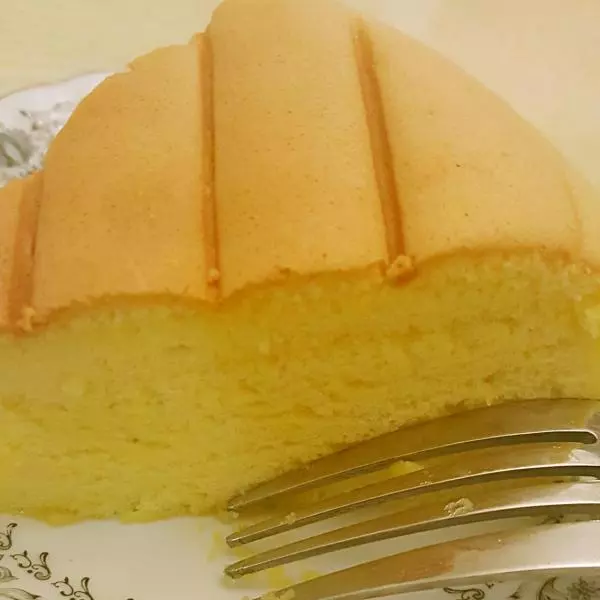
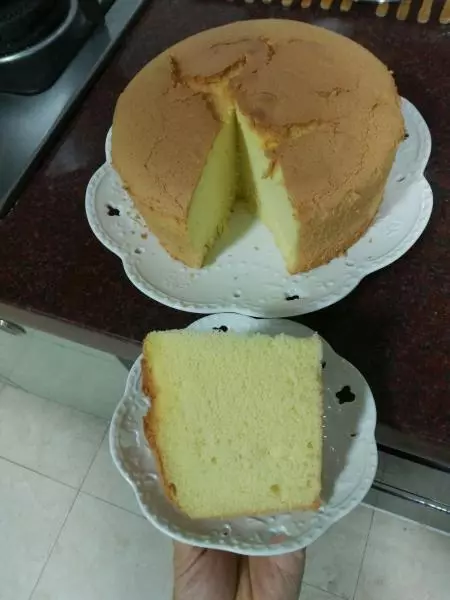
19切件开吃

小技巧
倒扣的时间不要过长。因为这类蛋糕比较湿润柔软,跟模具的贴合也不紧密,倒扣久了就会凹底。我的经验是晾至温热不烫手就可以了,脱模也很简单,徒手就好。