原料
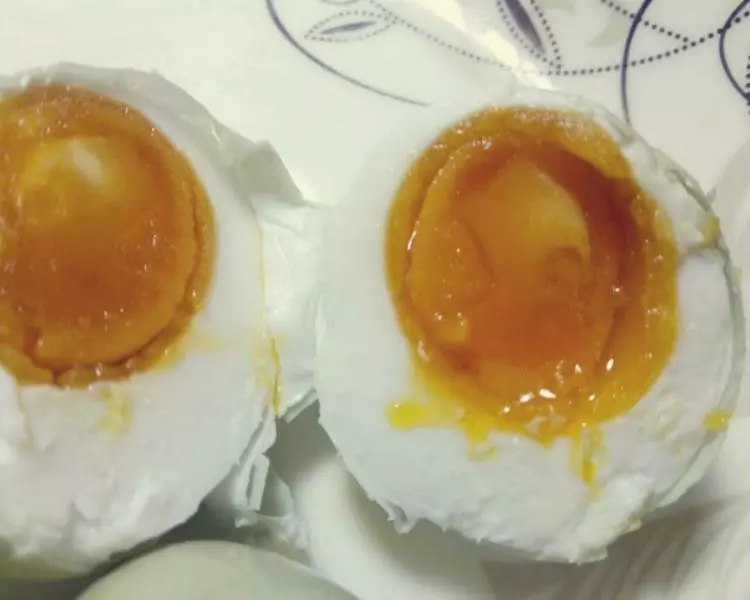
海鴨蛋: 2隻(每隻75g), 葵花籽油: 30g, 鮮牛奶: 30g, 低筋麵粉: 50g, 細砂糖: 50g(我覺得偏甜了), 檸檬汁: 數滴
步驟
1蛋清蛋黃分離,蛋清用無油無水的打蛋盆裝好連打蛋頭一起放冰箱冷凍層待用。

230g油和30g奶攪拌至乳化

3篩入低筋麵粉,用Z字形手法拌勻,分次加入鴨蛋黃,繼續Z字形手法拌勻成細膩均勻的蛋黃糊。後蛋法做的蛋黃糊不用過篩就棒棒噠?

4從冷凍室取出蛋清。打發蛋清,先不加糖。糖雖然有助於蛋清打發後的穩定,但加糖會明顯影響蛋清打發速度,所以這裡我們先把蛋清打發到濕性發泡,再慢慢分次加入細砂糖和檸檬汁或白醋,一點點就好。

5蛋清打發到乾性發泡。

6此時烤箱預熱150度。取1/3蛋清像炒菜那樣和蛋黃糊翻拌均勻,再倒入盛蛋白的大碗,徹底翻拌均勻。

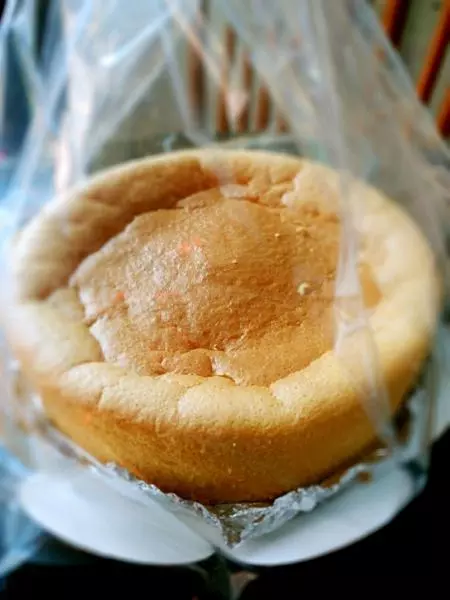
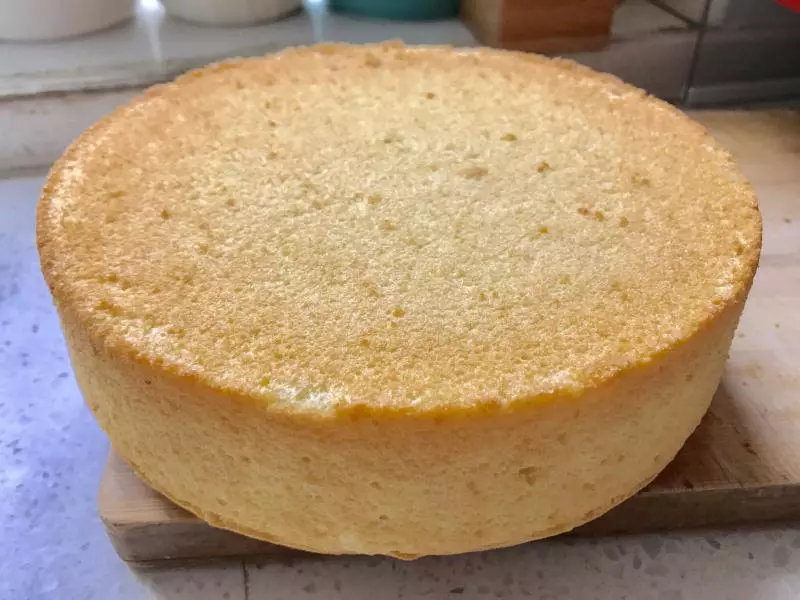
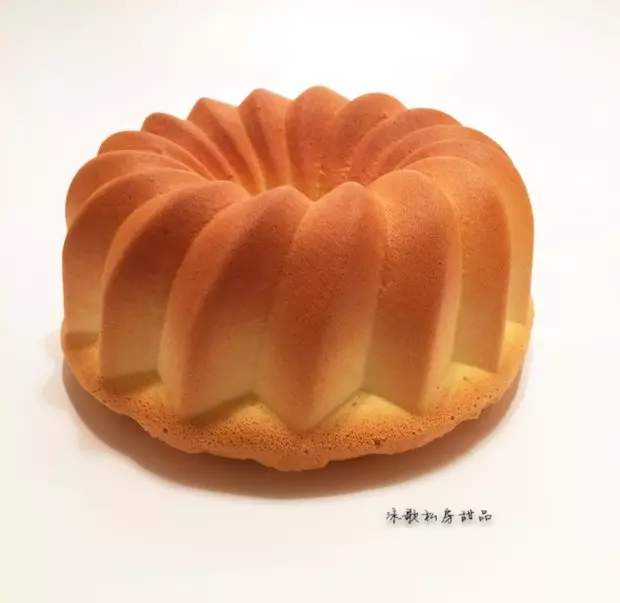
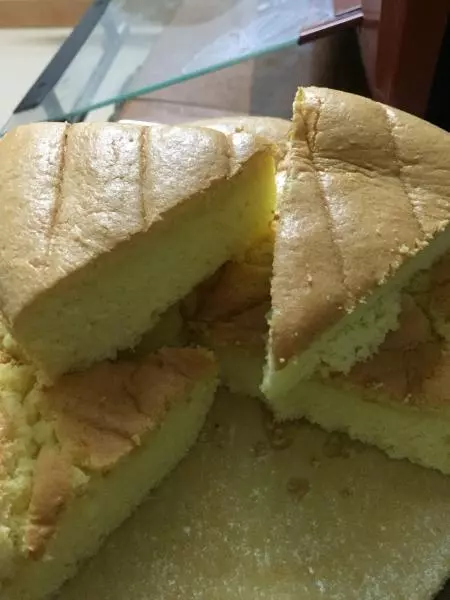
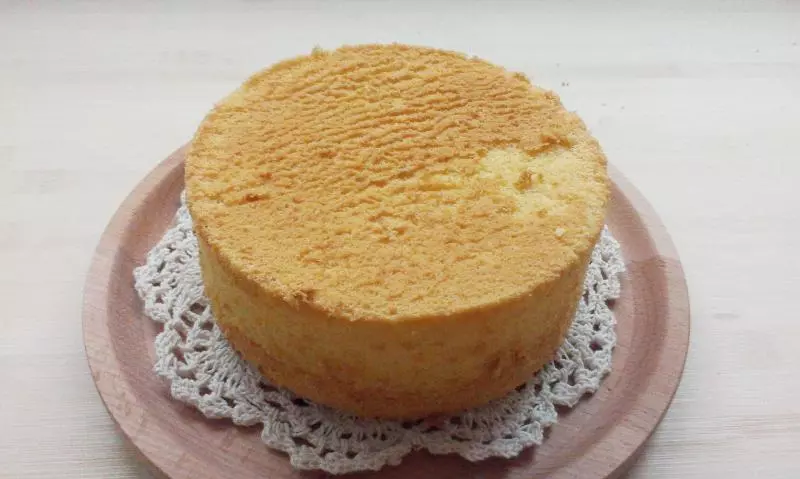
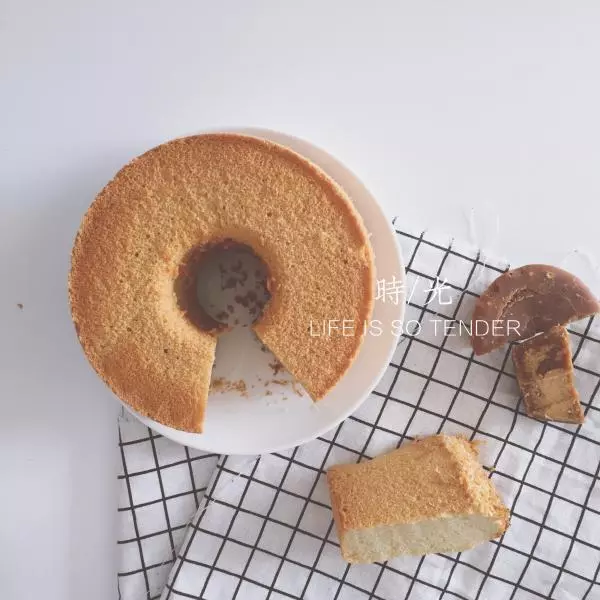
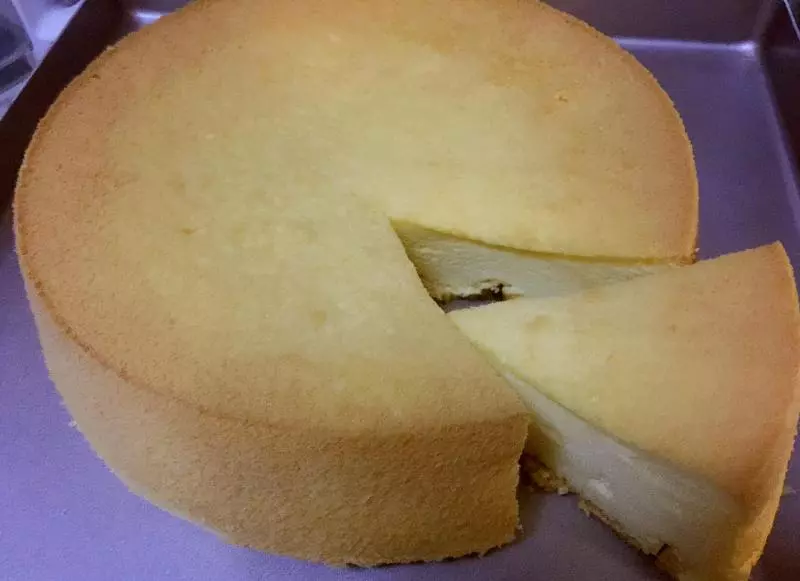
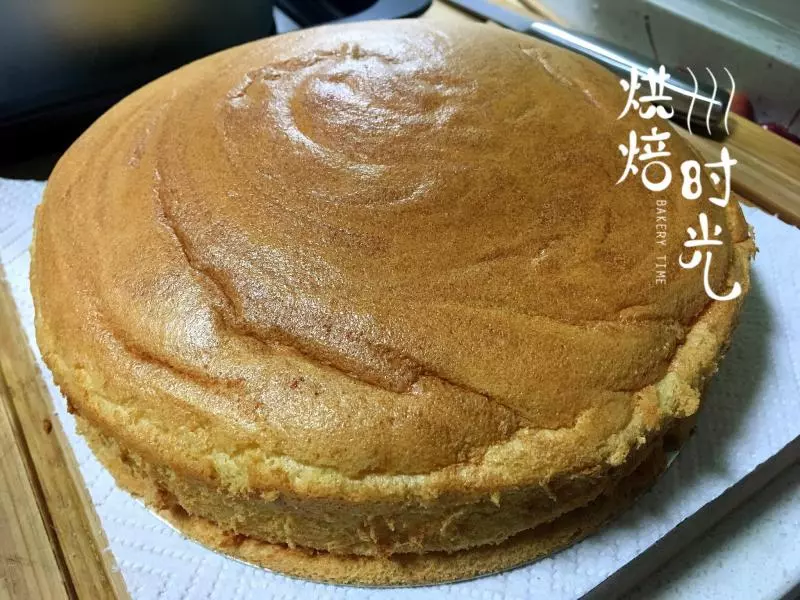
7蛋糊倒入六寸戚風模具,輕輕震出大氣泡,入烤箱烤60分鐘左右。

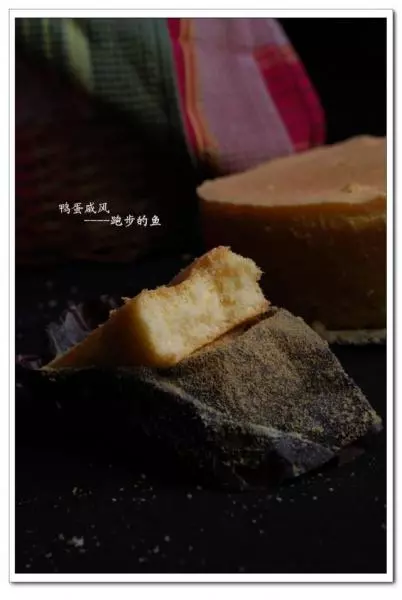
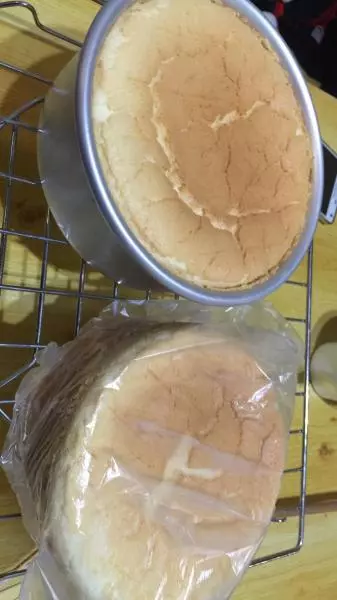
8出爐倒扣在烤架上,等完全冷卻再脫模。