原料
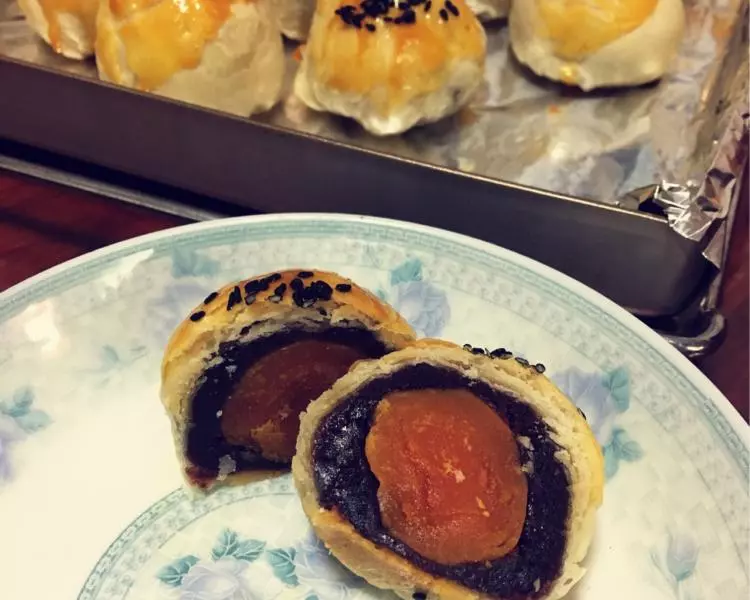
普通麵粉 80克, 豬油 30克, 糖粉 10克, 鹽 1/4小勺, 水 35克, 普通麵粉 80克, 豬油 35克, 紅豆沙 150克, 鹹蛋黃 10個, 蛋黃 一個,裝飾, 黑芝麻 適量,裝飾
步驟
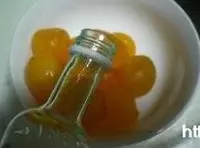
1買回來的袋裝鹹蛋黃,都是生的,在用以前,我們要先用朗姆酒浸泡一下,然後放烤箱中,上下火150度,烤五分鐘!蛋黃不用考的時間太長,這個時間,這個溫度,蛋黃剛剛熟,而蛋黃的油還都含在鹹蛋黃裡邊,等最後烤出的蛋黃酥才會最香
2將所有水油皮的配料放盆中,揉成光滑的麵糰,蓋上保鮮膜鬆弛30分鐘
3將所有的油酥麵糰配料放盆中,揉成油酥麵糰
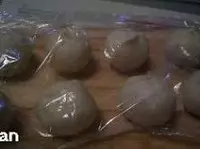
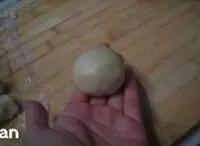
4將水油麵團平均分成十份,用手揉圓
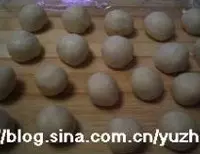
5將油酥麵糰也平均分成十份
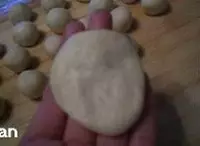
6取一個水油皮按扁
7上邊放油酥麵糰
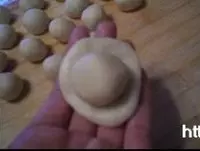
8然後捏緊封口
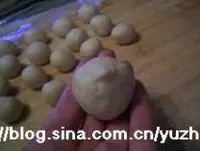
9封口朝上放案板上,暫時不用的蓋保鮮膜
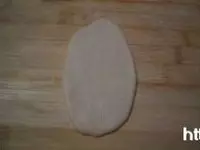
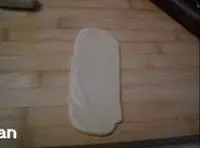
10麵糰封口朝上,擀麵杖擀成長橢圓形
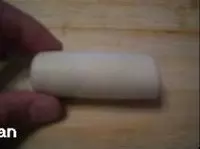
11從上而下捲起來
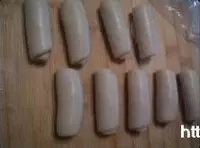
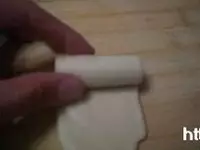
12將所有麵糰卷完
13然後再將面卷稍微按一下

14用擀麵杖再擀成長橢圓形
15然後從上而下捲起來
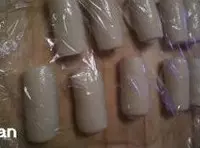
16所有麵糰擀卷完以後,蓋保鮮膜鬆弛30分鐘(一共是擀卷兩次)
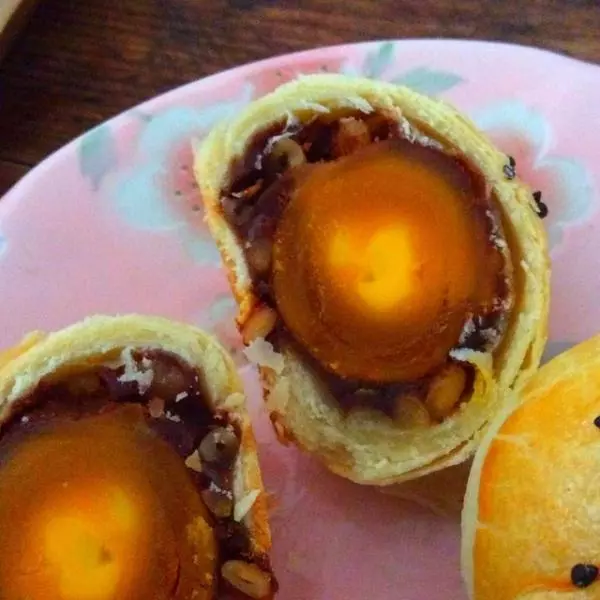
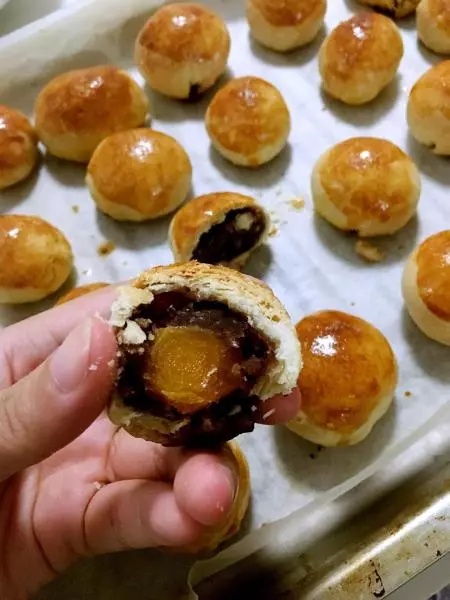
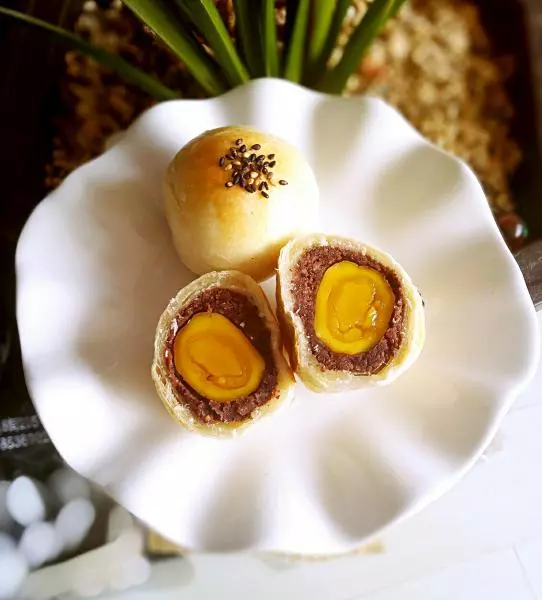
17鬆弛麵糰的時候,將150克豆沙餡平均分成十份
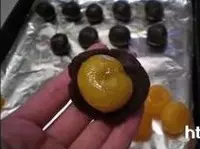
18拿一份豆沙餡按扁

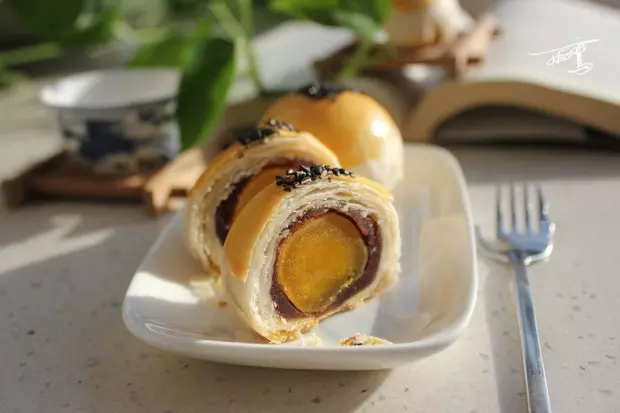
19裡邊包上晾涼的鹹蛋黃
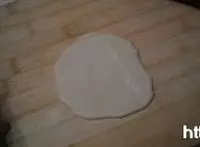
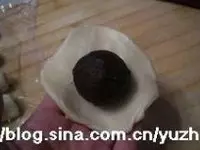
20面卷擀成圓形的面片
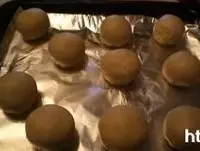
21中間包上豆沙蛋黃餡
22收口朝下
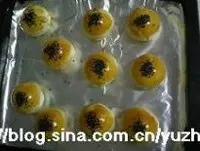
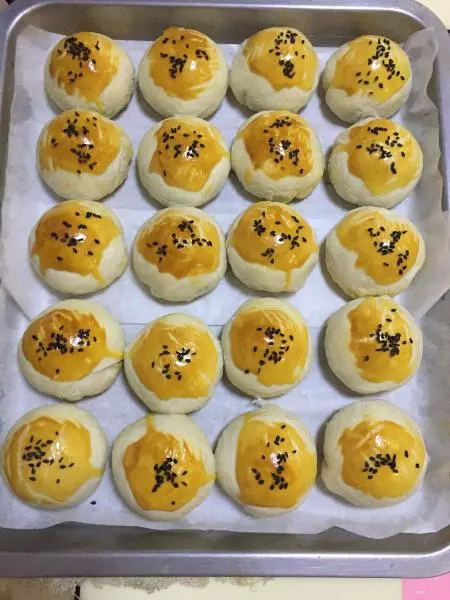
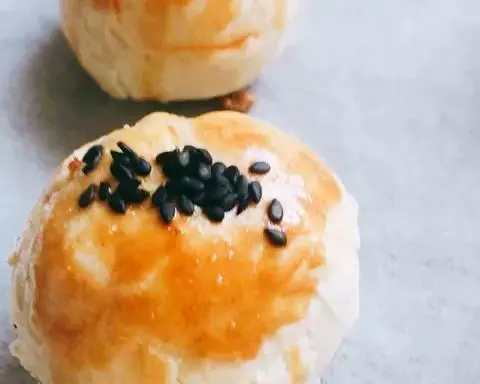
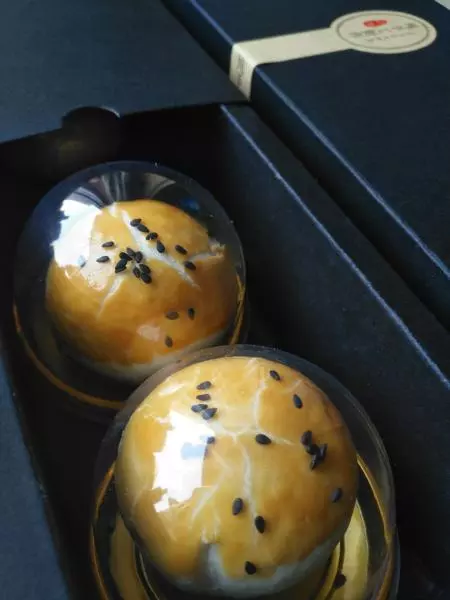
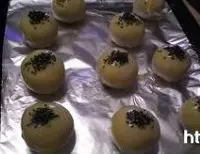
23放鋪了錫紙的烤盤上
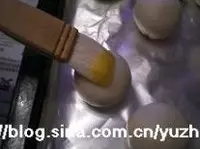
24一個蛋黃打散,刷在包好的蛋黃酥上,先將所有的蛋黃酥刷一遍蛋液,稍微晾兩分鐘,然後再刷一遍蛋液
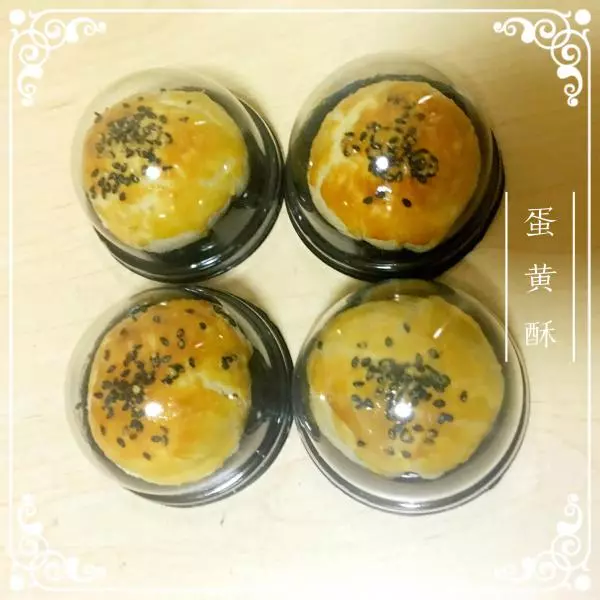
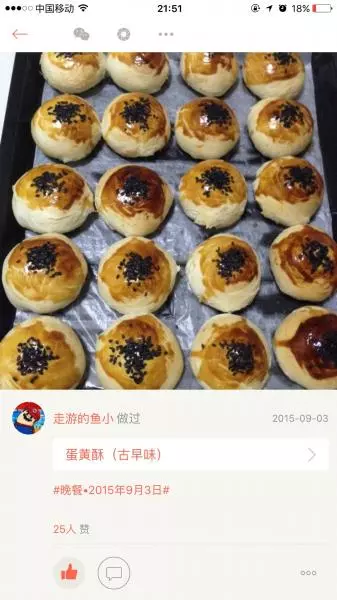
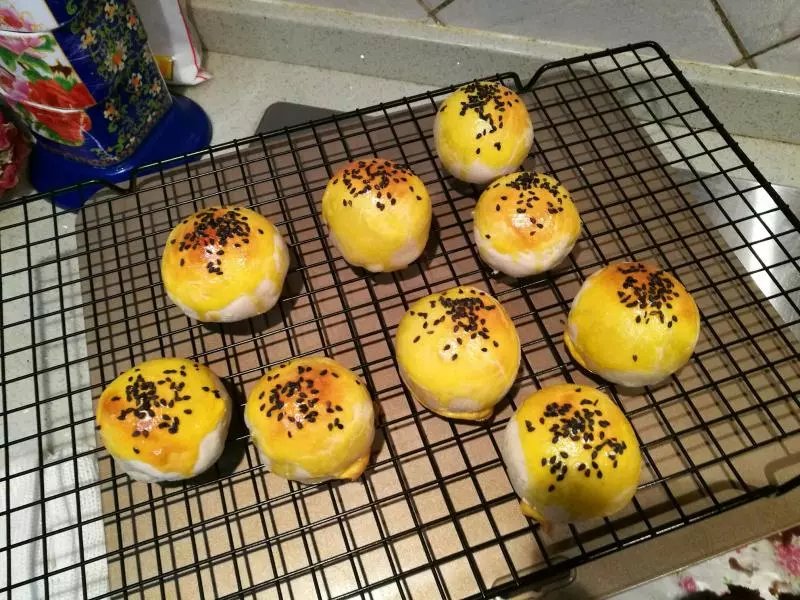
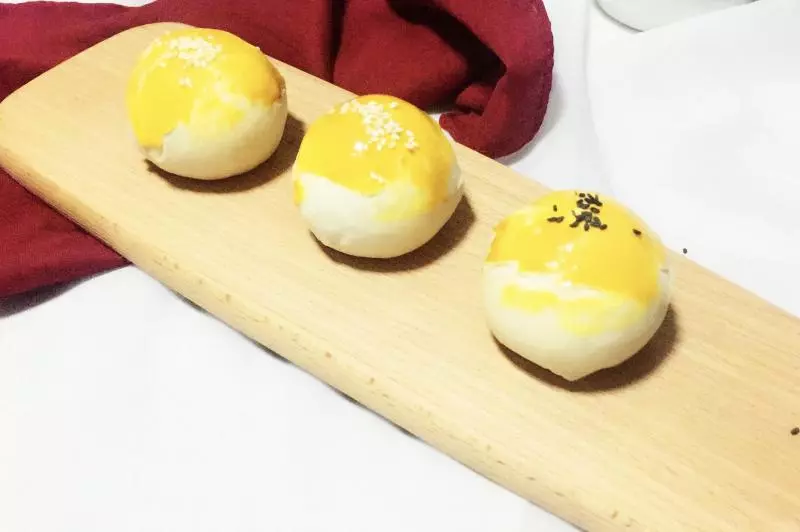
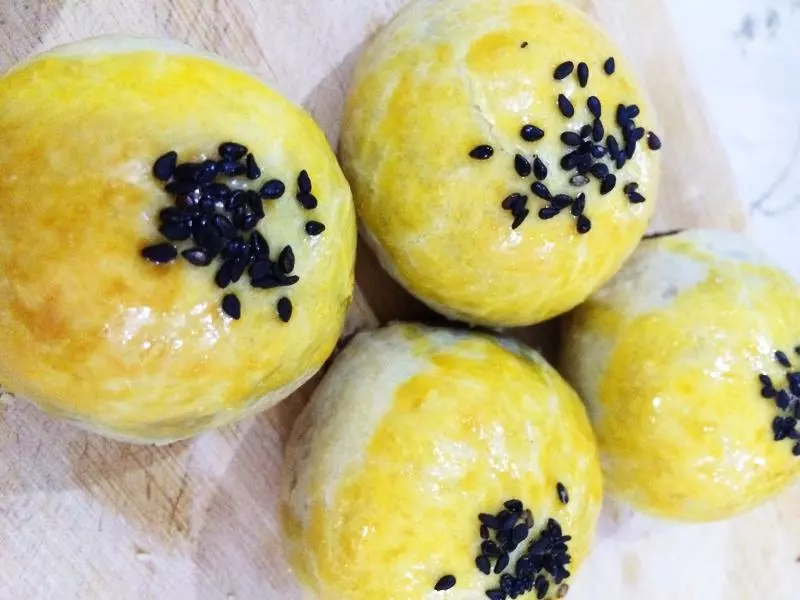
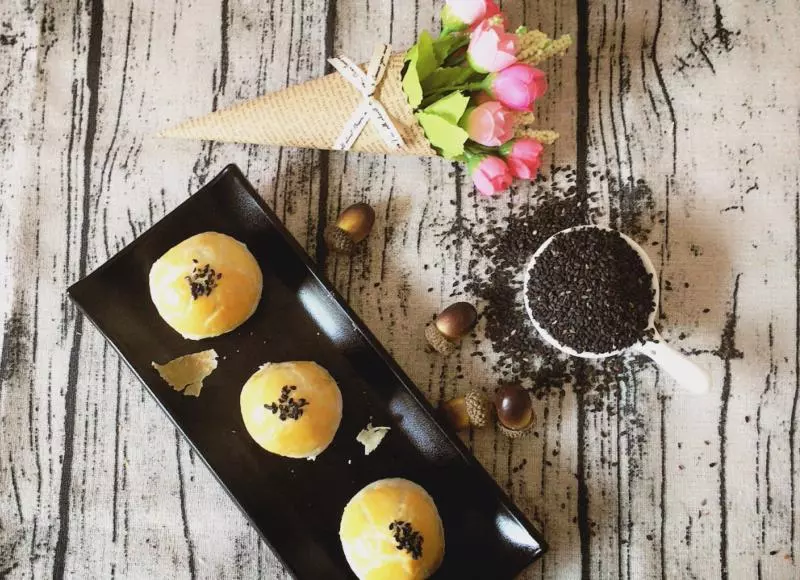
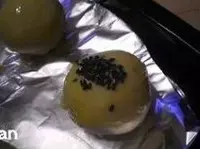
25最後在頂上撒黑芝麻,刷兩遍蛋液的蛋黃酥,烤出來以後是非常漂亮的顏色
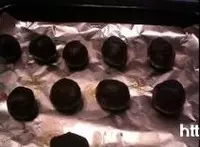
26烤箱預熱186度,包好的蛋黃酥放烤箱中層,烤25分鐘
27如果看蛋黃酥在烤箱中烤的顏色差不多的時候,蛋黃酥表面蓋一層錫紙,繼續烤。防止蛋黃酥顏色烤的過深