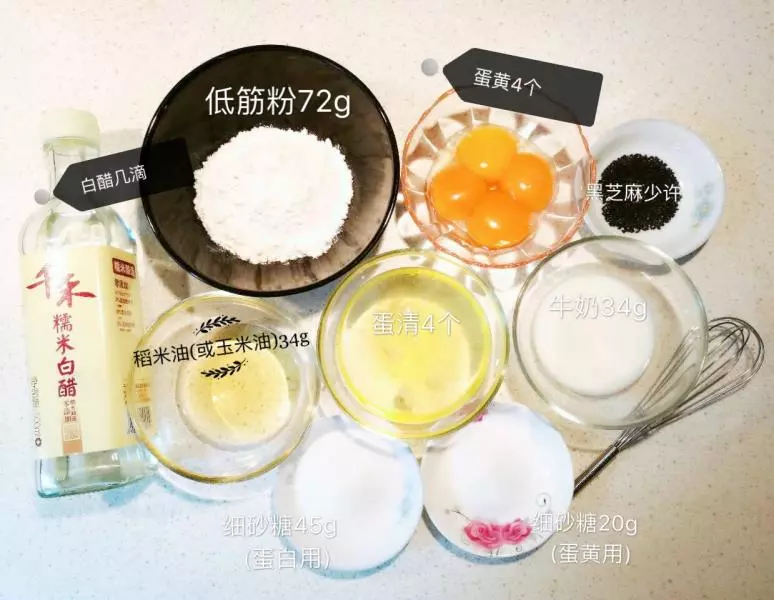
原料
低筋面粉: 72克, 鸡蛋: 4个, 稻米油(或玉米油): 34克, 牛奶: 34克, 细砂糖(蛋黄用): 20克, 细砂糖(蛋白用): 45克, 白醋(或柠檬汁): 几滴, 黑芝麻(或白芝麻): 少许(没有可以不用)
步骤
1将所有用料备齐。把蛋黄和蛋白分离,分别放在无水无油的干净容器里。
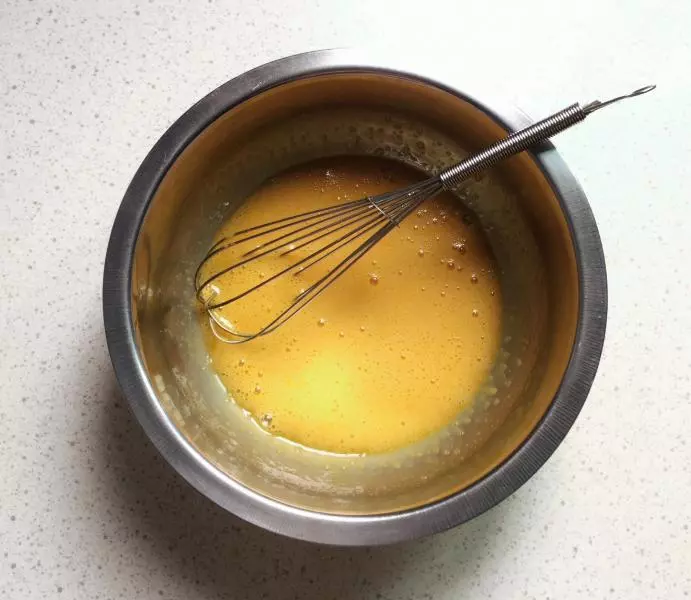
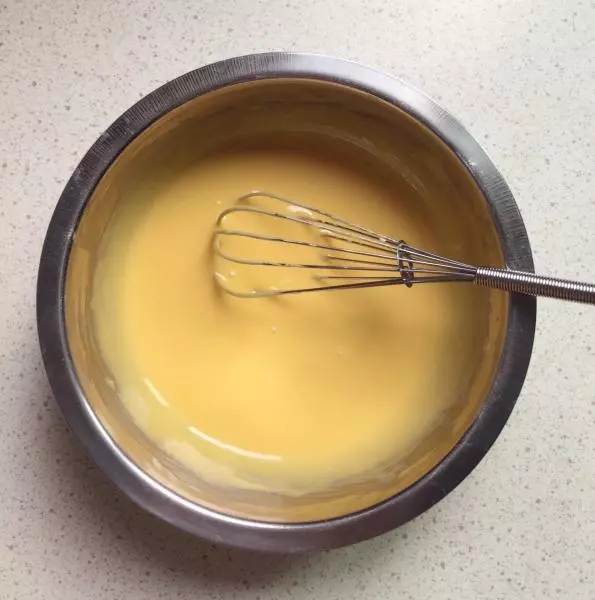
2制作蛋黄糊: 20g细砂糖加入蛋黄碗里,用蛋抽顺时针搅至细砂糖基本完全溶化,如上图。
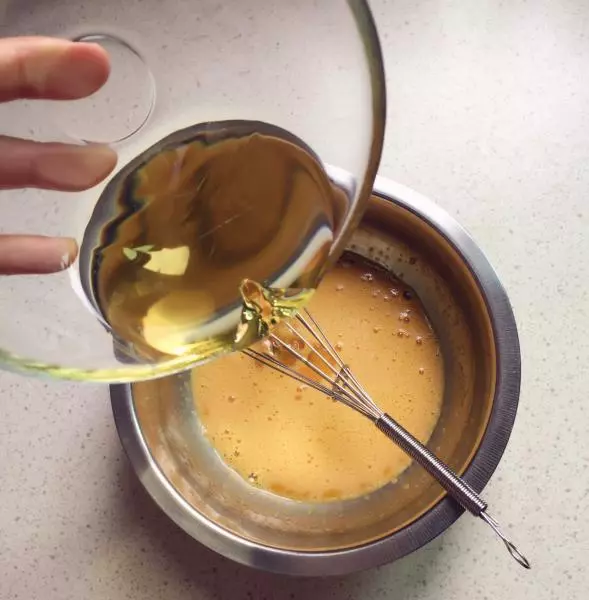
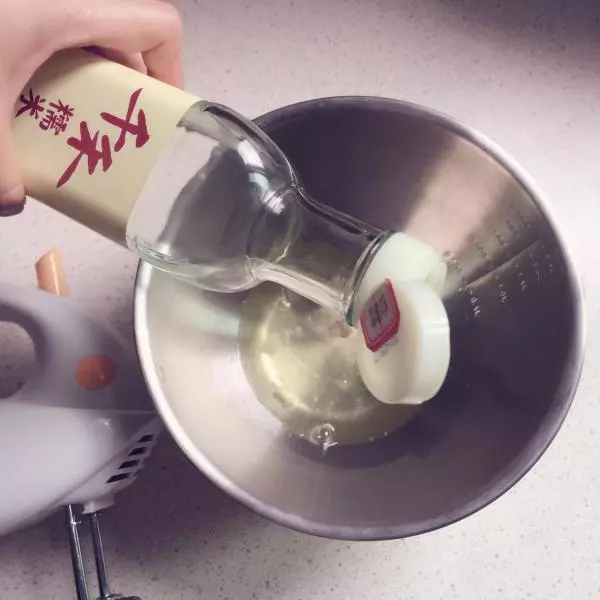
3加入油,顺时针搅一会,直到油和蛋液融合在一起。
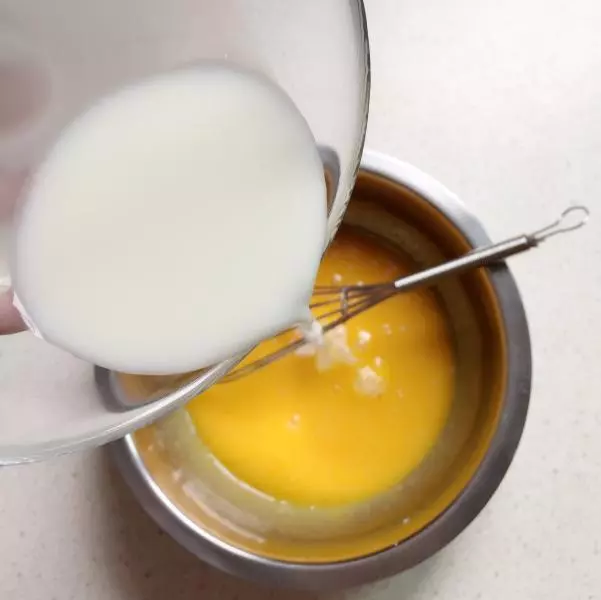
4加入奶,搅至融为一体。
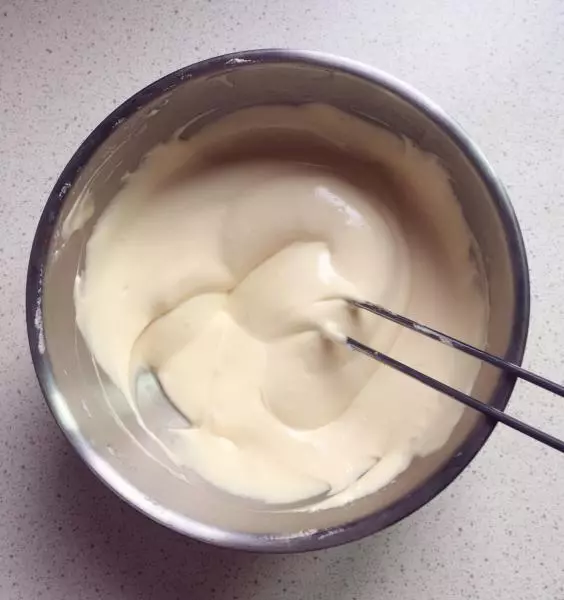
5面粉过筛,筛入蛋黄碗里,继续用蛋抽顺时针搅拌均匀,直至细腻无疙瘩,见下图。
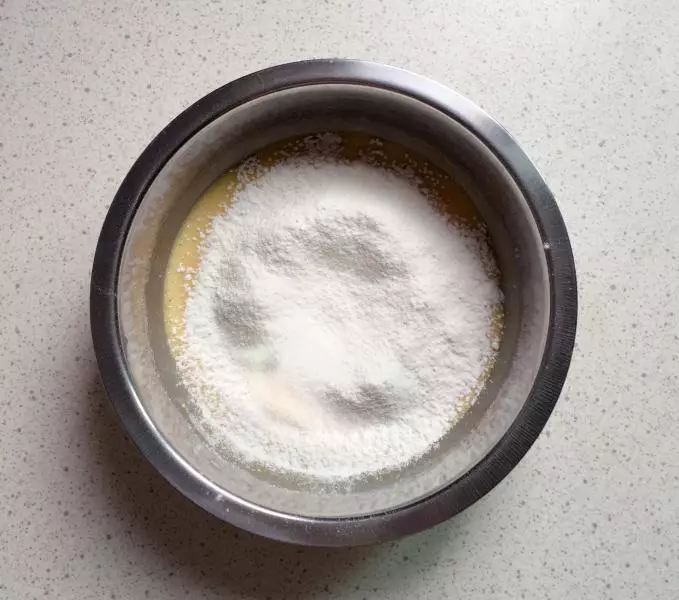
6这是搅拌均匀的蛋黄糊,这样蛋黄糊就做好了,放在一边,待会儿用。
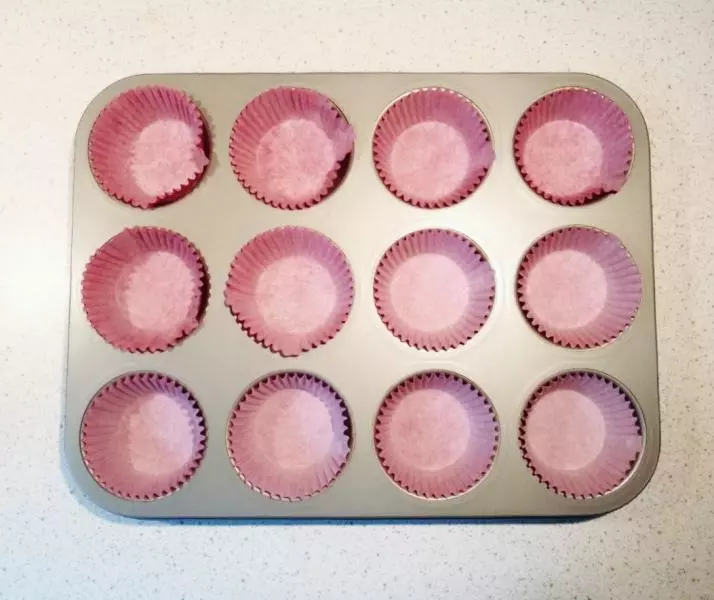
712连模拿出来,把纸杯摆放好。纸杯很薄,很容易就会把两个当成一个,所以要细心一点,避免浪费。
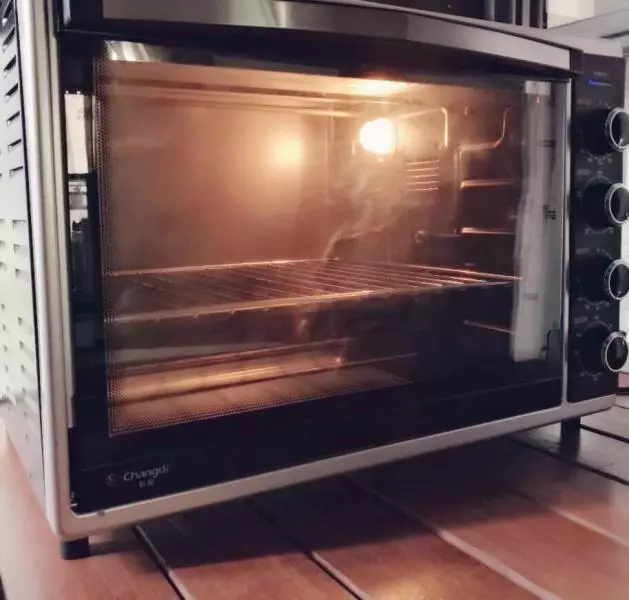
8预热烤箱。上下管170度,15分钟。
9蛋清放入打蛋盆。往盆里滴入两三滴白醋去腥(手抖的亲可以先滴在勺子里,再放进蛋清里,免得手抖倒太多)
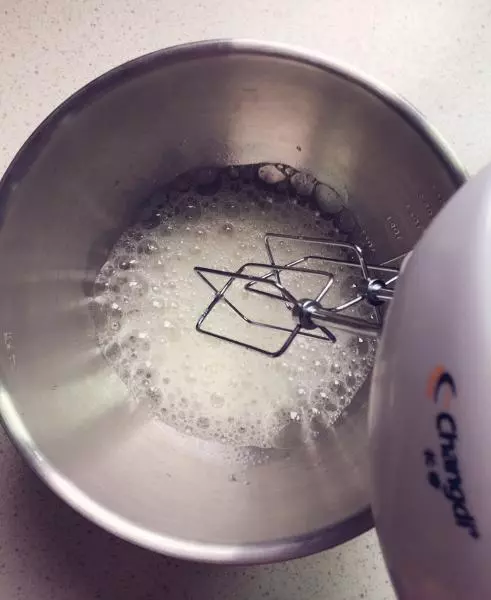
10用电动打蛋器低速打出鱼眼泡。低速!因为这一步很快就好了。
11蛋白用的糖,加入1/3到盆里,开高速搅打。

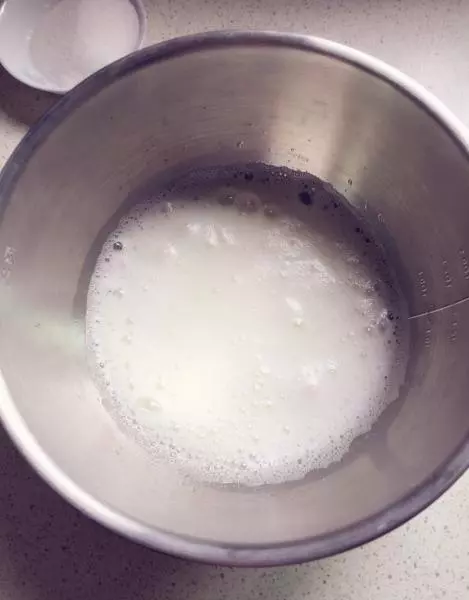
12高速搅打至成为细腻的白色泡沫。
13再加入剩下糖的1/2,继续高速搅打。搅打至蛋白出现若隐若现的纹路,蛋白体积也膨胀了不少。
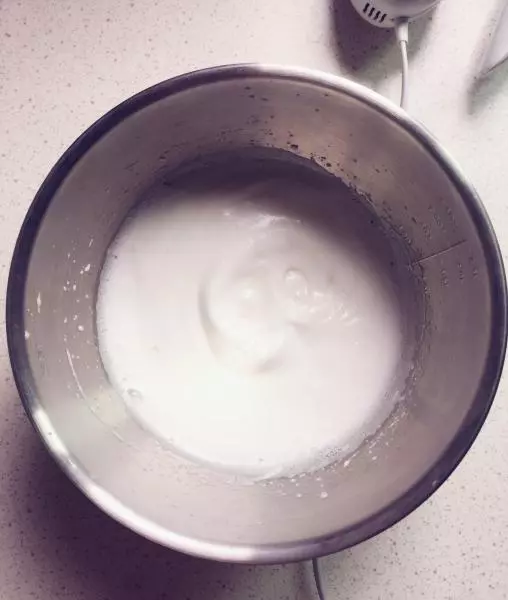
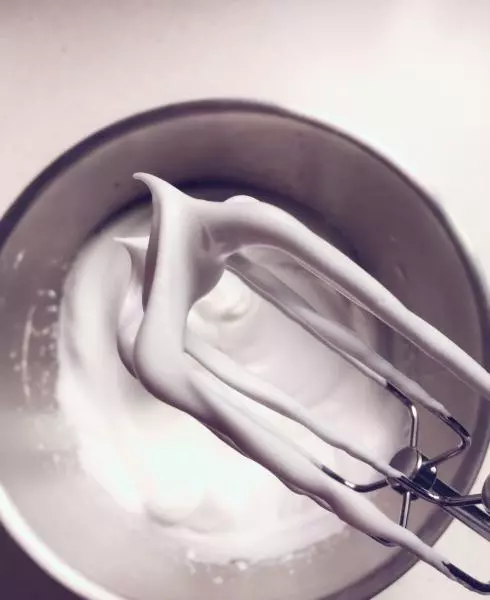
14再加入剩下的糖,现在又恢复低速搅打,低速!低速!免得一不小心打过头了。打至干性发泡,即停止打蛋器后,拎起打蛋器的头,打蛋头尖端的蛋白出现短小直立的小弯钩,就OK了(也可以只打到大弯钩,出来的成品区别不是很大)
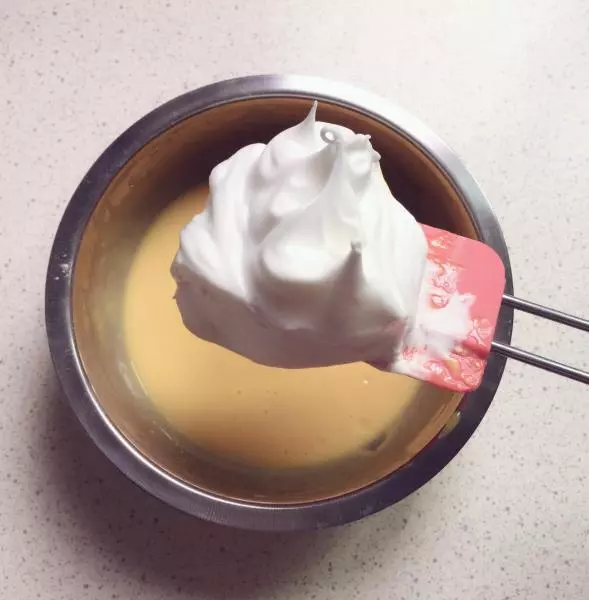
15用硅胶刮刀取一小部分蛋白放入蛋黄糊里。
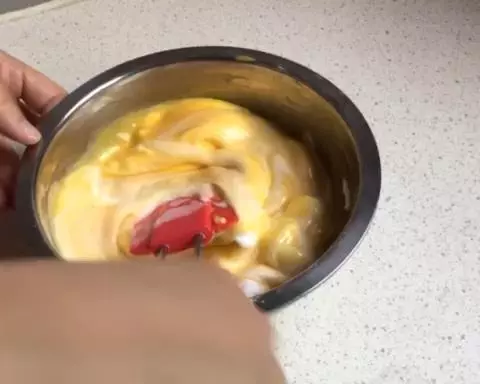
16翻拌至基本均匀即可(右手用刮刀从盆子右上方1点钟方向进入,刮过盆底,从盆子左下方7点钟方向出来;左手要一直逆时针转动盆子,一直重复这个动作)
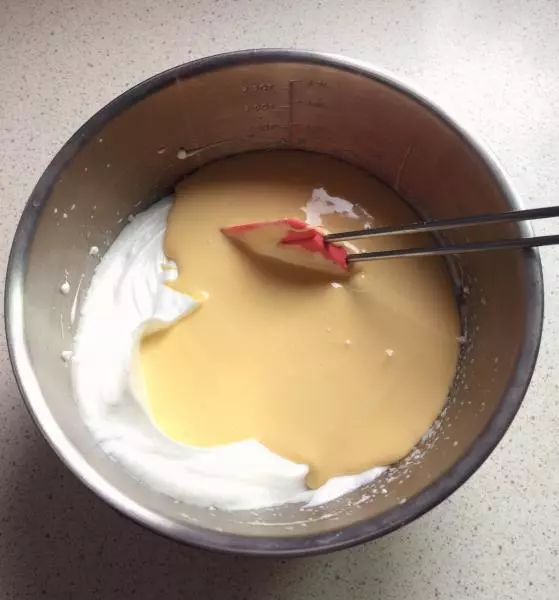
17翻拌好的蛋黄糊倒入蛋白盆里。
18翻拌至手酸、完全均匀、无颗粒,就好了。

19这就是最后拌好的蛋糕糊了,要细腻无颗粒哦!
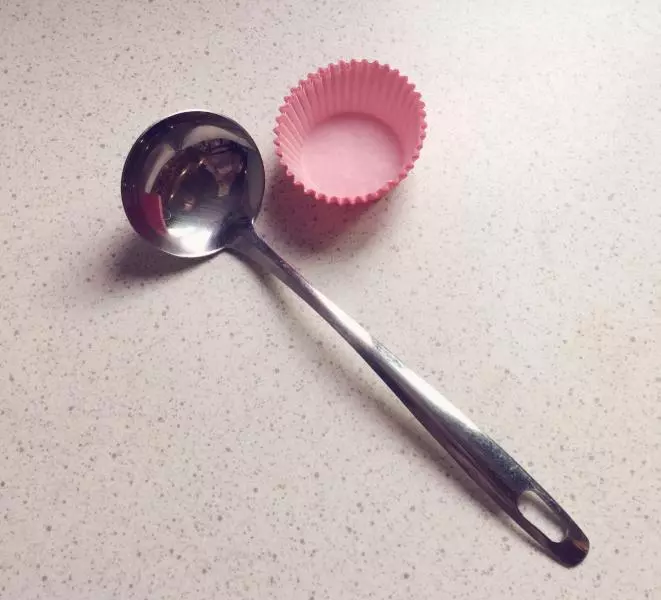
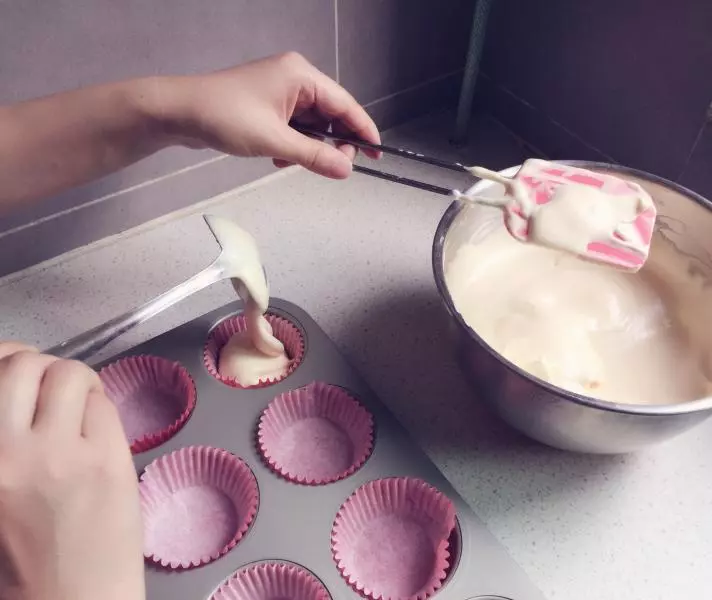
20拿一个小汤勺,和纸杯差不多大小的。
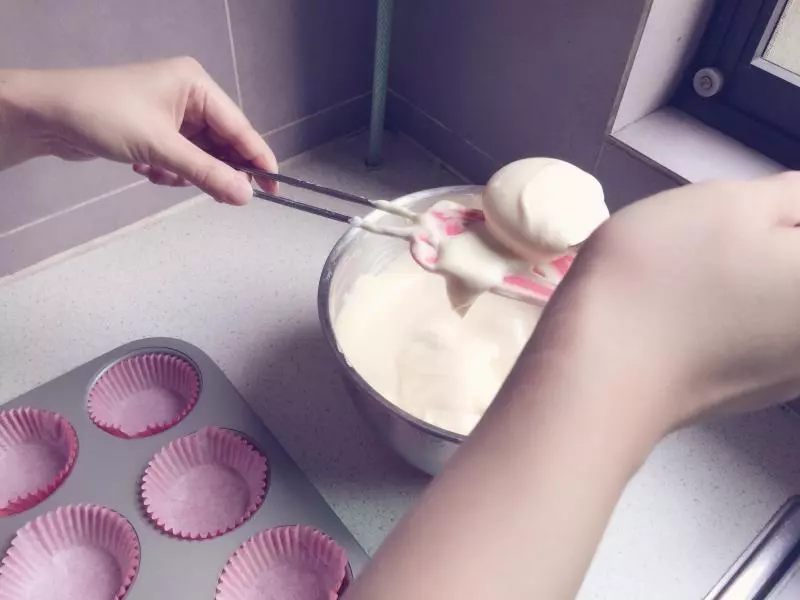
21用汤勺刮去刮刀上的蛋糕糊。
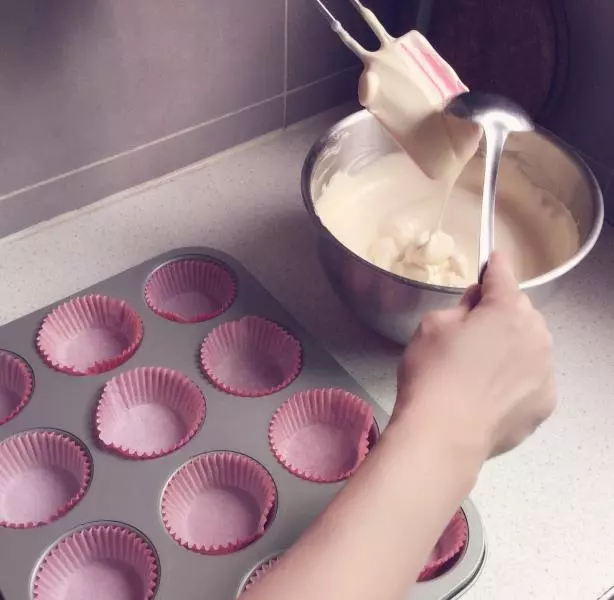
22舀满满一大勺蛋糕糊,勺子底部用刮刀稍微刮干净,避免滴落。
23勺子里的蛋糕糊放入纸杯,八九分满就行了。刮刀继续留在盆子上方待用。如此重复,直到所有纸杯放满。
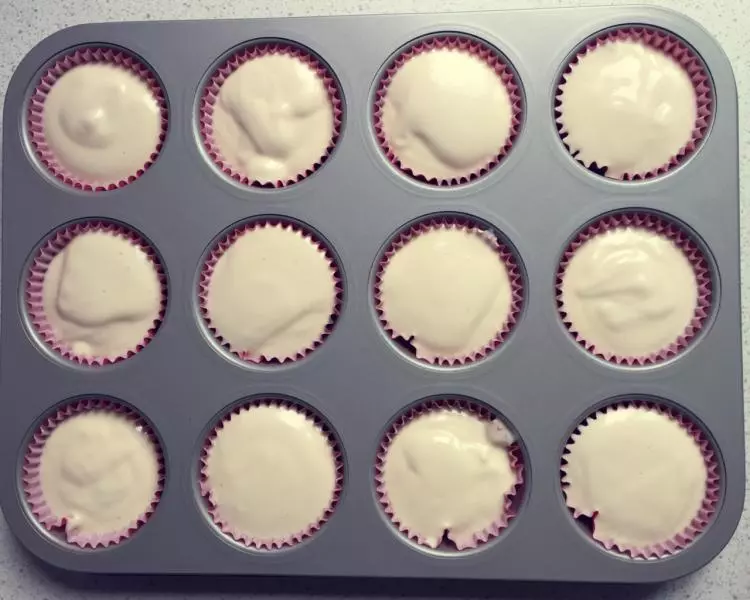
24蛋糕糊全部舀好啦,啦啦啦~现在蛋糕糊的形状不是很规则,别担心,烤好后就变成圆圆的,蓬蓬的啦。
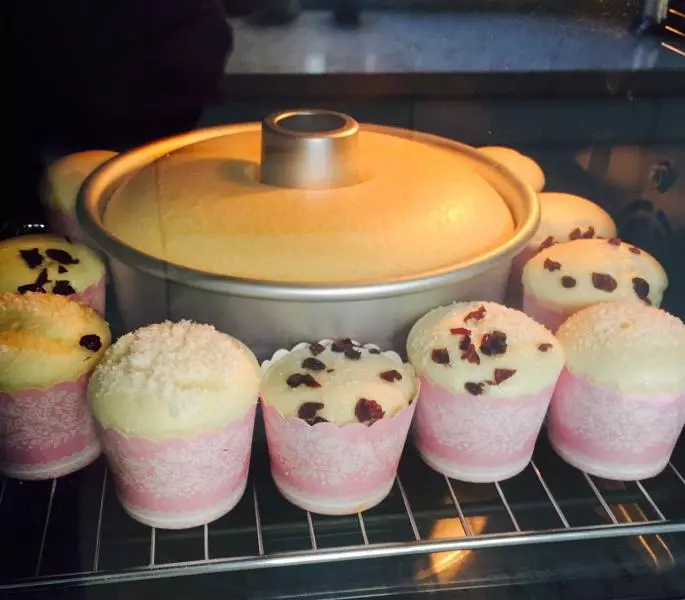
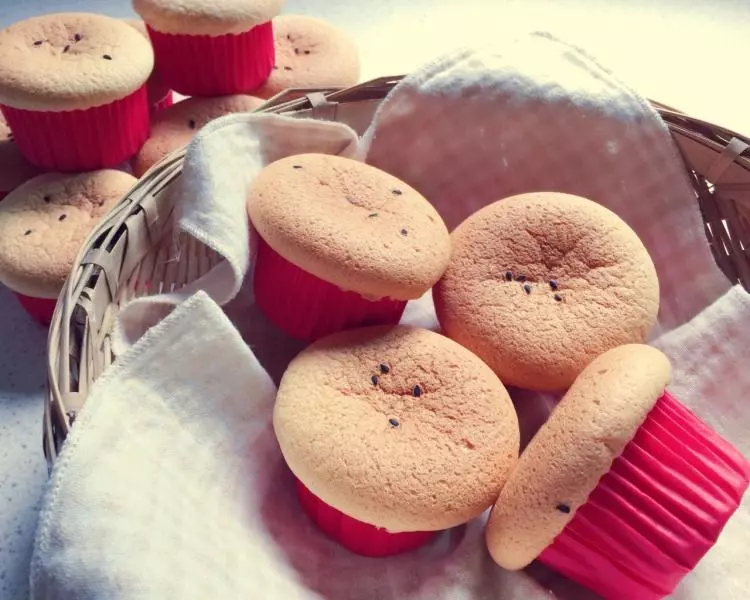
25撒上芝麻。不要撒太多,有寥寥几颗装饰就可以了(用白芝麻或者不要芝麻也可以)

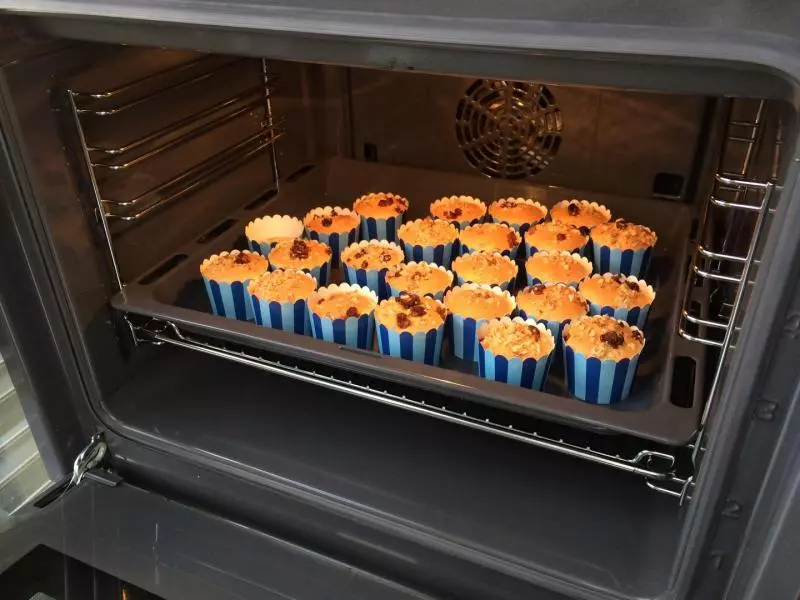
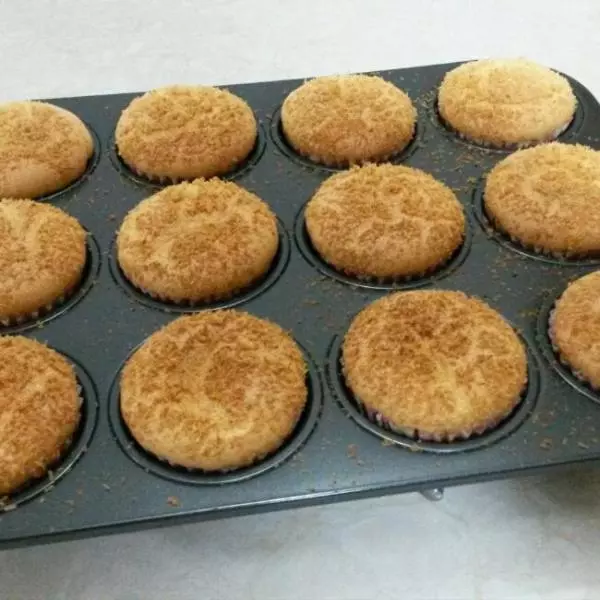
26送入烤箱,上下火170度,烤20分钟;时间结束后,蛋糕不要拿出来,把上火改为200度,下火不变,再继续烤5分钟,上色!这样出来的颜色比较好看。
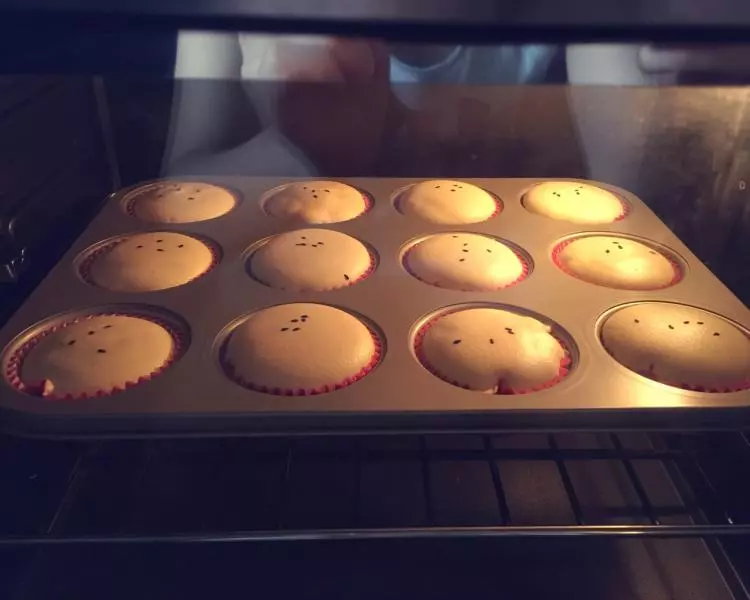
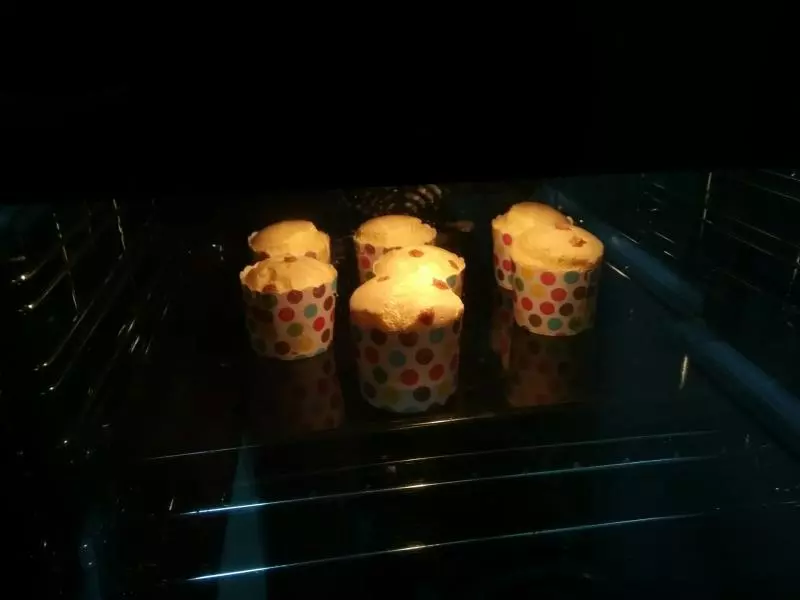
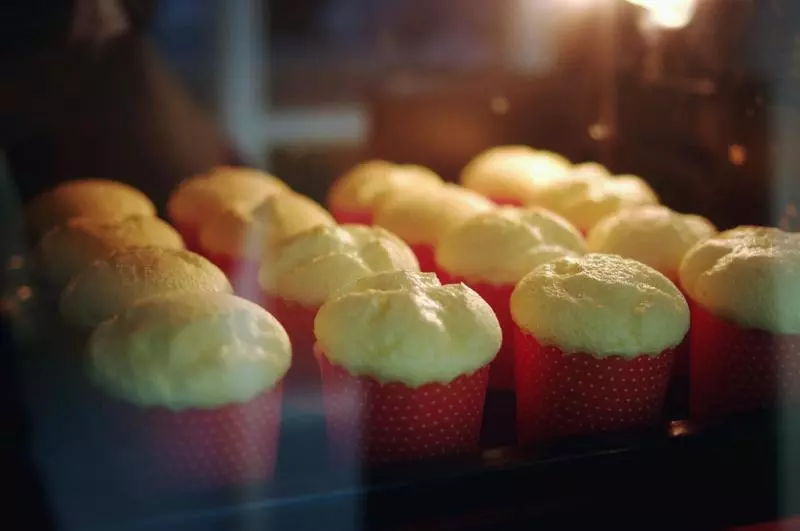
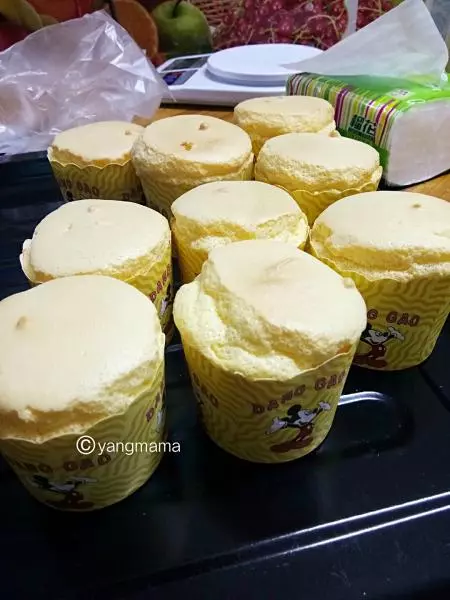
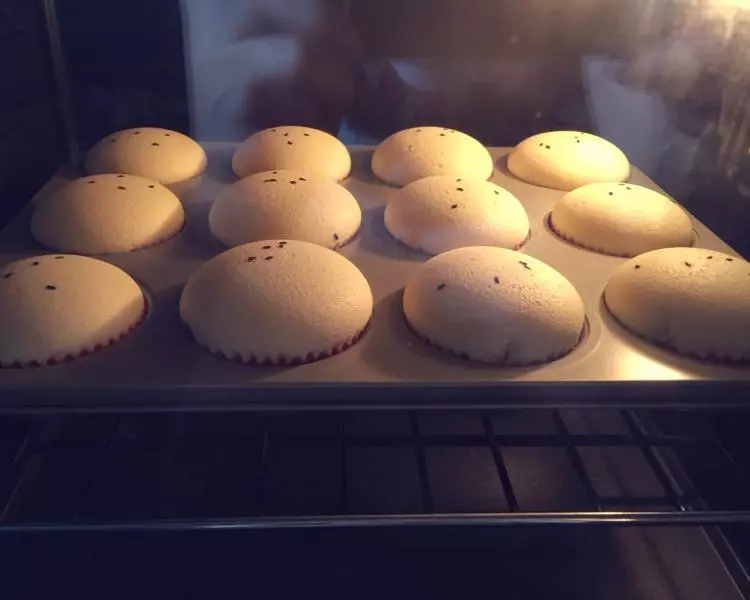
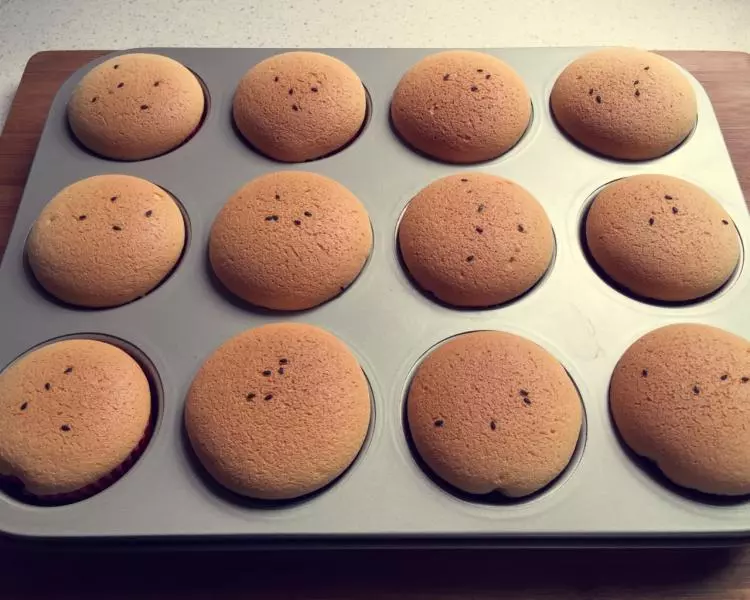
27这是还在烤箱里的样子,已经蓬起来了。
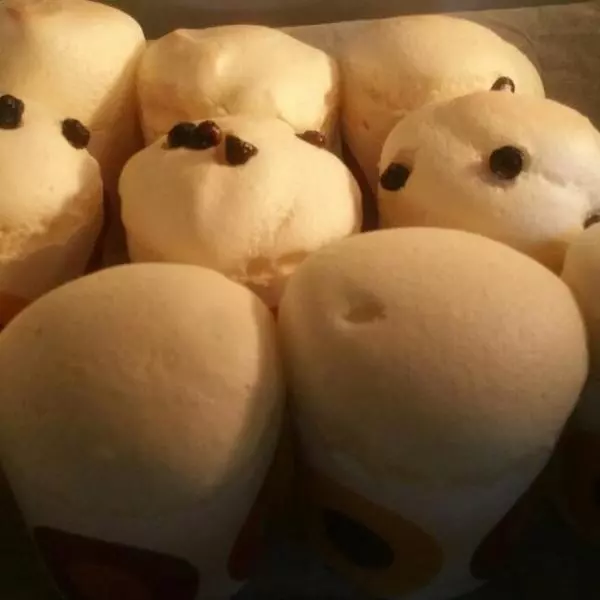
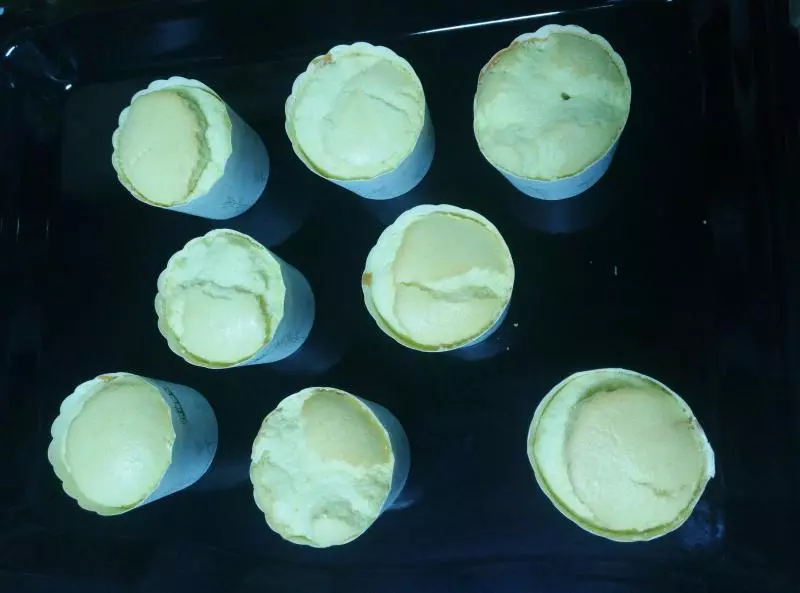
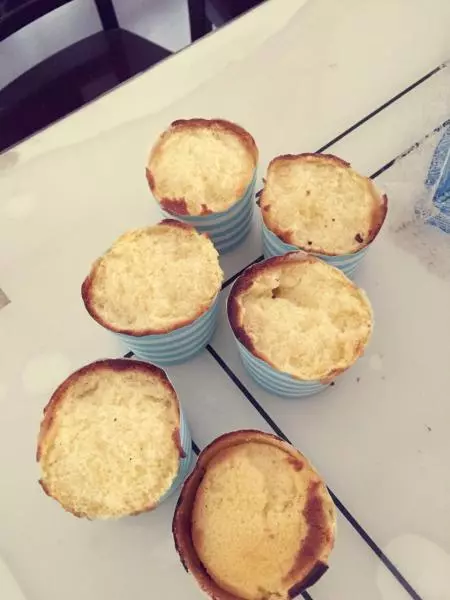
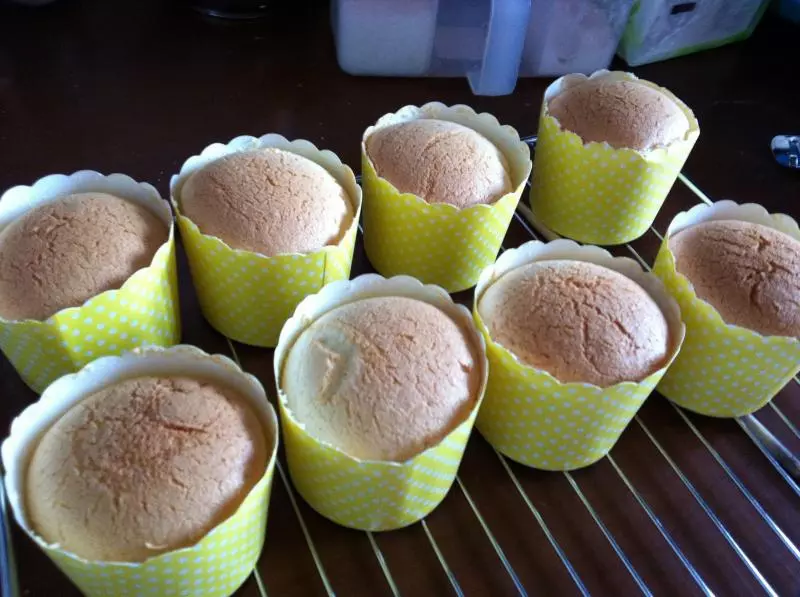
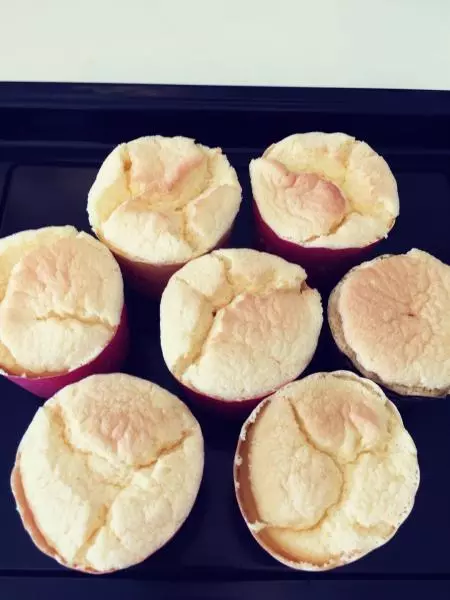
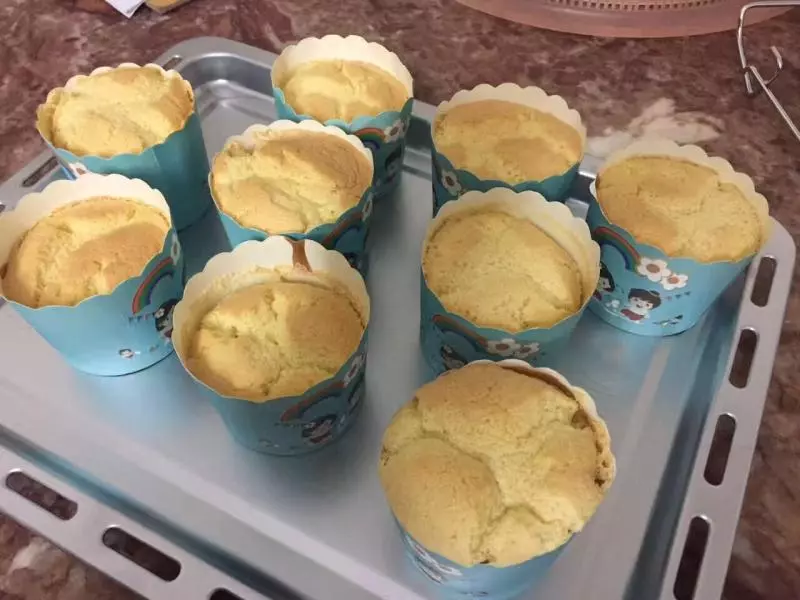
28出炉!
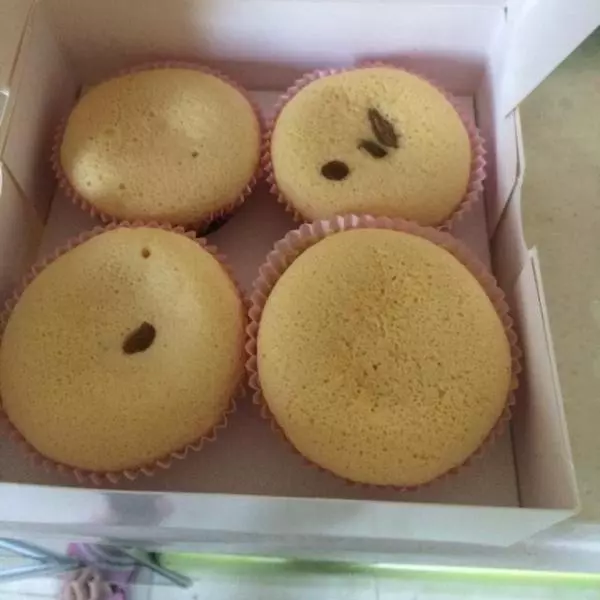
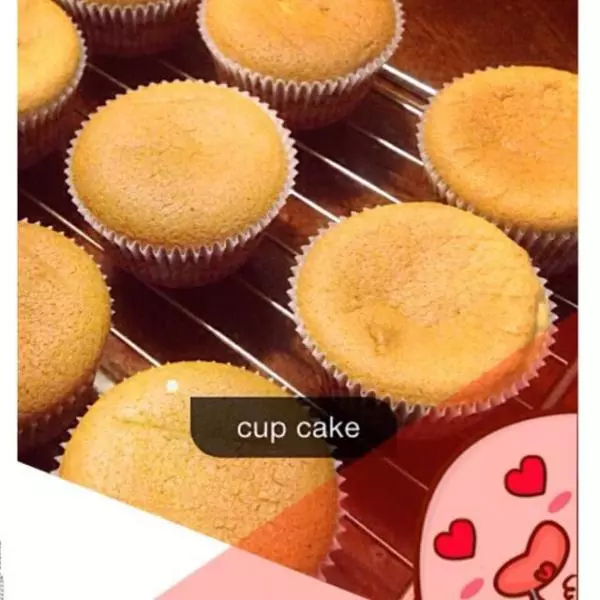
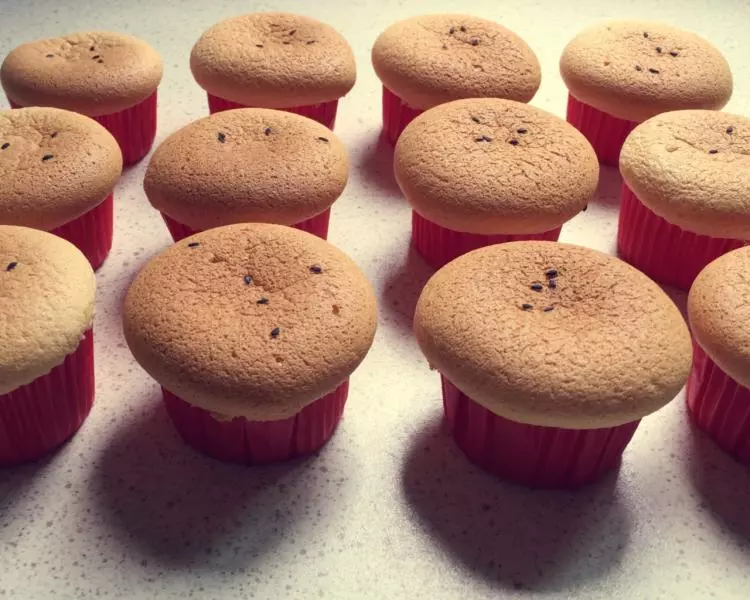
29晾凉中··· ···
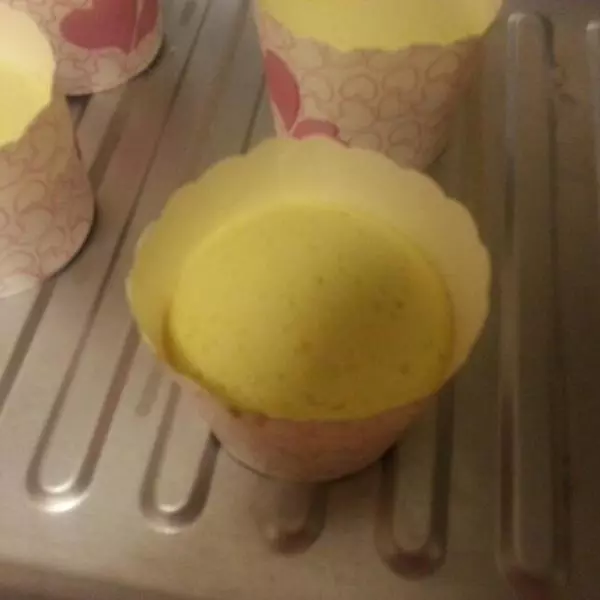
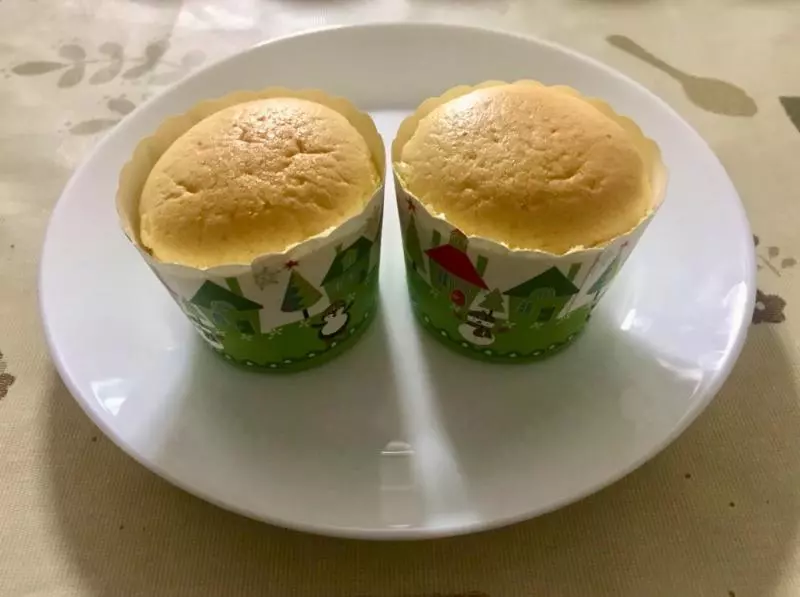
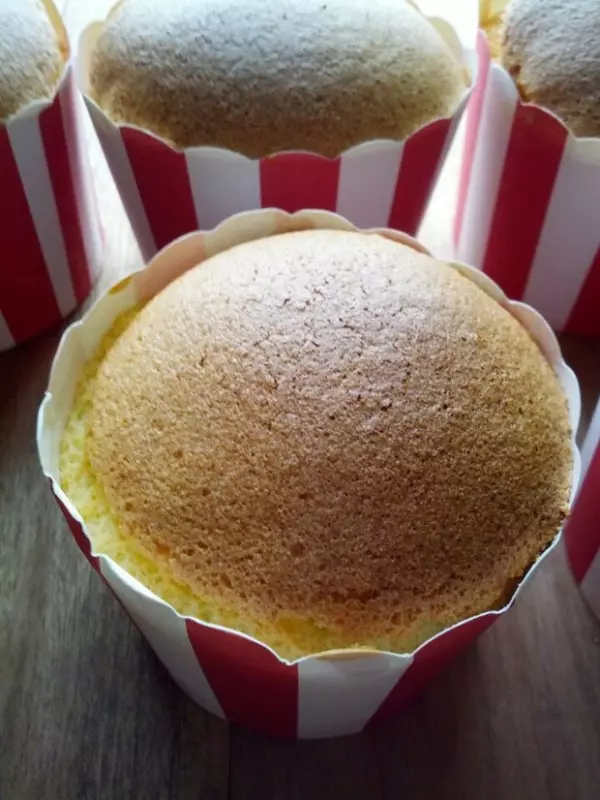
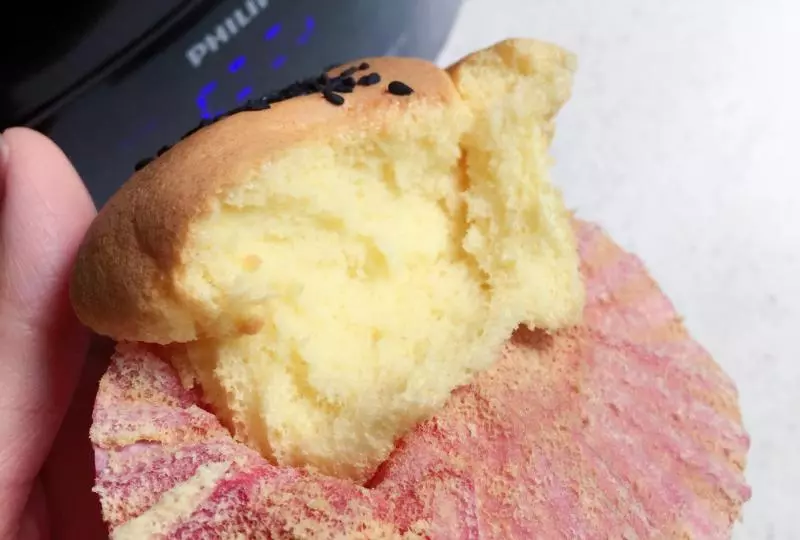
30趁热吃一个,很松软。
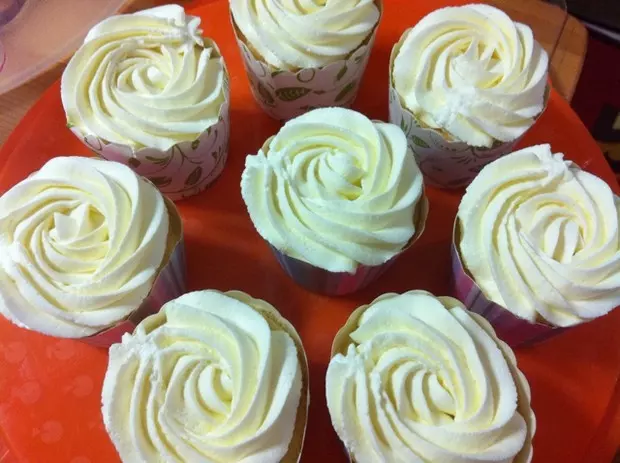
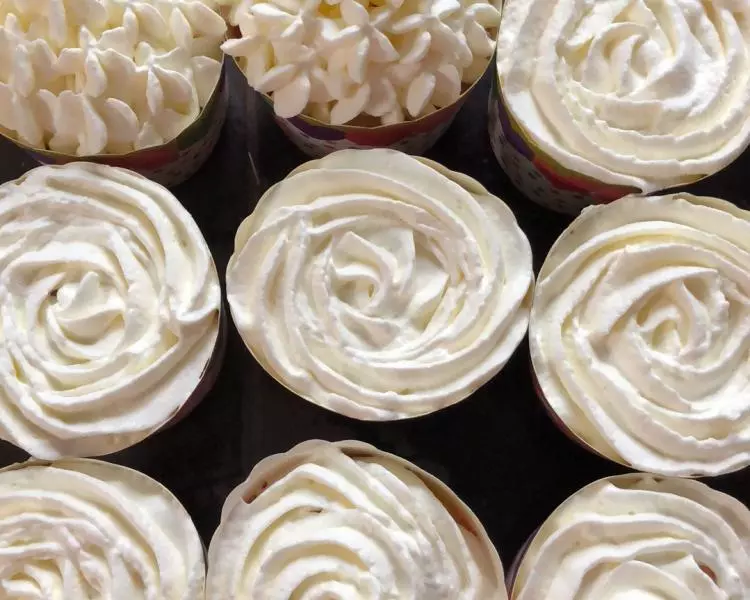
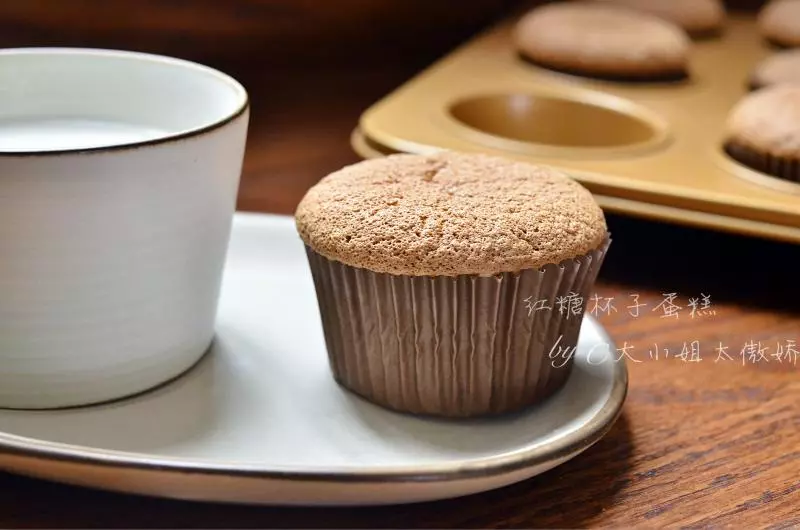
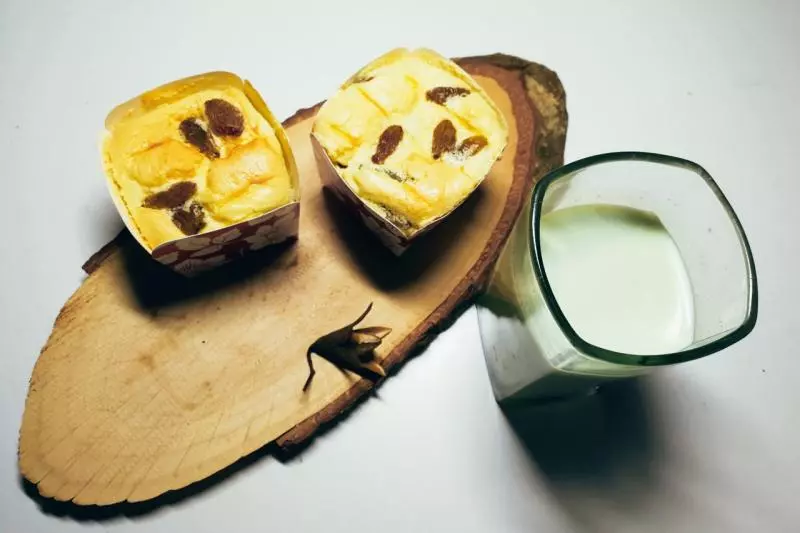
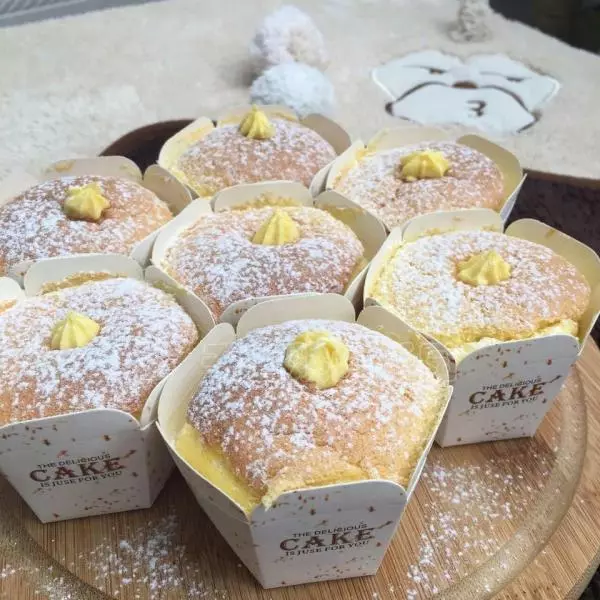
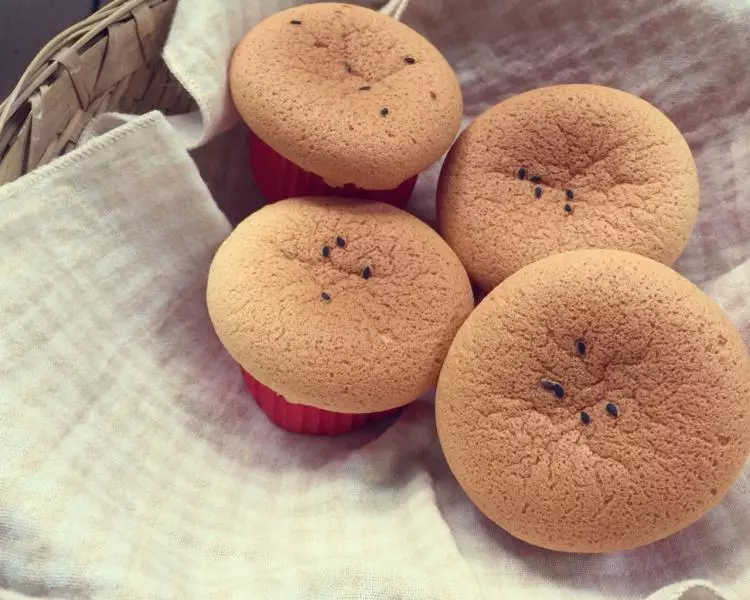
31装盘,等会慢慢吃。

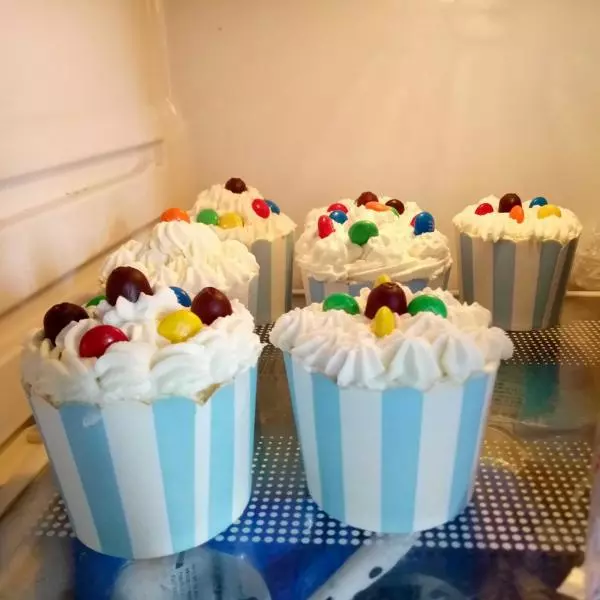
32凹个造型!
小技巧
1、因为家里小孩对玉米过敏,所以我用了稻米油,亲们用玉米油等量代替就可以了。 2、家里没有常备柠檬汁,所以用白醋代替了。家里有柠檬汁的就用柠檬汁哈。 3、面粉过筛是为了让面粉更细腻,避免有小疙瘩搅拌不均,所以这一步也不要偷懒。 4、芝麻宜少不宜多,白芝麻也可以,不要芝麻也可以。