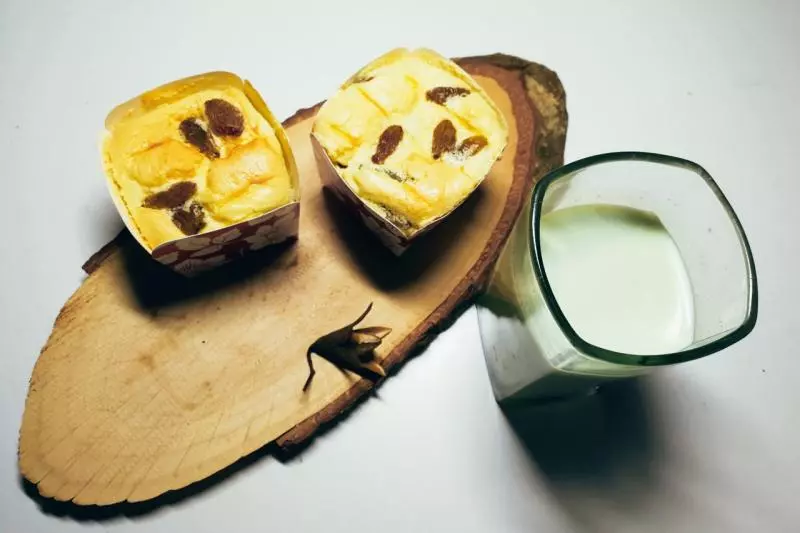
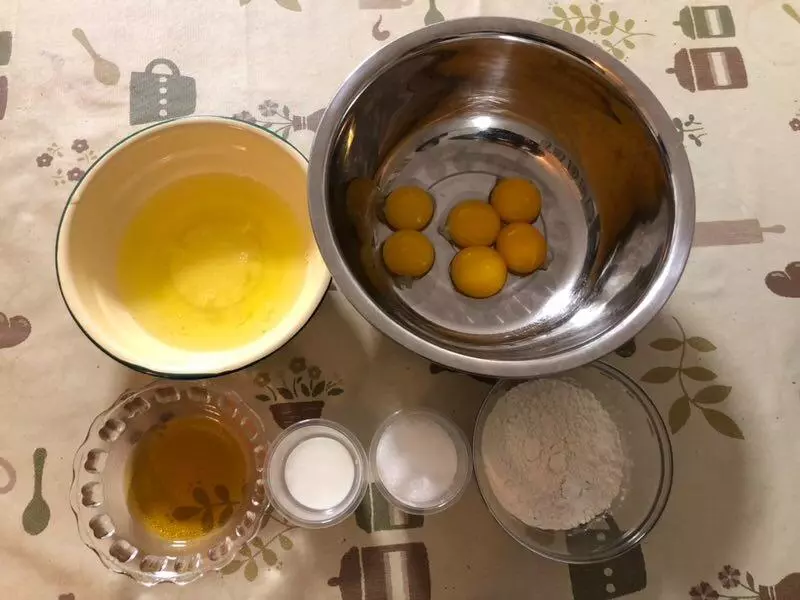
原料
低筋面粉: 100克, 牛奶: 50克, 鸡蛋: 6个, 细砂糖: 90克, 色拉油: 40克, 柠檬汁或白醋: 4~5滴
步骤
1备齐所有食材及工具
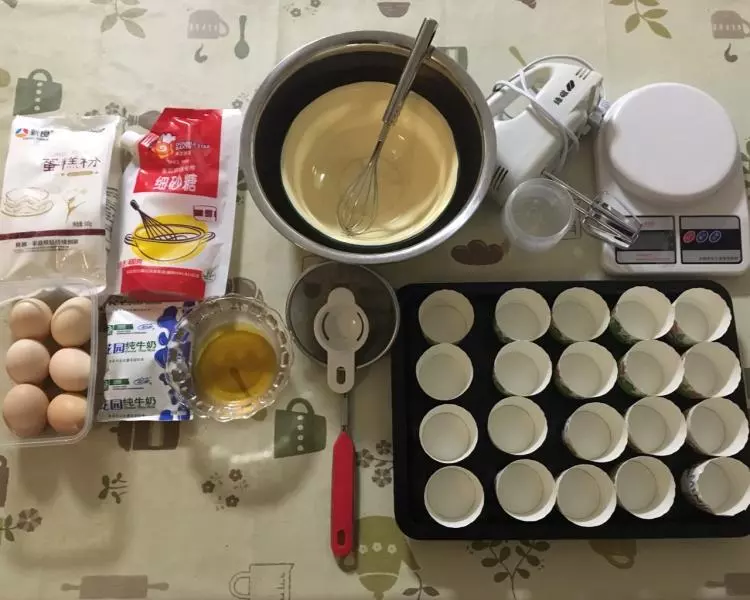
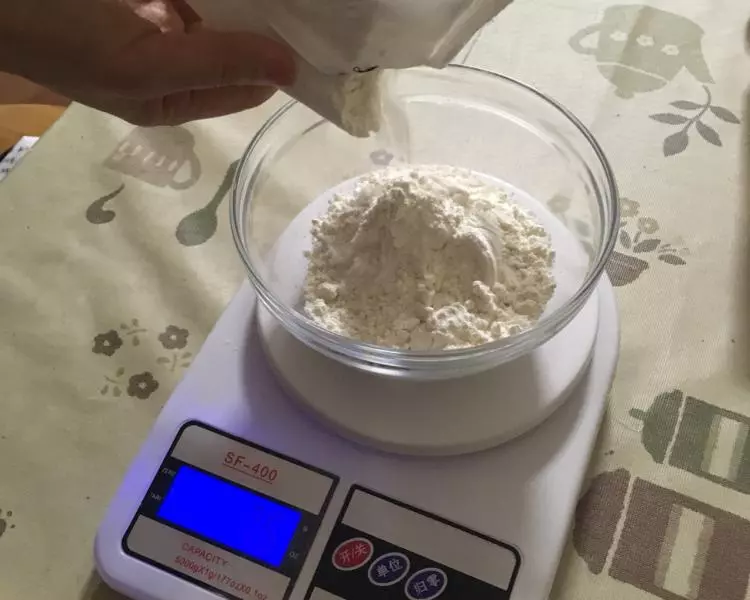
2按配方用厨房称称好分量
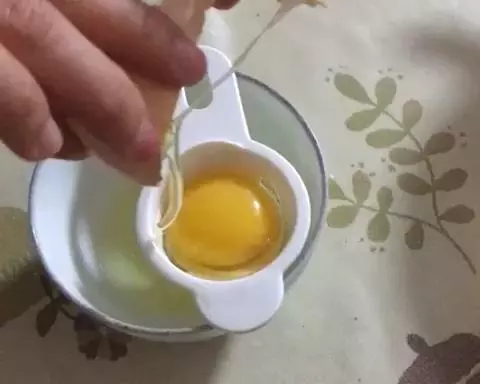
3用分蛋器做蛋清蛋黄分离,没分蛋器可把蛋壳敲开两半,来回倒让蛋白流到碗里,蛋黄留在壳里分开
4分装备好的食材如图
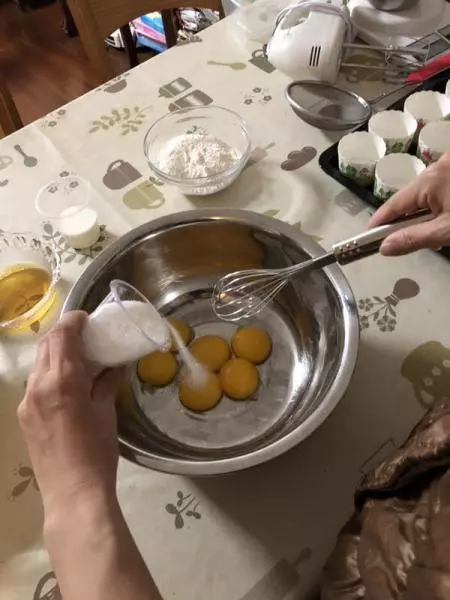
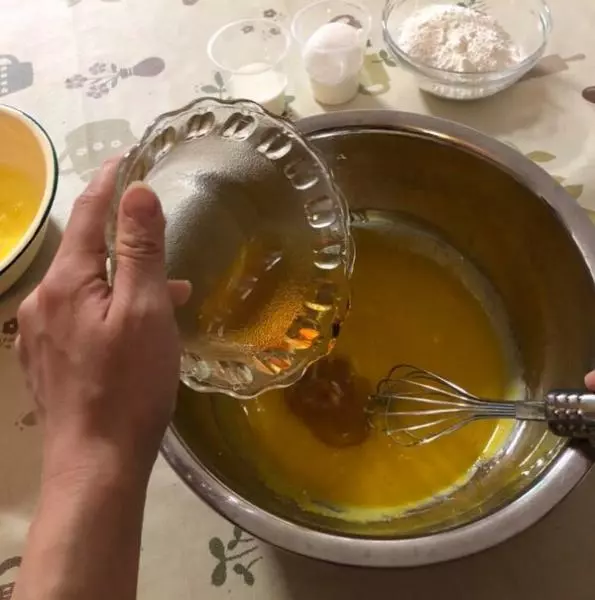
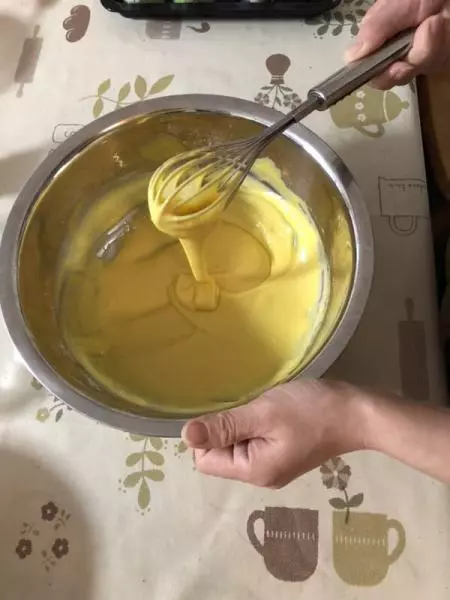
5蛋黄里加入糖打散
6加入色拉油拌匀
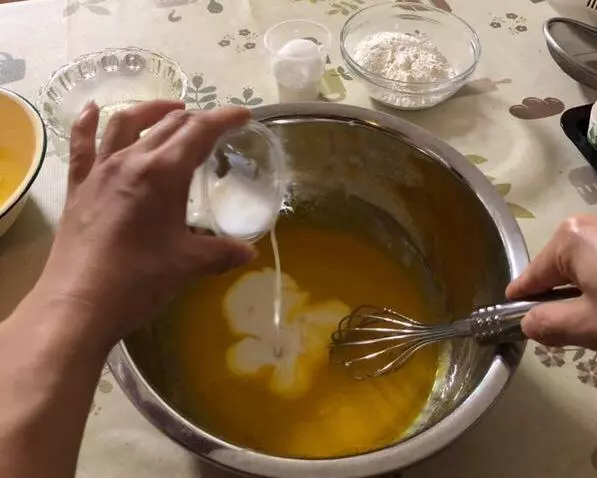
7加入牛奶搅拌均匀
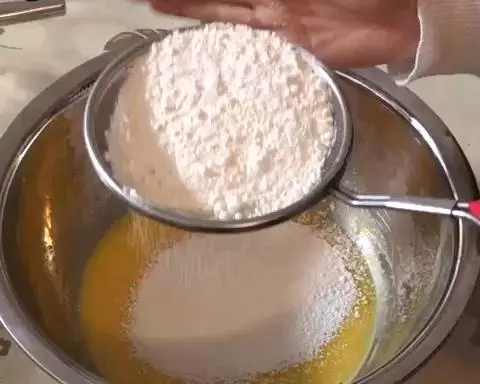
8过筛拍入低筋粉,避免面粉成团
9划Z形搅拌面糊,这里不划圆搅拌是为了避免起筋影响口感
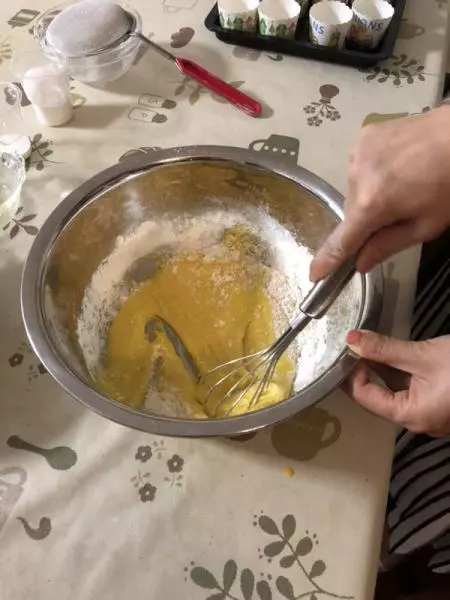
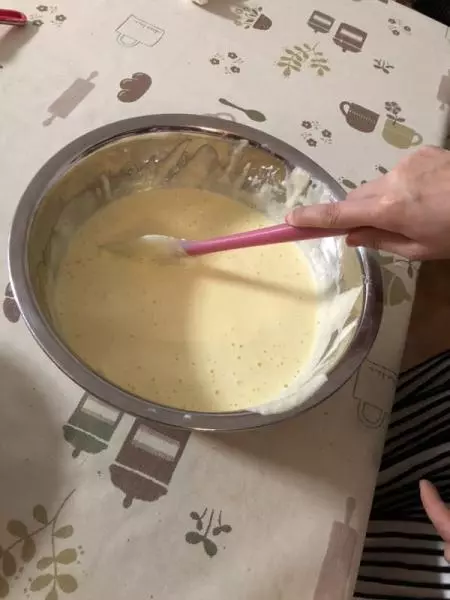
10搅好的蛋黄糊细脦均匀,浓稠度以提起掉下的面糊纹路不马上消失,但有流动性为宜,太干可以加入少量牛奶调整
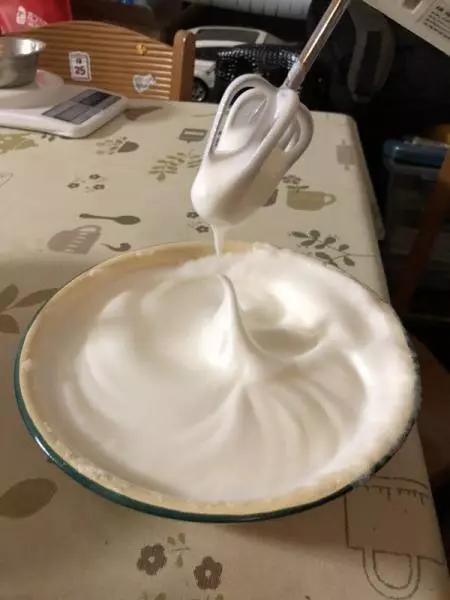
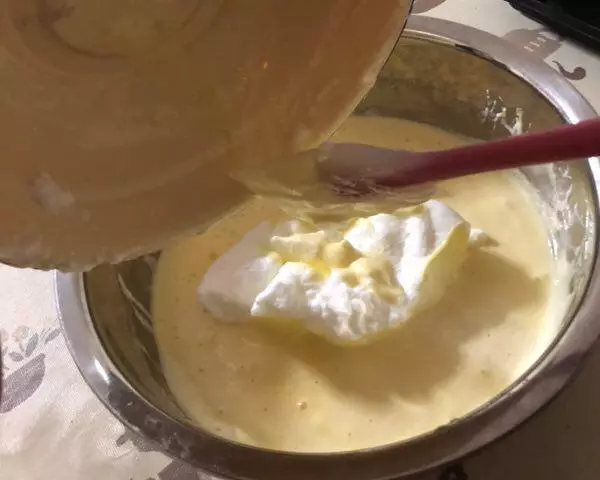
11滴4~5滴柠檬汁或白醋去鯹,没可不加,电动打蛋器打发蛋清
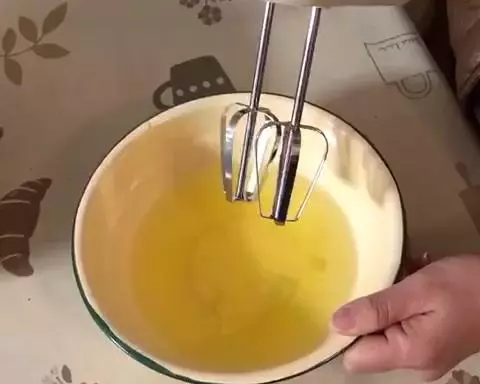
12分三次加入白砂糖打发,第一次低档打至粗鱼眼泡加入,转中档打发至稍细腻加第二次,转高档继续打发加第三次,分次是为了得到稳定蛋白泡,打到提起出现尖尖小角,不往下掉为宜
13分三次混合蛋清蛋黄糊,每次拌匀再加下一次,第一二次把1/3蛋清加入蛋糊,用切拌和翻拌手法混合均匀,切勿划圆搅拌,容易消泡,第三次把面糊倒入剩下的蛋清中拌匀
14切拌就是往蛋清划1字的手法,翻拌是炒菜那样从底部翻出来上下拌匀
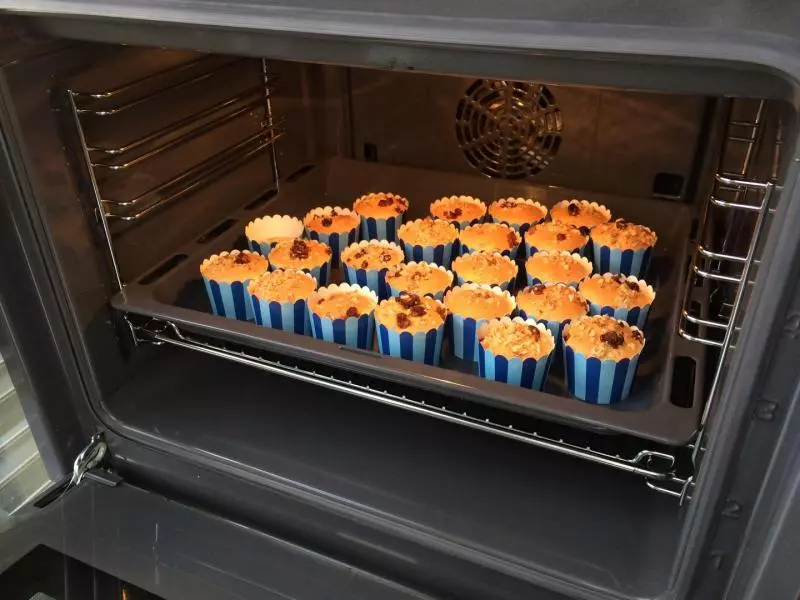
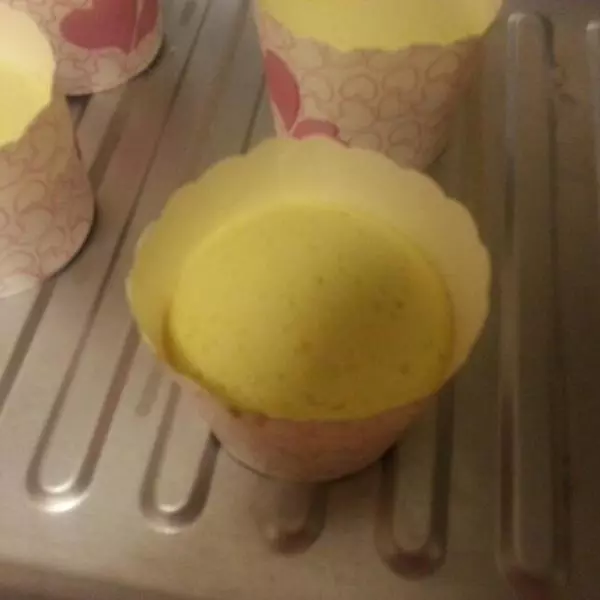
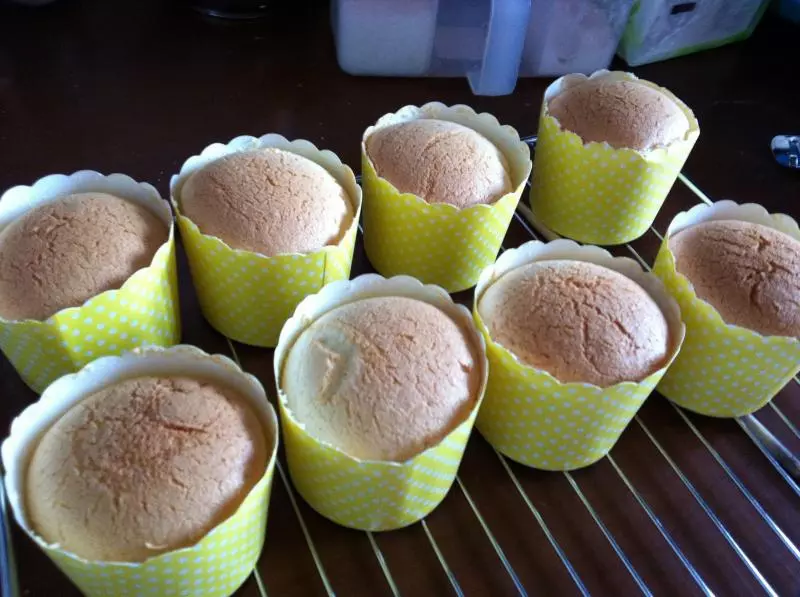
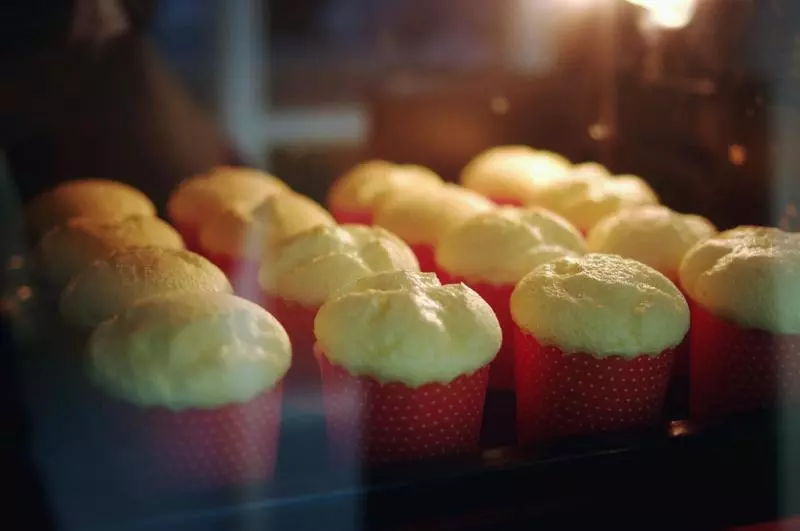
15分装到纸杯里
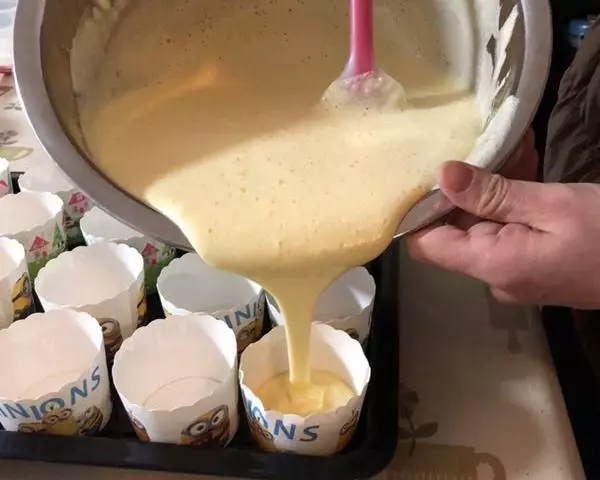
167成满,震动一下纸杯排出大气泡
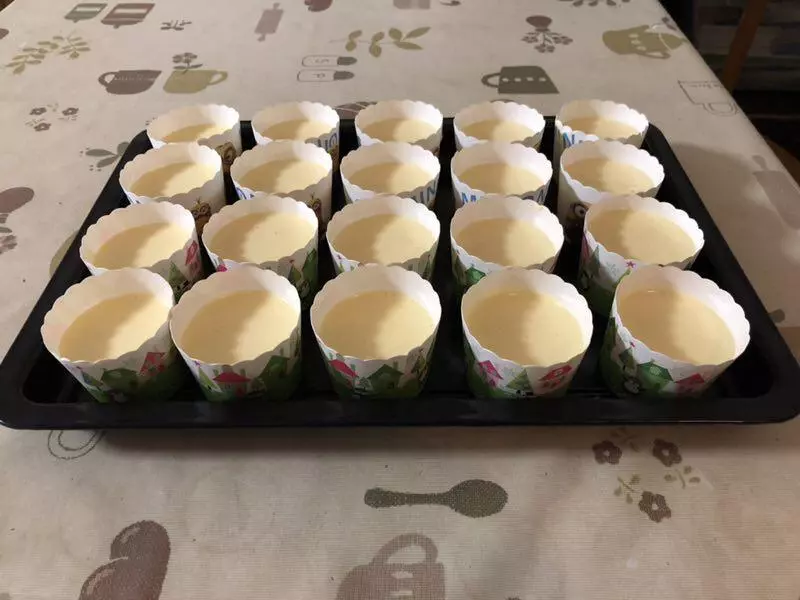
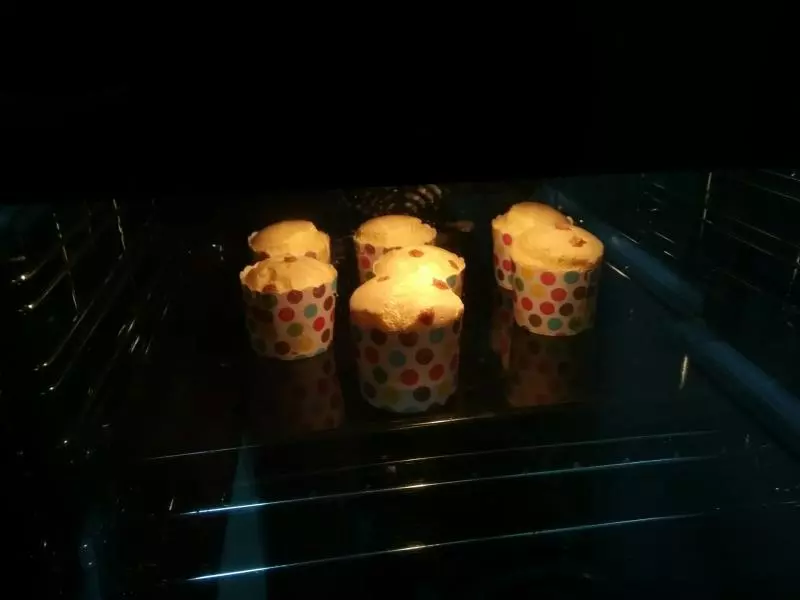
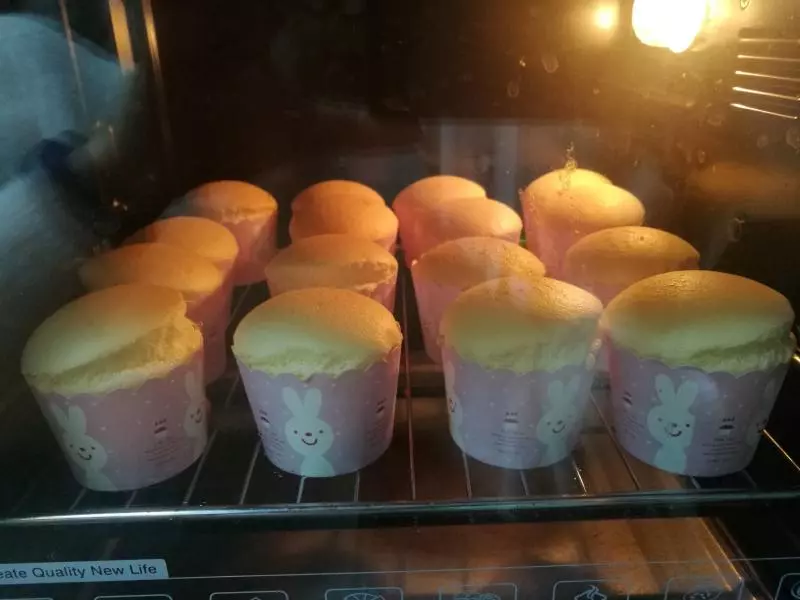
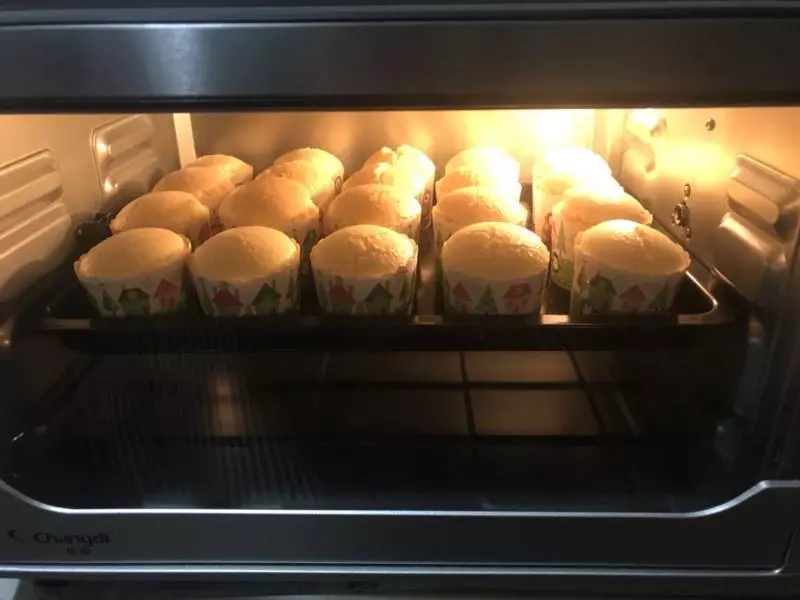
17分装同时预热烤箱150度5一10分钟,分好放入烤箱150度上下火烤约20分钟,供参考,大家根据自家烤箱脾气调整
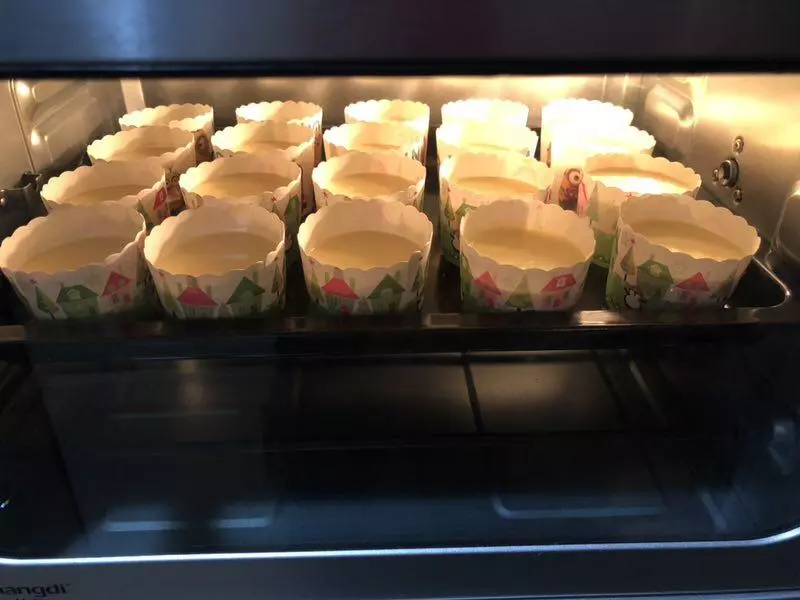
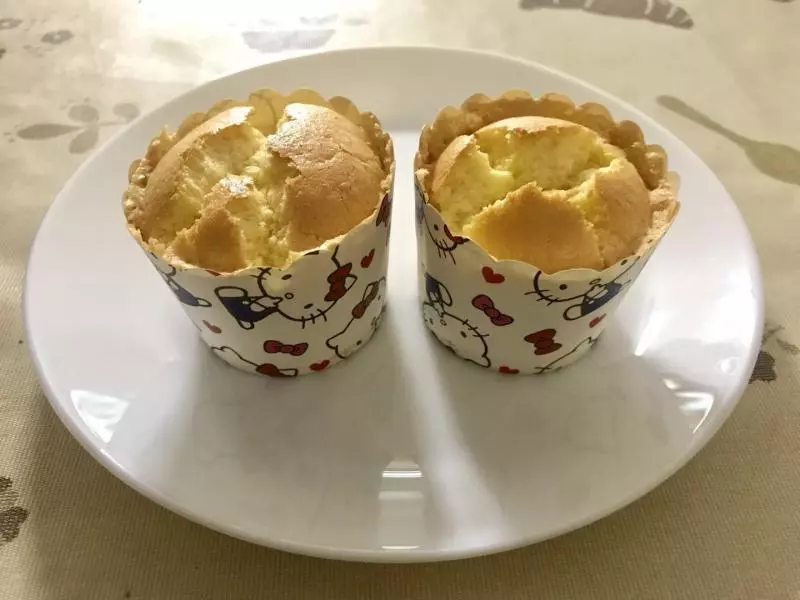
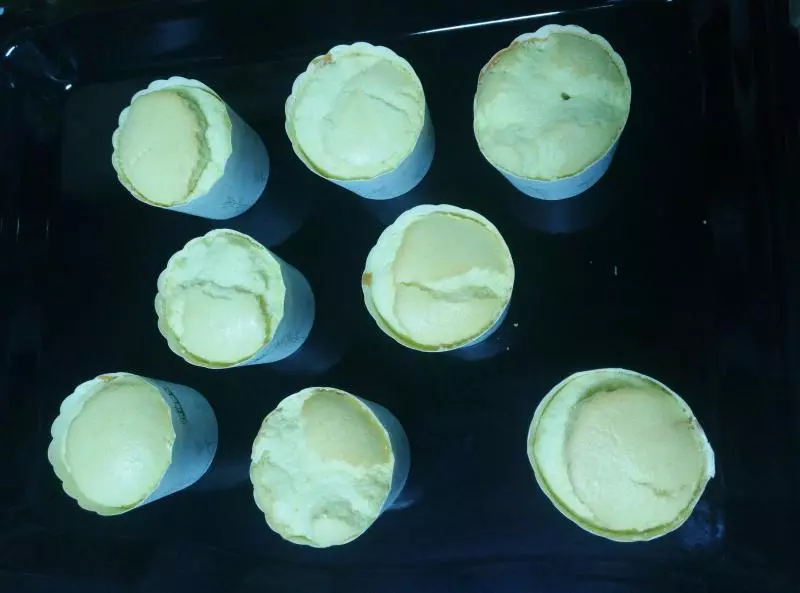
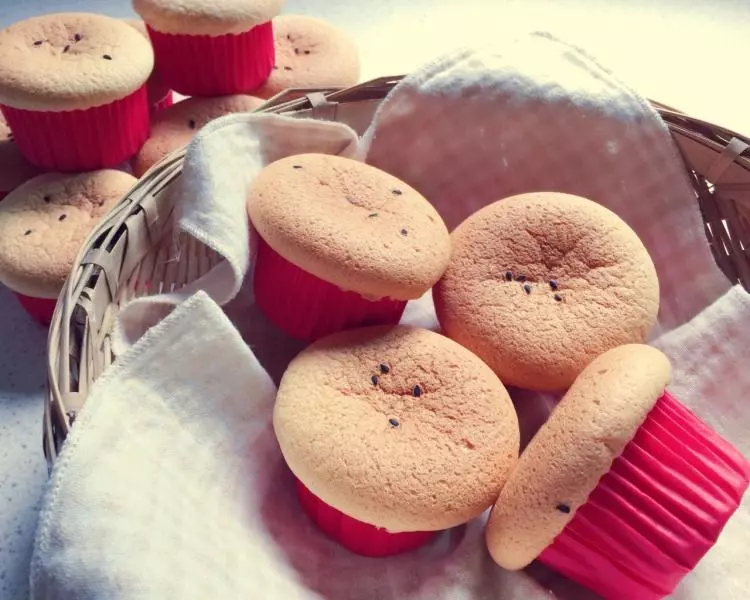
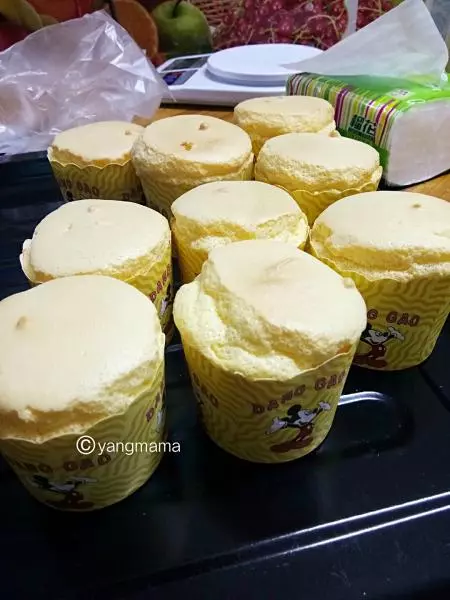
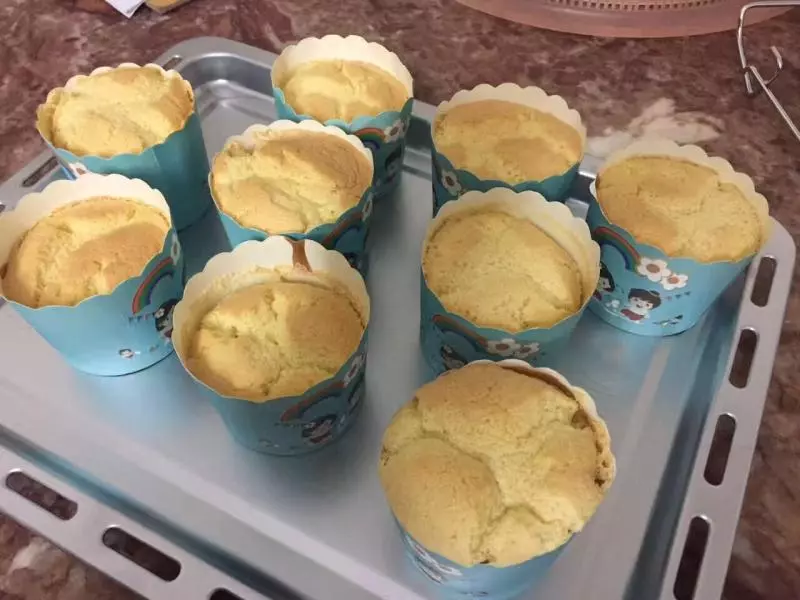
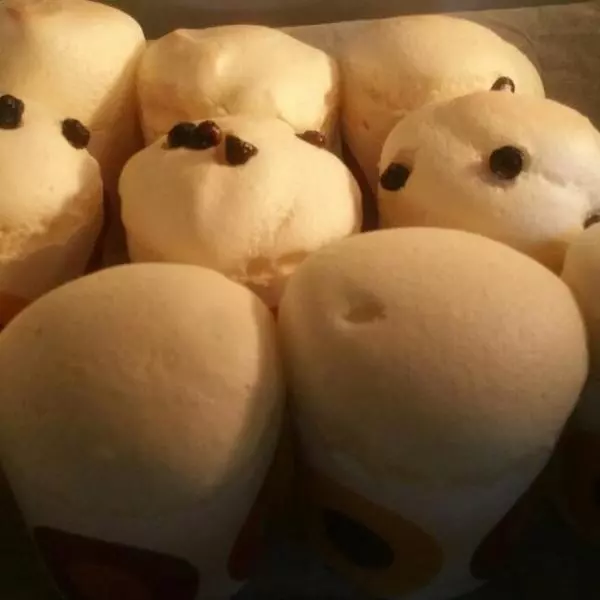
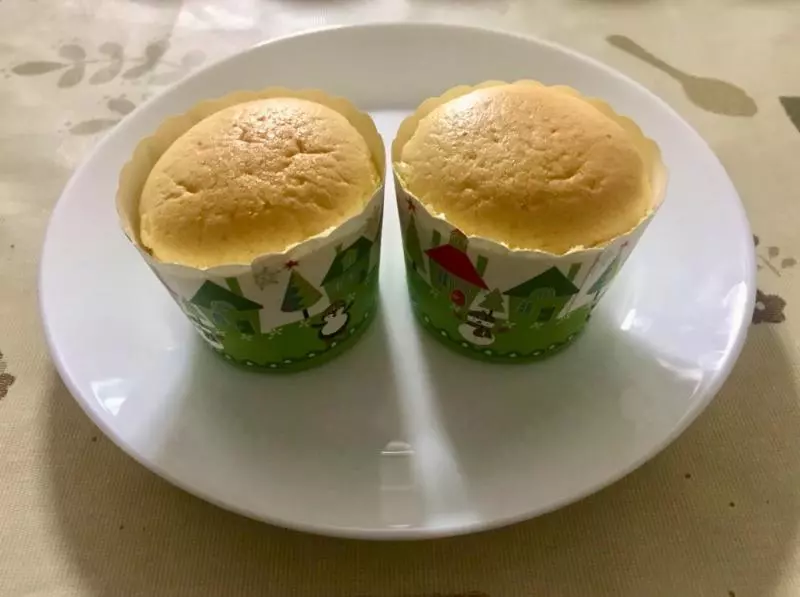
18看着小蛋糕蓬起来,那个心情美美哒
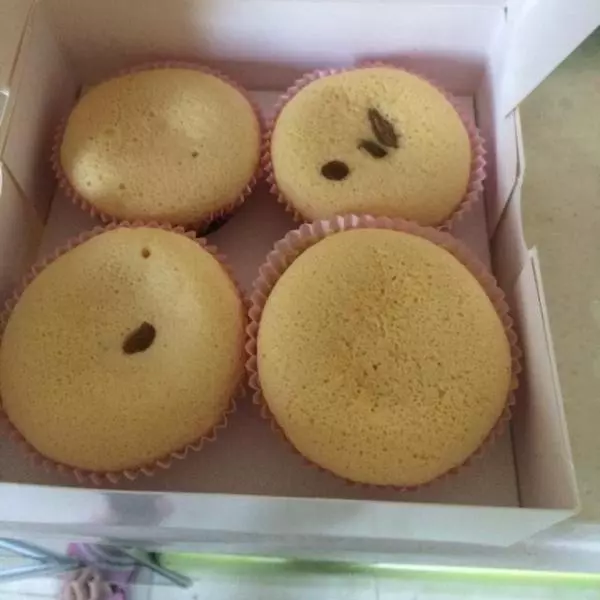
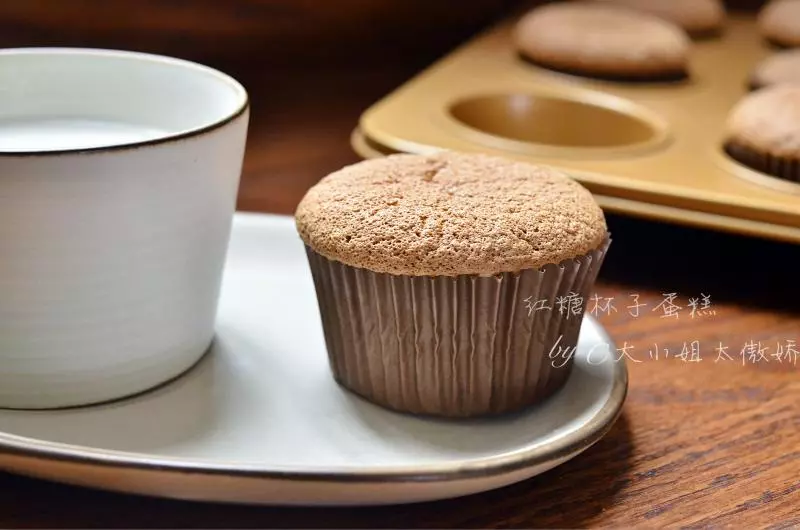
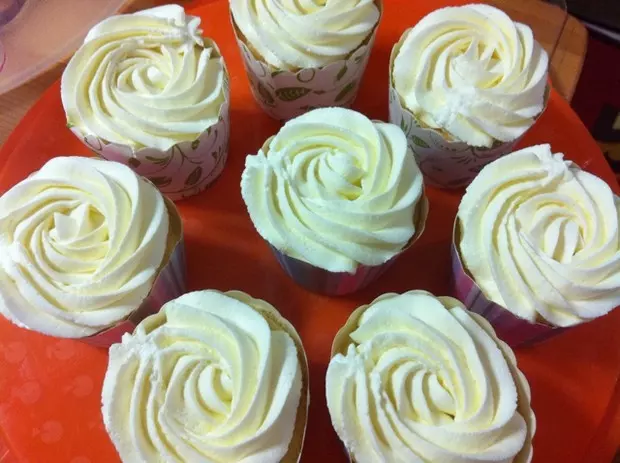
19上色到喜欢的程度拿出来,插牙千检验熟不,插入拿出干爽即熟,带粘糊的就没熟
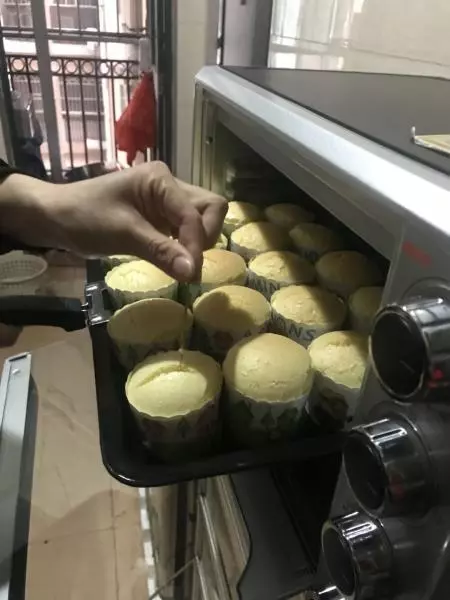
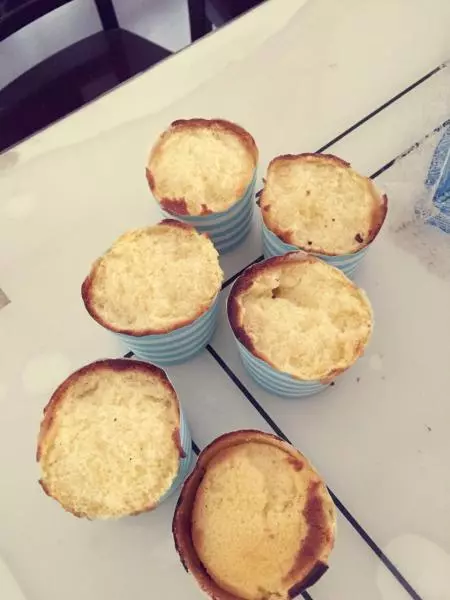
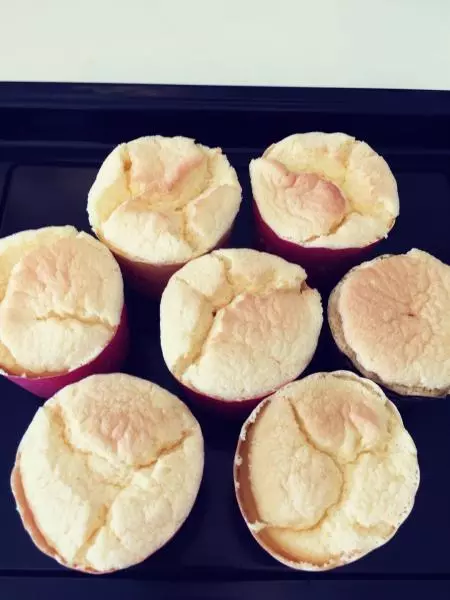
20第一盘烤的,上色稍浅,大部分不开裂
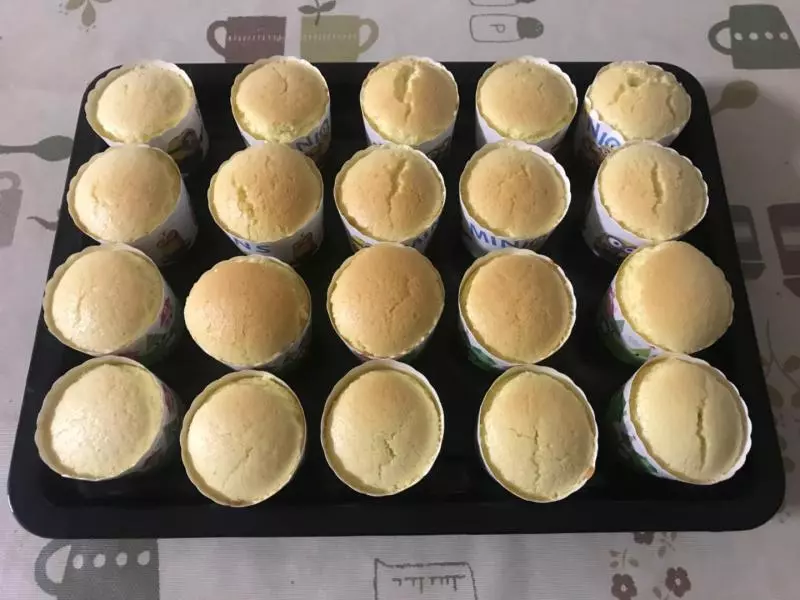
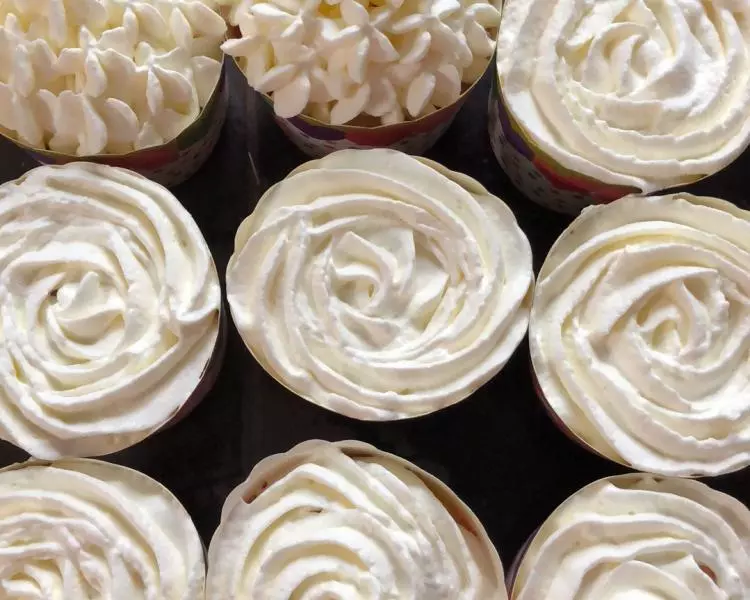
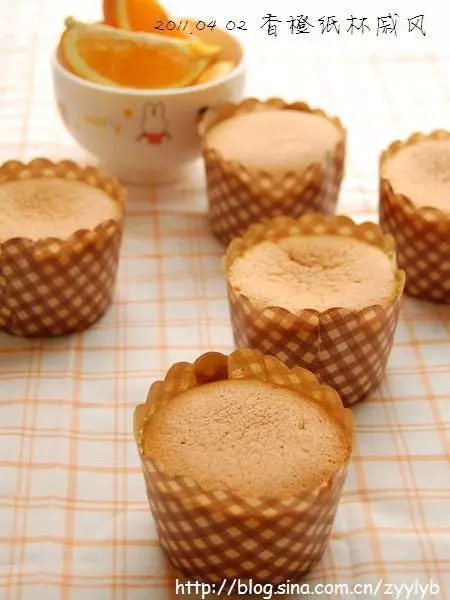
21装白碟欣赏

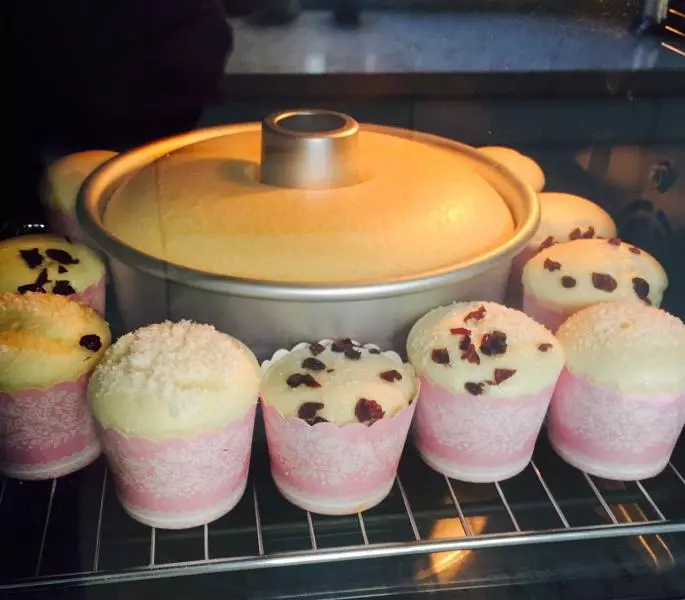
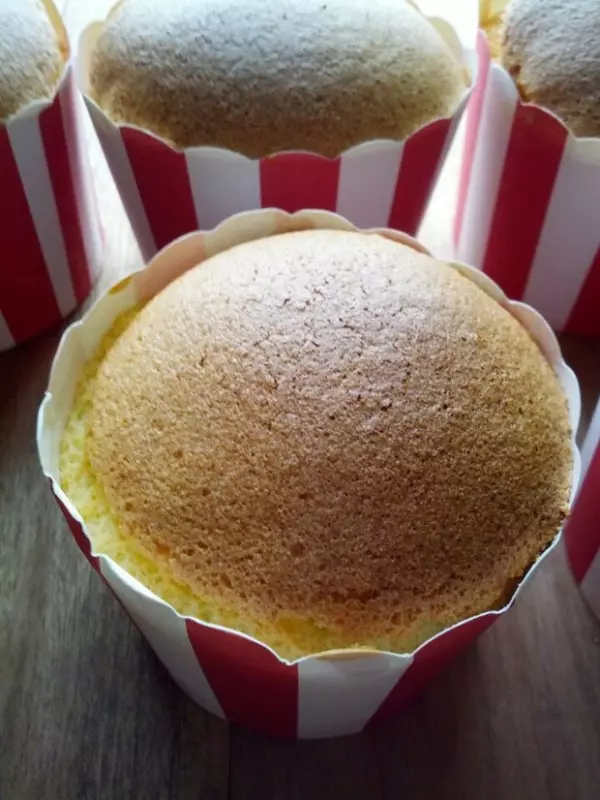
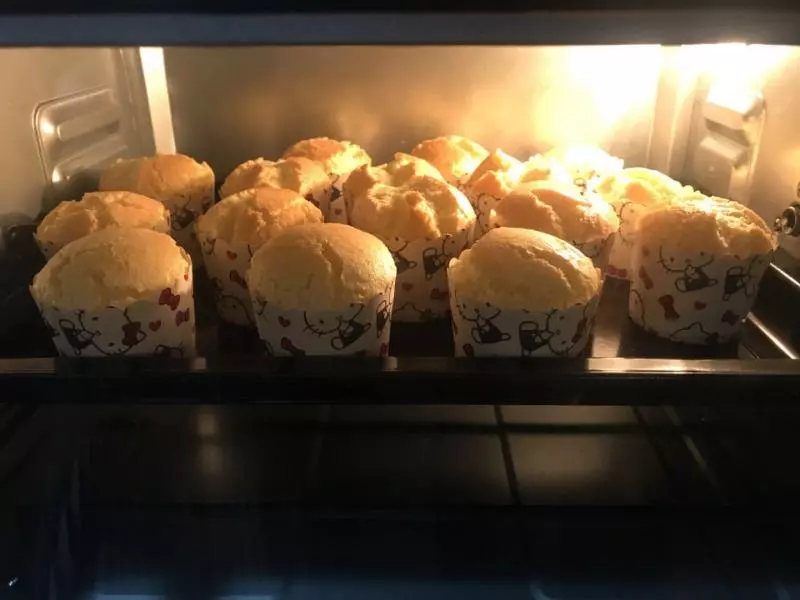
22第二盘烤长点时间,上色深些,达开裂效果
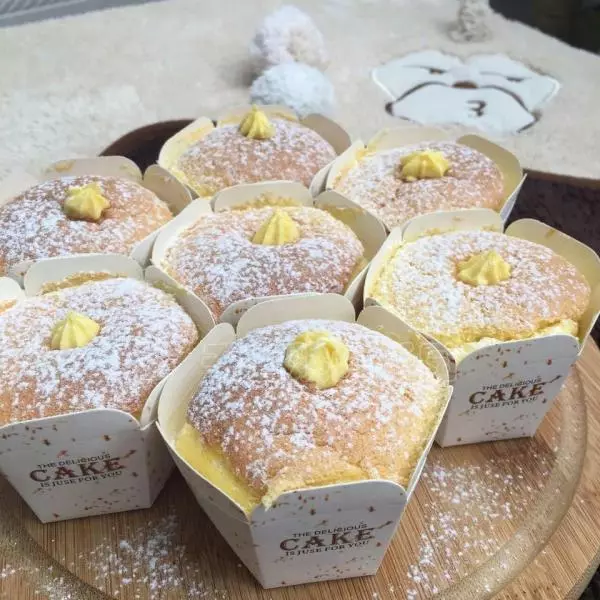
23装碟,开吃啦:)