原料
原味酸奶: 100克, 淡奶油: 30克, 蛋黄: 2个, 低筋粉: 70克, 蛋白: 2个, 细砂糖: 35克(酸奶已经有甜味), 柠檬汁: 5克
步骤
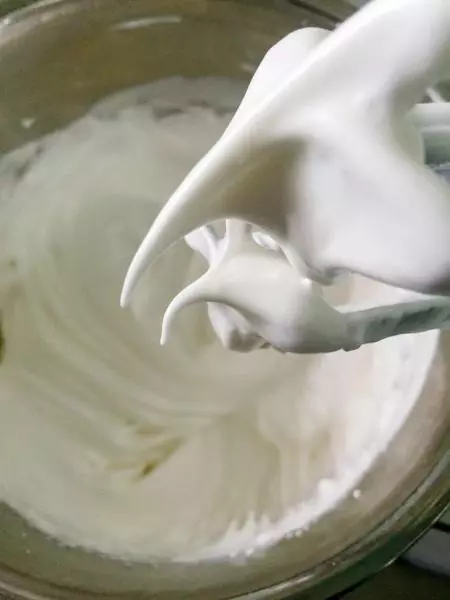
1蛋白加糖加柠檬汁打发到硬性发泡,倒置也不流淌那样的程度
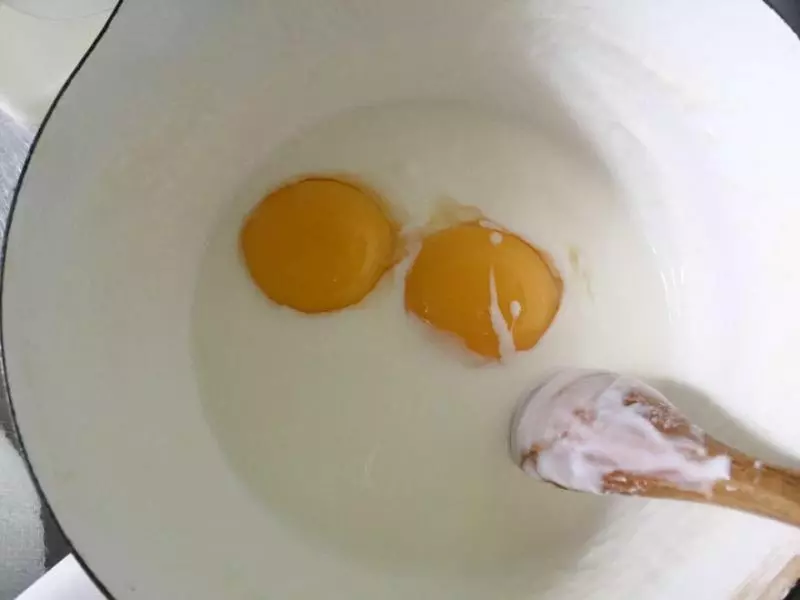
2酸奶加淡奶油加蛋黄搅拌均匀;
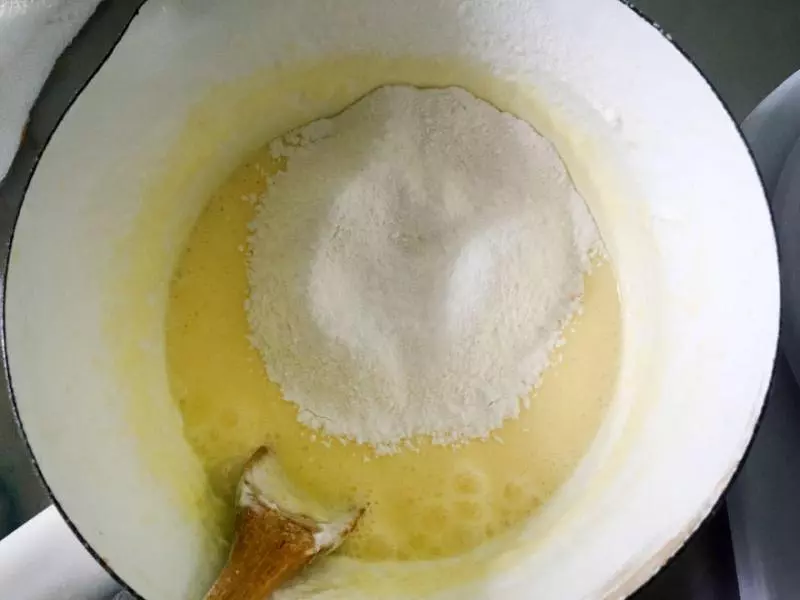
3加入过筛低筋粉,刮刀炒菜兜底方式搅拌均匀无粉状
4烤箱预热140度 下层放一烤盘水
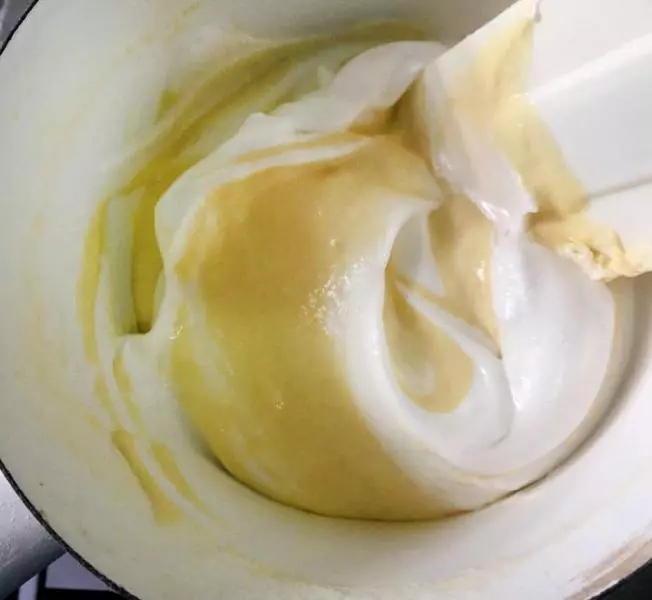
5挖一勺蛋白霜在蛋黄酸奶糊搅拌均匀。 然后倒进蛋白霜的盆,兜底如炒菜翻拌均匀。
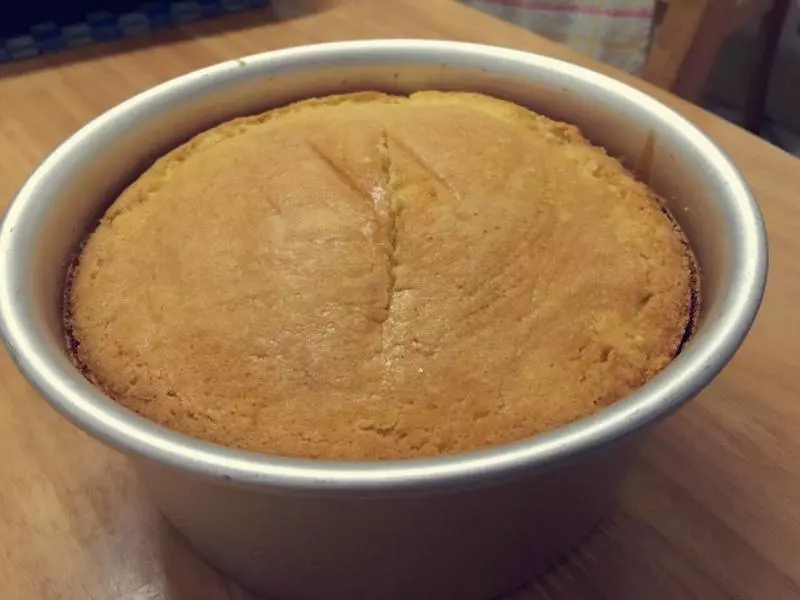
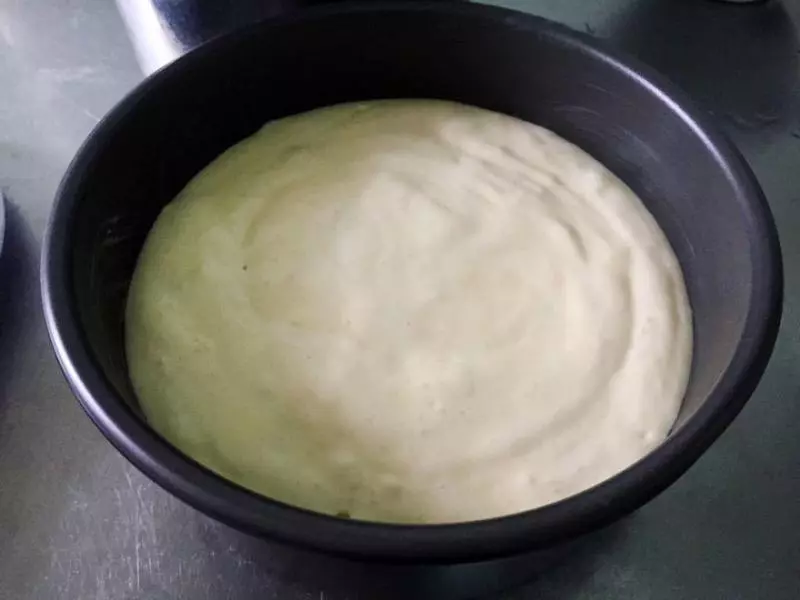
6倒入模具6寸 我的模具不粘,不必垫纸
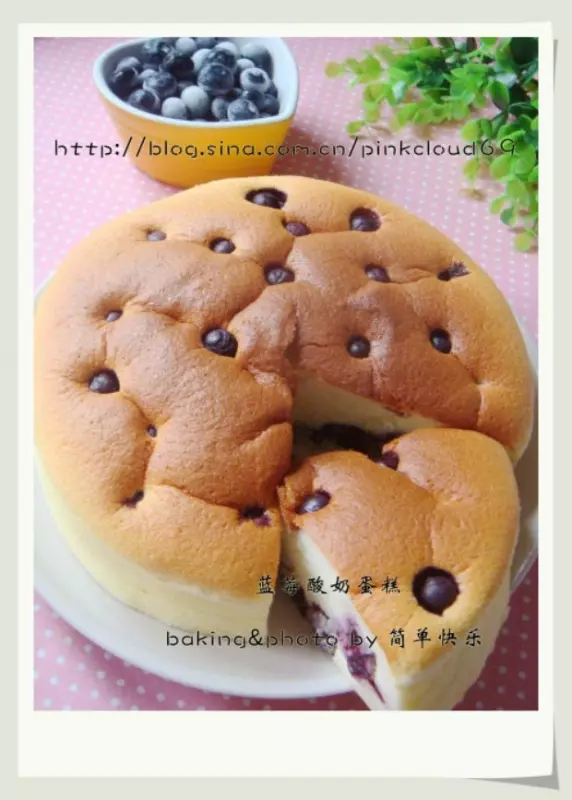
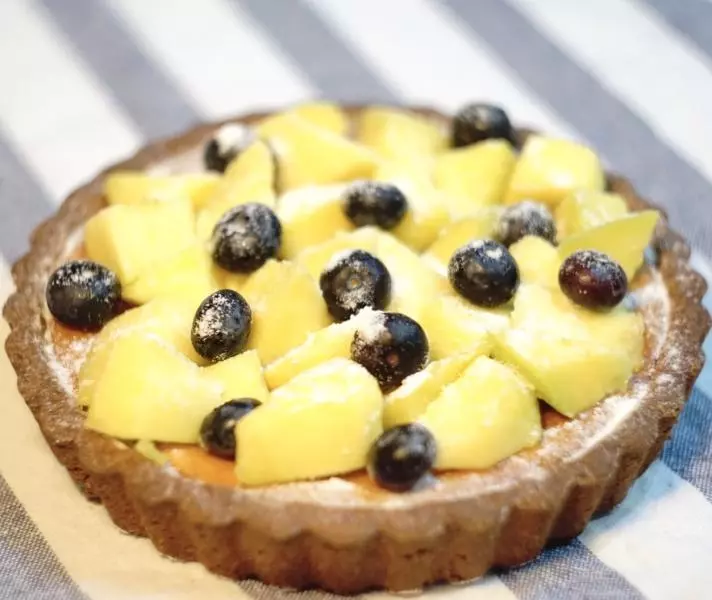
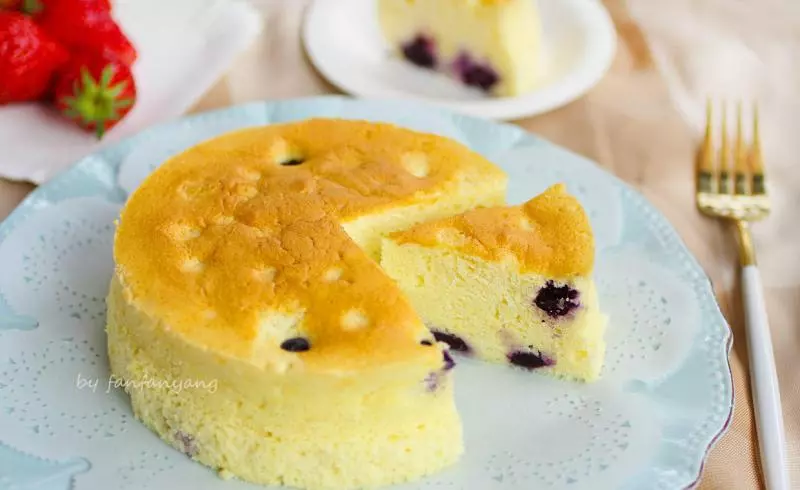
7撒蓝莓,烤的中间将渐渐沉没在底部

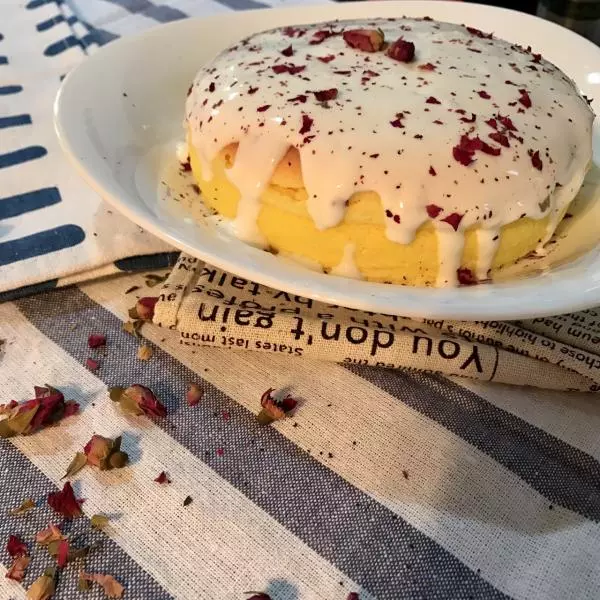
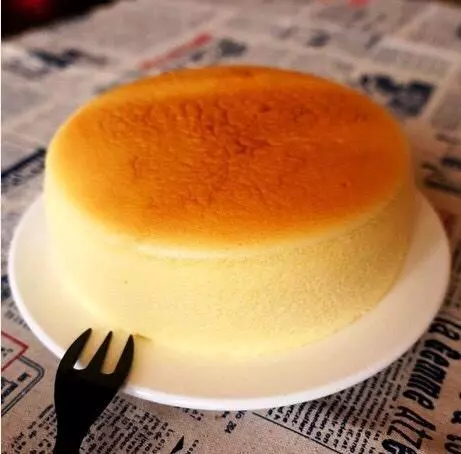
8135—140度蒸烤1小时(每家烤箱脾气不同注意观察) 结束后焖十几分钟再打开烤箱门 非常嫩嫩香香的一个蛋糕,放冷藏哦。